REG GENESIS G80 2017 User Guide
[x] Cancel search | Manufacturer: GENESIS, Model Year: 2017, Model line: G80, Model: GENESIS G80 2017Pages: 496, PDF Size: 12.82 MB
Page 124 of 496
3-36
Convenient features of your vehicle
Erasing HomeLink®buttons
Individual buttons cannot be erased.
However, to erase all three pro-
grammed buttons:
1. Press and hold the two outerHomeLink
®buttons until the indi-
cator light begins to flash-after 20
seconds.
2. Release both buttons. Do not hold for longer than 30 seconds.
The Integrated HomeLink
®Wireless
Control System is now in the training
(learn) mode and can be pro-
grammed at any time following the
appropriate steps in the Programming
chapters above.
NVS
®is a registered trademark and
Z-Nav™ is a trademark of the Gentex
Corporation, Zeeland, Michigan.
HomeLink
®is a registered trademark
owned by Johnson Controls,
Incorporated, Milwaukee, Wisconsin.
FCC ID: NZLZTVHL3
IC: 4112A-ZTVHL3 This device complies with Part 15
of the FCC Rules.
Operation is subject to the following
two conditions:
1. This device may not cause harm-
ful interference, and
2. This device must accept any inter- ference received, including inter-
ference that may cause undesired
operation.
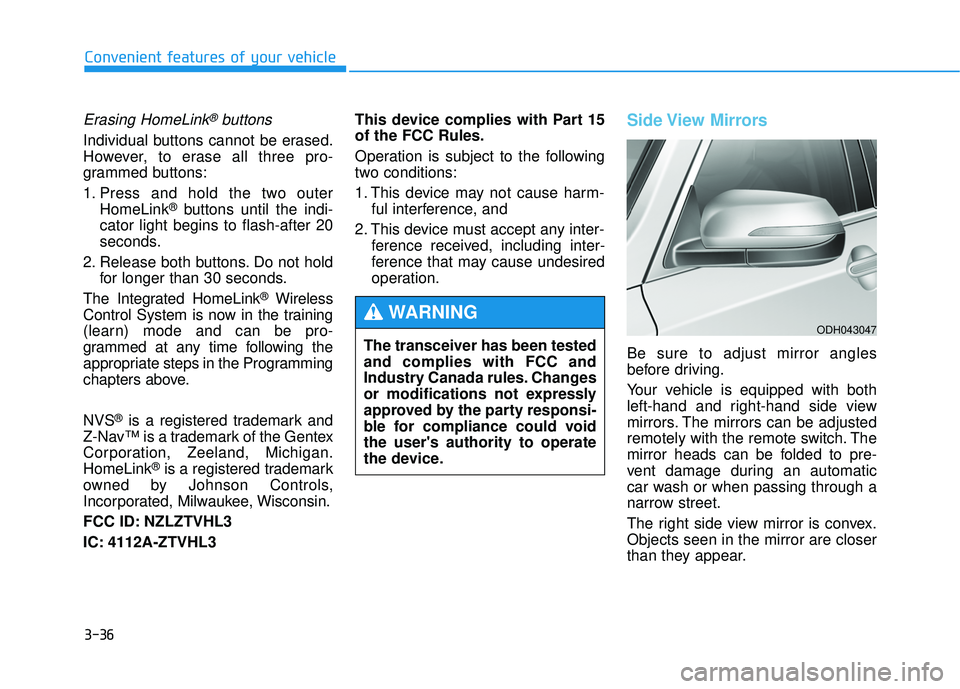
Side View Mirrors
Be sure to adjust mirror angles
before driving.
Your vehicle is equipped with both
left-hand and right-hand side view
mirrors. The mirrors can be adjusted
remotely with the remote switch. The
mirror heads can be folded to pre-
vent damage during an automatic
car wash or when passing through a
narrow street.
The right side view mirror is convex.
Objects seen in the mirror are closer
than they appear.
The transceiver has been tested
and complies with FCC and
Industry Canada rules. Changes
or modifications not expressly
approved by the party responsi-
ble for compliance could void
the user's authority to operate
the device.
WARNINGODH043047
Page 153 of 496
3-65
Convenient features of your vehicle
3
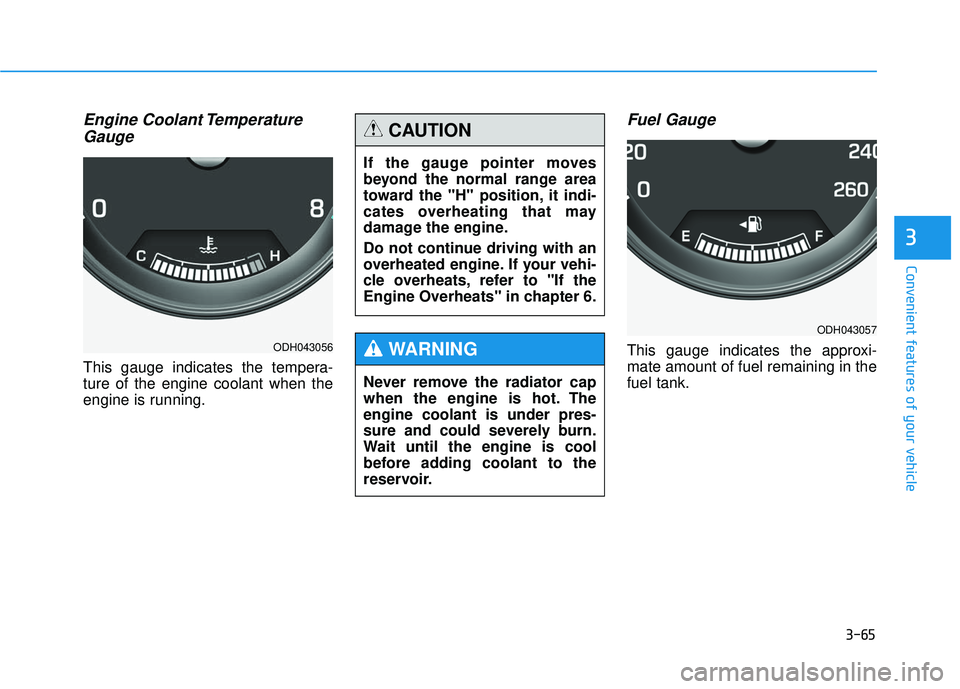
Engine Coolant TemperatureGauge
This gauge indicates the tempera-
ture of the engine coolant when the
engine is running.
Fuel Gauge
This gauge indicates the approxi-
mate amount of fuel remaining in the
fuel tank.ODH043056
If the gauge pointer moves
beyond the normal range area
toward the "H" position, it indi-
cates overheating that may
damage the engine.
Do not continue driving with an
overheated engine. If your vehi-
cle overheats, refer to "If the
Engine Overheats" in chapter 6.
CAUTION
Never remove the radiator cap
when the engine is hot. The
engine coolant is under pres-
sure and could severely burn.
Wait until the engine is cool
before adding coolant to the
reservoir.
WARNING
ODH043057
Page 180 of 496

3-92
Convenient features of your vehicle
Elapsed Time (3)
The elapsed time is the total driv-ing time since the last elapsed time
reset.
- Time range (hh:mm): 00:00 ~ 99:59
To reset the elapsed time, press the OK button on the steering wheel for
more than 1 second when the
elapsed time is displayed.
✽ ✽ NOTICE
Even if the vehicle is not in motion,
the elapsed time keeps calculating
while the engine is running.
Fuel EconomyDistance To Empty (1)
The distance to empty is the esti-
mated distance the vehicle can be
driven with the remaining fuel.
- Distance range: 1 ~ 999 mi. or 1 ~ 999 km
If the estimated distance is below 1 mi. (1 km), the trip computer will
display "---" as distance to empty.
✽ ✽ NOTICE
• If the vehicle is not on level ground
or the battery power has been
interrupted, the distance to empty
function may not operate correctly.
• The distance to empty may differ from the actual driving distance as
it is an estimate of the available
driving distance.
• The trip computer may not regis- ter additional fuel if less than 1.6
gallons (6 liters) of fuel are added
to the vehicle.
• The fuel economy and distance to empty may vary significantly based
on driving conditions, driving
habits, and condition of the vehicle.ODH043271N
Page 185 of 496
3-97
Convenient features of your vehicle
3
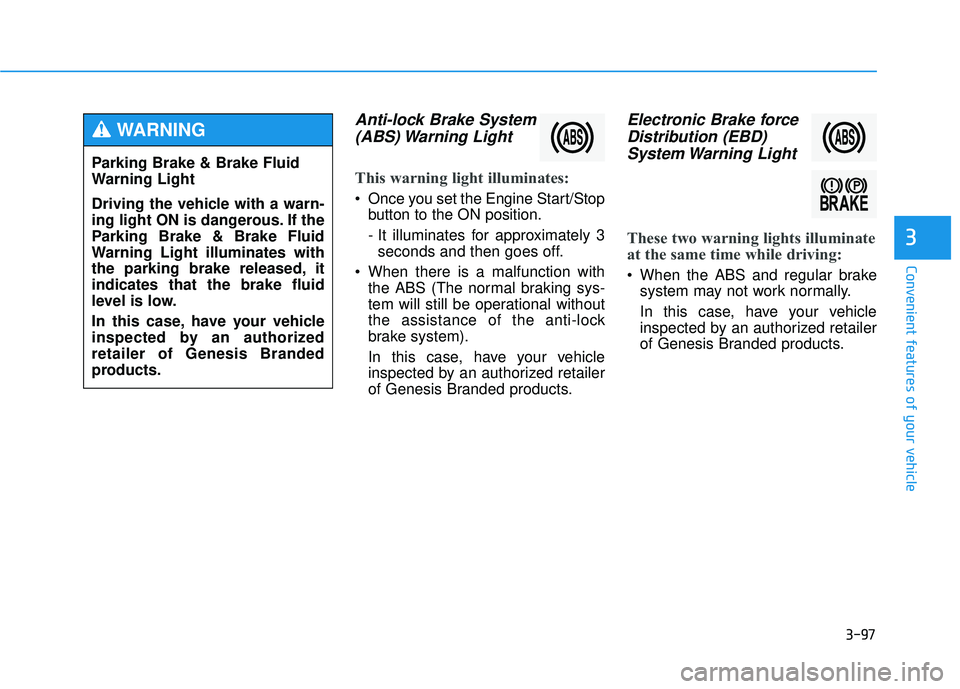
Anti-lock Brake System(ABS) Warning Light
This warning light illuminates:
Once you set the Engine Start/Stop
button to the ON position.
- It illuminates for approximately 3seconds and then goes off.
When there is a malfunction with the ABS (The normal braking sys-
tem will still be operational without
the assistance of the anti-lock
brake system).
In this case, have your vehicle
inspected by an authorized retailer
of Genesis Branded products.
Electronic Brake forceDistribution (EBD)System Warning Light
These two warning lights illuminate
at the same time while driving:
When the ABS and regular brake
system may not work normally.
In this case, have your vehicle
inspected by an authorized retailer
of Genesis Branded products.
Parking Brake & Brake Fluid
Warning Light
Driving the vehicle with a warn-
ing light ON is dangerous. If the
Parking Brake & Brake Fluid
Warning Light illuminates with
the parking brake released, it
indicates that the brake fluid
level is low.
In this case, have your vehicle
inspected by an authorized
retailer of Genesis Branded
products.
WARNING
Page 218 of 496
3-130
Convenient features of your vehicle
The system will operate automati- cally every time the vehicle speed
is below 6 mph (10 km/h) with the
system switched on.
When you move the shift lever to R position with the system switched
off, the indicator in the button will
turn on and the system will operate
automatically regardless of button
status. However, if the vehicle
speed exceeds 12 mph (20 km/h)
when driving forward, the indicator
in the button will turn off. The sys-
tem will not automatically operate
again even if vehicle speed returns
to 6 mph (10 km/h).
To turn on the system, press the
parking assist system button.
When more than two objects are sensed at the same time, the clos-
est one will be recognized first.
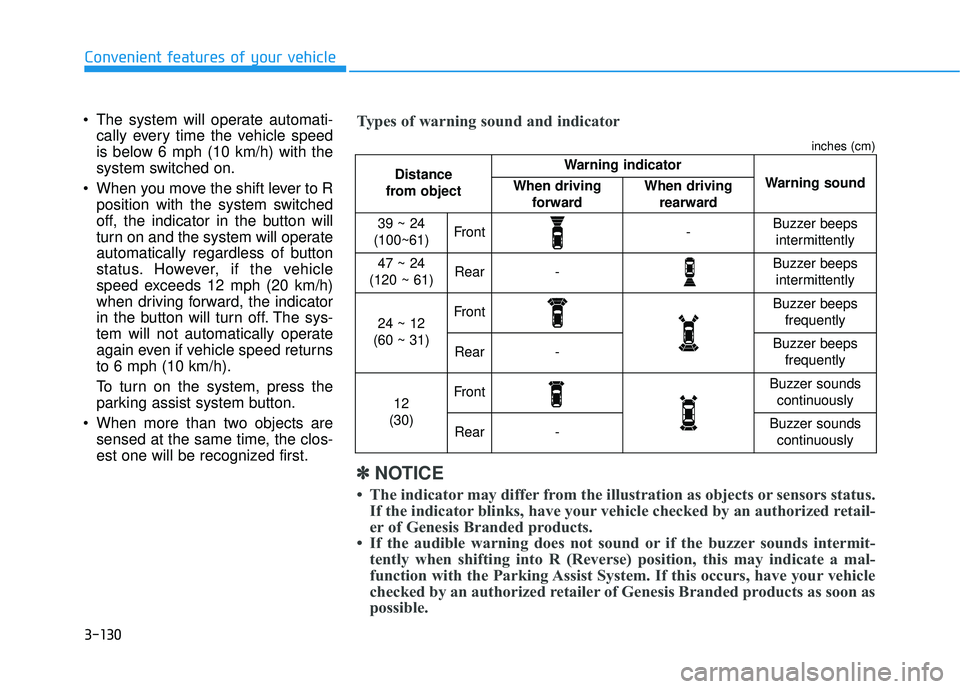
Distance
from object Warning indicator
Warning soundWhen driving forwardWhen driving rearward
39 ~ 24
(100~61)Front-Buzzer beeps intermittently
47 ~ 24
(120 ~ 61)Rear-Buzzer beeps intermittently
24 ~ 12
(60 ~ 31)FrontBuzzer beeps frequently
Rear-Buzzer beeps frequently
12
(30)FrontBuzzer sounds continuously
Rear-Buzzer sounds continuously
✽
✽ NOTICE
• The indicator may differ from the illustration as objects or sensors status.
If the indicator blinks, have your vehicle checked by an authorized retail-
er of Genesis Branded products.
• If the audible warning does not sound or if the buzzer sounds intermit- tently when shifting into R (Reverse) position, this may indicate a ma\
l-
function with the Parking Assist System. If this occurs, have your vehicle
checked by an authorized retailer of Genesis Branded products as soon as
possible.
Types of warning sound and indicator
inches (cm)
Page 227 of 496

3-139
Convenient features of your vehicle
3
Instrument panel vents
The outlet vents can be opened or
closed separately using the thumb-
wheel. To close the vent, rotate it left
(Rear : down) to the maximum posi-
tion. To open the vent, rotate it right
(Rear : up) to the desired position.Also, you can adjust the direction of
air delivery from these vents using
the vent control lever as shown.
Temperature control
Turn the temperature control knob to
set the desired temperature.
Rear temperature adjustment is
independently controlled regardless
of "SYNC" function.
ODH043162
■RearODH043090
■Front
ODH043085
■Rear
ODH043091
■Front
Page 297 of 496

5-42
Driving your vehicle
D
DR
RI
IV
V E
E
M
M O
OD
DE
E
I
IN
N T
TE
EG
G R
RA
A T
TE
ED
D
C
C O
O N
NT
TR
R O
O L
L
S
S Y
Y S
ST
T E
EM
M
The drive mode may be selected
according to the driver’s preference
or road condition.
The system initializes to the NOR-
MAL mode after the engine has been
turned off and on.
✽ ✽
NOTICE
If there is a problem with the
Electronic Stability Control (ESC)
system, the drive mode will be in
NORMAL mode and may not
change to ECO mode, SPORT mode
or SNOW mode.
The mode changes whenever the
DRIVE MODE switch is pressed.
When NORMAL mode is selected,
it is not displayed on the instrument
cluster.
When the DRIVE MODE switch is pressed for more than one second,
the SNOW mode will operate
regardless of whichever DRIVE
mode (NORMAL/ECO/SPORT) is
operating. If the switch is pressed
once more, the DRIVE mode
(NORMAL/ECO/SPORT) that was
operating previously will operate.
The selected mode is displayed on the AVN monitor.ECO mode (Active ECO)
Active ECO helps improvefuel efficiency by control-
ling certain engine and
transmission system
operating parameters.
Fuel efficiency depends on the dri-
ver's driving habit and road condi-
tion.
pressed and the ECO mode is
selected, the ECO indicator
(green) will illuminate to show that
the Active ECO is operating.
and the engine is turned off and on
it will change to NORMAL mode. To
turn on the ECO mode, press the
DRIVE MODE switch till it is select-
ed.
ODH053021
NORMAL
SPORT ECOECO
Page 299 of 496

5-44
Driving your vehicle
SNOW mode (if equipped)
SNOW mode helps thedriver to drive more effec-
tively on slippery roads
such as snowy or muddy
roads.
When the DRIVE MODE switch is pressed for more than one second,
the SNOW mode will operate
regardless of whichever drive
mode (NORMAL/ECO/SPORT) is
operating. If the switch is pressed
once more, the drive mode (NOR-
MAL/ECO/SPORT) that was oper-
ating previously will operate. The Electronic Control Suspension
(ECS) controls the vehicle suspen-
sion automatically to maximize driv-
ing comfort by taking into account
the driving conditions such as speed,
surface of the road, cornering, stop-
ping requirements and acceleration.
ECS (Electronic Control
Suspension) malfunction indi-
cator
If the ECS warning message comes
on, you may have a problem with the
ECS system. Have your vehicle
checked by an authorized HYUNDAI
dealer.
SNOW
E E
L
LE
E C
CT
T R
R O
O N
NI
IC
C
C
C O
O N
NT
TR
R O
O L
L
S
S U
U S
SP
P E
EN
N S
SI
IO
O N
N
(
( E
E C
CS
S)
)
(
( I
IF
F
E
E Q
Q U
UI
IP
P P
PE
ED
D )
)
ODH053072L
Page 345 of 496
5-90
Driving your vehicle
If you mount snow tires on your vehi-
cle, make sure to use the same infla-
tion pressure as the original tires.
However, if you mount 245/40R19
size tire on the rear, the tire inflation
pressure should maintain 35psi.
Mount snow tires on all four wheels
to balance your vehicle's handling in
all weather conditions. The traction
provided by snow tires on dry road
may not be as high as your vehicle's
original equipment tires. Check with
the tire dealer for maximum speed
recommendations.
✽ ✽ NOTICE
Do not install studded tires without
first checking local, state and munic-
ipal regulations for possible restric-
tions against their use.
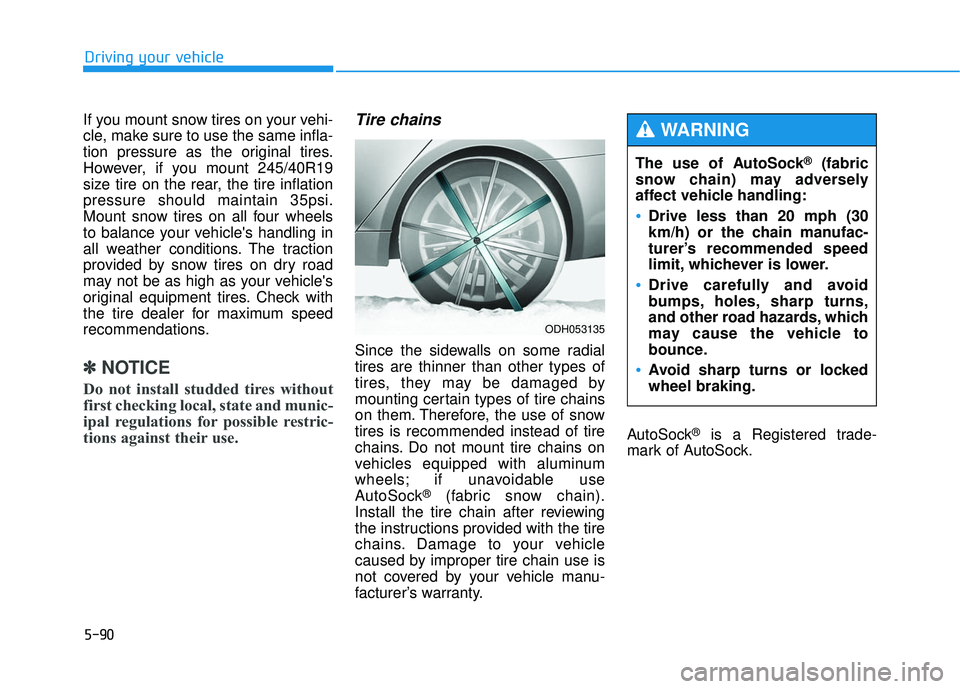
Tire chains
Since the sidewalls on some radial
tires are thinner than other types of
tires, they may be damaged by
mounting certain types of tire chains
on them. Therefore, the use of snow
tires is recommended instead of tire
chains. Do not mount tire chains on
vehicles equipped with aluminum
wheels; if unavoidable use
AutoSock
®(fabric snow chain).
Install the tire chain after reviewing
the instructions provided with the tire
chains. Damage to your vehicle
caused by improper tire chain use is
not covered by your vehicle manu-
facturer’s warranty. AutoSock
®is a Registered trade-
mark of AutoSock. The use of AutoSock
®(fabric
snow chain) may adversely
affect vehicle handling:
Drive less than 20 mph (30
km/h) or the chain manufac-
turer’s recommended speed
limit, whichever is lower.
Drive carefully and avoid
bumps, holes, sharp turns,
and other road hazards, which
may cause the vehicle to
bounce.
Avoid sharp turns or locked
wheel braking.
WARNING
ODH053135
Page 346 of 496
5-91
Driving your vehicle
5
✽
✽NOTICE
• Install AutoSock®(fabric snow
chain) on the rear tires for 2WD
vehicles or on all four tires for
AWD vehicles. It should be noted
that installing AutoSock
®(fabric
snow chain) on the tires will pro-
vide a greater driving force, but
will not prevent side skids.
• Do not install studded tires with- out first checking local, state and
municipal regulations for possible
restrictions against their use. Chain Installation
When installing AutoSock®(fabric
snow chain), follow the manufactur-
er's instructions and mount them as
tightly possible. Drive slowly (less
than 20 mph (30 km/h)) with chains
installed. If you hear the chains con-
tacting the body or chassis, stop and
tighten them. If they still make con-
tact, slow down until the noise stops.
Remove the AutoSock
®(fabric snow
chain) as soon as you begin driving
on cleared roads.
When mounting AutoSock
®(fabric
snow chain), park the vehicle on
level ground away from traffic. Turn
on the vehicle Hazard Warning
Flasher and place a triangular emer-
gency warning device behind the
vehicle (if available).
Always place the vehicle in P (Park),
apply the parking brake and turn off
the engine before installing tire
chains. AutoSock
®is a Registered trade-
mark of AutoSock. When using AutoSock
®(fabric
snow chain):
Wrong size chains or improp-
erly installed chains can dam-
age your vehicle's brake lines,
suspension, body and wheels.
If you hear noise caused by
chains contacting the body,
retighten the chain to prevent
contact with the vehicle body.
To prevent body damage,
retighten the chains after driv-
ing 0.3~0.6 miles (0.5~1.0 km).
CAUTION