change time GENESIS G80 2017 Owner's Manual
[x] Cancel search | Manufacturer: GENESIS, Model Year: 2017, Model line: G80, Model: GENESIS G80 2017Pages: 496, PDF Size: 12.82 MB
Page 3 of 496
O
OW
W N
NE
ER
R '
'S
S
M
M A
AN
N U
U A
AL
L
O
Op
pe
er
ra
a t
ti
io
o n
n
M
M a
ai
in
n t
te
e n
n a
an
n c
ce
e
S
S p
pe
ec
ci
if
f i
ic
c a
a t
ti
io
o n
ns
s
All information in this Owner's Manual is current at the time of pub-
lication. However, Genesis Branded Vehicle reserves the right to
make changes at any time so that our policy of continual product
improvement may be carried out.
This manual applies to all Genesis Branded Vehicle models and
includes descriptions and explanations of optional as well as stan-
dard equipment. As a result, you may find material in this manual
that does not apply to your specific vehicle.
Page 11 of 496

F9
Introduction
These gasolines will help the engine
run cleaner and enhance performance
of the Emission Control System. For
more information on TOP TIER
Detergent Gasoline, please go to the
website (www
.toptiergas.com).
For customers who do not use TOP
Tier Detergent Gasoline regularly,
and have problems starting or the
engine does not run smoothly, addi-
tives that you can buy separately
may be added to the gasoline. If TOP
TIER Detergent Gasoline is not avail-
able, one bottle of additive added to
the fuel tank at every 7,500 miles or
every engine oil change is recom-
mended. Additives are available from
your authorized retailer of Genesis
Branded products along with infor-
mation on how to use them. Do not
mix other additives.
Operation in foreign countries
If you are going to drive your vehicle
in another country, be sure to:
Observe all regulations regarding registration and insurance.
Determine that acceptable fuel is available. No special break-in period is need-
ed. By following a few simple precau-
tions for the first 600 miles (1,000
km) you may add to the perform-
ance, economy and life of your vehi-
cle.
Do not race the engine.
While driving, keep your engine
speed (rpm, or revolutions per
minute) between 2,000 rpm and
4,000 rpm.
Do not maintain a single speed for long periods of time, either fast or
slow. Varying engine speed is
needed to properly break-in the
engine.
Avoid hard stops, except in emer- gencies, to allow the brakes to seat
properly.
V VE
EH
H I
IC
C L
LE
E
B
B R
RE
EA
A K
K-
-I
IN
N
P
P R
R O
O C
CE
E S
SS
S
Items contained in motor vehi-
cles or emitted from them are
known to the State of California
to cause cancer and birth
defects or reproductive harm.
These include:
Gasoline and its vapors
Engine exhaust
Used engine oil
Interior passenger compart-
ment components and materi-
als
Component parts which are
subject to heat and wear
In addition, battery posts, termi-
nals and related accessories
contain lead, lead compounds
and other chemicals known to
the State of California to cause
cancer and reproductive harm.
CALIFORNIA PROPOSI-
TION 65 WARNING
Page 38 of 496

2-18
Seat warmers and coolers
Seat warmers (if equipped)
Seat warmers are provided to warm
the seats during cold weather.
Safety system of your vehicleThe seat warmers can cause a
serious burn, even at low tem-
peratures and especially if used
for long periods of time.
Passengers must be able to feel
if the seat is becoming too warm
so they can turn it off, if needed.
People who cannot detect tem-
perature change or pain to the
skin should use extreme cau-
tion, especially the following
types of passengers:
Infants, children, elderly or
disabled persons, or hospital
outpatients.
People with sensitive skin or
who burn easily. (Continued)
(Continued)
Fatigued individuals.
Intoxicated individuals.
People taking medication that
can cause drowsiness or
sleepiness.
WARNING
NEVER place anything on the
seat that insulates against heat
when the seat warmer is in oper-
ation, such as a blanket or seat
cushion. This may cause the
seat warmer to overheat, caus-
ing a burn or damage to the seat.
WARNING
To prevent damage to the seat
warmers and seats:
Never use a solvent such as
paint thinner, benzene, alco-
hol or gasoline to clean the
seats.
Do not place heavy or sharp
objects on seats equipped
with seat warmers.
Do not change the seat cover.
It may damage the seat
warmer or air ventilation sys-
tem.
CAUTION
Page 39 of 496

2-19
Safety system of your vehicle
While the engine is running, push the
switch to warm the seat.
During mild weather or under condi-
tions where the operation of the seat
warmer is not needed, keep the
switches in the OFF position. Each time you push the switch, the
temperature setting of the seat is
changed as follows :
When pressing the switch for more than 1.5 seconds with the seat
warmer operating, the seat warmer
will turn OFF.
The seat warmer defaults to the OFF position whenever the Engine
Start/Stop button is in the ON posi-
tion.
✽ ✽ NOTICE
With the seat warmer switch in the
ON position, the heating system in
the seat automatically controls the
seat temperature by designed tem-
perature.
2OFF→ HIGH( )→ MIDDLE( )→ LOW( )
→
ODH034028NODH033016
ODH034015N
■Front■Rear
■Front
Page 40 of 496

2-20
Seat warmers and coolers (by air)(if equipped)The seat warmers and coolers are
provided to warm or cool the front
seats by blowing air through small
vent holes on the surface of the seat
cushions and seatbacks.
When the operation of the seat warm-
ers or cooler are not needed, keep the
switches in the OFF position.
While the engine is running, push the
switch to warm or cool the seat.
Each time you push the switch, the
air flow changes as follows:
When pressing the switch for more than 1.5 seconds with the seat
warmer or cooler operating, the
seat warmer will turn OFF.
The seat warmers or coolers
defaults to the OFF position when-
ever the Engine Start/Stop button
is turned to the ON position.✽ ✽ NOTICE
With the seat warmer or cooler
switch in the ON position, the sys-
tem in the seat automatically con-
trols the seat temperature by
designed temperature.
Safety system of your vehicle
OFF→ HIGH( )→ MIDDLE( )→ LOW( )
→
ODH033017
ODH034018N
■Front
■Front
Page 41 of 496

2-21
Safety system of your vehicle
2
(Continued)
Do not place materials such as
plastic bags or newspapers
under the seats. They may
block the air intake causing
the air vents to not work prop-
erly.
Do not change the seat cov-
ers. It may damage the seat
warmer or cooler.
If the air vents do not operate,
restart the vehicle. If there is
no change, we recommend
that you have your vehicle
inspected by an authorized
retailer of Genesis Branded
products.
To prevent damage to the seat
warmer, seat cooler and seats:
Use the seat warmer and cool-
er ONLY when the climate
control system is on. Using
the seat warmer and cooler
for prolonged periods of time
with the climate control sys-
tem off could cause the seat
warmer and cooler to mal-
function.
Never use a solvent such as
paint thinner, benzene, alco-
hol or gasoline to clean the
seats.
Avoid spilling liquids on the
surface of the front seats and
seatbacks; this may cause the
air vent holes to become
blocked and not work proper-
ly.(Continued)
CAUTION
Page 93 of 496
3-5
Convenient features of your vehicle
Unlocking
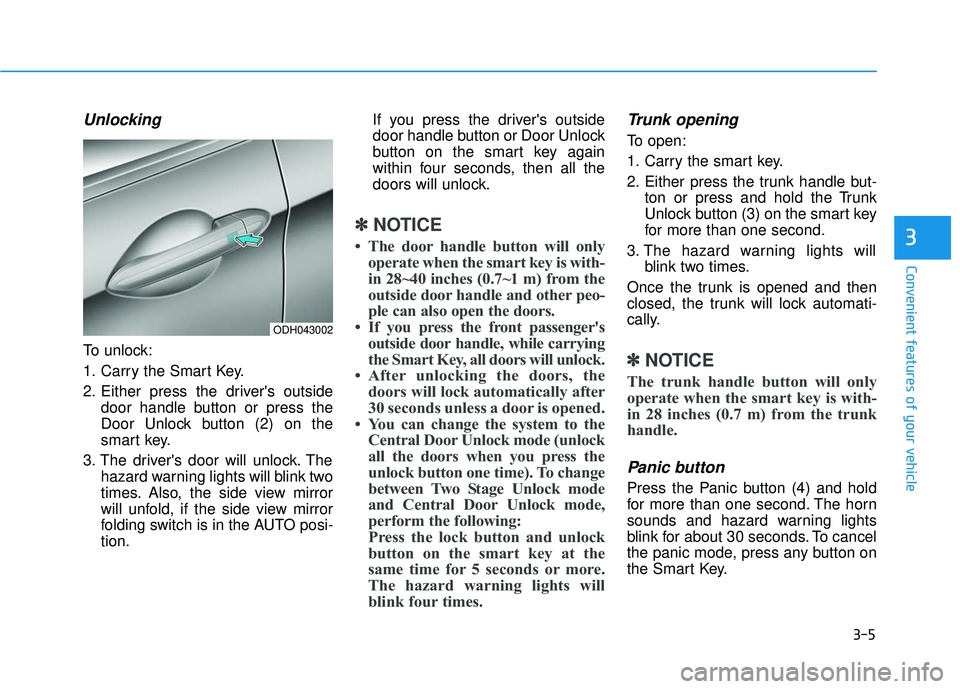
To unlock:
1. Carry the Smart Key.
2. Either press the driver's outsidedoor handle button or press the
Door Unlock button (2) on the
smart key.
3. The driver's door will unlock. The hazard warning lights will blink two
times. Also, the side view mirror
will unfold, if the side view mirror
folding switch is in the AUTO posi-
tion. If you press the driver's outside
door handle button or Door Unlock
button on the smart key again
within four seconds, then all the
doors will unlock.
✽ ✽
NOTICE
• The door handle button will only
operate when the smart key is with-
in 28~40 inches (0.7~1 m) from the
outside door handle and other peo-
ple can also open the doors.
• If you press the front passenger's outside door handle, while carrying
the Smart Key, all doors will unlock.
• After unlocking the doors, the doors will lock automatically after
30 seconds unless a door is opened.
• You can change the system to the Central Door Unlock mode (unlock
all the doors when you press the
unlock button one time). To change
between Two Stage Unlock mode
and Central Door Unlock mode,
perform the following:
Press the lock button and unlock
button on the smart key at the
same time for 5 seconds or more.
The hazard warning lights will
blink four times.
Trunk opening
To open:
1. Carry the smart key.
2. Either press the trunk handle but-
ton or press and hold the Trunk
Unlock button (3) on the smart key
for more than one second.
3. The hazard warning lights will blink two times.
Once the trunk is opened and then
closed, the trunk will lock automati-
cally.
✽ ✽ NOTICE
The trunk handle button will only
operate when the smart key is with-
in 28 inches (0.7 m) from the trunk
handle.
Panic button
Press the Panic button (4) and hold
for more than one second. The horn
sounds and hazard warning lights
blink for about 30 seconds. To cancel
the panic mode, press any button on
the Smart Key.
3
ODH043002
Page 115 of 496
3-27
Convenient features of your vehicle
3
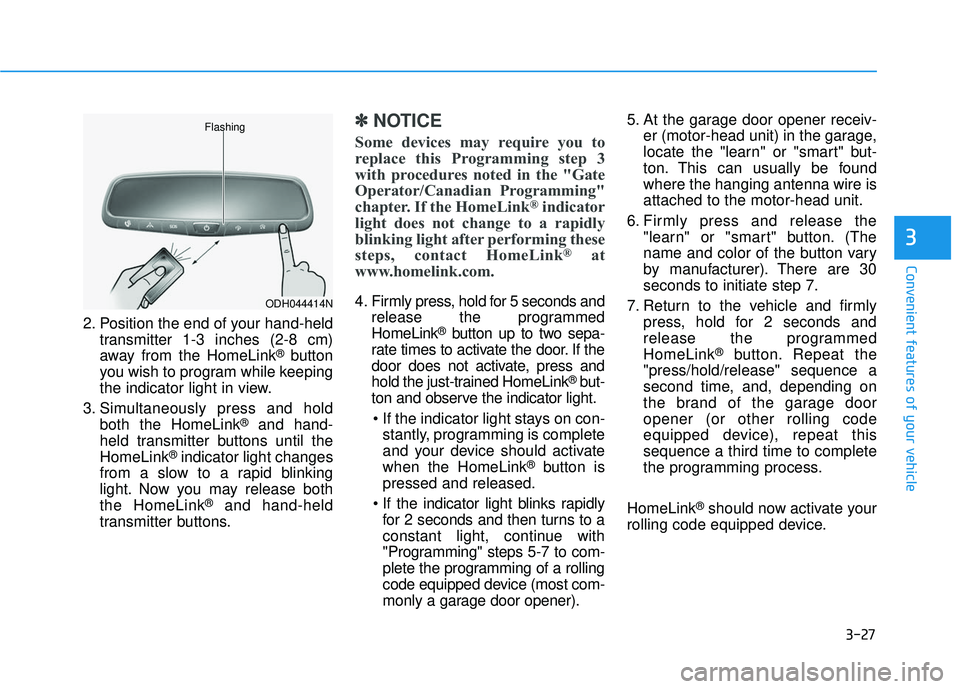
2. Position the end of your hand-heldtransmitter 1-3 inches (2-8 cm)
away from the HomeLink
®button
you wish to program while keeping
the indicator light in view.
3. Simultaneously press and hold both the HomeLink
®and hand-
held transmitter buttons until the
HomeLink
®indicator light changes
from a slow to a rapid blinking
light. Now you may release both
the HomeLink
®and hand-held
transmitter buttons.
✽ ✽ NOTICE
Some devices may require you to
replace this Programming step 3
with procedures noted in the "Gate
Operator/Canadian Programming"
chapter. If the HomeLink
®indicator
light does not change to a rapidly
blinking light after performing these
steps, contact HomeLink
®at
www.homelink.com.
4. Firmly press, hold for 5 seconds and
release the programmed
HomeLink
®button up to two sepa-
rate times to activate the door. If the
door does not activate, press and
hold the just-trained HomeLink
®but-
ton and observe the indicator light.
stantly, programming is complete
and your device should activate
when the HomeLink
®button is
pressed and released.
for 2 seconds and then turns to a
constant light, continue with
"Programming" steps 5-7 to com-
plete the programming of a rolling
code equipped device (most com-
monly a garage door opener). 5. At the garage door opener receiv-
er (motor-head unit) in the garage,
locate the "learn" or "smart" but-
ton. This can usually be found
where the hanging antenna wire is
attached to the motor-head unit.
6. Firmly press and release the "learn" or "smart" button. (The
name and color of the button vary
by manufacturer). There are 30
seconds to initiate step 7.
7. Return to the vehicle and firmly press, hold for 2 seconds and
release the programmed
HomeLink
®button. Repeat the
"press/hold/release" sequence a
second time, and, depending on
the brand of the garage door
opener (or other rolling code
equipped device), repeat this
sequence a third time to complete
the programming process.
HomeLink
®should now activate your
rolling code equipped device.
ODH044414N
Flashing
Page 117 of 496
3-29
Convenient features of your vehicle
3
FCC ID: NZLTLMHL4
IC: 4112A-TLMHL4
This device complies with Part 15
of the FCC Rules.
Operation is subject to the following
two conditions:
1. This device may not cause harm-ful interference, and
2. This device must accept any inter- ference received, including inter-
ference that may cause undesired
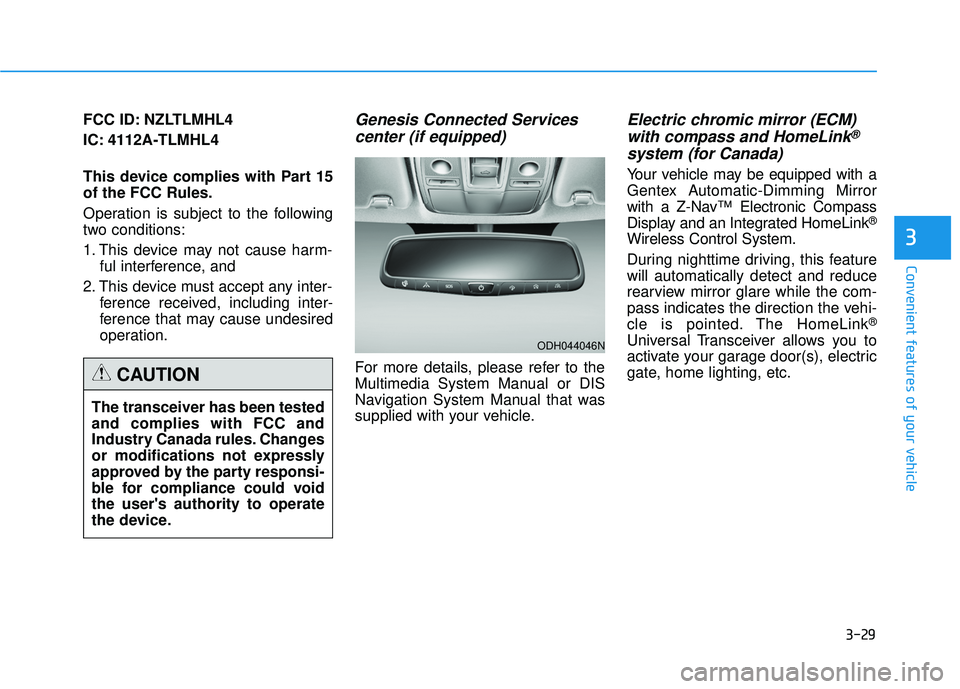
operation.Genesis Connected Servicescenter (if equipped)
For more details, please refer to the
Multimedia System Manual or DIS
Navigation System Manual that was
supplied with your vehicle.
Electric chromic mirror (ECM)with compass and HomeLink®
system (for Canada)
Your vehicle may be equipped with a
Gentex Automatic-Dimming Mirror
with a Z-Nav™ Electronic Compass
Display and an Integrated HomeLink
®
Wireless Control System.
During nighttime driving, this feature
will automatically detect and reduce
rearview mirror glare while the com-
pass indicates the direction the vehi-
cle is pointed. The HomeLink
®
Universal Transceiver allows you to
activate your garage door(s), electric
gate, home lighting, etc.
The transceiver has been tested
and complies with FCC and
Industry Canada rules. Changes
or modifications not expressly
approved by the party responsi-
ble for compliance could void
the user's authority to operate
the device.
CAUTION
ODH044046N
Page 124 of 496
3-36
Convenient features of your vehicle
Erasing HomeLink®buttons
Individual buttons cannot be erased.
However, to erase all three pro-
grammed buttons:
1. Press and hold the two outerHomeLink
®buttons until the indi-
cator light begins to flash-after 20
seconds.
2. Release both buttons. Do not hold for longer than 30 seconds.
The Integrated HomeLink
®Wireless
Control System is now in the training
(learn) mode and can be pro-
grammed at any time following the
appropriate steps in the Programming
chapters above.
NVS
®is a registered trademark and
Z-Nav™ is a trademark of the Gentex
Corporation, Zeeland, Michigan.
HomeLink
®is a registered trademark
owned by Johnson Controls,
Incorporated, Milwaukee, Wisconsin.
FCC ID: NZLZTVHL3
IC: 4112A-ZTVHL3 This device complies with Part 15
of the FCC Rules.
Operation is subject to the following
two conditions:
1. This device may not cause harm-
ful interference, and
2. This device must accept any inter- ference received, including inter-
ference that may cause undesired
operation.
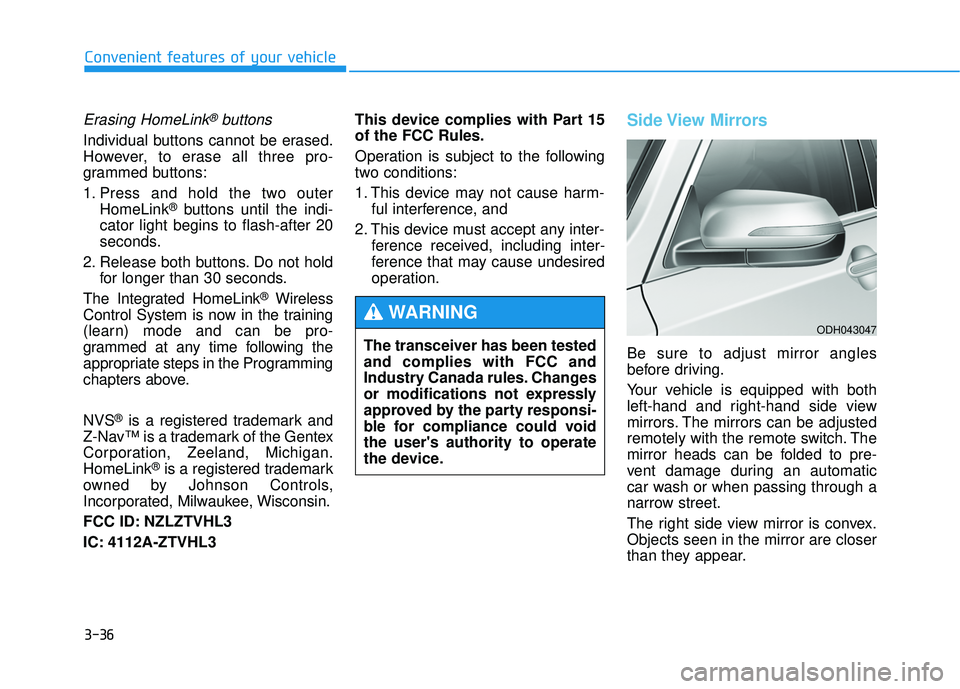
Side View Mirrors
Be sure to adjust mirror angles
before driving.
Your vehicle is equipped with both
left-hand and right-hand side view
mirrors. The mirrors can be adjusted
remotely with the remote switch. The
mirror heads can be folded to pre-
vent damage during an automatic
car wash or when passing through a
narrow street.
The right side view mirror is convex.
Objects seen in the mirror are closer
than they appear.
The transceiver has been tested
and complies with FCC and
Industry Canada rules. Changes
or modifications not expressly
approved by the party responsi-
ble for compliance could void
the user's authority to operate
the device.
WARNINGODH043047