reset GENESIS G80 2021 Owner's Guide
[x] Cancel search | Manufacturer: GENESIS, Model Year: 2021, Model line: G80, Model: GENESIS G80 2021Pages: 604, PDF Size: 11.47 MB
Page 264 of 604
Convenient Features
5-126
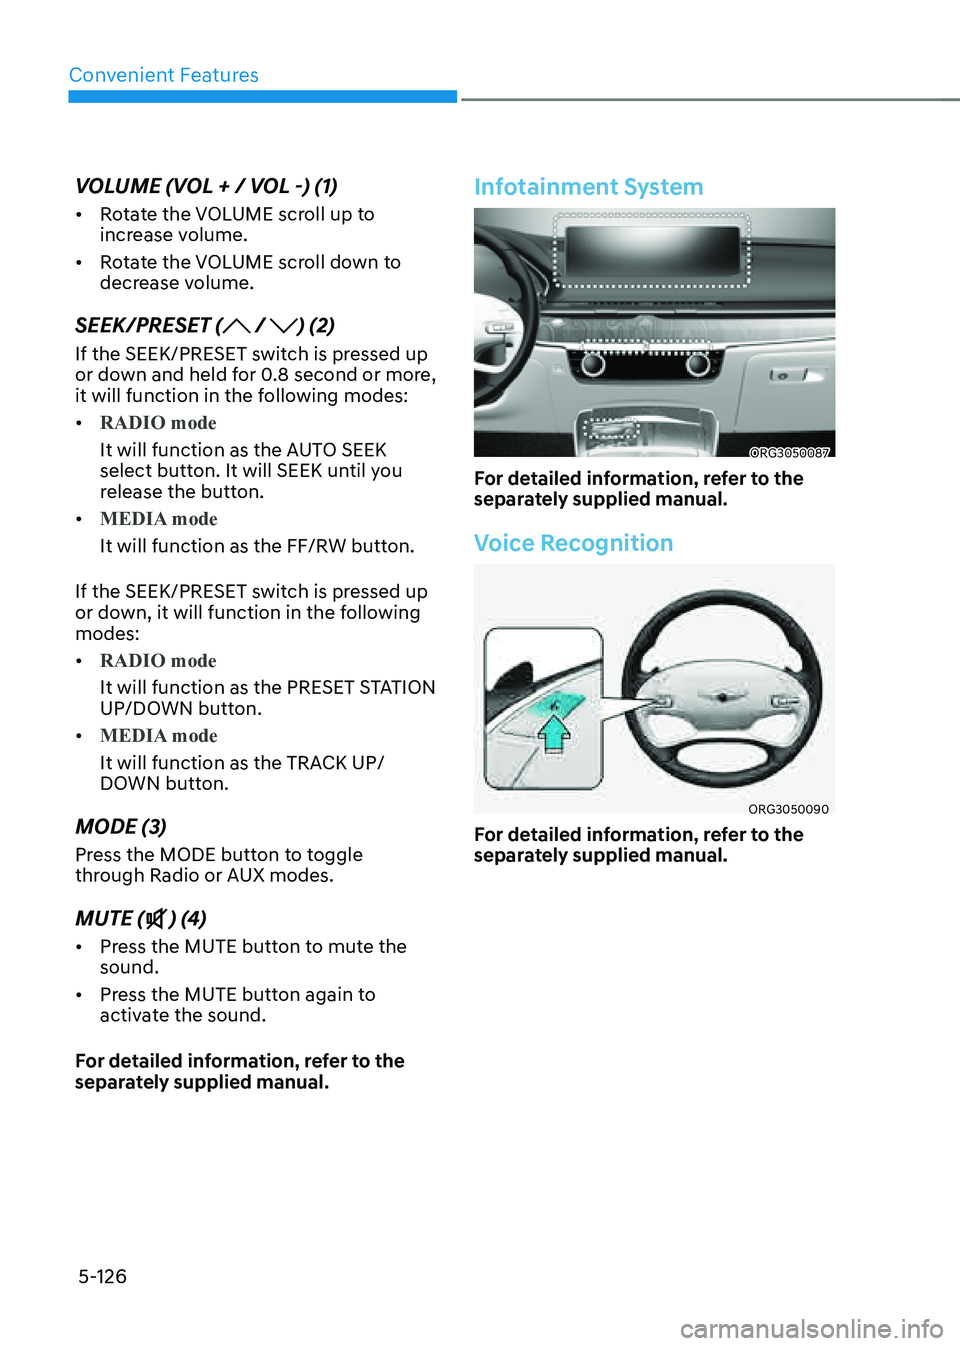
VOLUME (VOL + / VOL -) (1)
• Rotate the VOLUME scroll up to
increase volume.
• Rotate the VOLUME scroll down to
decrease volume.
SEEK/PRESET ( / ) (2)
If the SEEK/PRESET switch is pressed up
or down and held for 0.8 second or more,
it will function in the following modes:
• RADIO mode
It will function as the AUTO SEEK
select button. It will SEEK until you
release the button.
• MEDIA mode
It will function as the FF/RW button.
If the SEEK/PRESET switch is pressed up
or down, it will function in the following
modes:
• RADIO mode
It will function as the PRESET STATION
UP/DOWN button.
• MEDIA mode
It will function as the TRACK UP/
DOWN button.
MODE (3)
Press the MODE button to toggle
through Radio or AUX modes.
MUTE () (4)
• Press the MUTE button to mute the
sound.
• Press the MUTE button again to
activate the sound.
For detailed information, refer to the
separately supplied manual.
Infotainment System
ORG3050087
For detailed information, refer to the
separately supplied manual.
Voice Recognition
ORG3050090
For detailed information, refer to the
separately supplied manual.
Page 382 of 604
Driver Assistance system7-54
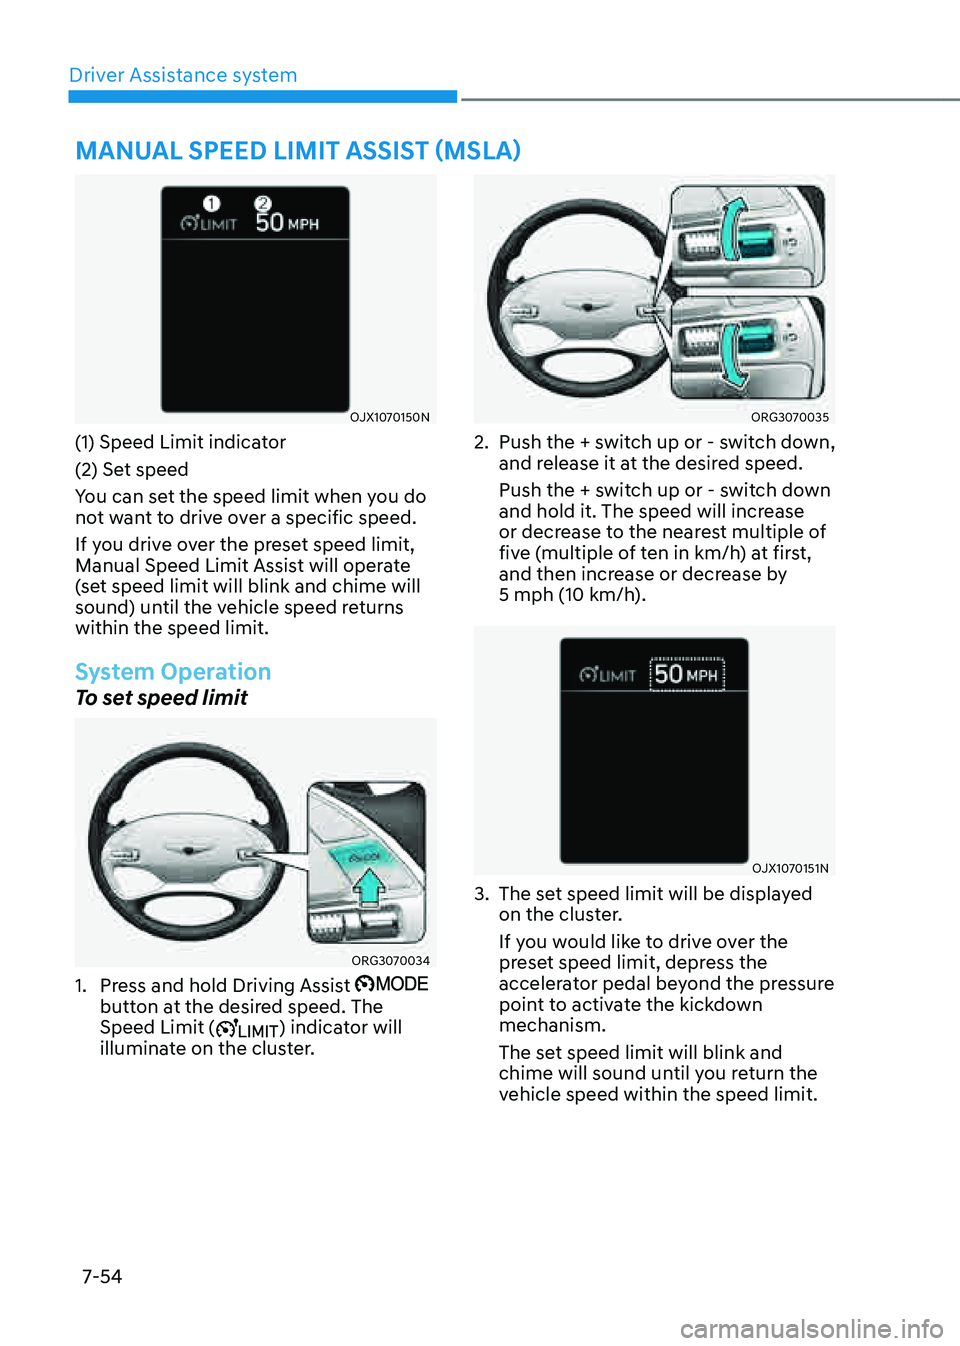
MANUAL SPEED LIMIT ASSIST (MSLA)
OJX1070150N
(1) Speed Limit indicator
(2) Set speed
You can set the speed limit when you do
not want to drive over a specific speed.
If you drive over the preset speed limit,
Manual Speed Limit Assist will operate
(set speed limit will blink and chime will
sound) until the vehicle speed returns
within the speed limit.
System Operation
To set speed limit
ORG3070034
1. Press and hold Driving Assist button at the desired speed. The
Speed Limit () indicator will
illuminate on the cluster.
ORG3070035
2. Push the + switch up or - switch down,
and release it at the desired speed.
Push the + switch up or - switch down
and hold it. The speed will increase
or decrease to the nearest multiple of
five (multiple of ten in km/h) at first,
and then increase or decrease by
5 mph (10 km/h).
OJX1070151N
3. The set speed limit will be displayed
on the cluster.
If you would like to drive over the
preset speed limit, depress the
accelerator pedal beyond the pressure
point to activate the kickdown
mechanism.
The set speed limit will blink and
chime will sound until you return the
vehicle speed within the speed limit.
Page 383 of 604

07
7-55
Information
• When the accelerator pedal is not
depressed beyond the pressure point,
vehicle speed will maintain within the
speed limit.
• A clicking sound may be heard from
the kickdown mechanism when the
accelerator pedal is depressed beyond
the pressure point.
To temporarily pause the system
ORG3070036
Push the switch to temporarily pause the set speed limit. The set speed
limit will turn off but the Speed Limit
(
) indicator will stay on.
To resume the system
ORG3070035
To resume Manual Speed Limit Assist
after the system was paused, push the +,
-,
switch.
If you push the + switch up or – switch
down, vehicle speed will be set to the
current speed on the cluster.
If you push the
switch, vehicle speed will resume to the preset speed.
Page 387 of 604
07
7-59
• The driver’s attention level is displayed
on the scale of 1 to 5. The lower the
level is, the more inattentive the driver
is.
• The level decreases when the driver
does not take a break for a certain
period of time.
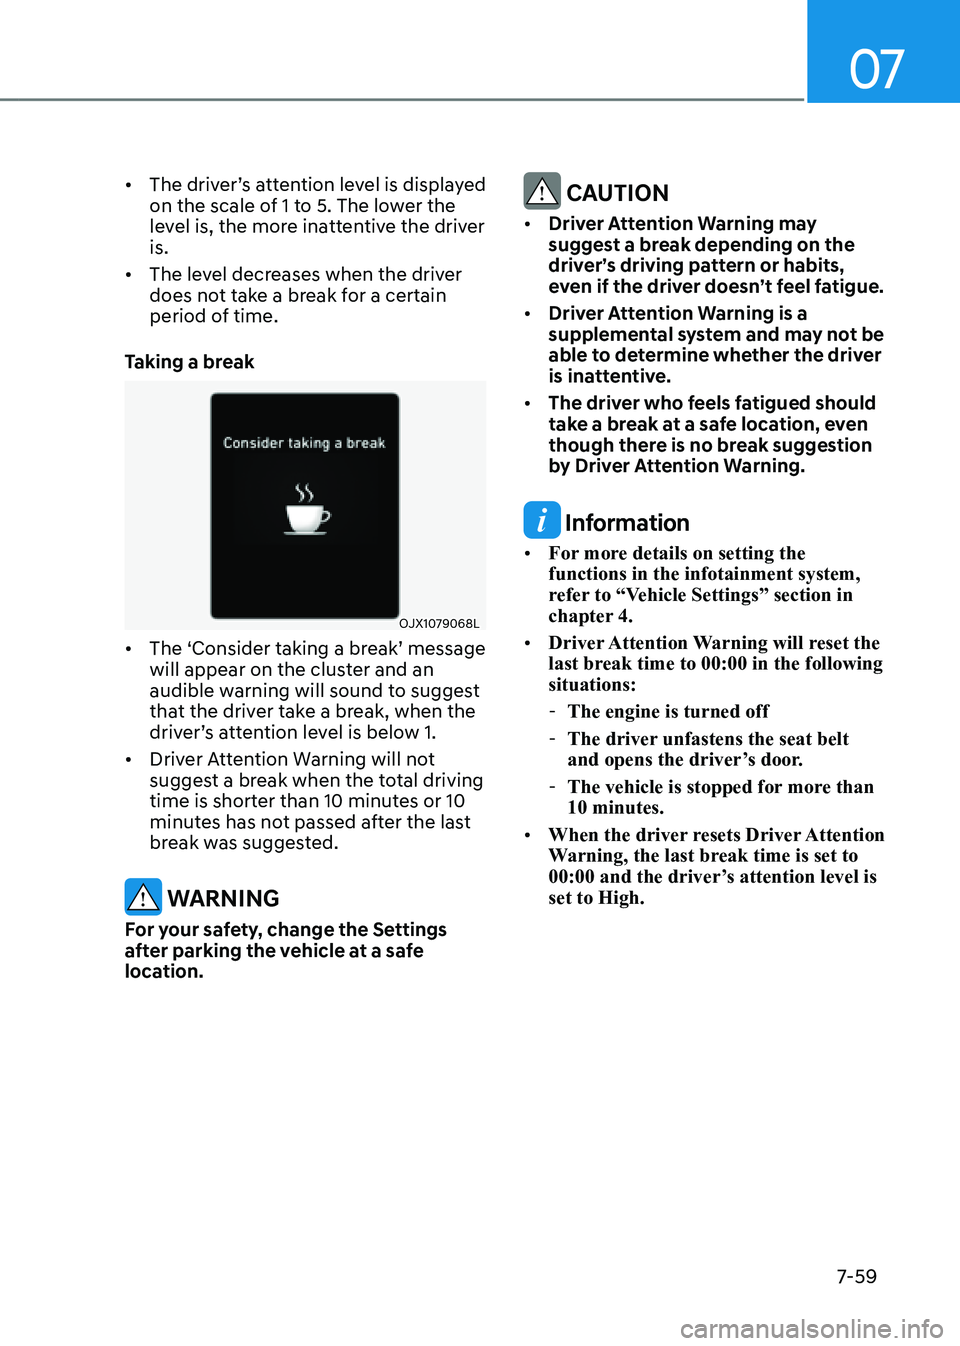
Taking a break
OJX1079068L
• The ‘Consider taking a break’ message
will appear on the cluster and an
audible warning will sound to suggest
that the driver take a break, when the
driver’s attention level is below 1.
• Driver Attention Warning will not
suggest a break when the total driving
time is shorter than 10 minutes or 10
minutes has not passed after the last
break was suggested.
WARNING
For your safety, change the Settings
after parking the vehicle at a safe
location.
CAUTION
• Driver Attention Warning may
suggest a break depending on the
driver’s driving pattern or habits,
even if the driver doesn’t feel fatigue.
• Driver Attention Warning is a
supplemental system and may not be
able to determine whether the driver
is inattentive.
• The driver who feels fatigued should
take a break at a safe location, even
though there is no break suggestion
by Driver Attention Warning.
Information
• For more details on setting the
functions in the infotainment system,
refer to “Vehicle Settings” section in
chapter 4.
• Driver Attention Warning will reset the
last break time to 00:00 in the following
situations:
- The engine is turned off
-The driver unfastens the seat belt
and opens the driver’s door.
-The vehicle is stopped for more than
10 minutes.
• When the driver resets Driver Attention
Warning, the last break time is set to
00:00 and the driver’s attention level is
set to High.
Page 400 of 604
Driver Assistance system
7-7 2
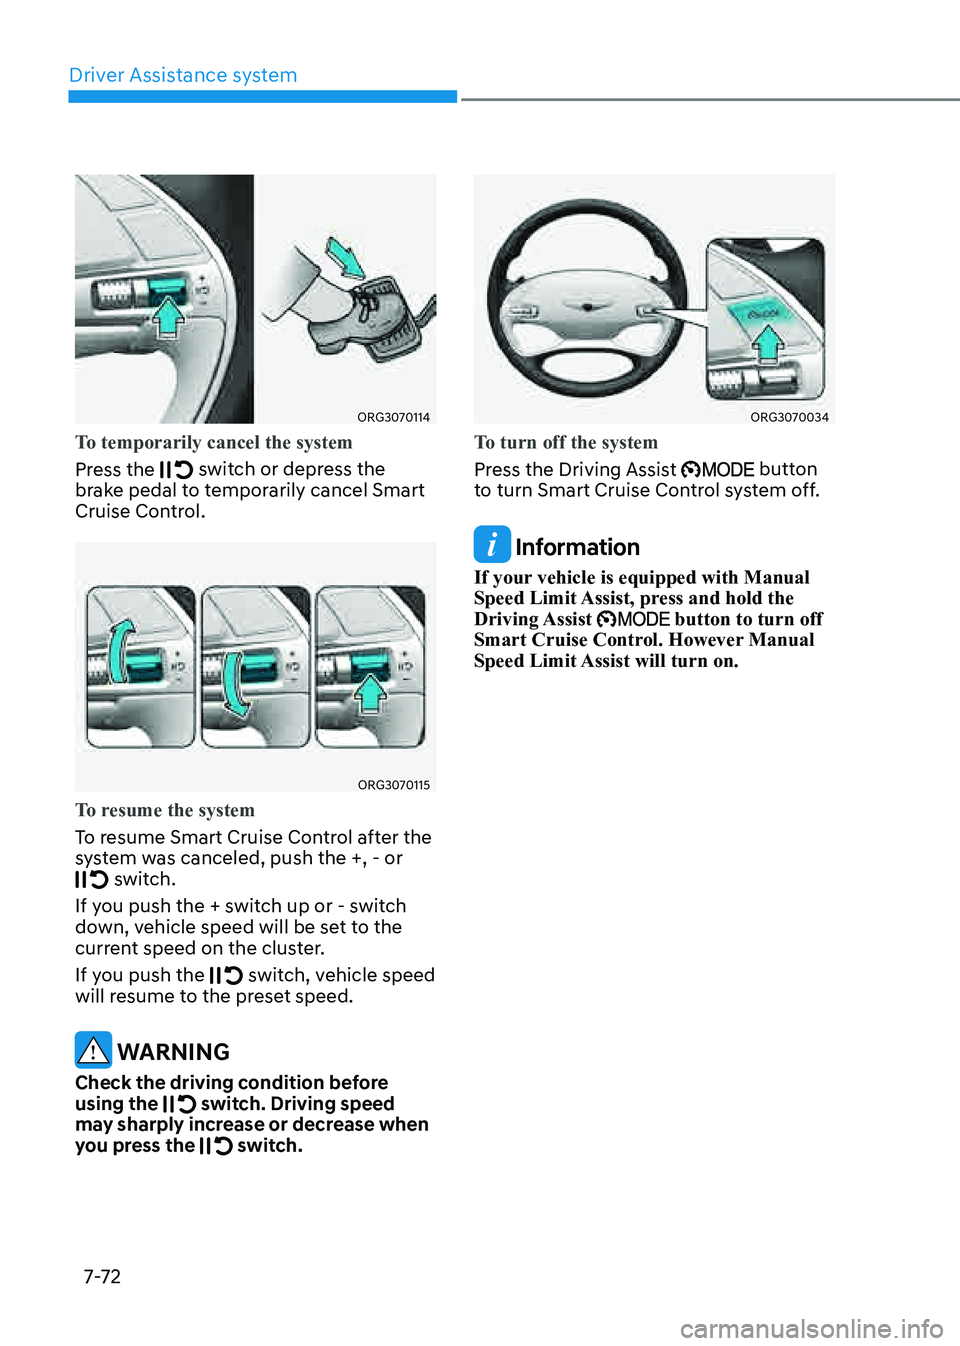
ORG3070114
To temporarily cancel the system
Press the
switch or depress the brake pedal to temporarily cancel Smart
Cruise Control.
ORG3070115
To resume the system
To resume Smart Cruise Control after the
system was canceled, push the +, - or
switch.
If you push the + switch up or - switch
down, vehicle speed will be set to the
current speed on the cluster.
If you push the
switch, vehicle speed will resume to the preset speed.
WARNING
Check the driving condition before
using the switch. Driving speed may sharply increase or decrease when
you press the switch.
ORG3070034
To turn off the system
Press the Driving Assist
button to turn Smart Cruise Control system off.
Information
If your vehicle is equipped with Manual
Speed Limit Assist, press and hold the
Driving Assist
button to turn off Smart Cruise Control. However Manual
Speed Limit Assist will turn on.
Page 419 of 604
07
7-91
Limitations of the System
Navigation-based Smart Cruise Control
may not operate normally under the
following circumstances:
• The navigation is not working properly
• Speed limit and road information in
the navigation is not updated
• The map information and the actual
road is different because of real-time
GPS data or map information error
• The infotainment system is overloaded
by simultaneously performing
functions such as route search, video
playback, voice recognition, etc.
• The navigation searches for a route
while driving
• GPS signals are blocked in areas such
as a tunnel
• The navigation is updated while
driving
• Map information is not transmitted
due to infotainment system's
abnormal operation
• A road that divides into two or more
roads and joins again
• The driver goes off course the route
set in the navigation
• The route to the destination is
changed or canceled by resetting the
navigation
• The vehicle enters a service station or
rest area
• The speed limit of some sections
changes according to the road
situations
• Android Auto or Car Play is operating
• The navigation is being updated while
driving
• The navigation is being restarted while
driving
• There is bad weather, such as heavy
rain, heavy snow, etc.
• Driving on a road under construction
• Driving on a road that is controlled
• Driving on a road that is sharply
curved
• Driving on roads with intersections,
roundabouts, straight entrances and
exits, etc.
Page 437 of 604
07
7-109
• Always have your eyes on the road,
and it is the responsibility of the
driver to avoid violating traffic laws.
The vehicle manufacturer is not
responsible for any traffic violation
or accidents caused by the driver.
• Highway Driving Assist may not
be able to recognize all traffic
situations. The system may not
detect possible collisions due to
limitations of the system. Always
be aware of the limitations of the
system. Obstacles such as vehicles,
motorcycles, bicycles, pedestrians,
unspecified objects, structures, etc.
that may collide with the vehicle may
not be detected.
• Highway Driving Assist will turn off
automatically under the following
situations:
-Driving on roads that the system
does not operate, such as a rest
area, intersection, junction, etc.
-The navigation does not operate
properly such as when the
navigation is being updated or
restarted
• Highway Driving Assist may
inadvertently operate or turn off
depending on road conditions
(navigation information) and
surroundings.
• Lane Following Assist function may
be temporarily disabled when the
front view camera cannot detect
lanes properly or the hands-off
warning is on.
• You may not hear the warning sound
of Highway Driving Assist if the
surrounding is noisy.
• If the vehicle is driven at high speed
above a certain speed at a curve,
your vehicle may drive to one side or
may depart from the driving lane.
• When you are towing a trailer or
another vehicle, we recommend that
Highway Driving Assist is turned off
due to safety reasons.
• The hands–off warning message
may appear early or late depending
on how the steering wheel is held or
road conditions. Always have your
hands on the steering wheel while
driving.
• For your safety, please read the
owner's manual before using the
Highway Driving Assist.
• Highway Driving Assist will not
operate when the engine is started,
or when the detecting sensors or
navigation is being initialized.
Limitations of the system
Highway Driving Assist and Highway
Lane Change function may not operate
normally, or may not operate under the
following circumstances:
• The map information and the
actual road is different because the
navigation is not updated
• The map information and the actual
road is different because of real-time
GPS data or map information error
• The infotainment system is overloaded
by simultaneously performing
functions such as route search, video
playback, voice recognition, etc.
• GPS signals are blocked in areas such
as a tunnel
• The driver goes off course or the
route to the destination is changed or
canceled by resetting the navigation
• The vehicle enters a service station or
rest area
• Android Auto or Car Play is operating
• The navigation cannot detect the
current vehicle position (ex: elevated
roads including overpass adjacent to
general roads or nearby roads exist in
a parallel way)
• White single dotted lane line or road
edge cannot be detected
• The road is temporarily controlled
due to construction, etc.
Page 516 of 604
Maintenance
9
9. Maintenance
Engine Compartment ........................................................................\
...............9-3
Maintenance Services
........................................................................\
..............9-5Owner’s Responsibility ........................................................................\
........................9-5
Owner Maintenance Precautions ........................................................................\
........9-5
Owner Maintenance ........................................................................\
.................9-6Owner Maintenance Schedule ........................................................................\
............9 -7
Scheduled Maintenance Services ...................................................................9-8Normal Maintenance Schedule ........................................................................\
..........9-9
Maintenance Under Severe Usage Conditions ........................................................9-12
Explanation of Scheduled Maintenance Items ..............................................9-14
Engine Oil
........................................................................\
.................................9-16Checking the Engine Oil Level ........................................................................\
...........9-16
Checking the Engine oil and Filter ........................................................................\
.....9-17
Engine Coolant/LIQUID-Cooled Intercooler Coolant ...................................9-18Checking the Coolant Level ........................................................................\
............... 9-18
Changing Coolant ........................................................................\
.............................9-20
Brake Fluid ........................................................................\
................................9-21Checking the Brake Fluid Level ........................................................................\
.........9-21
Washer Fluid ........................................................................\
............................9-22Checking the Washer Fluid Level ........................................................................\
......9-22
Air Cleaner ........................................................................\
...............................9-23Filter Replacement ........................................................................\
.............................9-23
Cabin Air Filter ........................................................................\
.........................9-24Filter Inspection ........................................................................\
.................................. 9-24
Filter Replacement ........................................................................\
.............................9-24
Wiper Blades ........................................................................\
...........................9-25Blade Inspection ........................................................................\
................................9-25
Blade Replacement ........................................................................\
............................9-25
Battery ........................................................................\
......................................9-27
Battery Usage Recommendations ........................................................................\
....9-28
Battery Recharging ........................................................................\
............................9-28
Reset Items ........................................................................\
.........................................9-29
Page 544 of 604
09
9-29
• The negative battery cable must
be removed first and installed last
when the battery is disconnected.
Disconnect the battery charger in the
following order:
1. Turn off the battery charger main
switch.
2. Unhook the negative clamp from
the negative battery terminal.
3. Unhook the positive clamp from
the positive battery terminal.
• Always use a Genuine Genesis Part
approved battery when you replace
the battery.
NOTICE
AGM battery
• Absorbent Glass Matt (AGM)
batteries are maintenance-free and
we recommend that the AGM battery
be serviced by an authorized retailer
of Genesis Branded products. For
charging your AGM battery, use only
fully automatic battery chargers that
are specially developed for AGM
batteries.
• When replacing the AGM battery,
we recommend that you use parts
for replacement from an authorized
retailer of Genesis Branded products.
• Do not open or remove the cap on
top of the battery. This may cause
leaks of internal electrolyte that
could result in severe injury.
By jump starting
After a jump start from a good battery,
drive the vehicle for 20-30 minutes
before it is shutoff. The vehicle may
not restart if you shut it off before the
battery had a chance to adequately
recharge. See “Jump Starting” in chapter
6 for more information on jump starting
procedures.
Information
An inappropriately disposed battery can be harmful to the
environment and human health.
Dispose of the battery according
to your local law(s) or regulation.
Reset Items
The following items may need to be reset
after the battery has been discharged or
the battery has been disconnected.
• Fuel economy/Driving info/Since
refueling/Accumulated info (items in
Utility view) (see chapter 4)
• Integrated memory system (see
chapter 5)
• Power window (see chapter 5)
• Sunroof (see chapter 5)
• Power trunk (see chapter 5)
• Climate control system (see chapter 5)
• Rear door window shade (see chapter
5)
• Clock (see Infotainment system
manual)
• Infotainment system (see
Infotainment system manual)
Page 548 of 604
09
9-33
Wheel Alignment and Tire
Balance
The wheels on your vehicle were
aligned and balanced carefully at the
factory to give you the longest tire
life and best overall performance.
In most cases, you will not need to
have your wheels aligned again.
However, if you notice unusual tire
wear or your vehicle pulling one way
or the other, the alignment may need
to be reset.
If you notice your vehicle vibrating
when driving on a smooth road, your
wheels may need to be rebalanced.
NOTICE
Incorrect wheel weights can
damage your vehicle’s aluminum
wheels. Use only approved wheel
weights.
Tire Replacement
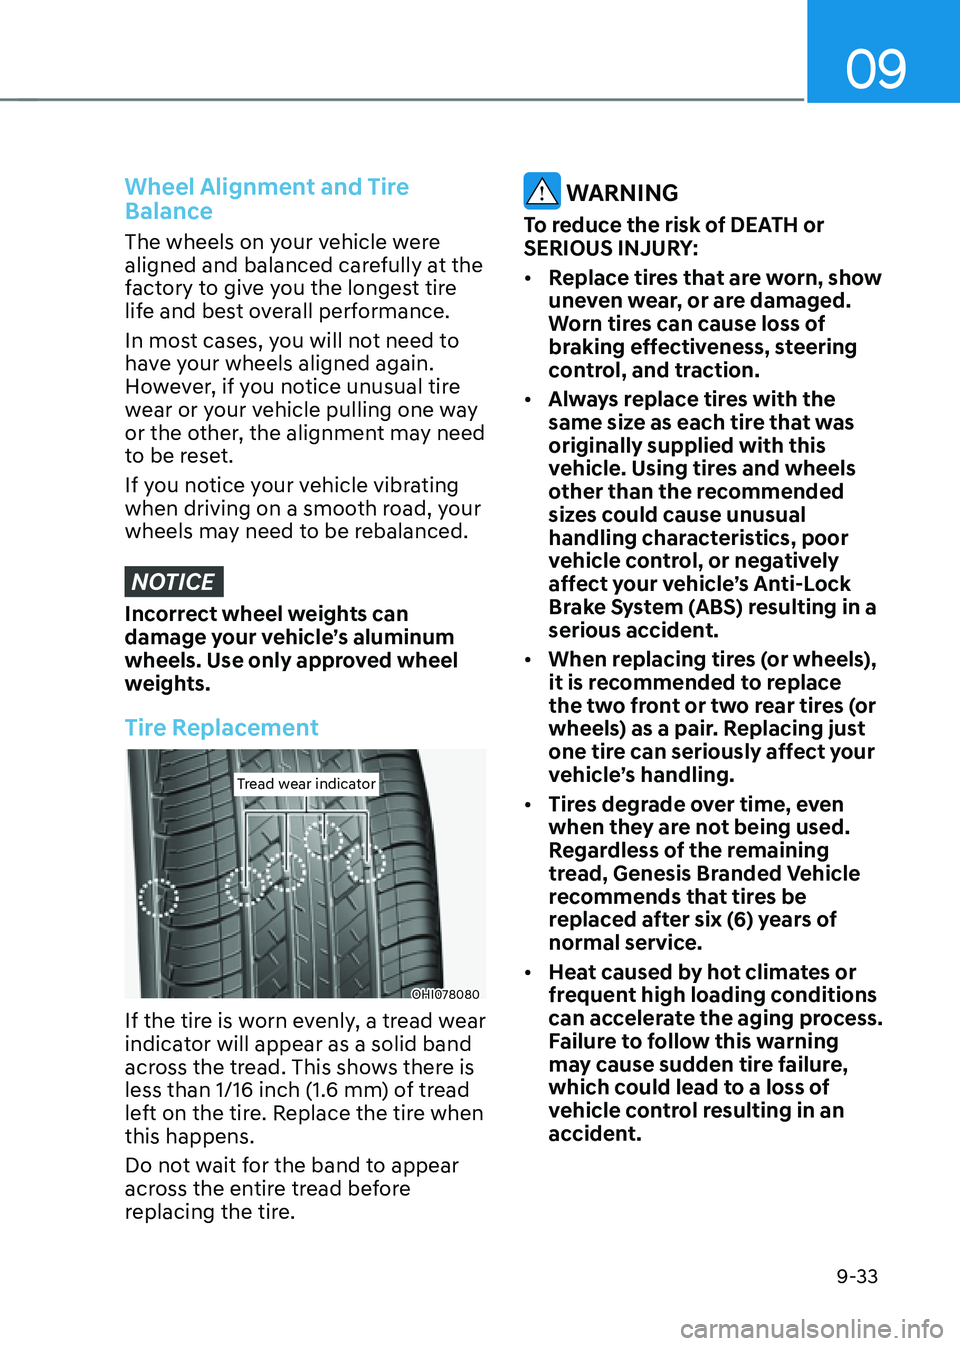
Tread wear indicatorTread wear indicator
OHI078080
If the tire is worn evenly, a tread wear
indicator will appear as a solid band
across the tread. This shows there is
less than 1/16 inch (1.6 mm) of tread
left on the tire. Replace the tire when
this happens.
Do not wait for the band to appear
across the entire tread before
replacing the tire.
WARNING
To reduce the risk of DEATH or
SERIOUS INJURY:
• Replace tires that are worn, show
uneven wear, or are damaged.
Worn tires can cause loss of
braking effectiveness, steering
control, and traction.
• Always replace tires with the
same size as each tire that was
originally supplied with this
vehicle. Using tires and wheels
other than the recommended
sizes could cause unusual
handling characteristics, poor
vehicle control, or negatively
affect your vehicle’s Anti-Lock
Brake System (ABS) resulting in a
serious accident.
• When replacing tires (or wheels),
it is recommended to replace
the two front or two rear tires (or
wheels) as a pair. Replacing just
one tire can seriously affect your
vehicle’s handling.
• Tires degrade over time, even
when they are not being used.
Regardless of the remaining
tread, Genesis Branded Vehicle
recommends that tires be
replaced after six (6) years of
normal service.
• Heat caused by hot climates or
frequent high loading conditions
can accelerate the aging process.
Failure to follow this warning
may cause sudden tire failure,
which could lead to a loss of
vehicle control resulting in an
accident.