navigation GMC ACADIA 2009 Get To Know Guide
[x] Cancel search | Manufacturer: GMC, Model Year: 2009, Model line: ACADIA, Model: GMC ACADIA 2009Pages: 24, PDF Size: 1.48 MB
Page 1 of 24
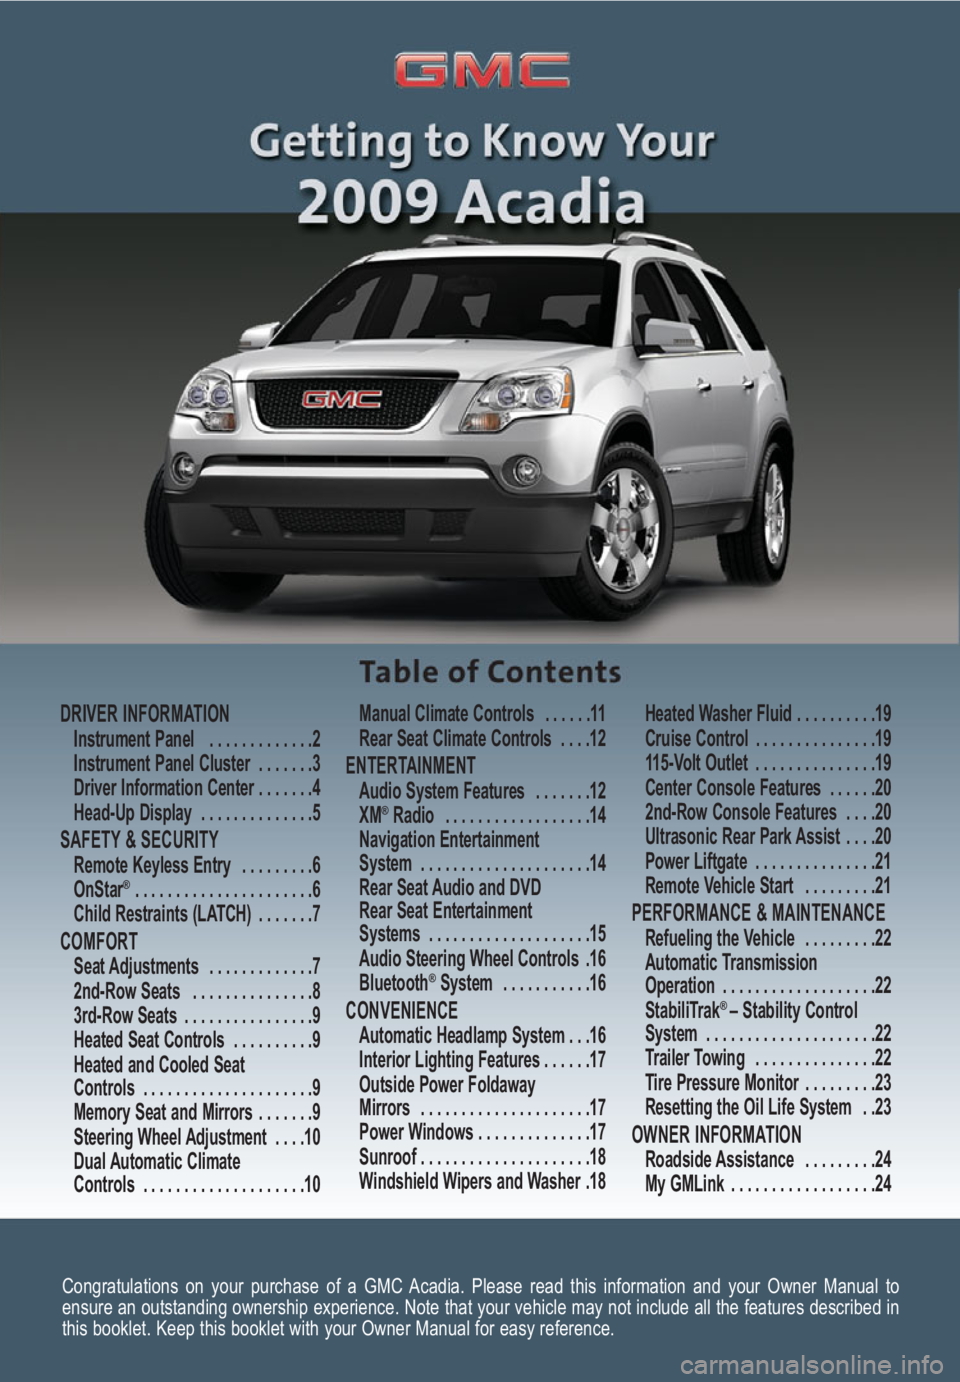
Congratulations on your purchase of a GMC Acadia. Please read this information and your Owner Manual to
ensure an outstanding ownership experience. Note that your vehicle may not include all the features described in
this booklet. Keep this booklet with your Owner Manual for easy reference.
DRIVER INFORMATIONInstrument Panel . . . . . . . . . . . . .2
Instrument Panel Cluster . . . . . . .3
Driver Information Center . . . . . . .4
Head-Up Display . . . . . . . . . . . . . .5
SAFETY & SECURITYRemote Keyless Entry . . . . . . . . .6
OnStar® . . . . . . . . . . . . . . . . . . . . . .6
Child Restraints (LATCH) . . . . . . .7
COMFORT Seat Adjustments . . . . . . . . . . . . .7
2nd-Row Seats . . . . . . . . . . . . . . .8
3rd-Row Seats . . . . . . . . . . . . . . . .9
Heated Seat Controls . . . . . . . . . .9
Heated and Cooled Seat
Controls . . . . . . . . . . . . . . . . . . . . .9
Memory Seat and Mirrors . . . . . . .9
Steering Wheel Adjustment . . . .10
Dual Automatic Climate
Controls . . . . . . . . . . . . . . . . . . . .10Manual Climate Controls . . . . . .11
Rear Seat Climate Controls . . . .12
ENTERTAINMENT Audio System Features . . . . . . .12
XM®Radio . . . . . . . . . . . . . . . . . .14
Navigation Entertainment
System . . . . . . . . . . . . . . . . . . . . .14
Rear Seat Audio and DVD
Rear Seat Entertainment
Systems . . . . . . . . . . . . . . . . . . . .15
Audio Steering Wheel Controls .16
Bluetooth
®System . . . . . . . . . . .16
CONVENIENCE Automatic Headlamp System . . .16
Interior Lighting Features . . . . . .17
Outside Power Foldaway
Mirrors . . . . . . . . . . . . . . . . . . . . .17
Power Windows . . . . . . . . . . . . . .17
Sunroof . . . . . . . . . . . . . . . . . . . . .18
Windshield Wipers and Washer .18Heated Washer Fluid . . . . . . . . . .19
Cruise Control . . . . . . . . . . . . . . .19
115-Volt Outlet . . . . . . . . . . . . . . .19
Center Console Features . . . . . .20
2nd-Row Console Features . . . .20
Ultrasonic Rear Park Assist . . . .20
Power Liftgate . . . . . . . . . . . . . . .21
Remote Vehicle Start . . . . . . . . .21
PERFORMANCE & MAINTENANCE Refueling the Vehicle . . . . . . . . .22
Automatic Transmission
Operation . . . . . . . . . . . . . . . . . . .22
StabiliTrak
® – Stability Control
System . . . . . . . . . . . . . . . . . . . . .22
Trailer Towing . . . . . . . . . . . . . . .22
Tire Pressure Monitor . . . . . . . . .23
Resetting the Oil Life System . .23
OWNER INFORMATIONRoadside Assistance . . . . . . . . .24
My GMLink . . . . . . . . . . . . . . . . . .24
Page 2 of 24
Getting to Know Your Acadia2
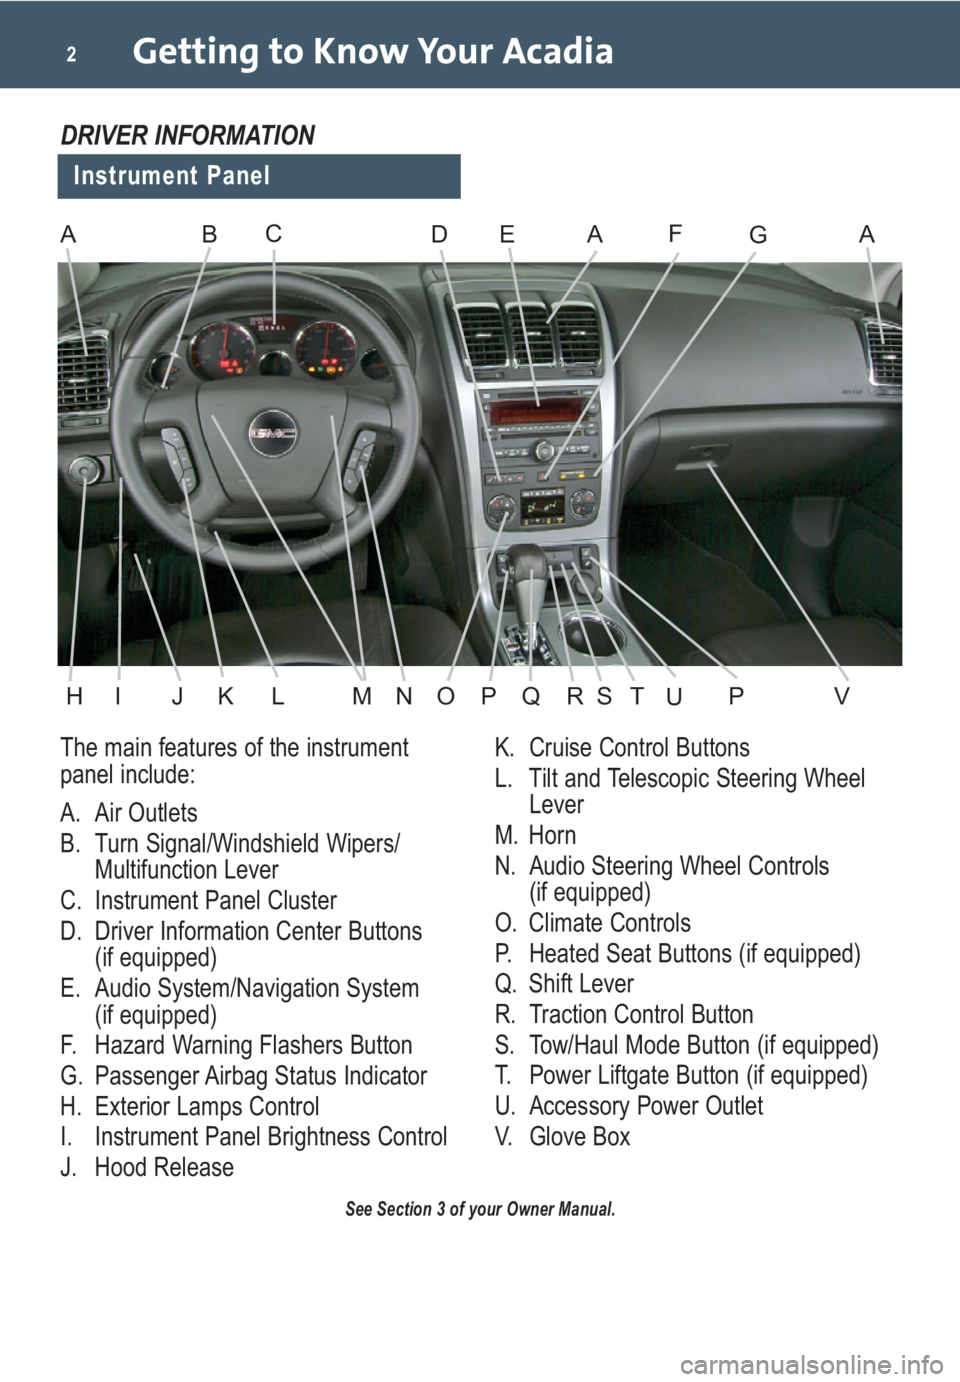
The main features of the instrument
panel include:
A. Air Outlets
B. Turn Signal/Windshield Wipers/
Multifunction Lever
C. Instrument Panel Cluster
D. Driver Information Center Buttons
(if equipped)
E. Audio System/Navigation System
(if equipped)
F. Hazard Warning Flashers Button
G. Passenger Airbag Status Indicator
H. Exterior Lamps Control
I. Instrument Panel Brightness Control
J. Hood ReleaseK. Cruise Control Buttons
L. Tilt and Telescopic Steering Wheel
Lever
M. Horn
N. Audio Steering Wheel Controls
(if equipped)
O. Climate Controls
P. Heated Seat Buttons (if equipped)
Q. Shift Lever
R. Traction Control Button
S. Tow/Haul Mode Button (if equipped)
T. Power Liftgate Button (if equipped)
U. Accessory Power Outlet
V. Glove Box
See Section 3 of your Owner Manual.
Instrument Panel
DRIVER INFORMATION
ABDEAFAGC
HIJKLMNOPVQRSPTU
Page 6 of 24
Getting to Know Your Acadia6
(Page):Press and hold this button to
change the display format. Release the
button when the desired display is
shown.
If the ignition is on and you cannot see
the HUD image, check to see whether:
• Something is covering the HUD lens
• The brightness is adjusted properly
• The HUD image is adjusted to the
proper height
• The windshield and HUD lens are
clean (do not spray glass cleaner
directly on the HUD lens)
• You are wearing polarized sunglass-
es, which could make the image
harder to see
• A fuse is blown (see your Owner
Manual)
See Section 3 of your Owner Manual.
(Unlock):Press this button to unlock
the driver’s door. Press it again within
five seconds to unlock all remaining
doors. RKE feedback (light flash) can be
programmed using the DIC.
(Power Liftgate)(if equipped):
Press and hold this button until the lift-
gate starts moving to open and close
the liftgate. The taillamps will flash and
a chime will sound when the liftgate is
moving.
(Vehicle Locator/Panic Alarm):
Press and release this button to locate
your vehicle. The turn signal lamps will
flash and the horn will sound three
times.
Press and hold the button to activate the
panic alarm. The turn signal lamps will
flash and the horn will sound for 30 sec-
onds. Press the button again or turn the
ignition to On to cancel the panic alarm.
See Section 2 of your Owner Manual.
Remote Keyless Entry
SAFETY & SECURITY
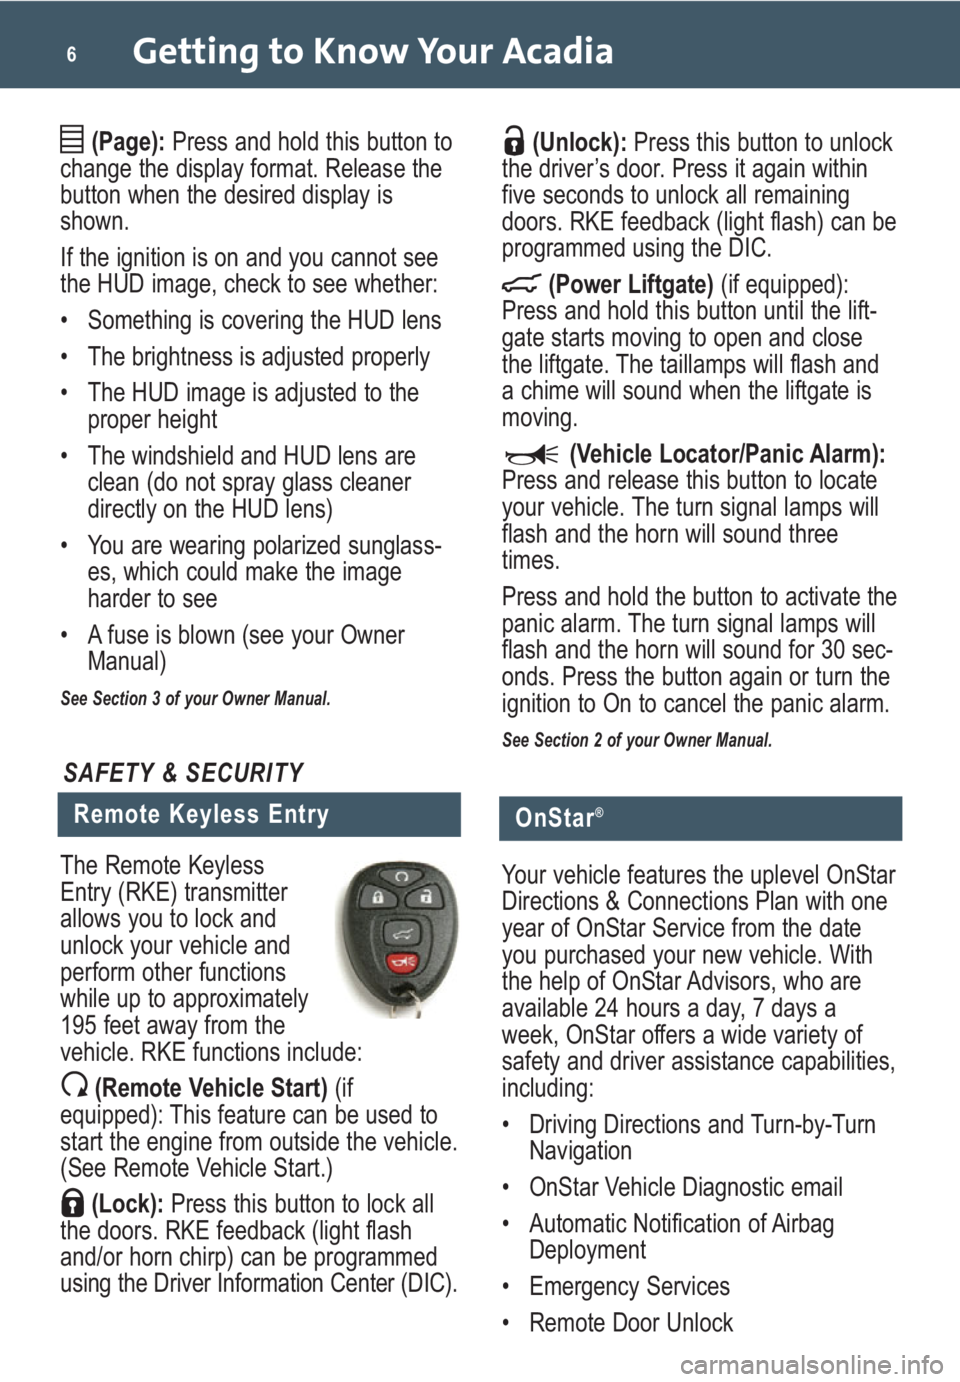
The Remote Keyless
Entry (RKE) transmitter
allows you to lock and
unlock your vehicle and
perform other functions
while up to approximately
195 feet away from the
vehicle. RKE functions include:
(Remote Vehicle Start)(if
equipped): This feature can be used to
start the engine from outside the vehicle.
(See Remote Vehicle Start.)
(Lock):Press this button to lock all
the doors. RKE feedback (light flash
and/or horn chirp) can be programmed
using the Driver Information Center (DIC).
OnStar®
Your vehicle features the uplevel OnStar
Directions & Connections Plan with one
year of OnStar Service from the date
you purchased your new vehicle. With
the help of OnStar Advisors, who are
available 24 hours a day, 7 days a
week, OnStar offers a wide variety of
safety and driver assistance capabilities,
including:
• Driving Directions and Turn-by-Turn
Navigation
• OnStar Vehicle Diagnostic email
• Automatic Notification of Airbag
Deployment
• Emergency Services
• Remote Door Unlock
Page 14 of 24
Getting to Know Your Acadia14
Setting the Time
To set the time:
1. Turn on the radio.
2. Press the (Clock) button. Or, if
equipped, press the MENU button
until the clock option is displayed;
and then press the pushbutton locat-
ed under the clock option label. The
HR, MIN, MM, DD, YYYY labels will
appear on the display.
3. Press the pushbutton under any of
the labels to be changed.
4. Press the pushbutton again, the right
SEEK arrow or the FWD button to
increase the numbers. Press the left
SEEK arrow or the REV button to
decrease the numbers. Rotating the
(Tune) knob also will increase or
decrease the selected label.
5. Press the Clock or MENU button
again to set the currently displayed
time and date.
See Section 3 of your Owner Manual.
Navigation Entertainment
System (if equipped)
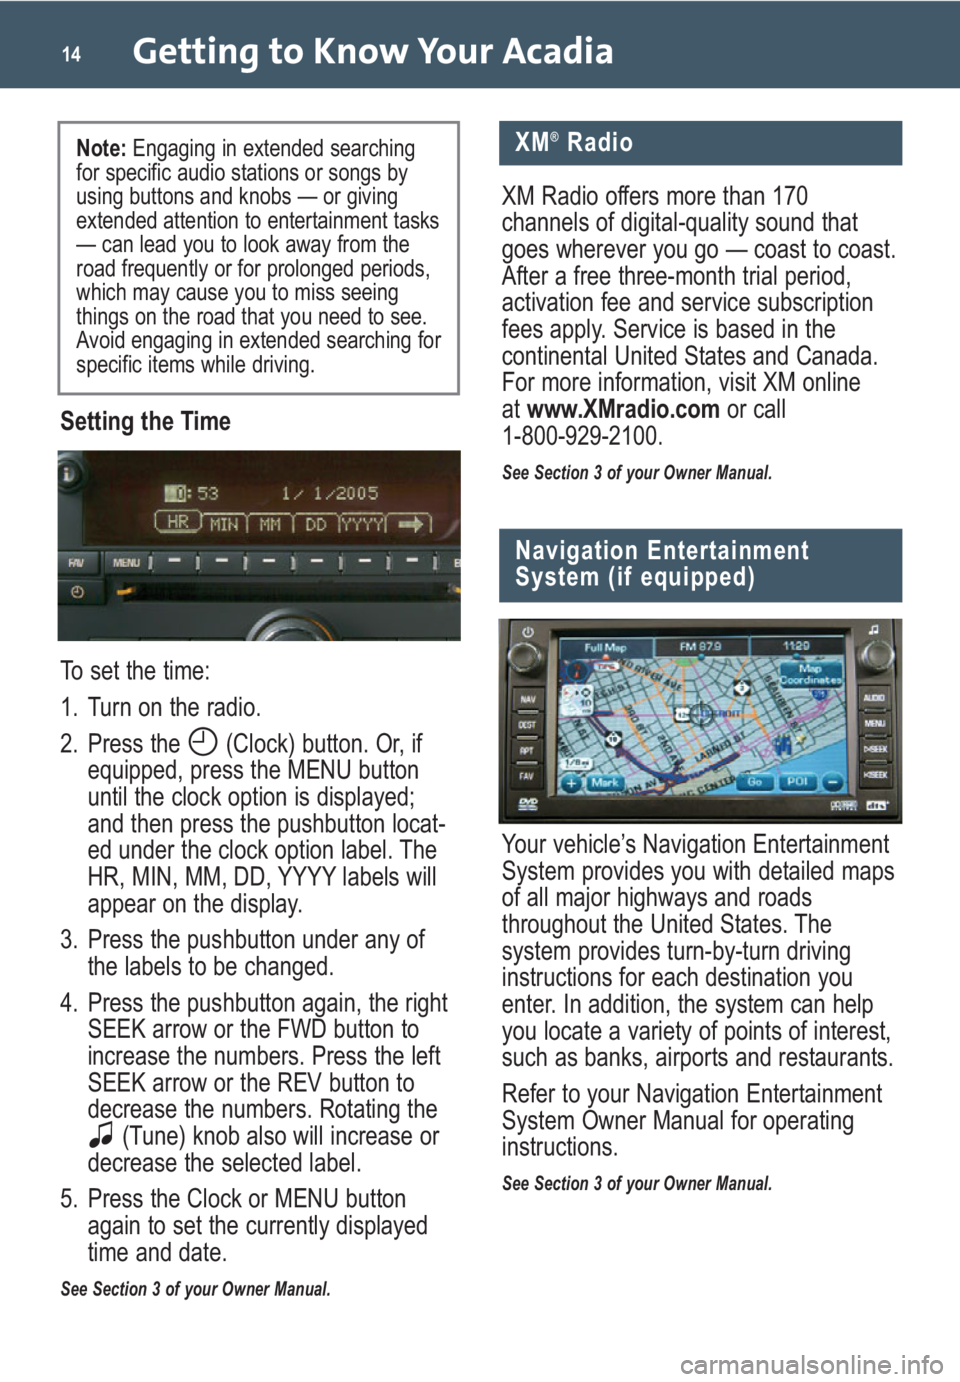
Your vehicle’s Navigation Entertainment
System provides you with detailed maps
of all major highways and roads
throughout the United States. The
system provides turn-by-turn driving
instructions for each destination you
enter. In addition, the system can help
you locate a variety of points of interest,
such as banks, airports and restaurants.
Refer to your Navigation Entertainment
System Owner Manual for operating
instructions.
See Section 3 of your Owner Manual.
XM®Radio
XM Radio offers more than 170
channels of digital-quality sound that
goes wherever you go — coast to coast.
After a free three-month trial period,
activation fee and service subscription
fees apply. Service is based in the
continental United States and Canada.
For more information, visit XM online
atwww.XMradio.comor call
1-800-929-2100.
See Section 3 of your Owner Manual.
Note: Engaging in extended searching
for specific audio stations or songs by
using buttons and knobs — or giving
extended attention to entertainment tasks
— can lead you to look away from the
road frequently or for prolonged periods,
which may cause you to miss seeing
things on the road that you need to see.
Avoid engaging in extended searching for
specific items while driving.
Page 20 of 24
Getting to Know Your Acadia20
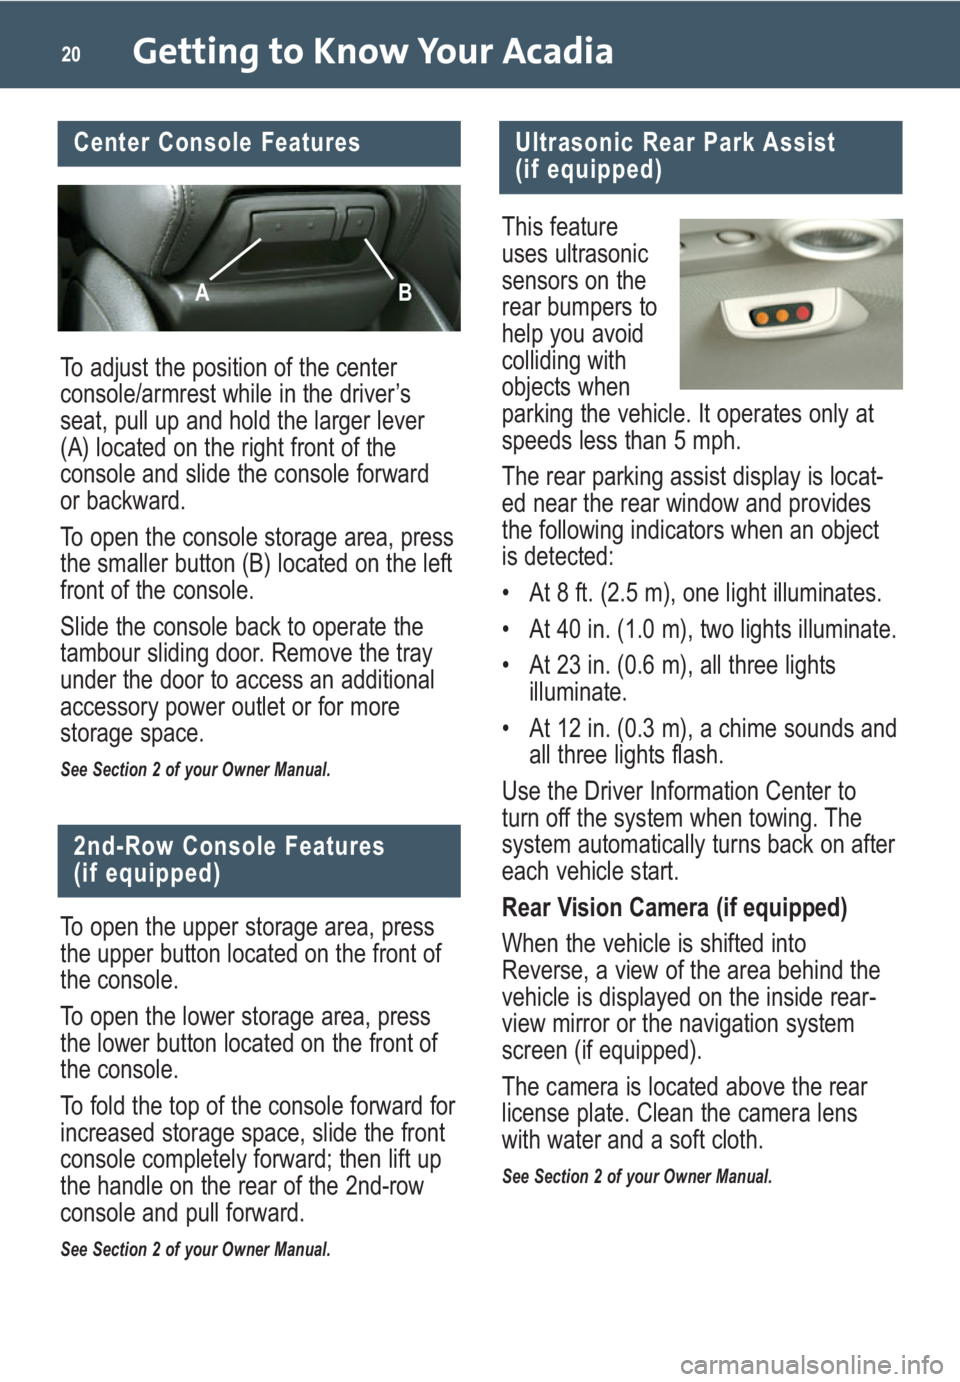
To adjust the position of the center
console/armrest while in the driver’s
seat, pull up and hold the larger lever
(A) located on the right front of the
console and slide the console forward
or backward.
To open the console storage area, press
the smaller button (B) located on the left
front of the console.
Slide the console back to operate the
tambour sliding door. Remove the tray
under the door to access an additional
accessory power outlet or for more
storage space.
See Section 2 of your Owner Manual.
Center Console Features
AB
Ultrasonic Rear Park Assist
(if equipped)
This feature
uses ultrasonic
sensors on the
rear bumpers to
help you avoid
colliding with
objects when
parking the vehicle. It operates only at
speeds less than 5 mph.
The rear parking assist display is locat-
ed near the rear window and provides
the following indicators when an object
is detected:
• At 8 ft. (2.5 m), one light illuminates.
• At 40 in. (1.0 m), two lights illuminate.
• At 23 in. (0.6 m), all three lights
illuminate.
• At 12 in. (0.3 m), a chime sounds and
all three lights flash.
Use the Driver Information Center to
turn off the system when towing. The
system automatically turns back on after
each vehicle start.
Rear Vision Camera (if equipped)
When the vehicle is shifted into
Reverse, a view of the area behind the
vehicle is displayed on the inside rear-
view mirror or the navigation system
screen (if equipped).
The camera is located above the rear
license plate. Clean the camera lens
with water and a soft cloth.
See Section 2 of your Owner Manual.
2nd-Row Console Features
(if equipped)
To open the upper storage area, press
the upper button located on the front of
the console.
To open the lower storage area, press
the lower button located on the front of
the console.
To fold the top of the console forward for
increased storage space, slide the front
console completely forward; then lift up
the handle on the rear of the 2nd-row
console and pull forward.
See Section 2 of your Owner Manual.