tow GMC CANYON 2008 Get To Know Guide
[x] Cancel search | Manufacturer: GMC, Model Year: 2008, Model line: CANYON, Model: GMC CANYON 2008Pages: 20, PDF Size: 0.26 MB
Page 15 of 20

3. Slowly lower the tailgate to allow the
cable bracket to slide rearward intoposition.
Remove the tailgate
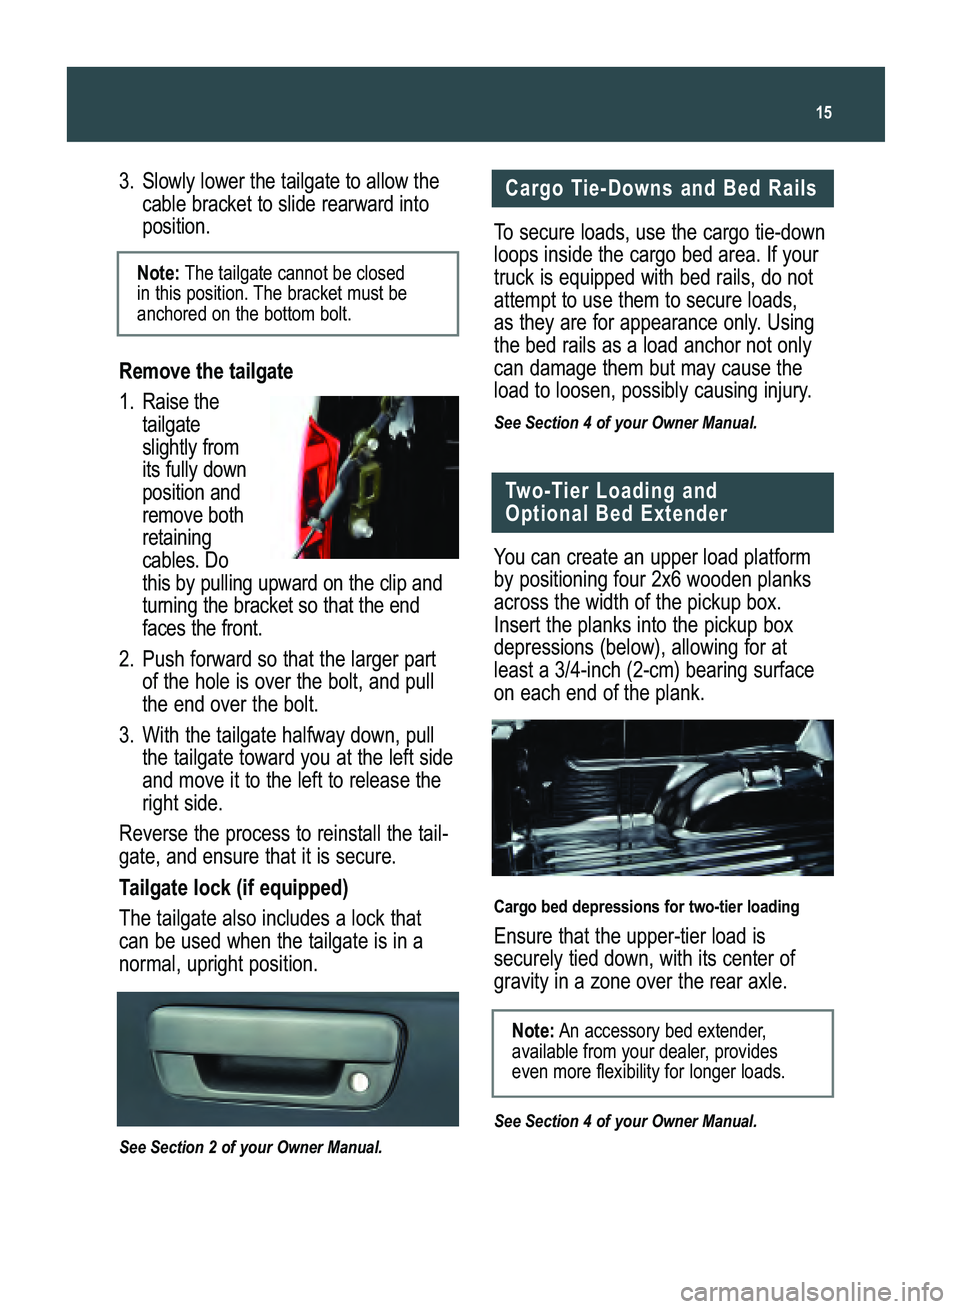
1. Raise the
tailgateslightly fromits fully downposition andremove bothretainingcables. Dothis by pulling upward on the clip andturning the bracket so that the endfaces the front.
2. Push forward so that the larger part
of the hole is over the bolt, and pullthe end over the bolt.
3. With the tailgate halfway down, pull
the tailgate toward you at the left sideand move it to the left to release theright side.
Reverse the process to reinstall the tail�
gate, and ensure that it is secure.
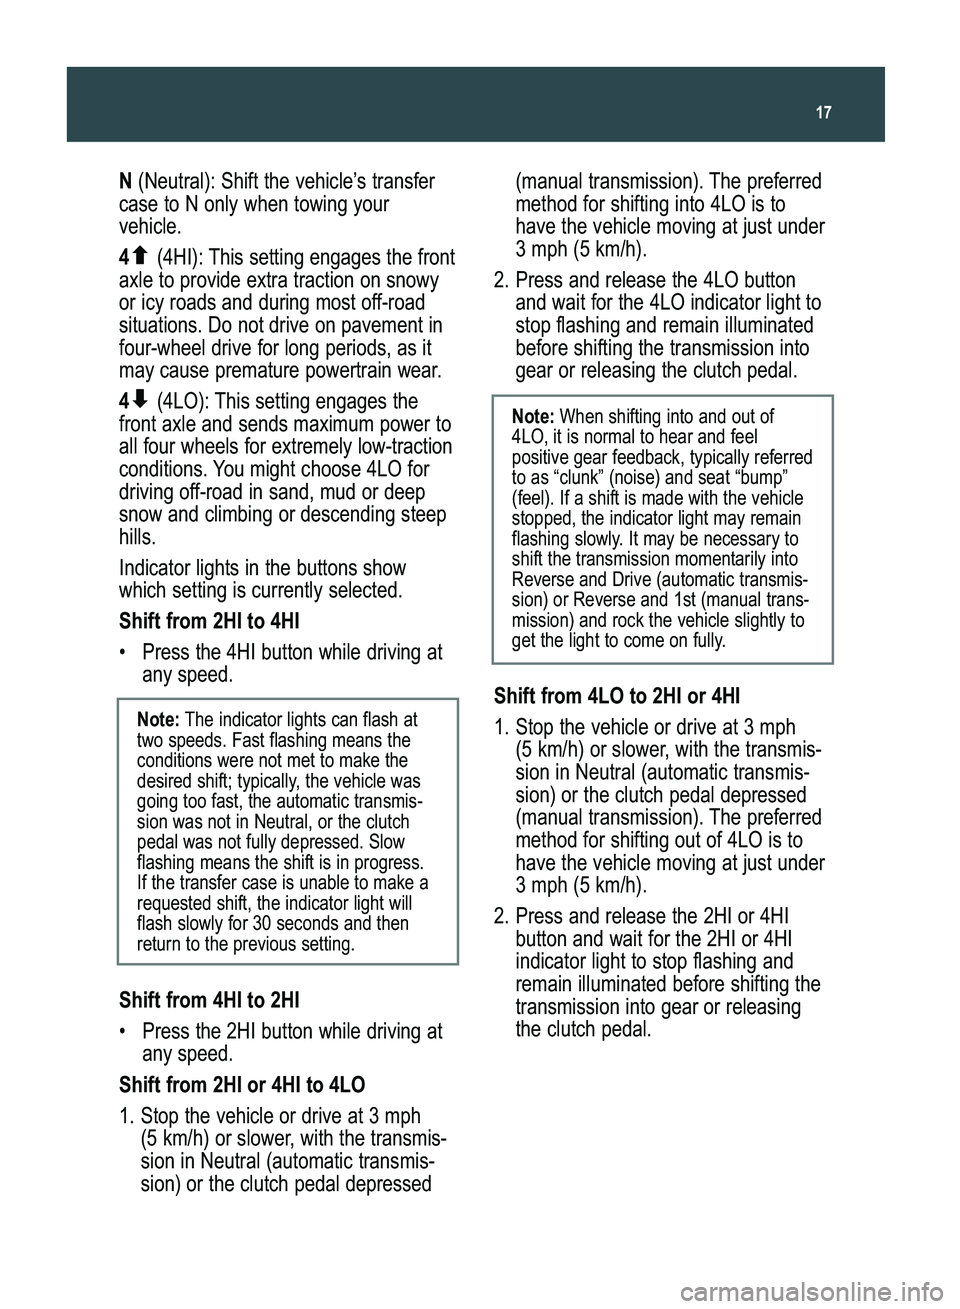
Tailgate lock (if equipped)
The tailgate also includes a lock that
can be used when the tailgate is in anormal, upright position.
See Section 2 of your Owner Manual.
15
Two�Tier Loading and
Optional Bed Extender
You can create an upper load platform
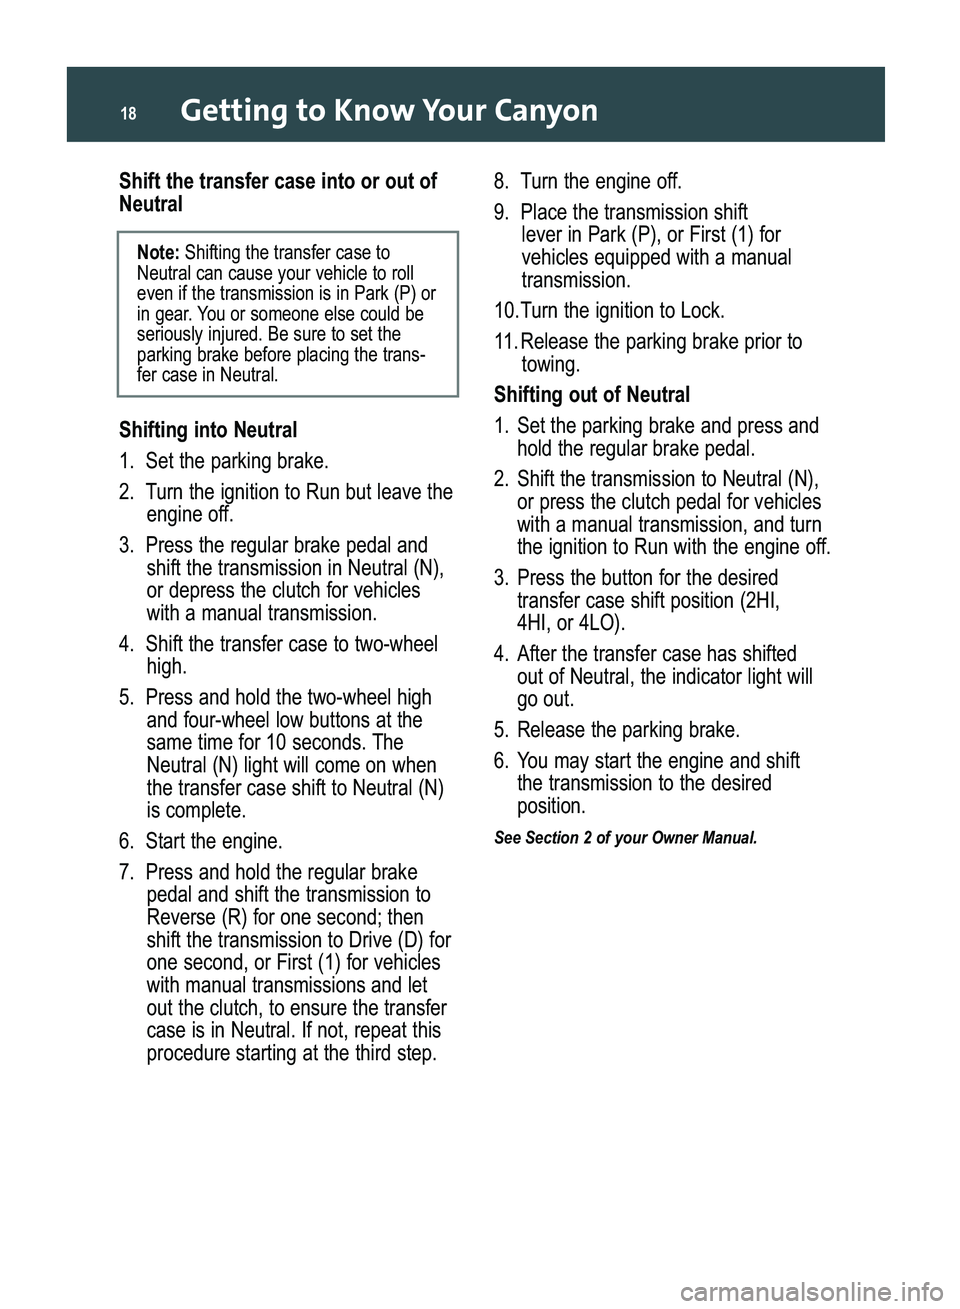
by positioning four 2x6 wooden planksacross the width of the pickup box.Insert the planks into the pickup boxdepressions (below), allowing for atleast a 3/4�inch (2�cm) bearing surfaceon each end of the plank.
Cargo bed depressions for two�tier loading
Ensure that the upper�tier load is
securely tied down, with its center ofgravity in a zone over the rear axle.
See Section 4 of your Owner Manual.
Cargo Tie�Downs and Bed Rails
To secure loads, use the cargo tie�down
loops inside the cargo bed area. If yourtruck is equipped with bed rails, do notattempt to use them to secure loads,
as they are for appearance only. Usingthe bed rails as a load anchor not onlycan damage them but may cause the
load to loosen, possibly causing injury.
See Section 4 of your Owner Manual.
Note:An accessory bed extender,
available from your dealer, provideseven more flexibility for longer loads.
Note:The tailgate cannot be closed
in this position. The bracket must beanchored on the bottom bolt.
Canyon 2008 A 4/3/07 12:36 PM Page 15
Page 17 of 20

17
(manual transmission). The preferred
method for shifting into 4LO is to have the vehicle moving at just under 3 mph (5 km/h).
2. Press and release the 4LO button
and wait for the 4LO indicator light to stop flashing and remain illuminated before shifting the transmission into gear or releasing the clutch pedal.
Shift from 4LO to 2HI or 4HI
1.Stop the vehicle or drive at 3 mph
(5 km/h) or slower, with the transmis�
sion in Neutral (automatic transmis�sion) or the clutch pedal depressed
(manual transmission). The preferred method for shifting out of 4LO is to have the vehicle moving at just under 3 mph (5 km/h).
2.Press and release the 2HI or 4HI
button and wait for the 2HI or 4HI indicator light to stop flashing and remain illuminated before shifting the transmission into gear or releasing the clutch pedal.
Note: When shifting into and out of
4LO, it is normal to hear and feel positive gear feedback, typically referredto as “clunk” (noise) and seat “bump”(feel). If a shift is made with the vehiclestopped, the indicator light may remain
flashing slowly. It may be necessary toshift the transmission momentarily intoReverse and Drive (automatic transmis�
sion) or Reverse and 1st (manual trans�mission) and rock the vehicle slightly to
get the light to come on fully.
N(Neutral): Shift the vehicle’s transfer
case to N only when towing your vehicle.
4�(4HI): This setting engages the front
axle to provide extra traction on snowy
or icy roads and during most off�road
situations. Do not drive on pavement in
four�wheel drive for long periods, as it
may cause premature powertrain wear.
4�(4LO): This setting engages the
front axle and sends maximum power toall four wheels for extremely low�traction
conditions. You might choose 4LO for
driving off�road in sand, mud or deepsnow and climbing or descending steephills.
Indicator lights in the buttons show
which setting is currently selected.
Shift from 2HI to 4HI
• Press the 4HI button while driving at
any speed.
Shift from 4HI to 2HI
• Press the 2HI button while driving at
any speed.
Shift from 2HI or 4HI to 4LO
1. Stop the vehicle or drive at 3 mph
(5 km/h) or slower, with the transmis�
sion in Neutral (automatic transmis�sion) or the clutch pedal depressed
Note: The indicator lights can flash at
two speeds. Fast flashing means theconditions were not met to make thedesired shift; typically, the vehicle was
going too fast, the automatic transmis�
sion was not in Neutral, or the clutchpedal was not fully depressed. Slowflashing means the shift is in progress. If the transfer case is unable to make arequested shift, the indicator light willflash slowly for 30 seconds and thenreturn to the previous setting.
Canyon 2008 A 4/3/07 12:36 PM Page 17
Page 18 of 20

Getting to Know Your Canyon18
8. Turn the engine off.
9. Place the transmission shift
lever in Park (P), or First (1) forvehicles equipped with a manualtransmission.
10.Turn the ignition to Lock.
11. Release the parking brake prior to
towing.
Shifting out of Neutral
1. Set the parking brake and press and
hold the regular brake pedal.
2. Shift the transmission to Neutral (N),
or press the clutch pedal for vehicleswith a manual transmission, and turn
the ignition to Run with the engine off.
3.Press the button for the desired
transfer case shift position (2HI,
4HI, or 4LO).
4. After the transfer case has shifted
out of Neutral, the indicator light willgo out.
5. Release the parking brake.6.You may start the engine and shift
the transmission to the desired
position.
See Section 2 of your Owner Manual.
Shift the transfer case into or out of
Neutral
Shifting into Neutral
1. Set the parking brake.
2. Turn the ignition to Run but leave the
engine off.
3. Press the regular brake pedal and
shift the transmission in Neutral (N),or depress the clutch for vehicleswith a manual transmission.
4. Shift the transfer case to two�wheel
high.
5.Press and hold the two�wheel high
and four�wheel low buttons at the
same time for 10 seconds. TheNeutral (N) light will come on whenthe transfer case shift to Neutral (N)is complete.
6. Start the engine.
7. Press and hold the regular brake
pedal and shift the transmission toReverse (R) for one second; thenshift the transmission to Drive (D) forone second, or First (1) for vehicleswith manual transmissions and letout the clutch, to ensure the transfercase is in Neutral. If not, repeat thisprocedure starting at the third step.
Note: Shifting the transfer case to
Neutral can cause your vehicle to rolleven if the transmission is in Park (P) or
in gear. You or someone else could beseriously injured. Be sure to set the
parking brake before placing the trans�fer case in Neutral.
Canyon 2008 A 4/3/07 12:36 PM Page 18
Page 20 of 20

Getting to Know Your Canyon20
Roadside Assistance
My GMLink
1�800�GMC�8782
(1�800�462�8782)
TTY Users: 1�888�889�2438
As the proud owner of a GMC Canyon,
you are automatically enrolled in the
GMC Roadside Assistance program.This value�added service is intended toprovide you with peace of mind as youdrive in the city or travel the open road.
GMC’s Roadside Assistance toll�free
number is staffed by a team of techni�cally trained advisors who are available24 hours a day, 365 days a year. The
advisors can provide minor repair infor�
mation over the phone or make arrange�ments to tow your vehicle to the nearest
GMC dealer.
GMC will provide the following services
for 5 years/100,000 miles at no expenseto you:
• Fuel delivery
The GMC Owner Center at My GMLink
is a complimentary service for GMCowners, a one�stop resource to enhanceyour GMC ownership experience.
Exclusive member benefits include
online service reminders, vehiclemaintenance tips, online owner manual,special privileges and more. Sign up
today at www.mygmlink.com. • Location of the vehicle
• Telephone number and your location
• Vehicle model, year and color
• Vehicle mileage
Roadside Assistance and OnStar
(if equipped)
If you have a current OnStar subscrip�
tion, press the blue OnStar button andthe vehicle will send your current GPS
location to an OnStar Advisor who willspeak to you, assess your problem,contact Roadside Assistance and relay
your exact location so you will get thehelp you need.
Certain restrictions, precautions and safety procedures apply to your vehicle. Please read your Owner
Manual for complete instructions. All information contained herein is based on information available at the
time of printing and is subject to change without notice. Copyright 2007 by GM Corp. All rights reserved.
!15866162=A!
OWNER INFORMATION
15866162 A
Canyon 2008 A 4/3/07 12:36 PM Page 20