ECU GMC CANYON 2009 Get To Know Guide
[x] Cancel search | Manufacturer: GMC, Model Year: 2009, Model line: CANYON, Model: GMC CANYON 2009Pages: 20, PDF Size: 0.6 MB
Page 1 of 20
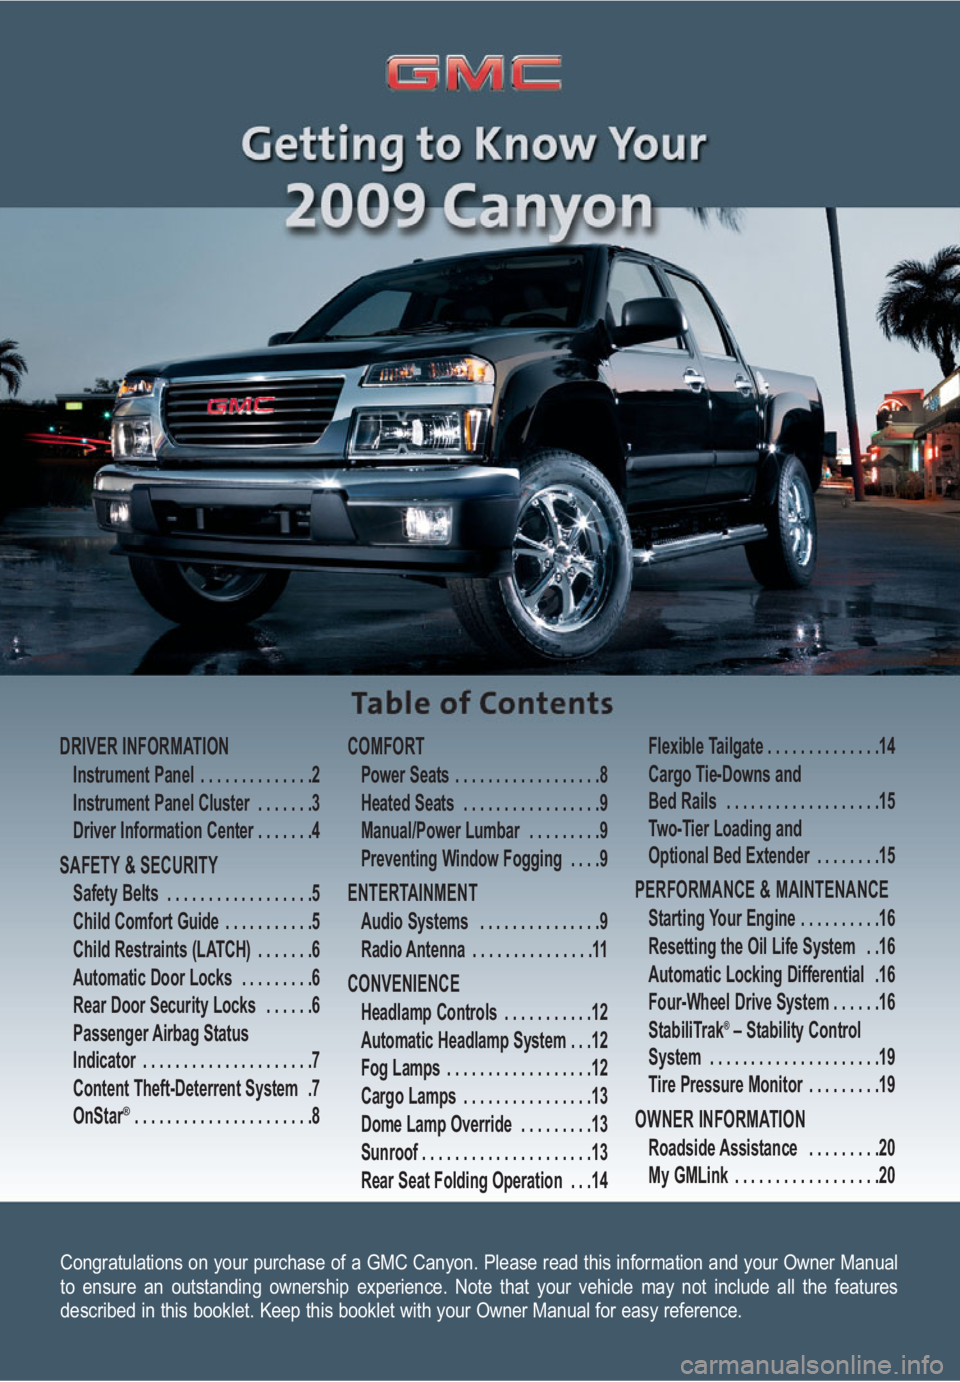
Congratulations on your purchase of a GMC Canyon. Please read this information and your Owner Manual
to ensure an outstanding ownership experience. Note that your vehicle may not include all the features
described in this booklet. Keep this booklet with your Owner Manual for easy reference.
DRIVER INFORMATION
Instrument Panel . . . . . . . . . . . . . .2
Instrument Panel Cluster . . . . . . .3
Driver Information Center . . . . . . .4
SAFETY & SECURITY
Safety Belts . . . . . . . . . . . . . . . . . .5
Child Comfort Guide . . . . . . . . . . .5
Child Restraints (LATCH) . . . . . . .6
Automatic Door Locks . . . . . . . . .6
Rear Door Security Locks . . . . . .6
Passenger Airbag Status
Indicator . . . . . . . . . . . . . . . . . . . . .7
Content Theft-Deterrent System .7
OnStar
® . . . . . . . . . . . . . . . . . . . . . .8
COMFORT
Power Seats . . . . . . . . . . . . . . . . . .8
Heated Seats . . . . . . . . . . . . . . . . .9
Manual/Power Lumbar . . . . . . . . .9
Preventing Window Fogging . . . .9
ENTERTAINMENT
Audio Systems . . . . . . . . . . . . . . .9
Radio Antenna . . . . . . . . . . . . . . .11
CONVENIENCE
Headlamp Controls . . . . . . . . . . .12
Automatic Headlamp System . . .12
Fog Lamps . . . . . . . . . . . . . . . . . .12
Cargo Lamps . . . . . . . . . . . . . . . .13
Dome Lamp Override . . . . . . . . .13
Sunroof . . . . . . . . . . . . . . . . . . . . .13
Rear Seat Folding Operation . . .14Flexible Tailgate . . . . . . . . . . . . . .14
Cargo Tie-Downs and
Bed Rails . . . . . . . . . . . . . . . . . . .15
Two-Tier Loading and
Optional Bed Extender . . . . . . . .15
PERFORMANCE & MAINTENANCE
Starting Your Engine . . . . . . . . . .16
Resetting the Oil Life System . .16
Automatic Locking Differential .16
Four-Wheel Drive System . . . . . .16
StabiliTrak
®– Stability Control
System . . . . . . . . . . . . . . . . . . . . .19
Tire Pressure Monitor . . . . . . . . .19
OWNER INFORMATION
Roadside Assistance . . . . . . . . .20
My GMLink . . . . . . . . . . . . . . . . . .20
Page 4 of 20
Getting to Know Your Canyon4
Driver Information Center
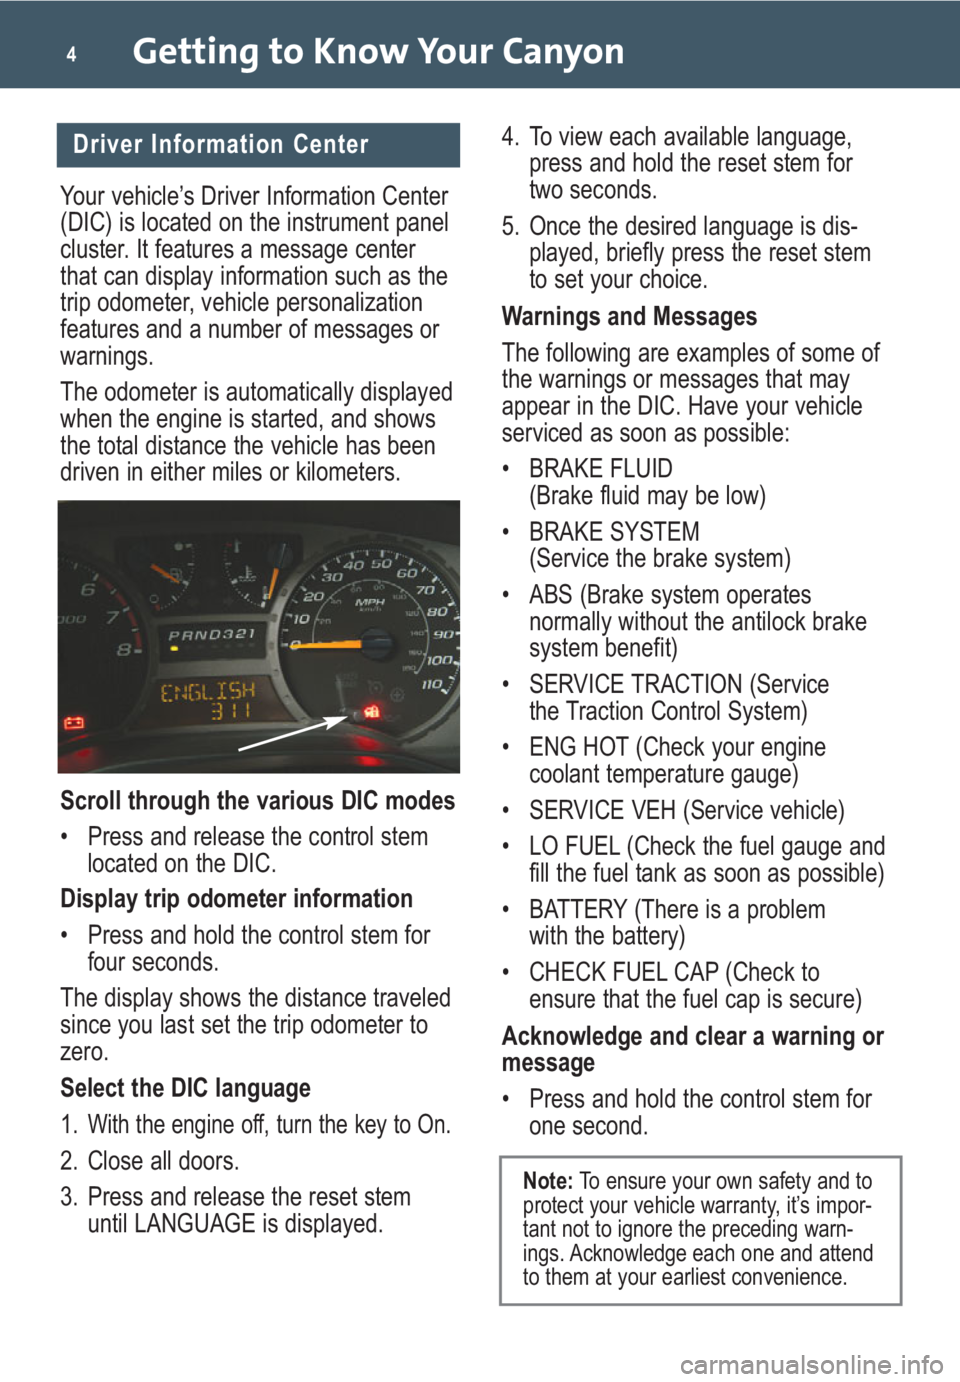
Your vehicle’s Driver Information Center
(DIC) is located on the instrument panel
cluster. It features a message center
that can display information such as the
trip odometer, vehicle personalization
features and a number of messages or
warnings.
The odometer is automatically displayed
when the engine is started, and shows
the total distance the vehicle has been
driven in either miles or kilometers.
Scroll through the various DIC modes
• Press and release the control stem
located on the DIC.
Display trip odometer information
• Press and hold the control stem for
four seconds.
The display shows the distance traveled
since you last set the trip odometer to
zero.
Select the DIC language
1.
With the engine off, turn the key to On.
2. Close all doors.
3. Press and release the reset stem
until LANGUAGE is displayed.
4. To view each available language,
press and hold the reset stem for
two seconds.
5. Once the desired language is dis-
played, briefly press the reset stem
to set your choice.
Warnings and Messages
The following are examples of some of
the warnings or messages that may
appear in the DIC. Have your vehicle
serviced as soon as possible:
• BRAKE FLUID
(Brake fluid may be low)
• BRAKE SYSTEM
(Service the brake system)
• ABS (Brake system operates
normally without the antilock brake
system benefit)
• SERVICE TRACTION (Service
the Traction Control System)
• ENG HOT (Check your engine
coolant temperature gauge)
• SERVICE VEH (Service vehicle)
• LO FUEL (Check the fuel gauge and
fill the fuel tank as soon as possible)
• BATTERY (There is a problem
with the battery)
• CHECK FUEL CAP (Check to
ensure that the fuel cap is secure)
Acknowledge and clear a warning or
message
• Press and hold the control stem for
one second.
Note:To ensure your own safety and to
protect your vehicle warranty, it’s impor-
tant not to ignore the preceding warn-
ings. Acknowledge each one and attend
to them at your earliest convenience.
Page 5 of 20
5
Check Warning Lights with OnStar
(if equipped)
If your vehicle is equipped with OnStar
and your Check Engine light or any
other warning message appears, you
can press the OnStar button and speak
to an OnStar Advisor. In many vehicles,
OnStar Advisors can access certain
diagnostic information and tell you how
serious the problem is and what you
should do about it.
See Section 3 of your Owner Manual.
SAFETY & SECURITY
Safety Belts
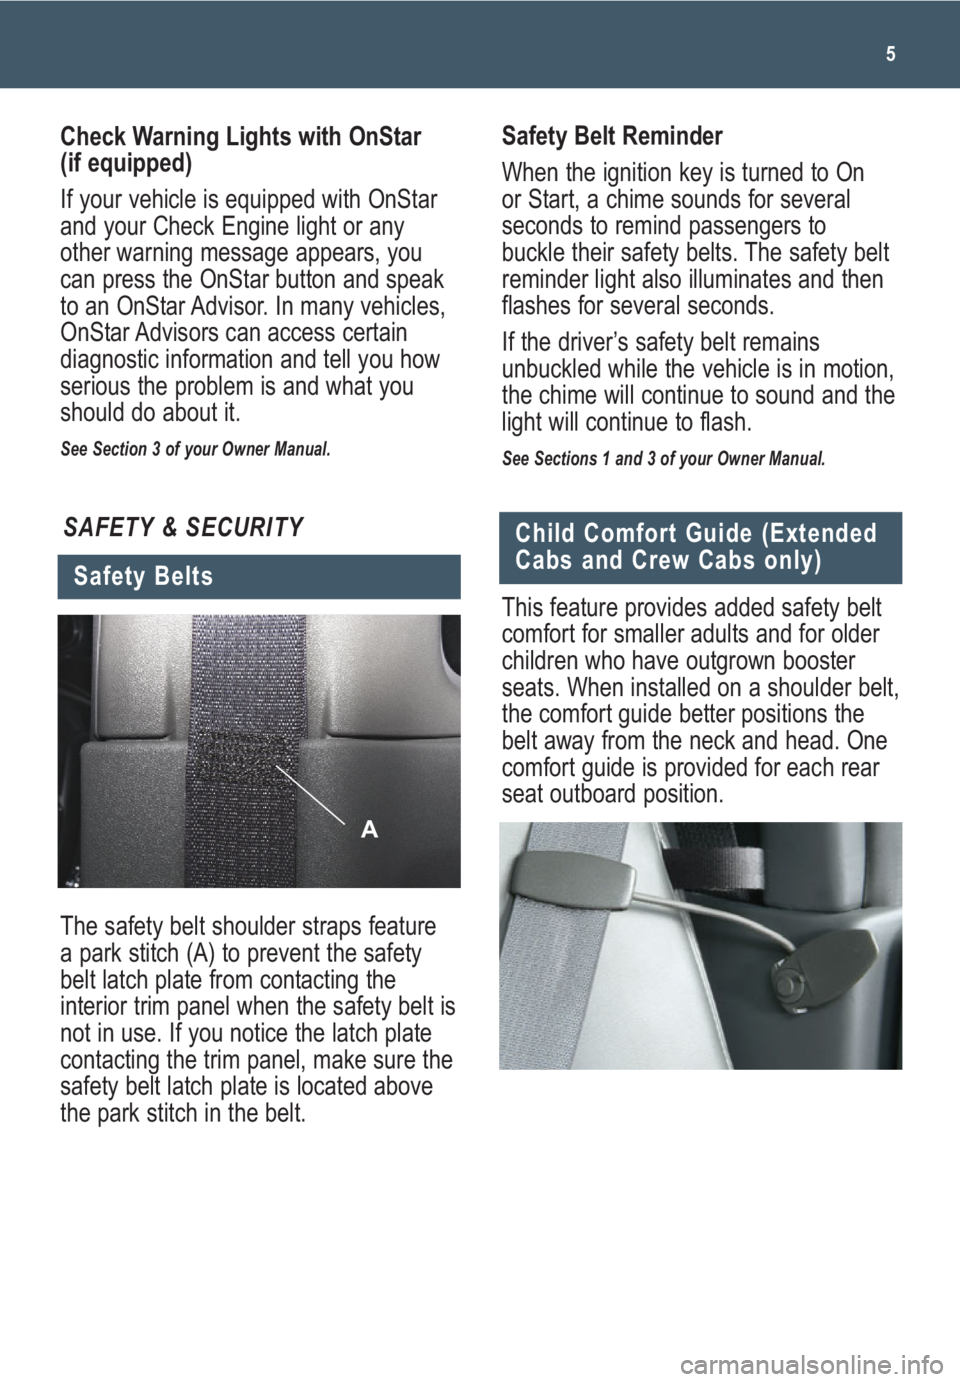
The safety belt shoulder straps feature
a park stitch (A) to prevent the safety
belt latch plate from contacting the
interior trim panel when the safety belt is
not in use. If you notice the latch plate
contacting the trim panel, make sure the
safety belt latch plate is located above
the park stitch in the belt.
A
Child Comfort Guide (Extended
Cabs and Crew Cabs only)
This feature provides added safety belt
comfort for smaller adults and for older
children who have outgrown booster
seats. When installed on a shoulder belt,
the comfort guide better positions the
belt away from the neck and head. One
comfort guide is provided for each rear
seat outboard position.
Safety Belt Reminder
When the ignition key is turned to On
or Start, a chime sounds for several
seconds to remind passengers to
buckle their safety belts. The safety belt
reminder light also illuminates and then
flashes for several seconds.
If the driver’s safety belt remains
unbuckled while the vehicle is in motion,
the chime will continue to sound and the
light will continue to flash.
See Sections 1 and 3 of your Owner Manual.
Page 6 of 20
Getting to Know Your Canyon6
Child Restraints (LATCH)
Your vehicle is equipped with LATCH
anchors, and may have top tethers for
use with a LATCH-compatible child
restraint. If your child restraint is not
compatible with the LATCH system, you
may still use it by installing the child
restraint with the safety belt system.
Automatic Door Locks
(if equipped)
For your safety, vehicles equipped with
power door locks and Remote Keyless
Entry are programmed at the factory to
lock all doors automatically. The doors
will lock when all doors are closed, the
ignition is on and the gearshift lever is
moved out of Park on vehicles with an
automatic transmission, or when vehicle
speed is greater than 15 mph on vehi-
cles with a manual transmission. This
feature cannot be disabled.
You can personalize the automatic
unlock features through the Driver
Information Center.
See Sections 2 and 3 of your Owner Manual.
Rear Door Security Locks
(Crew Cab models)
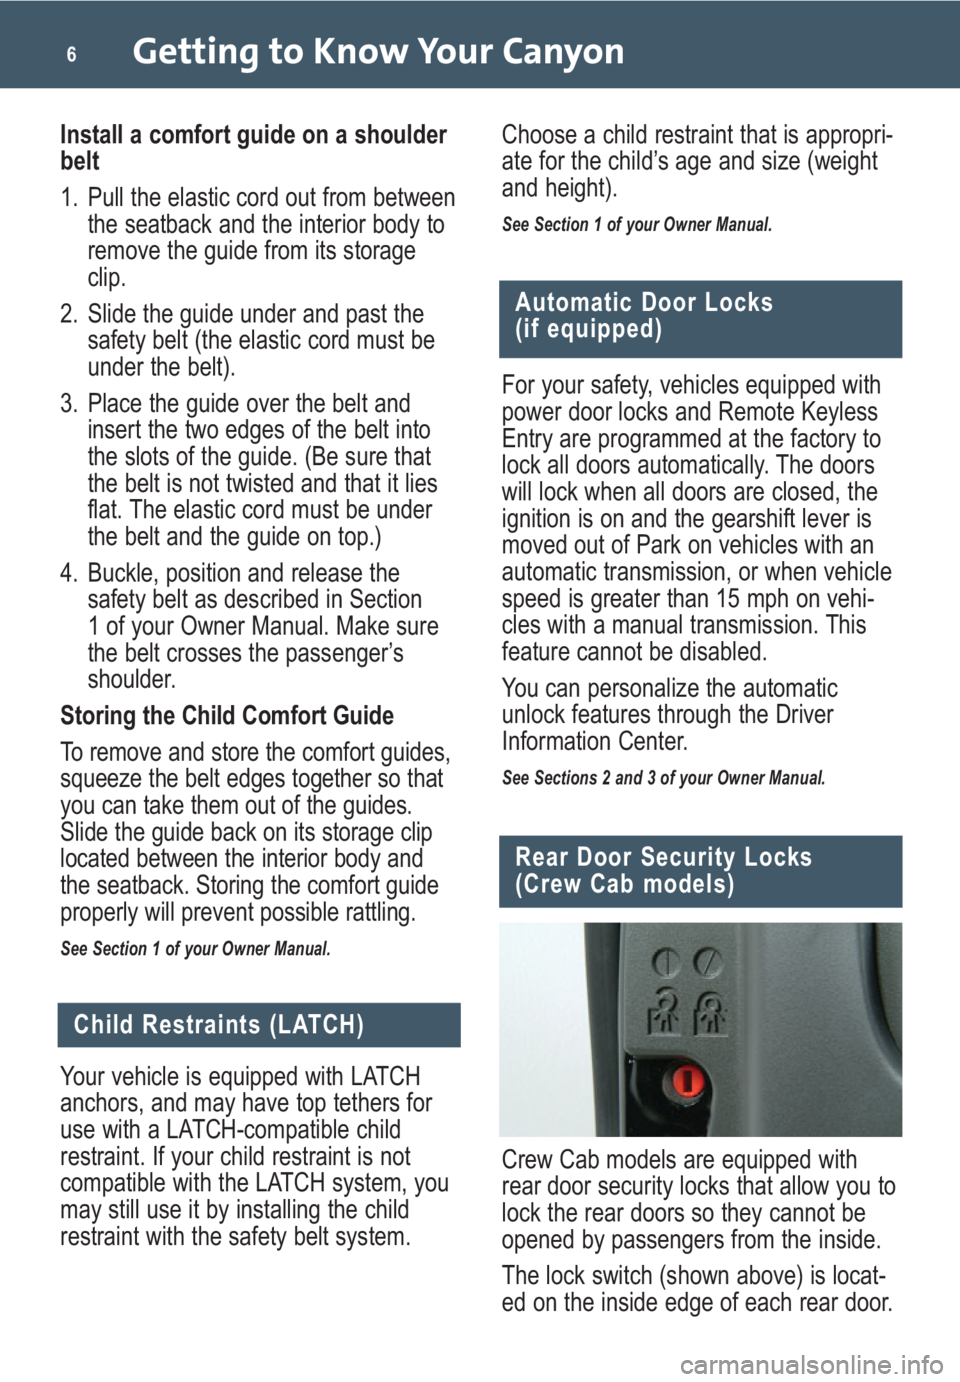
Crew Cab models are equipped with
rear door security locks that allow you to
lock the rear doors so they cannot be
opened by passengers from the inside.
The lock switch (shown above) is locat-
ed on the inside edge of each rear door.
Install a comfort guide on a shoulder
belt
1. Pull the elastic cord out from between
the seatback and the interior body to
remove the guide from its storage
clip.
2. Slide the guide under and past the
safety belt (the elastic cord must be
under the belt).
3. Place the guide over the belt and
insert the two edges of the belt into
the slots of the guide. (Be sure that
the belt is not twisted and that it lies
flat. The elastic cord must be under
the belt and the guide on top.)
4. Buckle, position and release the
safety belt as described in Section
1 of your Owner Manual. Make sure
the belt crosses the passenger’s
shoulder.
Storing the Child Comfort Guide
To remove and store the comfort guides,
squeeze the belt edges together so that
you can take them out of the guides.
Slide the guide back on its storage clip
located between the interior body and
the seatback. Storing the comfort guide
properly will prevent possible rattling.
See Section 1 of your Owner Manual.
Choose a child restraint that is appropri-
ate for the child’s age and size (weight
and height).
See Section 1 of your Owner Manual.
Page 7 of 20
7
Engage the rear door security locks
1. Open a rear door and insert your
ignition key into the lock.
2. On the driver’s side rear door, turn
the key clockwise to engage the rear
door security lock (turn it counter-
clockwise on the opposite side rear
door).
3. Close the door.
Open the rear door when the security
lock is on
• Unlock and open the door from
outside the vehicle.
Return the rear doors to normal use
• On the driver’s side rear door, insert
the key and turn the lock counter-
clockwise (turn it clockwise on the
opposite side rear door).
See Section 2 of your Owner Manual.
Passenger Airbag Status
Indicator
Your vehicle is equipped with a
Passenger Sensing System located in
the front passenger seat for the front
passenger frontal airbag, and a passen-
ger airbag status indicator located on
the center of the instrument panel.
See Sections 1 and 3 of your Owner Manual.
Note:It is recommended that children
not be placed in the front passenger
seat, even with the Passenger Sensing
System. All children should be secured
in a rear seat, including an infant riding
in a rear-facing infant seat, a child riding
in a forward-facing child seat or an older
child riding in a booster seat.
Content Theft-Deterrent System
(if equipped)
If your vehicle has the Remote Keyless
Entry (RKE) system, it also has a con-
tent theft-deterrent alarm system.
The content theft-
deterrent system is
armed when you
lock the doors with
the RKE transmitter
and all the doors
are closed. If the
lock button on the RKE transmitter is
pressed with a door open, the horn will
chirp several times. Close the door to
arm the system. The security light will
flash when the system is armed.
The system will not be armed if the
doors are locked with a key, the manual
door lock or the power door lock switch.
Alarm System
If a locked door is not opened using the
RKE transmitter or by OnStar, the horn
will chirp for several seconds and then
the alarm will sound. The alarm will flash
the front turn signal lamps and sound
the horn for two minutes.
To prevent the alarm from sounding,
unlock the doors using the RKE trans-
mitter. To turn off the alarm, press the
unlock button on the RKE transmitter or
start the engine using the correct key.
PASSlock
®
Your vehicle also is equipped with the
PASSlock theft-deterrent system that
requires the correct key be used to start
the engine. If the correct key is not used
or the ignition lock cylinder is tampered
with, the fuel system is disabled and the
engine will not start.
See Section 2 of your Owner Manual.
Page 14 of 20
Getting to Know Your Canyon14
Rear Seat Folding Operation
(if equipped)
Fold down the forward-facing rear
seat on Extended Cab models
• Pull down on the bottom of the seat
until it is in place.
Store the seat
• Push the entire seat up until it is flush
with the trim panel.
Note:To ensure that the hinges or
latches do not damage the safety belt or
cause the belt buckle to rattle, fold and
store the belt between the seat cushion
and seatback using the Velcro attach-
ments provided on the lower portion of
the seat.
Fold the Crew Cab’s rear seatbacks
forward
1. Insert a small-tipped tool into the slot
to unlatch the center safety belt
buckle and move the belt to the side,
out of the way.
2. Grasp the loop located on the side of
the seatback (A) and pull it until you
hear a click.
A
Flexible Tailgate
The tailgate features a flexible design
that allows it to be positioned fully
up, fully down, removed, or partially
lowered.
Remove the
tailgate
1. With the
tailgate fully
open, lift it
up slightly.
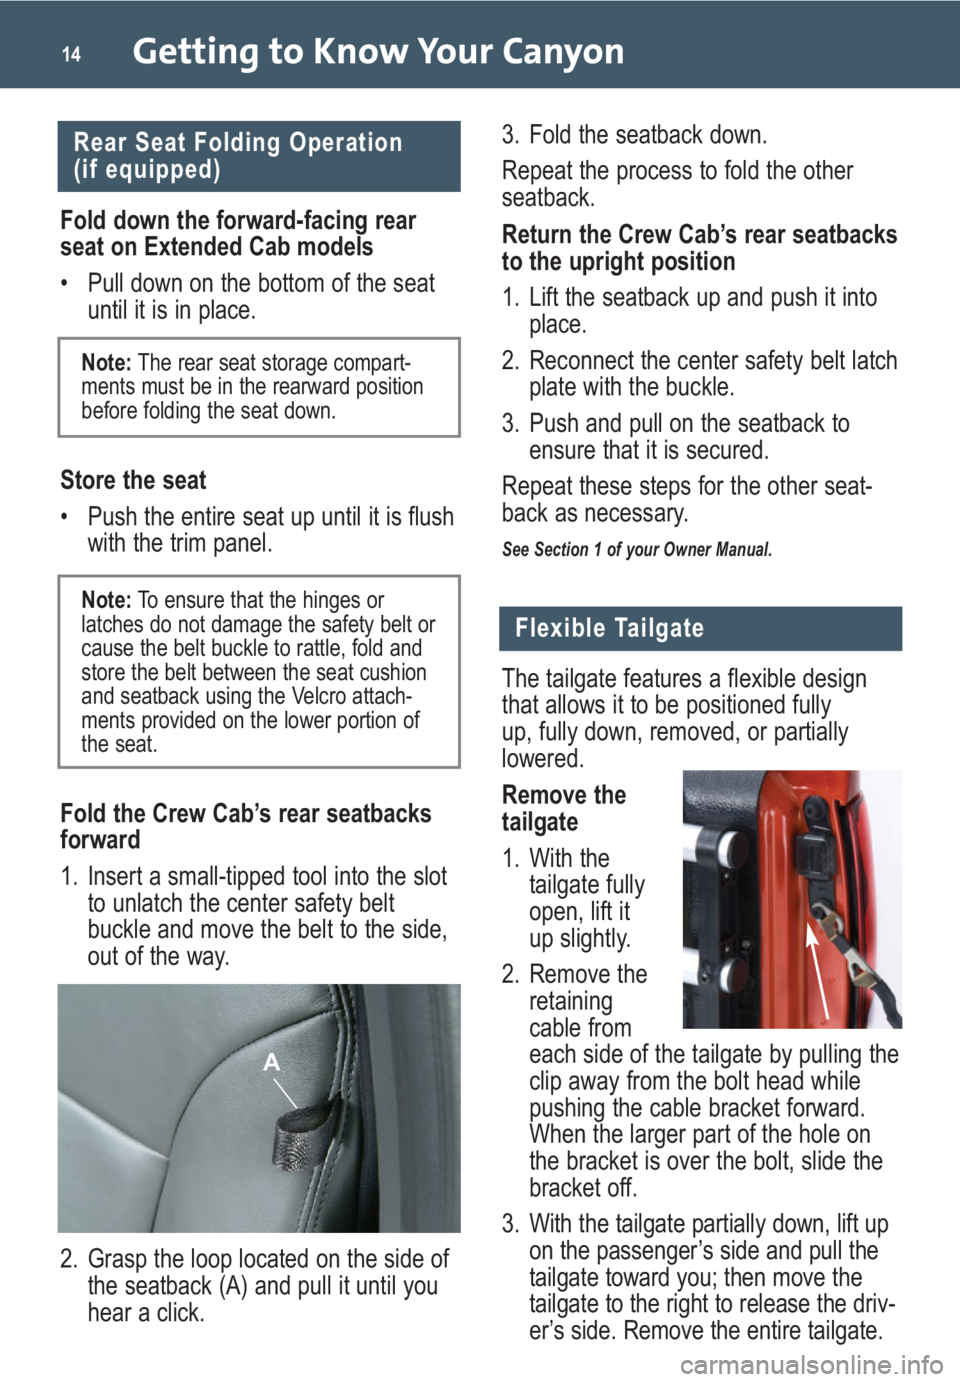
2. Remove the
retaining
cable from
each side of the tailgate by pulling the
clip away from the bolt head while
pushing the cable bracket forward.
When the larger part of the hole on
the bracket is over the bolt, slide the
bracket off.
3. With the tailgate partially down, lift up
on the passenger’s side and pull the
tailgate toward you; then move the
tailgate to the right to release the driv-
er’s side. Remove the entire tailgate.
Note: The rear seat storage compart-
ments must be in the rearward position
before folding the seat down.
3. Fold the seatback down.
Repeat the process to fold the other
seatback.
Return the Crew Cab’s rear seatbacks
to the upright position
1. Lift the seatback up and push it into
place.
2. Reconnect the center safety belt latch
plate with the buckle.
3. Push and pull on the seatback to
ensure that it is secured.
Repeat these steps for the other seat-
back as necessary.
See Section 1 of your Owner Manual.
Page 15 of 20
Partially lower the tailgate
1. With the tailgate fully open, lift it up
slightly.
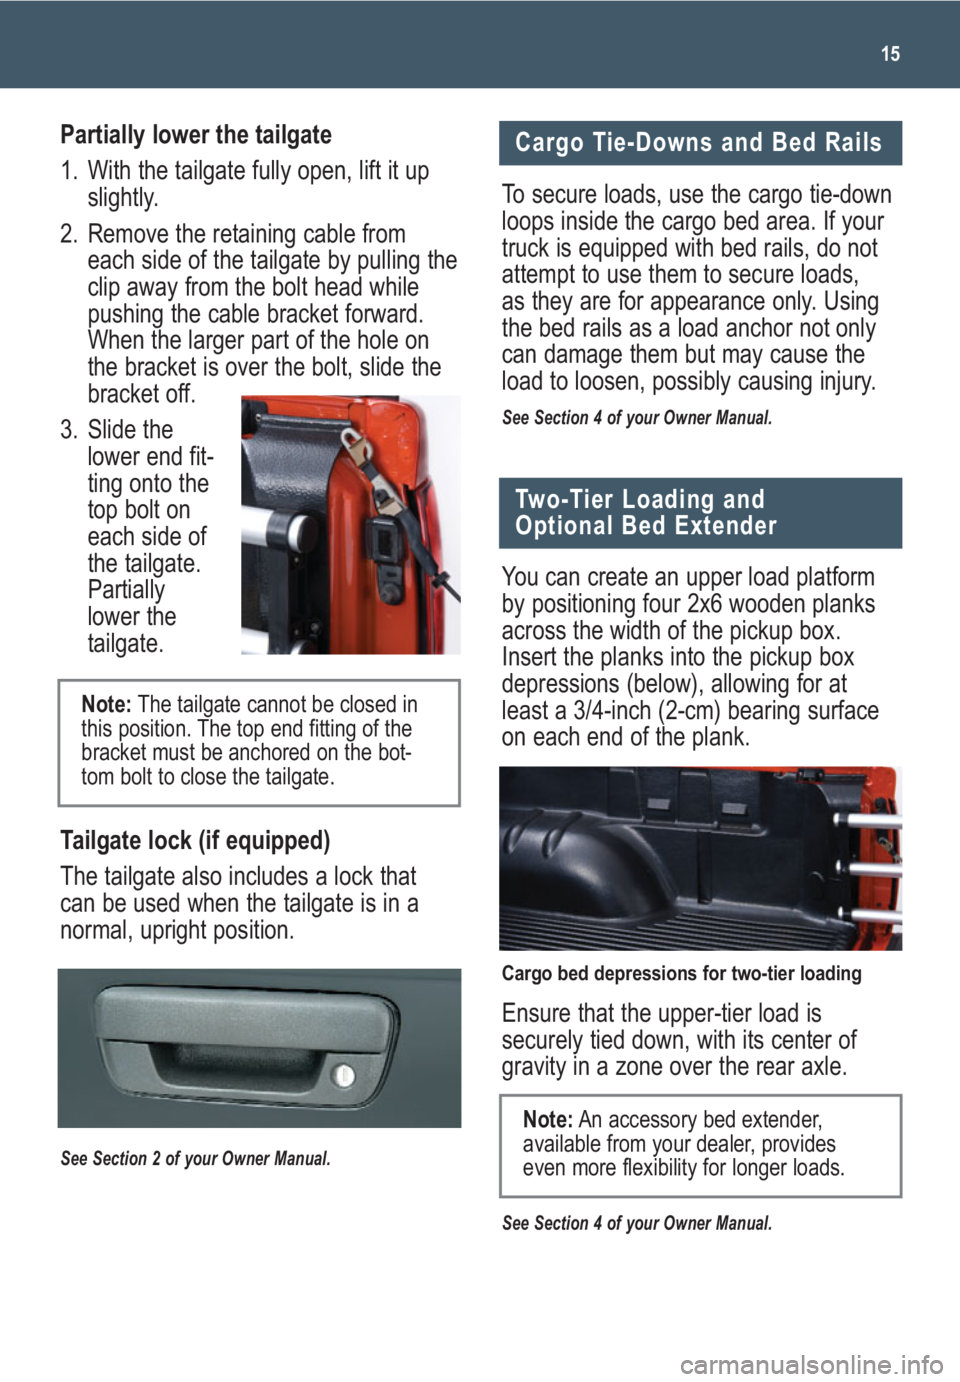
2. Remove the retaining cable from
each side of the tailgate by pulling the
clip away from the bolt head while
pushing the cable bracket forward.
When the larger part of the hole on
the bracket is over the bolt, slide the
bracket off.
3. Slide the
lower end fit-
ting onto the
top bolt on
each side of
the tailgate.
Partially
lower the
tailgate.
Tailgate lock (if equipped)
The tailgate also includes a lock that
can be used when the tailgate is in a
normal, upright position.
See Section 2 of your Owner Manual.
15
Two-Tier Loading and
Optional Bed Extender
You can create an upper load platform
by positioning four 2x6 wooden planks
across the width of the pickup box.
Insert the planks into the pickup box
depressions (below), allowing for at
least a 3/4-inch (2-cm) bearing surface
on each end of the plank.
Ensure that the upper-tier load is
securely tied down, with its center of
gravity in a zone over the rear axle.
See Section 4 of your Owner Manual.
Cargo Tie-Downs and Bed Rails
To secure loads, use the cargo tie-down
loops inside the cargo bed area. If your
truck is equipped with bed rails, do not
attempt to use them to secure loads,
as they are for appearance only. Using
the bed rails as a load anchor not only
can damage them but may cause the
load to loosen, possibly causing injury.
See Section 4 of your Owner Manual.
Note:An accessory bed extender,
available from your dealer, provides
even more flexibility for longer loads.
Note:The tailgate cannot be closed in
this position. The top end fitting of the
bracket must be anchored on the bot-
tom bolt to close the tailgate.
Cargo bed depressions for two-tier loading