ECU GMC ENVOY 2004 Owner's Guide
[x] Cancel search | Manufacturer: GMC, Model Year: 2004, Model line: ENVOY, Model: GMC ENVOY 2004Pages: 474, PDF Size: 4.83 MB
Page 81 of 474

Rear Door Security Locks
Your vehicle may have this feature. You can lock the
rear doors so they can’t be opened from the inside
by passengers. To use one of these locks do the
following:
1. Open one of the rear doors. You will �nd a security
lock lever located on the inside edge of each
rear door.
2. Move the lever down to
engage the safety lock.
Move the lever up to
disengage the
safety lock.
3. Close the door.
The rear doors of your vehicle cannot be opened from
the inside while this feature is in use. If you want to open
the rear door while the security lock is on, unlock the
door and open the door from the outside.
Lockout Protection
This feature stops the power door locks from locking
when the key is in the ignition and a door is open
to protect you from locking your key in the vehicle.
If the power lock switch is pressed when a door is open
and the key is in the ignition, all the doors will lock
and then the driver’s door will unlock.
Leaving Your Vehicle
If you are leaving the vehicle, take your key, open your
door and set the lock from inside. Then get out and
close the door.
2-13
Page 85 of 474

Sun Visors
To block out glare, you can pull the visor down. You
can also slide the visor along the rod from side-to-side
to cover the driver or passenger front window.
Visor Vanity Mirror
Pull the sun visor down to expose the vanity mirror.
Lighted Visor Vanity Mirror
Your vehicle may have this feature. Pull the sun visor
down and lift the mirror cover to turn on the lamps. The
lamps will turn off when the cover is closed.
Theft-Deterrent Systems
Vehicle theft is big business, especially in some cities.
Although your vehicle has a number of theft-deterrent
features, we know that nothing we put on it can make it
impossible to steal. However, there are ways you
can help.
Content Theft-Deterrent
Your vehicle may be equipped with a content
theft-deterrent alarm system.
Here’s how to operate the system:
1. Open the door.
2. Lock the door with the power door lock switch or
the remote keyless entry transmitter. The security
light should �ash.
3. Close all doors. The security light should turn off
after approximately 30 seconds. The alarm is not
armed until the security light turns off.
If a locked door is opened without the key or the remote
keyless entry transmitter, the alarm will go off. The
headlamps and parking lamps will �ash for two minutes,
and the horn will sound for 30 seconds, then will turn
off to save the battery power.United States
Canada
2-17
Page 86 of 474
Remember, the theft-deterrent system won’t activate if
you lock the doors with a key or use the manual
door lock. It activates only if you use a power door lock
switch with the door open, or with the remote keyless
entry transmitter. You should also remember that
you can start your vehicle with the correct ignition key if
the alarm has been set off.
Here’s how to avoid setting off the alarm by accident:
If you don’t want to activate the theft-deterrent
system, the vehicle should be locked with the door
keyafterthe doors are closed.
Always unlock a door with a key, or use the remote
keyless entry transmitter. Unlocking a door any
other way will set off the alarm.
If you set off the alarm by accident, unlock any door with
the key. You can also turn off the alarm by pressing
unlock on the remote keyless entry transmitter. The alarm
won’t stop if you try to unlock a door any other way.
Testing the Alarm
The alarm can be tested by following these steps:
1. From inside the vehicle, lower the driver’s window
and open the driver’s door.
2. Activate the system by locking the doors with the
power door lock switch while the door is open, or
with the remote keyless entry transmitter.
3. Get out of the vehicle, close the door and wait for
the security light to go out.
4. Then reach in through the window, unlock the door
with the manual door lock and open the door. This
should set off the alarm.
When the alarm is set the power door unlock switch is
not operational.
If the alarm does not sound when it should but the
headlamps �ash, check to see if the horn works. The
horn fuse may be blown. To replace the fuse, seeFuses
and Circuit Breakers on page 5-101.
If the alarm does not sound or the headlamps do not
�ash, the vehicle should be serviced by your dealer.
2-18
Page 87 of 474
Passlock®
Your vehicle is equipped with the
Passlock®theft-deterrent system.
Passlock
®is a passive theft-deterrent system that
enables fuel if the ignition lock cylinder is turned with a
valid key. If a correct key is not used or the ignition
lock cylinder is tampered with, the fuel system is
disabled and the vehicle will not start.
During normal operation, the security light will turn off
approximately �ve seconds after the key is turned
to RUN.
If the engine stalls and the security light �ashes, wait
about 10 minutes until the light stops �ashing before
trying to restart the engine. Remember to release
the key from START as soon as the engine starts.
If the engine does not start after three tries, the vehicle
needs service.
If the engine is running and the security light comes on,
you will be able to restart the engine if you turn the engine
off. However, your Passlock
®system is not working
properly and must be serviced by your dealer. Your
vehicle is not protected by Passlock
®at this time. You
may also want to check the fuse. SeeFuses and Circuit
Breakers on page 5-101. See your dealer for service.
In an emergency, call the GM Roadside Assistance
Center. SeeRoadside Assistance Program on page 7-6.
Starting and Operating Your
Vehicle
New Vehicle Break-In
Notice:Your vehicle does not need an elaborate
“break-in.” But it will perform better in the long run
if you follow these guidelines:
Keep your speed at 55 mph (88 km/h) or less for
the �rst 500 miles (805 km).
Do not drive at any one speed — fast or
slow — for the �rst 500 miles (805 km). Do not
make full-throttle starts.
Avoid making hard stops for the �rst 200 miles
(322 km) or so. During this time your new
brake linings are not yet broken in. Hard stops
with new linings can mean premature wear
and earlier replacement. Follow this breaking-in
guideline every time you get new brake
linings.
Do not tow a trailer during break-in. SeeTowing
a Trailer on page 4-55for more information.
2-19
Page 108 of 474
OnStar®System
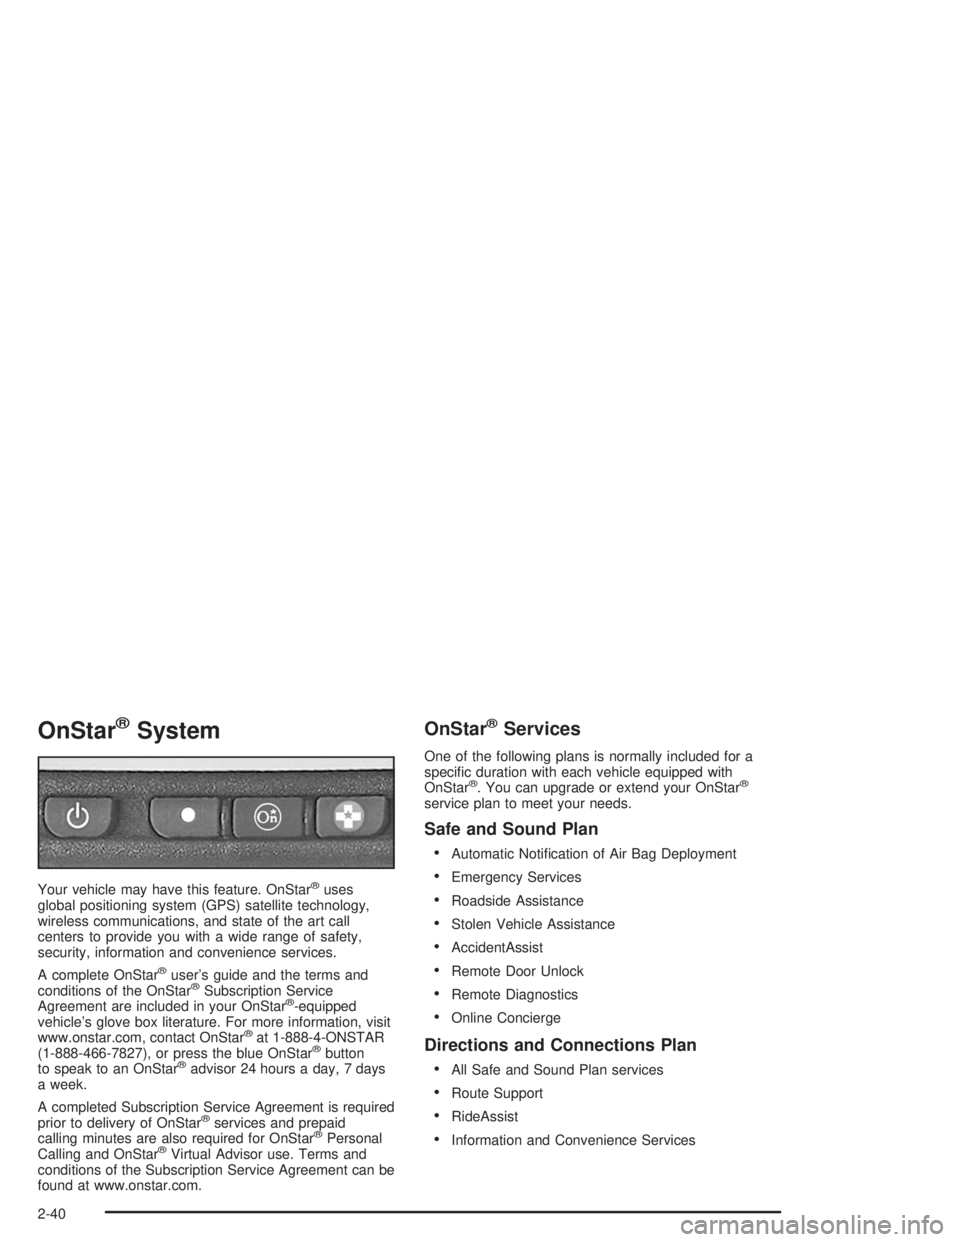
Your vehicle may have this feature. OnStar®uses
global positioning system (GPS) satellite technology,
wireless communications, and state of the art call
centers to provide you with a wide range of safety,
security, information and convenience services.
A complete OnStar
®user’s guide and the terms and
conditions of the OnStar®Subscription Service
Agreement are included in your OnStar®-equipped
vehicle’s glove box literature. For more information, visit
www.onstar.com, contact OnStar
®at 1-888-4-ONSTAR
(1-888-466-7827), or press the blue OnStar®button
to speak to an OnStar®advisor 24 hours a day, 7 days
a week.
A completed Subscription Service Agreement is required
prior to delivery of OnStar
®services and prepaid
calling minutes are also required for OnStar®Personal
Calling and OnStar®Virtual Advisor use. Terms and
conditions of the Subscription Service Agreement can be
found at www.onstar.com.
OnStar®Services
One of the following plans is normally included for a
speci�c duration with each vehicle equipped with
OnStar
®. You can upgrade or extend your OnStar®
service plan to meet your needs.
Safe and Sound Plan
Automatic Noti�cation of Air Bag Deployment
Emergency Services
Roadside Assistance
Stolen Vehicle Assistance
AccidentAssist
Remote Door Unlock
Remote Diagnostics
Online Concierge
Directions and Connections Plan
All Safe and Sound Plan services
Route Support
RideAssist
Information and Convenience Services
2-40
Page 109 of 474
Luxury and Leisure Plan
All Directions and Connections Plan services
Personal Concierge
OnStar®Personal Calling
With OnStar®Personal Calling, you have a safer way to
stay connected while driving. It’s a hands-free wireless
phone that’s integrated into your vehicle. You can place
calls nationwide using voice-activated dialing with no
contracts and no additional roaming charges. To �nd out
more about OnStar
®Personal Calling, refer to the
OnStar®owner’s guide in your vehicle’s glove box, or
call OnStar®at 1-888-4-ONSTAR (1-888-466-7827).
OnStar®Virtual Advisor
With OnStar®Virtual Advisor you can listen to your
favorite news, entertainment and information topics,
such as traffic and weather reports, stock quotes
and sports scores. You listen to your e-mail through
your vehicle’s speakers, and reply with your hands on
the wheel and your eyes on the road.
HomeLink®Transmitter
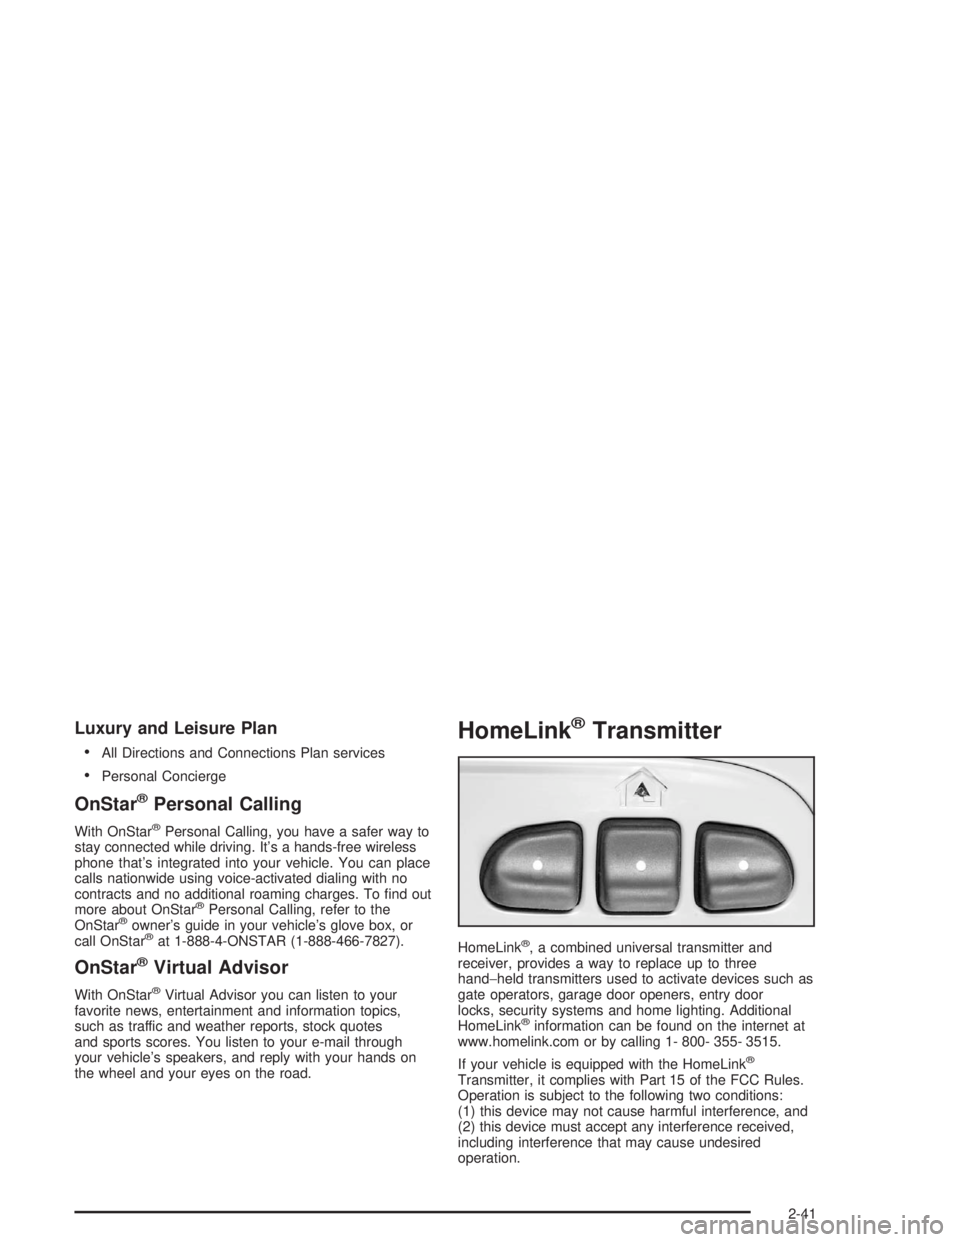
HomeLink®, a combined universal transmitter and
receiver, provides a way to replace up to three
hand−held transmitters used to activate devices such as
gate operators, garage door openers, entry door
locks, security systems and home lighting. Additional
HomeLink
®information can be found on the internet at
www.homelink.com or by calling 1- 800- 355- 3515.
If your vehicle is equipped with the HomeLink
®
Transmitter, it complies with Part 15 of the FCC Rules.
Operation is subject to the following two conditions:
(1) this device may not cause harmful interference, and
(2) this device must accept any interference received,
including interference that may cause undesired
operation.
2-41
Page 110 of 474

This device complies with RSS- 210 of Industry Canada.
Operation is subject to the following two conditions:
(1) this device may not cause interference, and (2) this
device must accept any interference received,
including interference that may cause undesired
operation of the device.
Changes and modi�cations to this system by other than
an authorized service facility could void authorization
to use this equipment.
Programming the HomeLink®
Transmitter
Do not use the HomeLink®Transmitter with any garage
door opener that does not have the “stop and reverse”
feature. This includes any garage door opener model
manufactured before April 1, 1982. If you have a newer
garage door opener with rolling codes, please be
sure to follow steps 6 through 8 to complete the
programming of your HomeLink
®Transmitter.
Read the instructions completely before attempting to
program the HomeLink
®Transmitter. Because of
the steps involved, it may be helpful to have another
person available to assist you in programming the
transmitter.Keep the original transmitter for use in other vehicles as
well as for future HomeLink
®programming. It is also
recommended that upon the sale of the vehicle,
the programmed HomeLink
®buttons should be erased
for security purposes. Refer to “Erasing HomeLink®
Buttons” or, for assistance, contact HomeLink®on the
internet at: www.homelink.com or by calling
1-800-355-3515.
Be sure that people and objects are clear of the garage
door or gate operator you are programming. When
programming a garage door, it is advised to park outside
of the garage.
It is recommended that a new battery be installed in
your hand-held transmitter for quicker and more
accurate transmission of the radio frequency.
Your vehicle’s engine should be turned off while
programming the transmitter. Follow these steps to
program up to three channels:
1. Press and hold down the two outside buttons,
releasing only when the indicator light begins to
�ash, after 20 seconds. Do not hold down the
buttons for longer than 30 seconds and do not
repeat this step to program a second and/or third
transmitter to the remaining two HomeLink
®buttons.
2. Position the end of your hand-held transmitter about
1 to 3 inches (3 to 8 cm) away from the HomeLink
®
buttons while keeping the indicator light in view.
2-42
Page 115 of 474
Luggage Carrier
{CAUTION:
If you try to carry something on top of your
vehicle that is longer or wider than the luggage
carrier — like paneling, plywood, a mattress
and so forth — the wind can catch it as you
drive along. This can cause you to lose
control. What you are carrying could be
violently torn off, and this could cause you or
other drivers to have a collision, and of course
damage your vehicle. You may be able to carry
something like this inside. But, never carry
something longer or wider than the luggage
carrier on top of your vehicle.
A luggage carrier allows you to load things on top of
your vehicle. The luggage carrier has side rails attached
to the roof, sliding crossrails (if equipped) and places
to use for tying things down. These let you load
some other things on top of your vehicle, as long as
they are not wider or longer than the luggage carrier.To slide the crossrails to where you want them, pull up
on the lever on each side of the crossrail. This will
release the crossrail and allow you to slide it. When the
crossrail is where you want it, press down on the
levers to lock it into place.
Notice:Loading cargo on the luggage carrier that
weighs more than 220 lbs (100 kg) or hangs over the
rear or sides of the vehicle may damage your
vehicle. Load cargo so that it rests on the slats as
far forward as possible and against the side
rails, making sure to fasten it securely.
Don’t exceed the maximum vehicle capacity when
loading your vehicle. For more information on vehicle
capacity and loading, seeLoading Your Vehicle on
page 4-48.
To prevent damage or loss of cargo as you’re driving,
check now and then to make sure the luggage carrier is
locked and cargo is still securely fastened.
When the luggage carrier is not in use, place the
crossrails at the following positions for wind noise
reduction. Place one crossrail at the rear most point of
the vehicle and the other crossrail above the opening
of the rear door.
2-47
Page 116 of 474

Rear Storage Area
Rear Compartment Storage
Panel/Cover
Your vehicle may have this feature. This shelf position
is used as a cargo shade. Insert the front corners of the
panel into the top guides and slide the panel forward.
Press down on the back of the panel to lock it in place.
{CAUTION:
If you were to carry things on the adjustable
shelf when it is in the upper (cargo cover)
position, then during a sudden vehicle
movement or a crash those things could be
thrown around in the vehicle. You or others
could be injured. When it is in the upper
position, always secure any cargo on the �oor
beneath the shelf/cover.
Upper Position
2-48
Page 118 of 474

Rear Floor Storage Lid
{CAUTION:
If any removable convenience item is not
secured properly, it can move around in a
collision or sudden stop. People in the vehicle
could be injured. Be sure to secure any such
item properly.
Your vehicle has a rear cargo area with a removeable
storage lid.
To remove the rear �oor storage lid, do the following:
1. Press the latch release and lift up the latch handle.
2. Raise the lid slightly to unhook it.
3. Pull the lid toward you to release it from the forward
mounting tabs.
To reinstall the rear �oor storage lid, reverse the
previous steps. Make sure the lid is secure by applying
slight pressure to the latch until you hear it click.
Convenience Net
Your vehicle may have this feature. A convenience net
in the rear of your vehicle helps keep small items in
place during sharp turns or quick stops and starts. The
net is not designed to retain these items during
off-road use. The net is not for larger, heavier items.
To use the convenience net, do the following:
1. Attach the upper loops to the retainers on both
sides of the liftgate opening. The label should be
in the upper passenger’s side corner, visible
from the rear of the vehicle.
2. Attach the lower hooks to the rear cargo tie downs
on the �oor.
Cargo Cover
If your vehicle has a cargo cover, you can use it to
cover items in the cargo area of your vehicle.
To install the cargo cover, do the following:
1. Align the endcap with the pocket in the trim panel
located behind the rear seat.
2. Compress the opposite endcap, align it with the
pocket located on the opposite side of the trim
panel and release.
2-50