tow GMC ENVOY XUV 2004 User Guide
[x] Cancel search | Manufacturer: GMC, Model Year: 2004, Model line: ENVOY XUV, Model: GMC ENVOY XUV 2004Pages: 460, PDF Size: 2.99 MB
Page 98 of 460
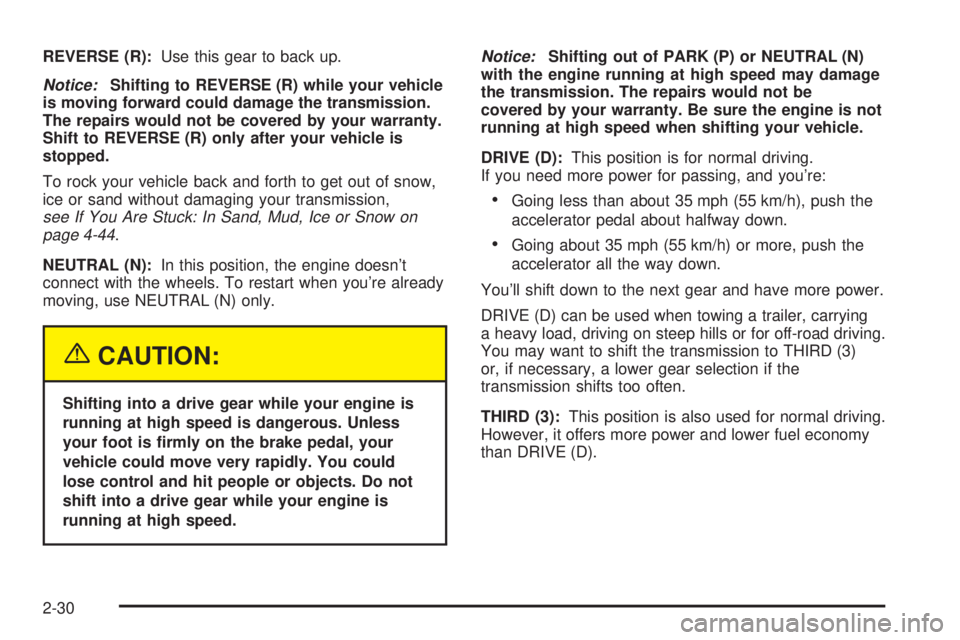
REVERSE (R):Use this gear to back up.
Notice:Shifting to REVERSE (R) while your vehicle
is moving forward could damage the transmission.
The repairs would not be covered by your warranty.
Shift to REVERSE (R) only after your vehicle is
stopped.
To rock your vehicle back and forth to get out of snow,
ice or sand without damaging your transmission,
see If You Are Stuck: In Sand, Mud, Ice or Snow on
page 4-44.
NEUTRAL (N):In this position, the engine doesn't
connect with the wheels. To restart when you're already
moving, use NEUTRAL (N) only.
{CAUTION:
Shifting into a drive gear while your engine is
running at high speed is dangerous. Unless
your foot is ®rmly on the brake pedal, your
vehicle could move very rapidly. You could
lose control and hit people or objects. Do not
shift into a drive gear while your engine is
running at high speed.
Notice:Shifting out of PARK (P) or NEUTRAL (N)
with the engine running at high speed may damage
the transmission. The repairs would not be
covered by your warranty. Be sure the engine is not
running at high speed when shifting your vehicle.
DRIVE (D):This position is for normal driving.
If you need more power for passing, and you're:
·Going less than about 35 mph (55 km/h), push the
accelerator pedal about halfway down.
·Going about 35 mph (55 km/h) or more, push the
accelerator all the way down.
You'll shift down to the next gear and have more power.
DRIVE (D) can be used when towing a trailer, carrying
a heavy load, driving on steep hills or for off-road driving.
You may want to shift the transmission to THIRD (3)
or, if necessary, a lower gear selection if the
transmission shifts too often.
THIRD (3):This position is also used for normal driving.
However, it offers more power and lower fuel economy
than DRIVE (D).
2-30
Page 101 of 460
{CAUTION:
Shifting the transfer case to NEUTRAL can
cause your vehicle to roll even if the
transmission is in PARK (P). You or someone
else could be seriously injured. Be sure to set
the parking brake before placing the transfer
case in NEUTRAL. See
Parking Brake on
page 2-35
.
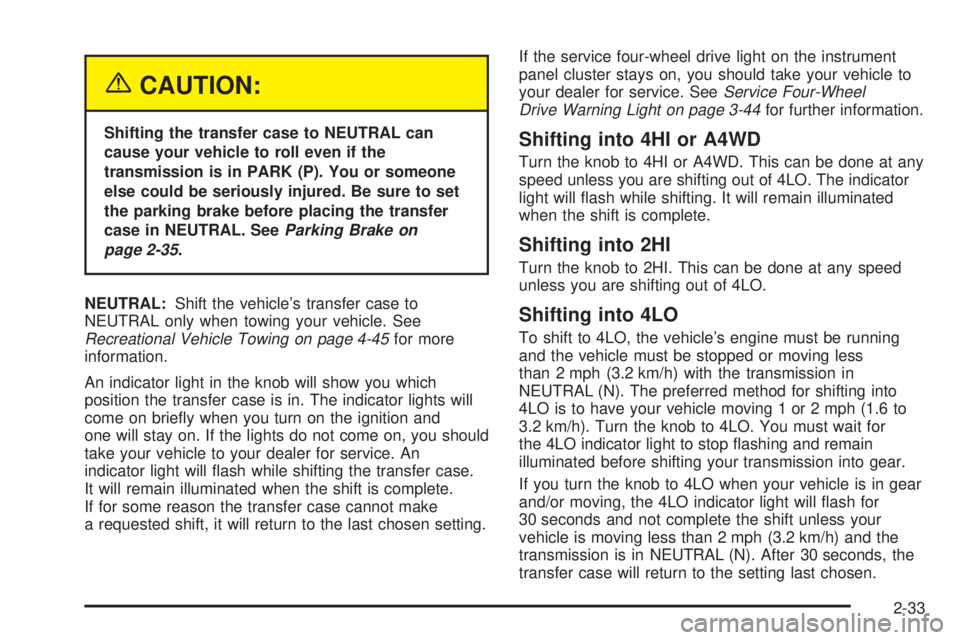
NEUTRAL:Shift the vehicle's transfer case to
NEUTRAL only when towing your vehicle. See
Recreational Vehicle Towing on page 4-45for more
information.
An indicator light in the knob will show you which
position the transfer case is in. The indicator lights will
come on brie¯y when you turn on the ignition and
one will stay on. If the lights do not come on, you should
take your vehicle to your dealer for service. An
indicator light will ¯ash while shifting the transfer case.
It will remain illuminated when the shift is complete.
If for some reason the transfer case cannot make
a requested shift, it will return to the last chosen setting.If the service four-wheel drive light on the instrument
panel cluster stays on, you should take your vehicle to
your dealer for service. See
Service Four-Wheel
Drive Warning Light on page 3-44for further information.
Shifting into 4HI or A4WD
Turn the knob to 4HI or A4WD. This can be done at any
speed unless you are shifting out of 4LO. The indicator
light will ¯ash while shifting. It will remain illuminated
when the shift is complete.
Shifting into 2HI
Turn the knob to 2HI. This can be done at any speed
unless you are shifting out of 4LO.
Shifting into 4LO
To shift to 4LO, the vehicle's engine must be running
and the vehicle must be stopped or moving less
than 2 mph (3.2 km/h) with the transmission in
NEUTRAL (N). The preferred method for shifting into
4LO is to have your vehicle moving 1 or 2 mph (1.6 to
3.2 km/h). Turn the knob to 4LO. You must wait for
the 4LO indicator light to stop ¯ashing and remain
illuminated before shifting your transmission into gear.
If you turn the knob to 4LO when your vehicle is in gear
and/or moving, the 4LO indicator light will ¯ash for
30 seconds and not complete the shift unless your
vehicle is moving less than 2 mph (3.2 km/h) and the
transmission is in NEUTRAL (N). After 30 seconds, the
transfer case will return to the setting last chosen.
2-33
Page 102 of 460
Shifting Out of 4LO
To shift from 4LO to 4HI, A4WD or 2HI your vehicle
must be stopped or moving less than 2 mph (3.2 km/h)
with the transmission in NEUTRAL (N) and the
engine running. The preferred method for shifting out of
4LO is to have your vehicle moving 1 or 2 mph (1.6
to 3.2 km/h). Turn the knob to 4HI, A4WD or 2HI. You
must wait for the 4HI, A4WD or 2HI indicator light to stop
¯ashing and remain illuminated before shifting your
transmission into gear.
If the knob is turned to 4HI, A4WD or 2HI when your
vehicle is in gear and/or moving, the 4HI, A4WD or 2HI
indicator light will ¯ash for 30 seconds. It will not complete
the shift unless your vehicle is moving less than 2 mph
(3.2 km/h) with the transmission in NEUTRAL (N).
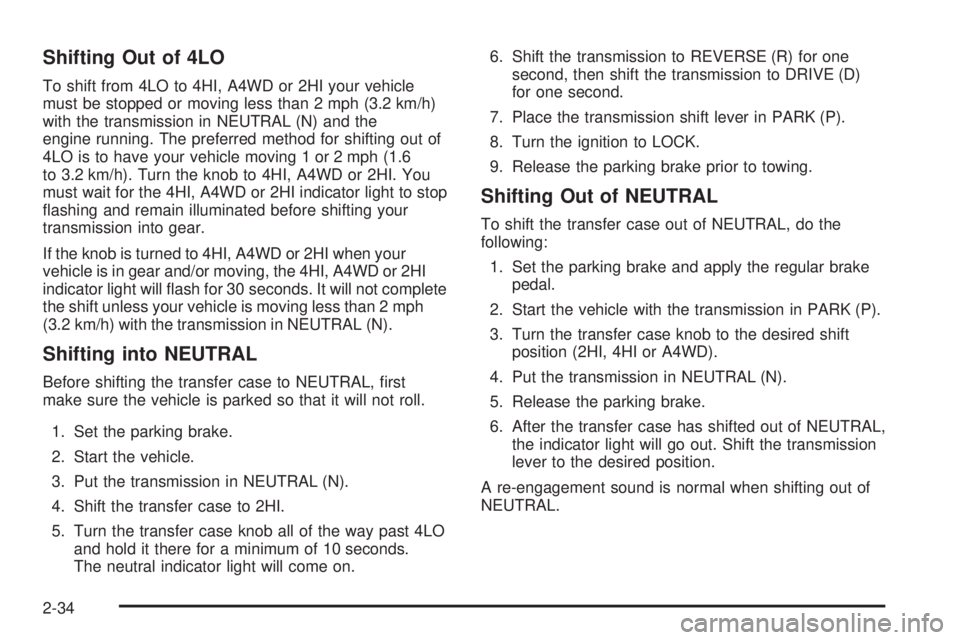
Shifting into NEUTRAL
Before shifting the transfer case to NEUTRAL, ®rst
make sure the vehicle is parked so that it will not roll.
1. Set the parking brake.
2. Start the vehicle.
3. Put the transmission in NEUTRAL (N).
4. Shift the transfer case to 2HI.
5. Turn the transfer case knob all of the way past 4LO
and hold it there for a minimum of 10 seconds.
The neutral indicator light will come on.6. Shift the transmission to REVERSE (R) for one
second, then shift the transmission to DRIVE (D)
for one second.
7. Place the transmission shift lever in PARK (P).
8. Turn the ignition to LOCK.
9. Release the parking brake prior to towing.
Shifting Out of NEUTRAL
To shift the transfer case out of NEUTRAL, do the
following:
1. Set the parking brake and apply the regular brake
pedal.
2. Start the vehicle with the transmission in PARK (P).
3. Turn the transfer case knob to the desired shift
position (2HI, 4HI or A4WD).
4. Put the transmission in NEUTRAL (N).
5. Release the parking brake.
6. After the transfer case has shifted out of NEUTRAL,
the indicator light will go out. Shift the transmission
lever to the desired position.
A re-engagement sound is normal when shifting out of
NEUTRAL.
2-34
Page 103 of 460
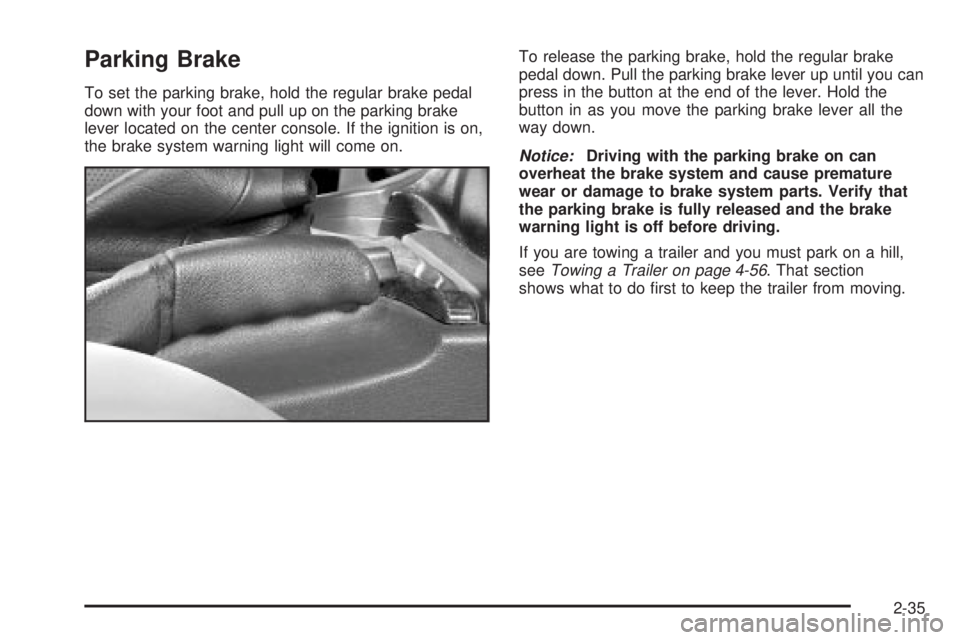
Parking Brake
To set the parking brake, hold the regular brake pedal
down with your foot and pull up on the parking brake
lever located on the center console. If the ignition is on,
the brake system warning light will come on.To release the parking brake, hold the regular brake
pedal down. Pull the parking brake lever up until you can
press in the button at the end of the lever. Hold the
button in as you move the parking brake lever all the
way down.
Notice:Driving with the parking brake on can
overheat the brake system and cause premature
wear or damage to brake system parts. Verify that
the parking brake is fully released and the brake
warning light is off before driving.
If you are towing a trailer and you must park on a hill,
see
Towing a Trailer on page 4-56. That section
shows what to do ®rst to keep the trailer from moving.
2-35
Page 104 of 460
Shifting Into Park (P)
{CAUTION:
It can be dangerous to get out of your vehicle
if the shift lever is not fully in PARK (P) with
the parking brake ®rmly set. Your vehicle can
roll. If you have left the engine running, the
vehicle can move suddenly. You or others
could be injured. To be sure your vehicle will
not move, even when you are on fairly level
ground, use the steps that follow. With
four-wheel drive, your vehicle will be free
to roll Ð even if your shift lever is in
PARK (P) Ð if your transfer case is in
NEUTRAL. So, be sure the transfer case is in a
drive gear Ð not in NEUTRAL. See
Four-Wheel
Drive on page 2-31
. Always put the shift lever
fully in PARK (P) with the parking brake ®rmly
set. If you are pulling a trailer, see
Towing a
Trailer on page 4-56
.To shift into PARK (P), do the following:
1. Hold the brake pedal down with your foot and set
the parking brake.
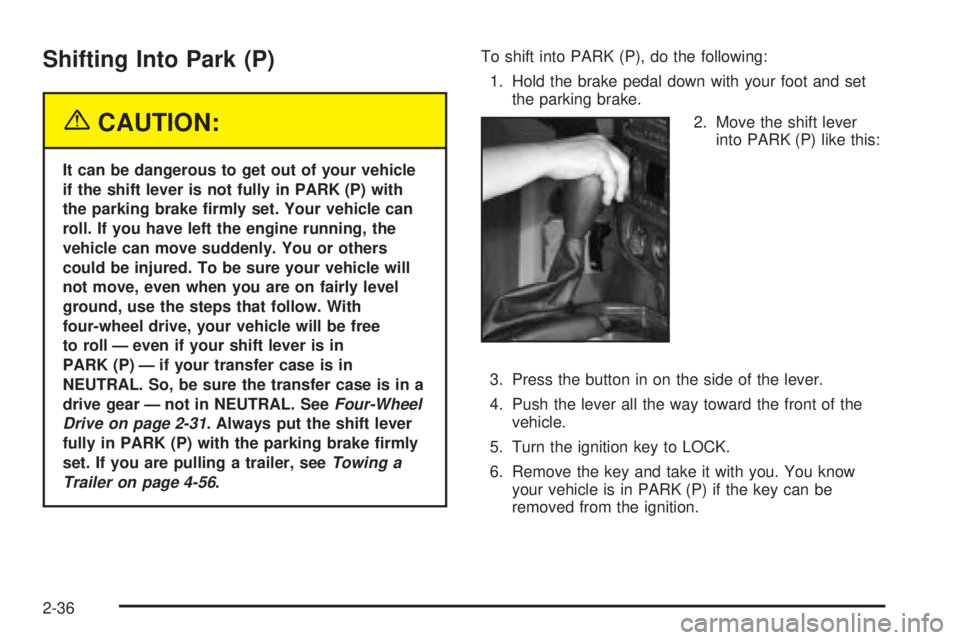
2. Move the shift lever
into PARK (P) like this:
3. Press the button in on the side of the lever.
4. Push the lever all the way toward the front of the
vehicle.
5. Turn the ignition key to LOCK.
6. Remove the key and take it with you. You know
your vehicle is in PARK (P) if the key can be
removed from the ignition.
2-36
Page 108 of 460
{CAUTION:
It can be dangerous to get out of your vehicle
if the shift lever is not fully in PARK (P) with
the parking brake ®rmly set. Your vehicle can
roll. Do not leave your vehicle when the engine
is running unless you have to. If you have left
the engine running, the vehicle can move
suddenly. You or others could be injured.
To be sure your vehicle will not move, even
when you are on fairly level ground, always set
your parking brake and move the shift lever to
PARK (P).
{CAUTION:
If you have four-wheel drive, your vehicle will
be free to roll Ð even if your shift lever is in
PARK (P) Ð if your transfer case is in
NEUTRAL. So be sure the transfer case is in a
drive gear Ð not in NEUTRAL. See
Four-Wheel
Drive on page 2-31
.
Follow the proper steps to be sure your vehicle will not
move. See
Shifting Into Park (P) on page 2-36.
If you are pulling a trailer, see
Towing a Trailer on
page 4-56.
2-40
Page 111 of 460
Outside Manual Mirrors
Adjust your outside mirrors so you can see a little of the
side of your vehicle.
Fold the mirrors in before entering a car wash. To do
this, pull the mirrors in toward the vehicle. Push the
mirrors back out when ®nished.
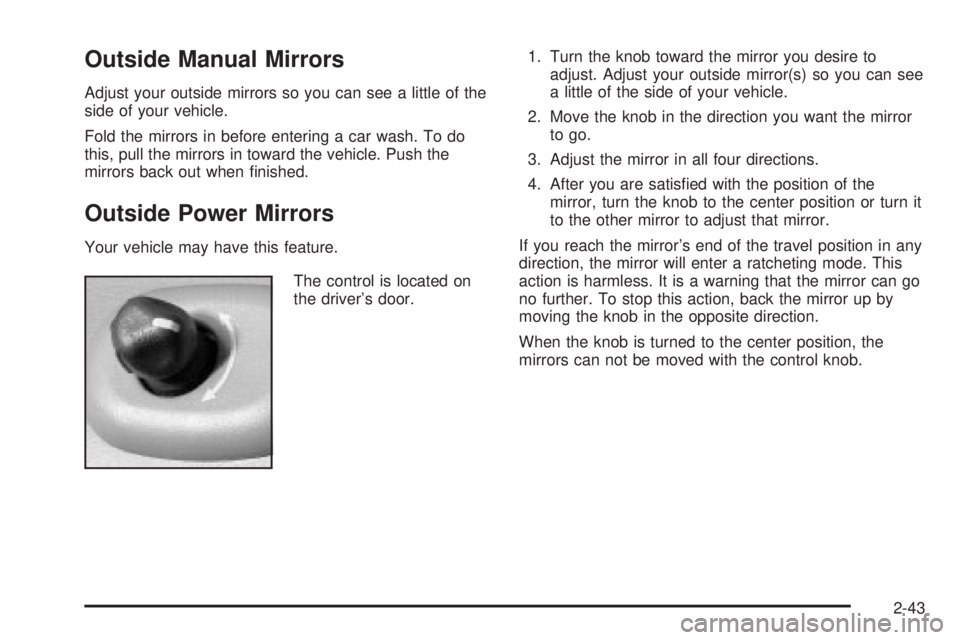
Outside Power Mirrors
Your vehicle may have this feature.
The control is located on
the driver's door.1. Turn the knob toward the mirror you desire to
adjust. Adjust your outside mirror(s) so you can see
a little of the side of your vehicle.
2. Move the knob in the direction you want the mirror
to go.
3. Adjust the mirror in all four directions.
4. After you are satis®ed with the position of the
mirror, turn the knob to the center position or turn it
to the other mirror to adjust that mirror.
If you reach the mirror's end of the travel position in any
direction, the mirror will enter a ratcheting mode. This
action is harmless. It is a warning that the mirror can go
no further. To stop this action, back the mirror up by
moving the knob in the opposite direction.
When the knob is turned to the center position, the
mirrors can not be moved with the control knob.
2-43
Page 130 of 460
Tilt Wheel
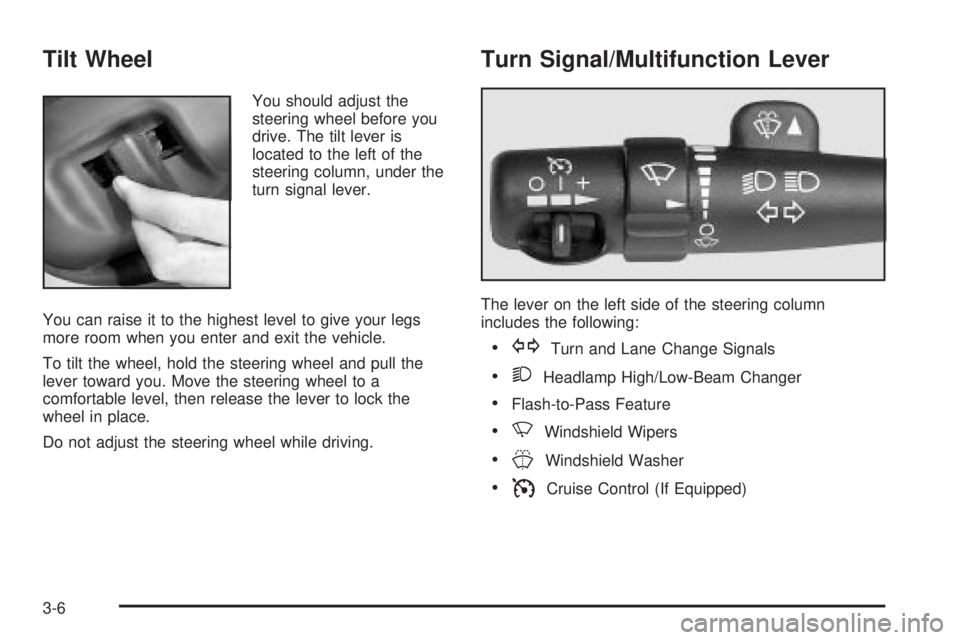
You should adjust the
steering wheel before you
drive. The tilt lever is
located to the left of the
steering column, under the
turn signal lever.
You can raise it to the highest level to give your legs
more room when you enter and exit the vehicle.
To tilt the wheel, hold the steering wheel and pull the
lever toward you. Move the steering wheel to a
comfortable level, then release the lever to lock the
wheel in place.
Do not adjust the steering wheel while driving.
Turn Signal/Multifunction Lever
The lever on the left side of the steering column
includes the following:
·GTurn and Lane Change Signals
·2Headlamp High/Low-Beam Changer
·Flash-to-Pass Feature
·NWindshield Wipers
·JWindshield Washer
·ICruise Control (If Equipped)
3-6
Page 131 of 460
Turn and Lane Change Signals
The turn signal has two upward (for right) and two
downward (for left) positions. These positions allow you
to signal a turn or a lane change.
To signal a turn, move the lever all the way up or down.
When the turn is ®nished, the lever will return
automatically.
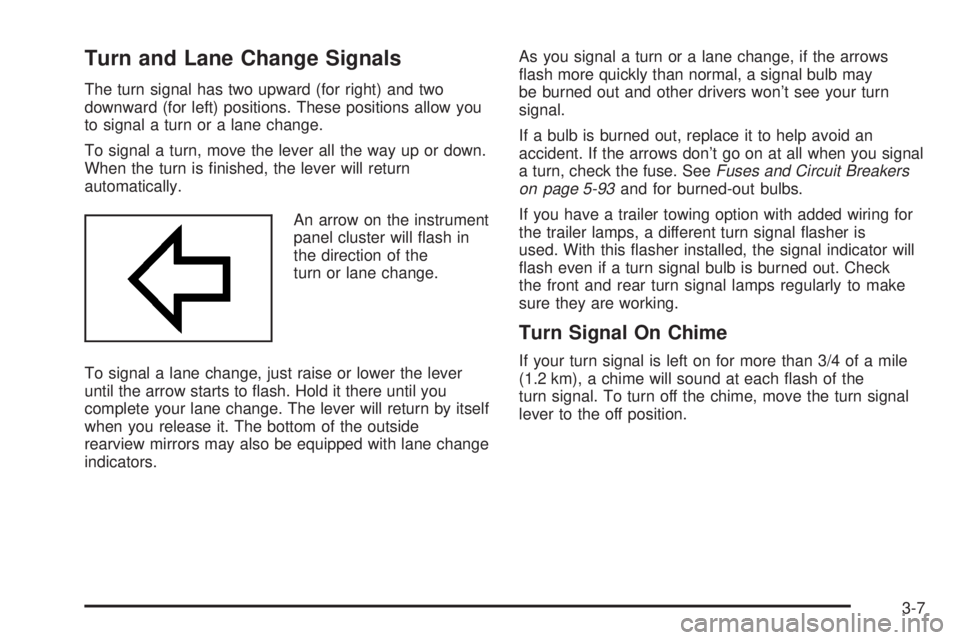
An arrow on the instrument
panel cluster will ¯ash in
the direction of the
turn or lane change.
To signal a lane change, just raise or lower the lever
until the arrow starts to ¯ash. Hold it there until you
complete your lane change. The lever will return by itself
when you release it. The bottom of the outside
rearview mirrors may also be equipped with lane change
indicators.As you signal a turn or a lane change, if the arrows
¯ash more quickly than normal, a signal bulb may
be burned out and other drivers won't see your turn
signal.
If a bulb is burned out, replace it to help avoid an
accident. If the arrows don't go on at all when you signal
a turn, check the fuse. See
Fuses and Circuit Breakers
on page 5-93and for burned-out bulbs.
If you have a trailer towing option with added wiring for
the trailer lamps, a different turn signal ¯asher is
used. With this ¯asher installed, the signal indicator will
¯ash even if a turn signal bulb is burned out. Check
the front and rear turn signal lamps regularly to make
sure they are working.
Turn Signal On Chime
If your turn signal is left on for more than 3/4 of a mile
(1.2 km), a chime will sound at each ¯ash of the
turn signal. To turn off the chime, move the turn signal
lever to the off position.
3-7
Page 132 of 460
Headlamp High/Low-Beam Changer
To change the headlamps from low to high beam, push
the lever toward the instrument panel. To return to
low-beam headlamps, pull the multifunction lever toward
you. Then release it.
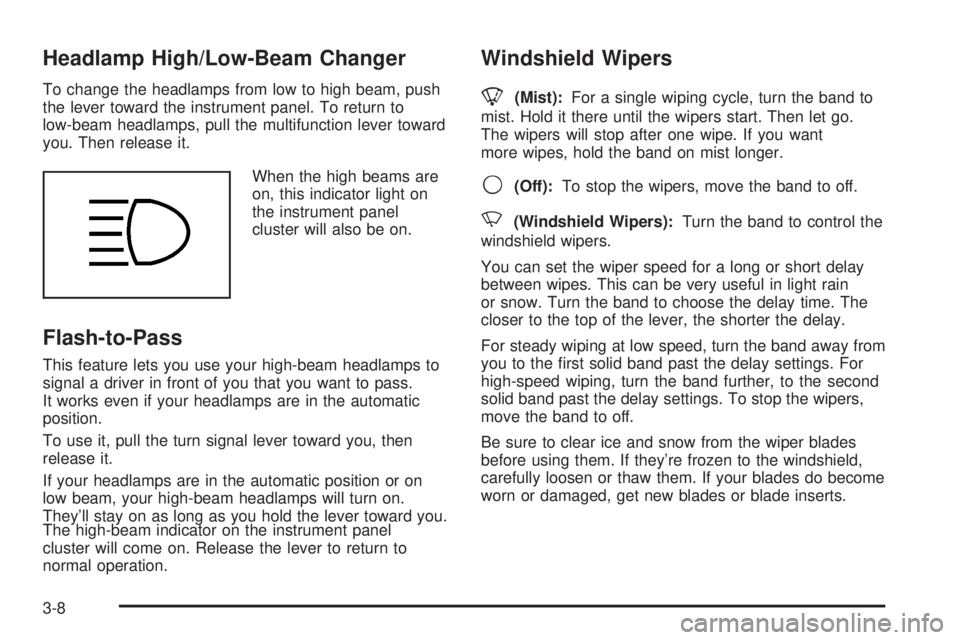
When the high beams are
on, this indicator light on
the instrument panel
cluster will also be on.
Flash-to-Pass
This feature lets you use your high-beam headlamps to
signal a driver in front of you that you want to pass.
It works even if your headlamps are in the automatic
position.
To use it, pull the turn signal lever toward you, then
release it.
If your headlamps are in the automatic position or on
low beam, your high-beam headlamps will turn on.
They'll stay on as long as you hold the lever toward you.
The high-beam indicator on the instrument panel
cluster will come on. Release the lever to return to
normal operation.
Windshield Wipers
8
(Mist):For a single wiping cycle, turn the band to
mist. Hold it there until the wipers start. Then let go.
The wipers will stop after one wipe. If you want
more wipes, hold the band on mist longer.
9(Off):To stop the wipers, move the band to off.
N(Windshield Wipers):Turn the band to control the
windshield wipers.
You can set the wiper speed for a long or short delay
between wipes. This can be very useful in light rain
or snow. Turn the band to choose the delay time. The
closer to the top of the lever, the shorter the delay.
For steady wiping at low speed, turn the band away from
you to the ®rst solid band past the delay settings. For
high-speed wiping, turn the band further, to the second
solid band past the delay settings. To stop the wipers,
move the band to off.
Be sure to clear ice and snow from the wiper blades
before using them. If they're frozen to the windshield,
carefully loosen or thaw them. If your blades do become
worn or damaged, get new blades or blade inserts.
3-8