ECU GMC JIMMY 1997 User Guide
[x] Cancel search | Manufacturer: GMC, Model Year: 1997, Model line: JIMMY, Model: GMC JIMMY 1997Pages: 410, PDF Size: 20.03 MB
Page 69 of 410
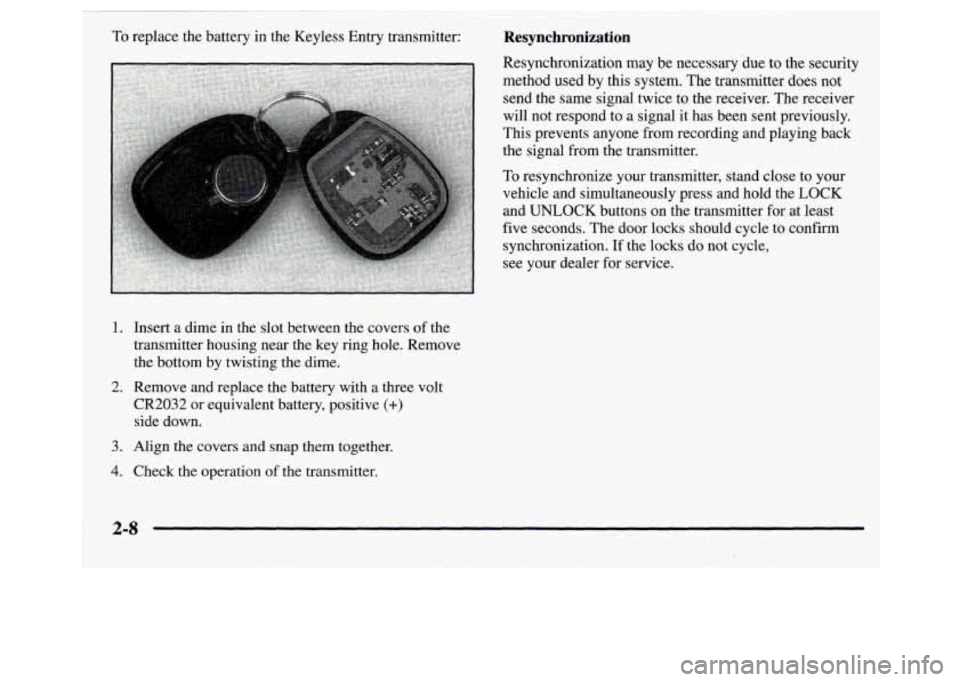
To replace the battery in the Keyless Entry transmitter: Resynchronization
1. Insert a dime in the slot between the covers of the
transmitter housing near the key ring hole. Remove
the bottom by twisting the dime.
CR2032
or equivalent battery, positive (+)
side down.
2.
Remove and replace the battery with
a three volt
3. Align the covers and snap them together.
4. Check the operation of the transmitter. Resynchronization may
be necessary due to the security
method used
by this system. The transmitter does not
send the same signal twice to the receiver. The receiver
will not respond to a signal it has been sent previously.
This prevents anyone from recording and playing back
the signal from the transmitter.
To resynchronize your transmitter, stand close to your
vehicle and simultaneously press
and hold the LOCK
and
UNLOCK buttons on the transmitter for at least
five seconds. The door locks should cycle to confirm
synchronization. If the locks
do not cycle,
see your dealer
for service.
2-8
Page 72 of 410
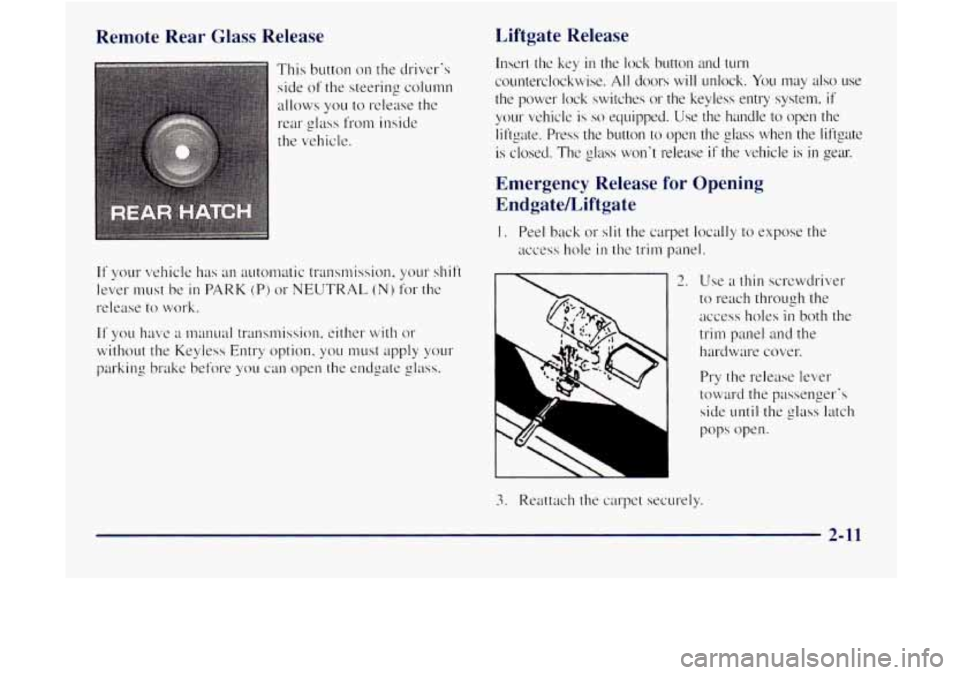
Remote Rear Glass Release
This button on the driver's
side
of the steering column
allows you to r~lease the
rear glass from inside
the vehicle
If your vehicle has an automatic transmission, your shift
lever must be
in PARK (P) or NEUTRAL (N) for the
release
to work.
Liftgate Release
Inscrl thc key in the lock button and turn
counterclockwise.
All doors will unlock. You may also use
the power lock switches
or the keyless entry system. if'
your vehicle is so equipped. Use the handle to open the
liftgate. Press the button
to open the glass Lvhen the liftgate
is closed. The
glass won't release if the vehicle is in getu.
Emergency Release for Opening
Endgatekiftgate
I. Peel back or slit the carpet locally to expose the
access hole
in the trim panel.
2. Use a thin screwdriver
to reach through the
access holes
in both the
trim panel and the
hardware cover.
Pry the release lever
toward the passenger's
side
until the glass latch
pops ope 11.
3. Reattach the carpet securely.
2-11
Page 119 of 410
Roll-Up Cargo Cover (If Equipped)
If you have the optional cargo cover, you can use it to
cover items in the cargo area of your vehicle.
Grasp
the handle and unroll the cover. Latch the posts
into the sockets on the inside trim panel on the
passenger's side of the vehicle to secure it.
A CAUTION:
An improperly stored cargo cover could be
thrown about the vehicle during a collision
or sudden maneuver.
You or others could be
injured.
If you remove the cover, always store it
outside
of the vehicle. When you put it back,
always be sure that it is securely reattached.
Cargo Tie Downs
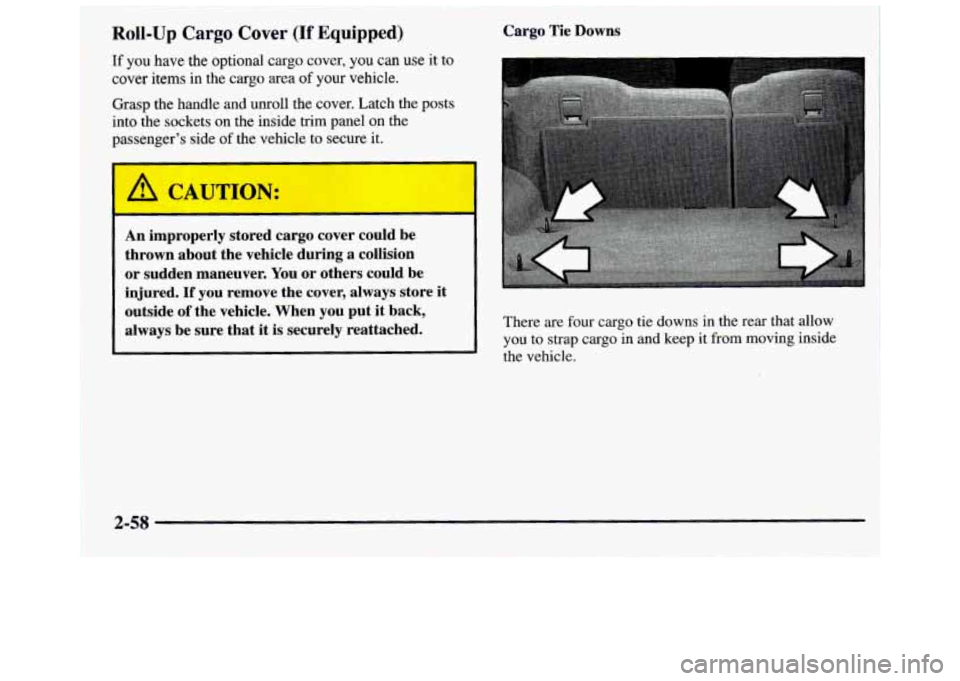
There are four cargo tie downs in the rear that allow
you to strap cargo in and keep it from moving inside
the vehicle.
2-58
Page 120 of 410
Lugg-xe Car-% (If 'D,qr%ped)
IN:
If you try to carry something on top of your
vehicle that is longer or wider than the luggage
carrier
-- like paneling, plywood, a mattress, and
so forth -- the wind can catch it as you drive
along. This can cause you to lose control. What
you are carrying could be violently torn
off, and
this could cause you or other drivers to have a
collision, and
of course damage your vehicle. You
may be able to carry something like this inside.
But, never carry something longer or wider than
the luggage carrier on top
of your vehicle.
The luggage carrier has slats, side rails and crossrails
attached
to the roof to secure cargo. The moveable tie
downs: attached
to the side rails, should be used to
secure loads to the luggage carrier.
Use
GM accessory racks that are compatible with your
luggage carrier for transporting sports equipment.
These are available through your
GM dealer.
2-59
Page 122 of 410
NOTICE:
Loading cargo that weighs more than 200 lbs.
(91 kg) on the luggage carrier may damage your
vehicle. When you carry large things, never let
them hang over the rear
or the sides of your
vehicle. Load your cargo
so that it rests on the
slats and does not scratch or damage the vehicle.
Put the cargo against the side rails and fasten it
securely to the luggage carrier. Put the main
weight as far forward
as you can.
Don't exceed the maximum vehicle capacity when
loading your vehicle. For more information on vehicle
capacity and loading. see "Loading Your Vehicle"
in
the Index.
To prevent damage or loss of cargo as you're driving.
check now and then to make sure the luggage carrier and
cargo are still securely fastened.
Ashtrays and Cigarette Lighter
To use the lighter, press it in all the way, and let go.
When it's ready, it will pop back by itself.
NOTICE:
Don't hold a cigarette lighter in with your hand
while it
is heating. If you do, it won't be able to
back away from the heating element when it's
ready. That can make it overload, damaging the
lighter and the heating element.
The front ashtray must be completely pulled
out to the
open position before the ashtray cover opens
and
smoking material can be deposited.
2-61
Page 125 of 410
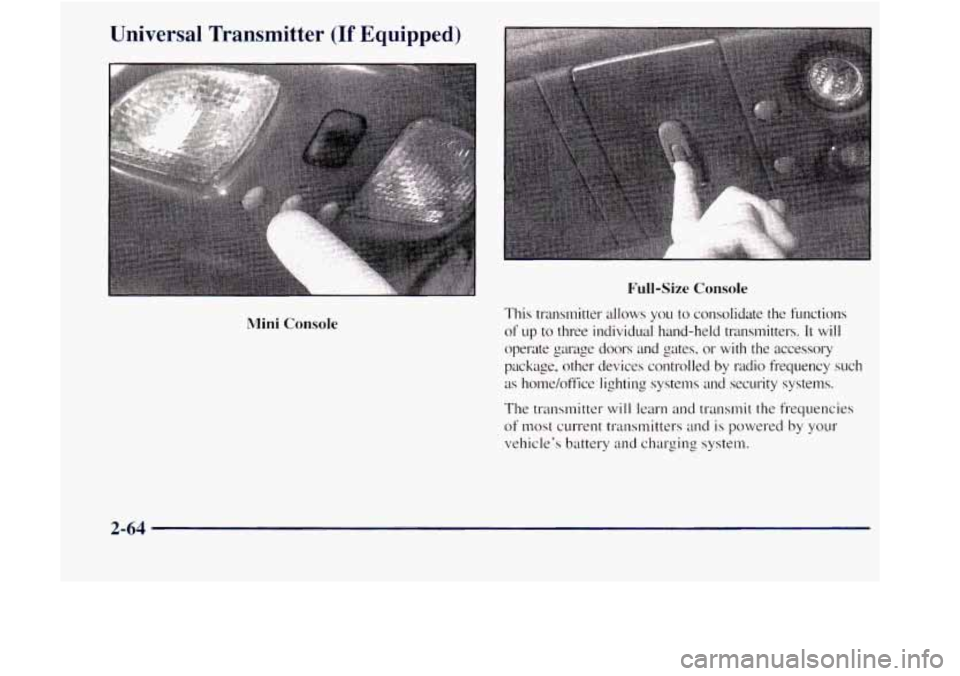
Universal Transmitter (If Equipped)
Mini Console
Full-Size Console
This transmitter allows you to consolidate the functions
of up to three individual hand-held transmitters. It will
operate garage doors and gates. or with the accessory
package. other devices controlled by I-adio frequency such
as hondoft'ice lighting systems and security systems.
The transmitter
will learn and transmit the frequencies
of most current transmitters and is powered by your
vehicle's battery and charging system.
2-64
Page 127 of 410

Operating the Transmitter
Press and hold the appropriate button on the universal
transmitter. The red light comes on while the signal is
being transmitted.
Note that the effective transmission range of the
universal transmitter may differ from the hand-held
transmitter and from one channel to another.
Erasing Channels
To erase all three programmed channels, hold down
the two outside buttons until the red light begins to
flash. Individual channels cannot be erased.
but can be
reprogrammed using
the procedure for programming the
transmitter explained earlier.
Training a Garage Opener with a "Rolling
Code" Feature
If you programmed the universal transmitter. but the
garage door will not open. and
if your garage door opener
was manufactured after
1995, your garage door may have
a security feature that changes the "code"
of your garage
door opener every time
it is opened or closed.
To determine if your garage door opener has this
"rolling code" feature. press the appropriate button on
the universal transmitter that was programmed. If the
red light tlashes rapidly for one to two seconds, then
turns solid, your garage door opener
has this feature.
To program a garage door opener with the rolling code
feature, do the following:
1.
-. 3
3.
4.
5.
6.
Program your hand-held transmitter to the universal
transmitter by following the steps provided under
"Programming the Transmitter" earlier in this section.
Remove the cover panel from the garage door opener
receiver.
It is located near the garage door opener motor.
Locate the training button
on the garage door opener
receiver. The exact location and color
will vary
among brands.
Press the training button on the garage door opener
receiver for one to two seconds.
Return
to your vehicle and press the programmed
button on the universal transmitter
until the red light
flashes rapidly (about two seconds).
Release the button. then repress
it to confirm it was
programmed to the garage door opener receiver.
You may now use either the universal transmitter or
the hand-held transmitter to open your garage door.
If you still have difficulty in programming and I
assistance. please call 1-800-355-35 15.
Accessories
Accessories for the universal transmitter are ava .I
:quire
lable
from the manufitcturer of the unit. If you would like
additional information. please call
1-800-355-35 15.
2-66
Page 161 of 410

3. Turn the radio off.
5. Press MN and 000 will appear on the display.
6. Press MN again to make the last two digits agree
with your code.
7. Press HR to make the first one or two digits agree
with your code.
8. Press AM-FM after yo~l I~aue confirtned that the
code tnatches the
secret code you have written do~~l.
The display will show REP to let you know that you
need to repeat Steps
5 through 7 to confirm your
secret code.
9. Press AM-FM and this time the display will show
SEC to let you lcnow that your radio is secu-e. The
indicator by the volume control will begin flashing
when the ignition
is turned off.
Unlocking the Theft-Deterrent Feature After a
Power 1,oss
Enter yo~~r sccret code as follows; pause no more than
IS seconds between steps:
2. Press MN and 000 will appear on the display
3. Press HR to make the first o11e or two digits agree
with your code.
5. Press AM-FM after you have confimed that the
code nlatches the secret code you have written down.
The display will show SEC, indicating the radio is
IIOW operable and secure.
II’yo~l enter the wrong code eight times. INOP will
appear
on the display. You will have to wait an hour
with the ignition on before you can try again. When you
try again, you
\vi11 only Ila\~ three chances to enter the
correct
cock before INOP appears.
If‘ ~OLI lose or forget yo~~r code, contact your dealer.
3-18
Page 162 of 410

Disabling the Theft-Deterrent Feature
Enter your secret code as follows; pause no more than
I5 seconds between steps:
1. Turn the ignition to ACCESSORY or RUN.
2. Turn the radio off.
5. Press MN again to nlake the last two digits agree
with your cock.
6. Press HR to make the first one or two digits agree
with your code.
7. Press AM-FM after you have confiI-med that the
code matches the secret code
you have written do~+m.
The display will show ---, indicating that the radio is
no longer secured.
If the code entered is incorrect, SEC will appear OII the
display. The radio
will remain sec~~red until the correct
code is entered.
Understanding Radio Reception
FWl Stereo
3-19
Page 181 of 410

A CAUTION:
Cargo on the load floor piled higher than
the seatbacks can be thrown forward
during a sudden stop.
You or your
passengers could be injured. Keep cargo
be
below
the top
of the seatbacks.
Unsecured cargo on the load floor can
tossed about whell driving over rough
terrain.
You or your passengers can be
struck by flying ot>,jects. Secure the
cargo properly.
0 Heavy loads on the roof raise the vehicle's
center
of gravity, making it more likely to
roll over.
You can be seriously or fatally
injured if the vehicle rolls over. Put heavy
loads inside the cargo area, not on the roof.
Keep cargo in the cargo area
as far forward
and low
as possible.
Environmental Concerns
4-16