clock GMC JIMMY 1997 User Guide
[x] Cancel search | Manufacturer: GMC, Model Year: 1997, Model line: JIMMY, Model: GMC JIMMY 1997Pages: 410, PDF Size: 20.03 MB
Page 249 of 410

Removing the Flat Tire and Installing the
Spare Tire 3. Fit the jack into the appropriate hole nearest the
tlat tire.
1. Using the wheel wrench, loosen all the wheel nuts.
Don't
remove them yet.
2. Turn the jack handle clockwise to raise the jack
lift head.
A. Front Frame Hole
B. Rear Frame Hole (?-Door) or Spring Hanger Hole
(+Door)
5-28
Page 252 of 410

10. Use the wrench to tighten the wheel nuts firmly in a
crisscross sequence
as shown.
9. Lower the vehicle by turning the jack handle
counterclockwise. Lower the jack completely.
5-31
Page 254 of 410

Follow this diagram to store the llnderbody-mounted spare.
A. Retainer
B. Valve Stem
(Pointed
Down)
C. Spare 01- Flat Tire
D. Spring
E. Wheel Wrench
F. Lower
G. Raise
H. Hoist
Arm
1. Put the tire on the gro~~nd at the rear of the vehicle,
with the valve stem pointed down and to the rear.
2. Pull the retainer t11ro~1sh the wheel.
3. Put the chisel end of the wheel wrench, on an angle,
through
the hole in the rear bllmper and into the hoist
shaft. Turn the wheel wrench clockwise until the tire
is raised against the underside
of the vehicle.
You will hear two "clicks" when the tire is secure.
but p~111 on the tire to make SLII-e.
5-33
Page 264 of 410

Filling Your Tank
The fuel cap is behind
a hinged door on the
driver’s side
of
your vehicle.
Gasoline vapor is highly flammable. It burns violently, and that can cause very bad injuries.
Don’t smoke if you’re near gasoline or refueling
your vehicle. Keep sparks, flames and smoking
materials away from gasoline.
To take off the cap, turn
it slowly to the left
(counterclockwise). The
cap has a spring in it: if
you let go of the cap
too soon, it will spring
back to the right.
A CAUTION:
I
If you get gasoline on yourself and then
something ignites it, you could be
badly burned.
Gasoline can spray out on you if you open
the
fuel filler cap too quickly. This spray can happen
if your tank
is nearly full, and is more likely in
hot weather. Open the fuel filler cap slowly and
wait for any “hiss” noise to stop. Then unscrew
the cap
all the way.
6-5
Page 265 of 410

Be careful not to spill gasoline. Clean gasoline from
painted surfaces as soon as possible. See “Cleaning the
Outside of Your Vehicle” in the Index.
When you put the cap back on, turn it to the right
(clockwise) until you hear a clicking sound. Make sure
you fully install the cap. The diagnostic system can
determine if the fuel cap has been left off or improperly
installed. This would allow fuel to evaporate into the
atmosphere. See “Malfunction Indicator Lamp’’ in
the Index.
______
NOTICE:
If you need a new cap, be sure to get the right
type. Your dealer can get one for you.
If you get
the wrong type, it may not fit properly. This may
cause your malfunction indicator lamp to light
and your fuel tank and emissions system may be
damaged. See “Malfunction Indicator Lamp” in
the Index.
Checking Things Under the Hood
To open the hood, first pull
the handle inside the vehicle
on the lower driver’s side of
the instrument panel.
Then go to the front of
the vehicle and release the
secondary hood release.
6-6 I I I
Page 294 of 410

Composite Headlamps
I. Open the 1700d.
3 -.
4. Unplug the electrical connector.
5. Turn the bulb
counterclockwise to
remove It ,
3. 6. Put the new bulb into the headlamp lens assembly
and turn it clockwise until it is tight.
7. Plug in the electrical connector.
8. Put the headlamp lens assembly back into the
vehicle. Install and tighten the screws.
6-35
Page 295 of 410

Front Turn Signal Lamps
If you have fog lamps, the fog lamp bracket must be
removed before
you can replace the front turn
signal lamps.
3 -.
3.
Turn the socket counterclockwise and pull it out.
Holding the base
of the bulb, pull the bulb straight
out of the socket.
Push the new bulb
into the socket until it clicks.
Put the socket back into
the turn signal lamp
usembly and turn ii clockwise until it locks
into place.
Front Sidemarker Lamps
1.
3 -.
3.
4.
5.
6.
7.
9. 8.
Remove the lens retaining screws.
Remove the sidernarker
lens from the radiator grille.
Turn hc bulb and socket one-quarter turn
counterclockwise.
Remove the
bulb and socket from the lens.
Install the
new bulb and socket to the
sidemarker lens.
Rotate the bulb and socket one-quarter
of a
turn clockwise.
Install the sidemarker lens to the radiator grille.
Insert the tabs into the locators.
Install and tighten the screws.
6-36
Page 296 of 410

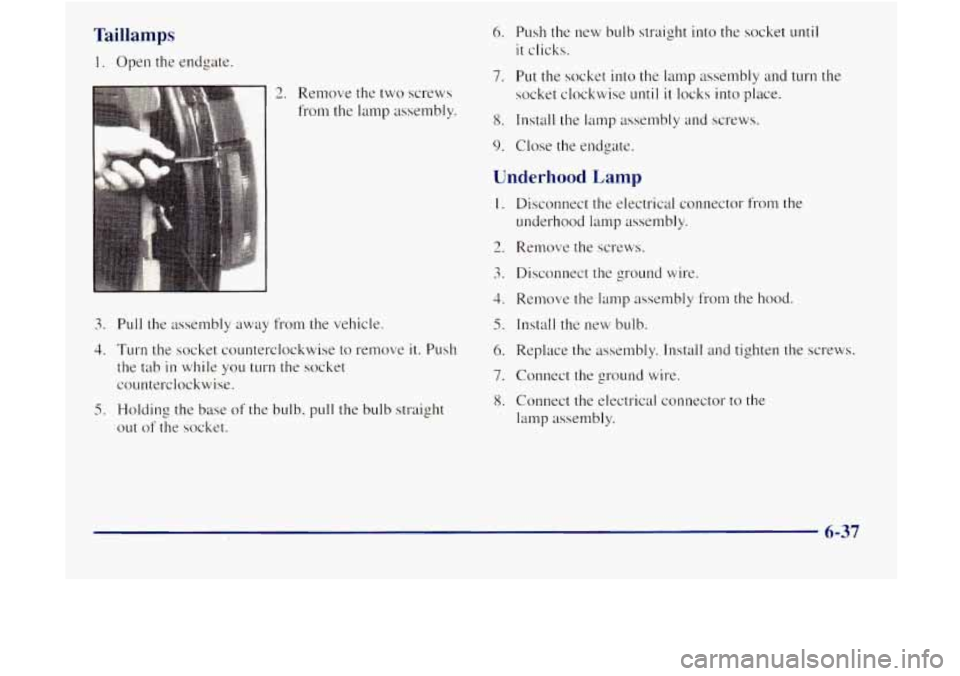
Taillamps
1. Open the endgate.
2. Remove the two screws
from the lamp assembly.
3. Pull the assembly away from the vehicle.
4. Turn the socket counterclockwise to remove it. Push
the tab in while you turn the socket
counterclockwise.
5. Holding the base of the bulb, pull the bulb straight
out of the socket.
6. Push the new bulb straight into the socket until
it clicks.
7. Put the socket into the lamp assembly and turn the
socket clockwise
until it locks into place.
8. Install the lamp assembly and screws.
9. Close the endgate.
Underhood Lamp
1. Disconnect the electrical connector from the
underhood lamp assembly.
2. Remove the screws.
3. Disconnect the ground wire.
4. Remove the lamp assembly from the hood.
5. Install the new bulb.
6. Replace the assembly. Install and tighten the screws.
7. Connect the ground wire.
8. Connect the electrical connector to the
lamp assembly.
6-37
Page 318 of 410

Headlamps
The headlamp wiring is protected by an internal circuit
breaker. An electrical overload
will cause the lamps to go
on and
off, or in some cases to remain off. If this happens,
have
your headlamp wiring checked right away.
Windshield Wipers
The windshield wiper motor is protected by a circuit breaker
and a fuse.
If the motor overheats due to heavy snow, etc.. the
wiper will stop
until the motor cools. If the overload is caused
by some electrical problem, be sure
to get it fixed.
Power Windows and Other Power Options
Circuit breakers protect the power windows and other
power accessories. When the current load is too heavy.
the circuit breaker opens and closes, protecting the
circuit
until the problem is fixed or goes away.
Fuses and Circuit Breakers
The wiring circuits in your vehicle are protected from
short circuits by
a combination of fuses, circuit breakers
and fusible thermal links. This greatly reduces the
chance of fires caused by electrical problems.
Look
at the silver-colored band inside the fuse. If the
band is broken
or melted, replace the fuse. Be sure you
replace a bad fuse
with a new one of the identical size
and rating.
If you ever have a problem on the road and don't have a
spare fuse.
you can borrow one that has the same
amperage. Just pick
some feature of your vehicle that
you can get along without
-- like the radio or cigarette
lighter
-- and use its fuse, if it is the correct amperage.
Replace
it as soon as you can.
Instrument Panel Fuse Block
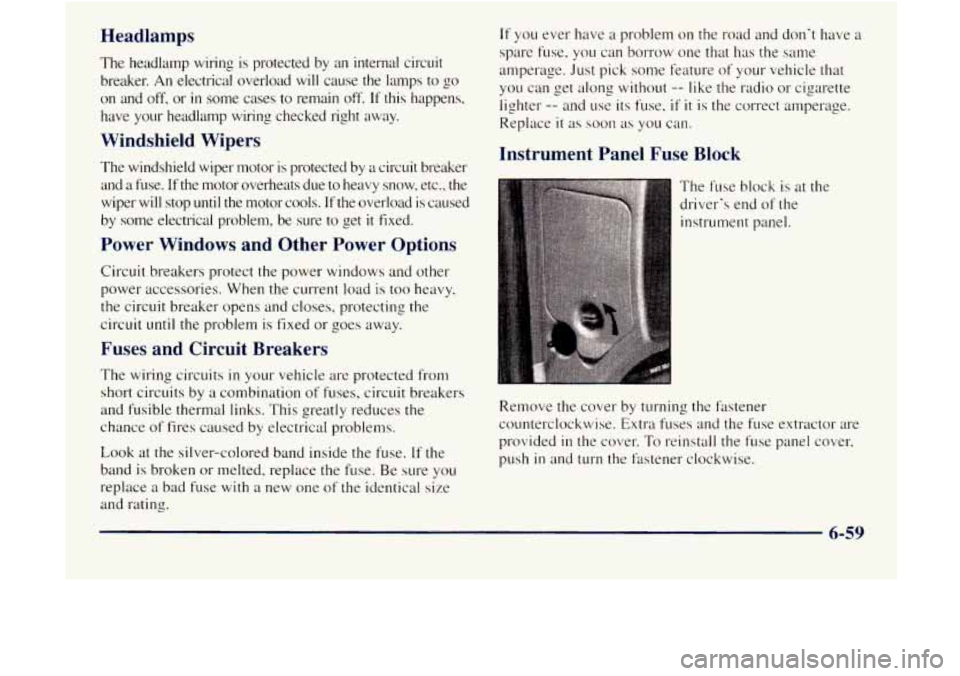
The fuse block is at the
driver's end of the
instrument panel.
Remove the
toller by turning the fastener
counterclockwise. Extra fuses and the fuse extractor are
provided
in the cover. To reinstall the fuse panel cover.
push in and turn the fastener clockwise.
6-59
Page 320 of 410

Fuse/Circuit Breaker Usage
5
6
7
8
9
10
11
12
13
14
1s
Oxygen Sensor Heater, Exhaust Gas
Recirculation, Cam Sensor, CANN.
Purge. Canister Vent Solenoid. Mass
Airflow Sensor,
Cam Shaft Sensor
Blower Motor, Temperature Door Motor.
HI Blower Relay Coil
Power Auxiliary Outlets, Assembly
Line Diagnostic
Link
Rear Window Defogger
PCM/VCM Battery. Fuel Pump
PCM/VCM Ignition, Injectors. Crank
Sensor. Coil Driver Module
Radio, Inside Rearview Mirror Map
Lamp, Overhead Console Reading
Lamps. Rear Wiper, Rear Washer.
Overhead Console Display
Anti-Lock Braking System. VCM
IGN-3
Clock. Radio Battery, CD Player
A/C Compressor Battery Feed
Daytime Running Lamps, Fog
Lamps,
Fog Lamp Relay
17
18
19
20
21
22
23
Fuse/Circuit
Breaker Usage
16 Turn Signals and Back-up Lamps,
Brake-Transmission Shift Interlock
Solenoid
Windshield Washer, Windshield Wiper Motor
Not Used
Electric Shift Transfer Case
Crank Relay,
Air Bag Module
Not Used
Air Bag Module
Cluster Hlumination, Radio
Illu~nination. He.ater Lamp.
4WD
Illumination, Chime Module, Fog
Lam13 Illumination, Rear Wiper
Switch Illumination, Rear Defogger
Switch Illumination, Liftglass
Release Switch Illumination,
Overhead Console Illutnination
PRNDL Power. 4L60E Automatic
Transmission
24
6-61