light GMC JIMMY 1997 Owner's Guide
[x] Cancel search | Manufacturer: GMC, Model Year: 1997, Model line: JIMMY, Model: GMC JIMMY 1997Pages: 410, PDF Size: 20.03 MB
Page 138 of 410

Malfunction Indicator Lamp
(Service Engine Soon Light)
SERVICE
ENGINE
SOON
NOTICE:
If you keep driving your vehicle with this light
on, after
a while, your emission controls may not
work as well, your fuel econonly may not be as
good and your engine may not run
as smoothly.
This could lead to costly repairs that
may not be
covered
by your warranty.
This light should
come on. as ;I check to show you it is
working, tvhen the ignition is on and the engine is not
running. It' the light doesn't conw on, have it repaired.
This light will also come on during a malfunction in one
of two t1;ays:
2-77
Page 139 of 410

If the Light Is Flashing
The following may prevent more serious damage to
your vehicle:
Reducing vehicle speed.
Avoiding hard accelerations.
Avoiding steep uphill grades.
If you are towing a trailer. reduce the anlount of
cargo being hauled as soon as it is possible.
If the light stops flashing and remains
on steady. see “If
the Light Is On Steady” following.
If the light continues t.o flash, when it is safe to do so.
stop the \?el?ic&~. Find a safe place to park your vehiclc.
Turn the key off,
wait at least 10 seconds and restart the
engine.
If the light remains on steady, see “If the Light
Is On Steady” following. If the light is still flashing,
follow the previous steps, and drive the vehicle to your
dealer or qualified service center for service.
If the Light Is On Steady
You may be able to correct the emission system
malfunction by considering the following:
Did
you recently put fuel into your vehicle?
If so, reinstall the fuel cap, making s111-e to fully install
the cap. The diagnostic system can cleter~nine
if the fuel cap
has been left off
or improperly installed. A loose or
missing fuel cap
will allow fuel to evaporate into the
atmosphere.
A few driving trips with the cap properly
installed should turn
the light off,
Did you *just drive through a deep puddle of water’!
If so, your electrical system may be wet. The condition
will usually be corrected when the electrical system
dries out.
A few driving trips should turn the light off.
Have you recently changed brands of fuel?
I1 so, be sure to fuel your vehicle with cpality fuel (see
“Fuel”
in the Index). Poor fuel quality will cause your
engine not to
r11n as e,fficiently as designed. You may
notice this
as stalling after start-up, stalling when you put
the vehicle
into gear, mistlring, hesitation on acceleration
or
stumbling on acceleration. (These conditions may go
away once the engine is warmed up.) This will be detected
by the system and cause the light
to turn on.
If you experience one or more of these conditions,
change the fuel brand you use.
It will require at least one
full tank of the proper fuel to turn the light off.
If none of the above steps have made the light. turn off.
have your dealer or qualified service center check the
vehicle. Your dealer has the proper test equipment and
diagnostic
tools to fix any mechanical or electrical
problcnls that may have developed.
Page 141 of 410

Shift Light
SHIFT
You have the shift light
if you
have a manual
transmission. This light
comes on very briefly as a
bulb check when you start
the engine. Shilting when
the indicator light is
on wi 11
help you get the best fuel
economy. See "Shift Light"
in the Index.
Check Gages Light
1 The CHECK GAGES light
1 will come on briefly when
you are starting the enlrine.
CHECK
GAGES
Daytime Running Lamps Indicator Light
This light is on the
instrument panel.
It goes on
whenever the DRL are on,
the ignition is on. the
headlamp switch is
off
and the parking brake is :*.:(-J
-e released.
2-80
Page 142 of 410

Gate Ajar Light
GATE
AJAR
This light will come on
briefly when you are
starting
the engine. If' it
stays on, your liftgate is
ajar.
Try closing the liftgate
again. Never drive
with the
liftgate even partially open.
Fuel Gage
E-
When the ignition is on,
the fuel
gage tells you
about how much fuel you
11ave remaining.
0 It takes a little more or less file1 to fill up than the gage
inclicated. For example. the gage may have indicated
the tank was
half full, but it actually took a little more
or
less than half the tank's capacity to fill the tank.
0 The gage moves a little when you turn a corner or
speed up.
Page 146 of 410

Air Conditioning
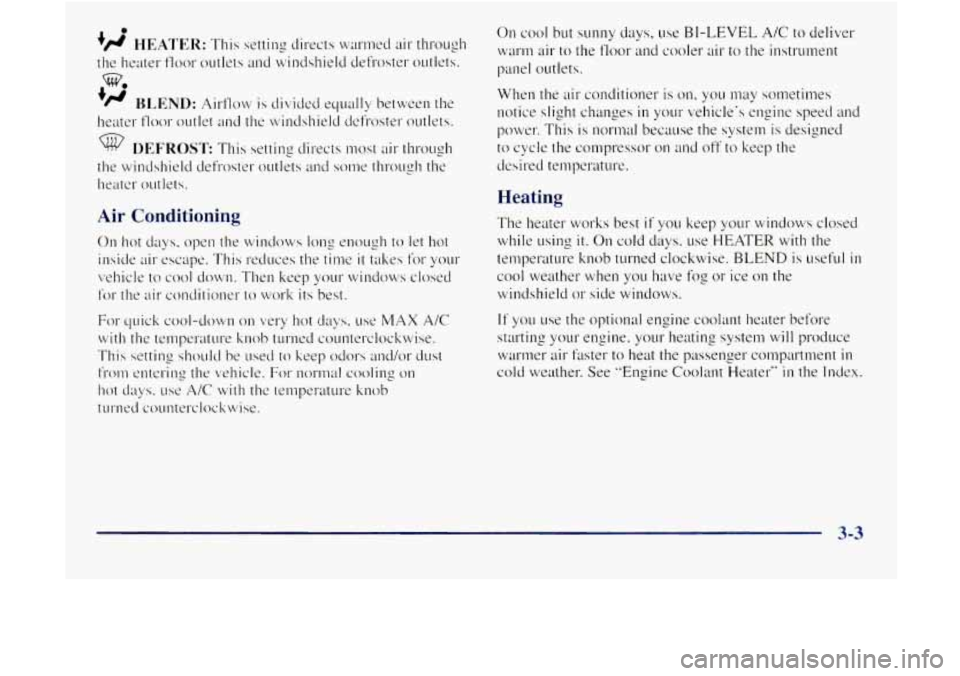
011 cool but sunny days, use BI-LEVEL A/C to deliver
~varm
air to the floor and cooler air to the instrument
p"nel outlets.
When the air conditioner is on. you may sometimes
notice slight changes
in your 1:ehicle's engine speed and
power, This
is normal because the system is designed
to cycle the compressor
on and off to keep the
clesired temperature.
Heating
The heater works best if yo11 keep plr windows closed
while using
it. On cold days. use HEATER With the
ten~perature knob turned clockwise.
BLEND is LISS~LI~ in
cool weather when you have fos or ice on the
winclshield
or side windows.
If ~OLI use the optional engine coolant heater befhre
starting yo~~r engine. your heatin2 system will produce
warmer air faster to heat the passenger compartment
in
cold weather. See "Engine Coolant Heater" in the Index.
3-3
Page 148 of 410

Defogging and Defrosting
On cool. humid days. use BLEND to keep the
windshield and side windows clear.
Use
DEFROST to remove fog or ice from the
windshield quickly
in extreme humid or cold conditions.
Turn the temperature knob clockwise and
move the fhn
control toward HI.
Rear Window Defogger (Option)
window of as much snow or ice as possible before using
the rear window defogger.
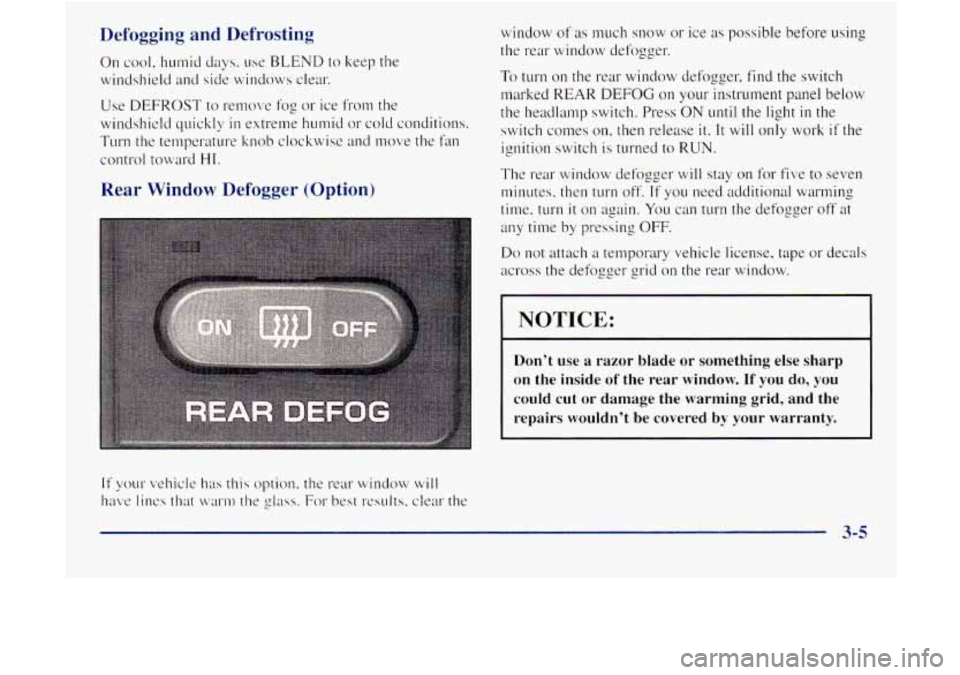
To turn on the rear window defogger, find the switch
marked REAR
DEFOG on your instrument panel below
the headlamp switch. Press ON until the light in the
switch comes
on, then release it. It will only work if the
ignition switch is turned to RUN.
The rear window defozger will stay
on for five to seven
minutes. then turn off.
If you need additional warming
time, turn
it on again. You can turn the defogger off at
any time by pressing OFF.
Do not attach a temporary vehicle license, tape or decals
across the defogger grid on the rear window.
NOTICE:
Don’t use a razor blade or something else sharp
on the inside
of the rear window. If you do, you
could cut or damage the warming grid, and the
repairs wouldn’t be covered
by your warranty.
3-5
Page 152 of 410

In addition to the four stations already set, up to three
more stations may be preset on each band by pressing
two adjoining buttons at the same time. Just:
1. Tune in the desired station.
2. Press SET. (SET will appear on the display.)
3. Press two adjoining pushbuttons at the same time,
within five seconds. Whenever you press the same
two buttons, the station you set will return.
4. Repeat the steps for each pair of pushbuttons.
Setting the Tone
BASS:
Slide this lever up or down to increase Or
decrease bass.
TREBLE: Slide this lever up or down to increase or
decrease treble.
If a station is weak or noisy, you may
want to decrease the treble.
Adjusting the Speakers
BAL:
Turn the control behind the upper knob to move
the sound to the left or right speakers. The middle
position balances the sound between the speakers.
FADE: Turn the control behind the lower knob to move
the sound to the front or rear speakers. The middle
position balances the sound between the speakers.
Playing a Cassette Tape
Your tape player is built to work best with tapes that are
30 to 45 minutes long on each side. Tapes longer than
that
are so thin they may not work well in this player.
Once the tape is playing, use the
PWR-VOL, BAL and
FADE knobs just as you do for the radio. A lighted
arrow will be displayed to show tape play direction.
FORWARD: Press the arrow button in the direction that
the lighted arrow points to advance quickly to another
part of the tape. Press STOP-EJECT lightly to stop
forwarding and play the tape.
REVERSE: Press the arrow button in the opposite
direction that the lighted
arrow points to reverse quickly
to another part of the tape. Press STOP-EJECT lightly
to stop reversing and play the tape.
PROG: Press this knob to go from one side of the tape
to the other.
STOP-EJECT: Press this button to remove the tape or
stop playing the tape in order to play the radio. If you
leave a cassette tape in the player while listening to the
radio, it may become warm.
Page 155 of 410

Playing a Cassette Tape
Your tape player is built to work best with tapes that are
30 to 45 minutes long 011 each sicic. Tapes longer than
that are
so thin they may not work well in this player.
Once the
tape is playing. LLS~ the PWR-VOL. BAL and
FADE knobs just as you do for the radio. A lightecl
arrow will he displayed to show tape play direction.
REVERSE: Press the mow button in the opposite
direction that the lighted arrow points to reversc cl~~ickly
to another part
of the tape. Press STOP-EJECT lightly
to
stop reversing and play the tapc.
FORWARD: Press the ;wow button in the direction that
the lighted arrow points to udvance quickly to another
part of the tape. Press
STOP-EJECT lightly to stop
forwarding and play the tape.
SEARCH: Press this button to the recessed position.
Press the lighted
LII-~OW to skip to the next selection. Prcss
the opposite direction ILI-I-ow that is not lighted to replay
the current selection or skip to the previous selection.
3- 12
Page 157 of 410

18
1.
2.
3.
4.
5.
PUSHBUTTONS: The six numbered pushbuttons let
you return to your favorite stations. You can set up to
6.
stations (six AM. six FM 1 and six FM2). Just:
Turn the radio on.
Press
AM-FM to select the band.
Tune
in the desired station.
Press
AUTO TONE to select the setting you prefcr.
Press and hold one
of the four pushbuttons. The
sound will
mute. When it returns. release the button.
Whenever
you press that numbered button, the
station
you set will return and the tone you selected
will be a~~tomatically selected for that button.
Repeat the steps
for each pushbutton.
P.SCAN: The preset scan button lets you scan through
your favorite stations stored
on your pushbuttons. Sele-ct
either the
AM, FMI or FM2 mode and then press
P.SCAN.
It will scan through each station stored on your
pushbuttons
and stop for ;I few seconds before
continuing to scan through a11
of the pushbuttons. Press
P.SCAN
again or one of the pushbuttons to stop
scanning to listen to a specific stored station. P.SCAN
will light up on the display while in this mode. If one of
the stations stored on a pushbutton is too weak for the
location you
itre in, the radio will skip the preset station
and the radio display will show the channel number
(PI through
P6) for several seconds before advancing to
the next preset station.
Page 158 of 410

Setting the Tone
BASS: Press lightly on this knob to release it from its
stored position. Turn the knob clocklvise to increase
bass and counterclockwise to decrease bass. When the
BASS control
is rotated, the AUTO TONE setting will
change to MAN.
TREB: Press lightly on this knob to release it f1-on1 its
stored position. Turn the knob clockwise to incrcase
treble
and counterclockwise to decrease treble. When
the TREB
control is rotated, the AUTO TONE setting
will change to MAN. If a station is weak or noisy. you
nay want to decrease the treble.
Push these knobs back into their stored positions when
yo11'1.e
not using them.
3-15