panel GMC SAVANA 1998 User Guide
[x] Cancel search | Manufacturer: GMC, Model Year: 1998, Model line: SAVANA, Model: GMC SAVANA 1998Pages: 388, PDF Size: 20.04 MB
Page 107 of 388
Turn Signal and Lane Change Signals
The turn signal has two upward (for right) and two
downward (for left) positions. These positions allow
you to signal a turn or a lane change.
To signal a turn, move the lever all the way up
or down. When the turn is finished, the lever
will return automatically.
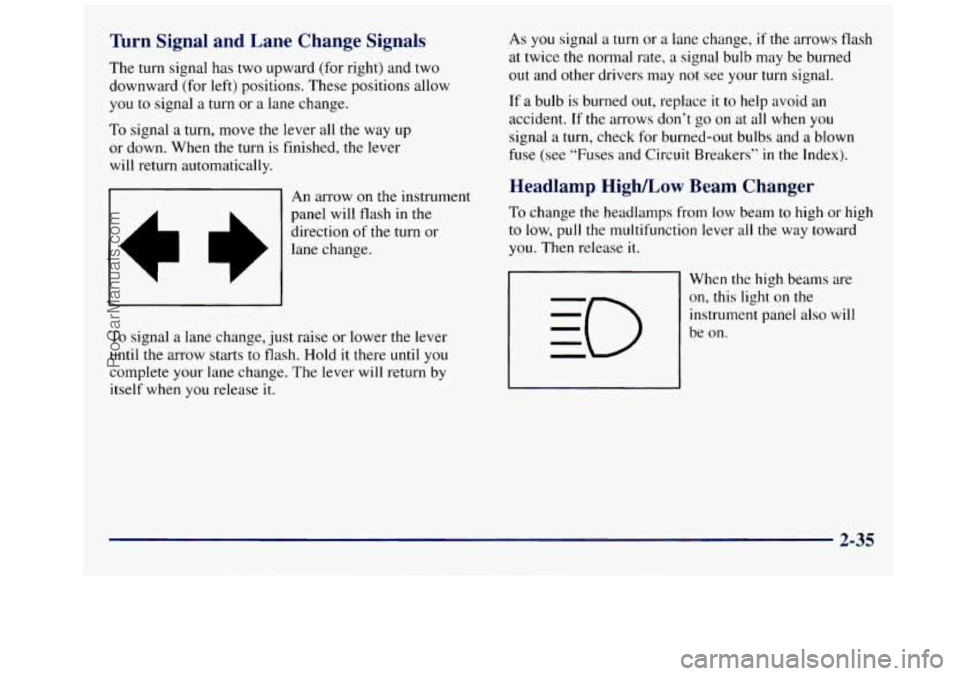
&I An arrow on the instrument
II
panel will flash in the
direction
of the turn or
lane change.
I I
To signal a lane change, just raise or lower the lever
until the arrow starts to flash. Hold it there
until you
complete your lane change. The lever will return by
itself when you release it. As you signal
a turn or a
lane change, if the arrows flash
at twice the normal rate, a signal bulb may be burned
out and other drivers may not see your turn signal.
If a bulb is burned out, replace
it to help avoid an
accident. If the arrows don’t
go on at all when you
signal a turn, check for burned-out bulbs and a blown
fuse (see “Fuses and Circuit Breakers”
in the Index).
Headlamp High/Low Beam Changer
To change the headlamps from low beam to high or high
to low, pull the multifunction lever all the way toward
you. Then release it.
When the high beams are
on, this light on the
instrument panel also will
be
on.
2-35
ProCarManuals.com
Page 112 of 388
Exterior Lamps
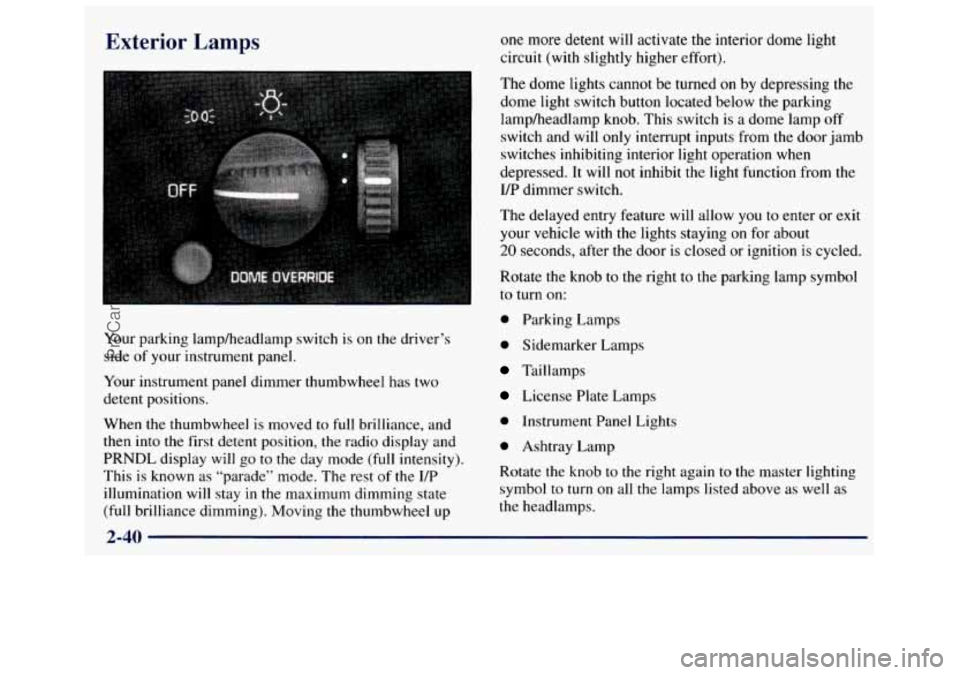
Your parking lamp/headlamp switch is on the driver’s
side
of your instrument panel.
Your instrument panel dimmer thumbwheel has two
detent positions.
When the thumbwheel is moved to full brilliance, and
then into the first detent position, the radio display and
PRNDL display
will go to the day mode (full intensity).
This is known as “parade” mode. The rest
of the UP
illumination
will stay in the maximum dimming state
(full brilliance dimming). Moving the thumbwheel up one
more detent will activate the interior dome light
circuit (with slightly higher effort).
The dome lights cannot be turned
on by depressing the
dome light switch button located below the parking
lampheadlamp knob. This switch is a dome lamp off
switch and will
only interrupt inputs from the door jamb
switches inhibiting interior light operation when
depressed. It will not inhibit
the light function from the
I/P dimmer switch,
The delayed entry feature will allow
you to enter or exit
your vehicle with the lights staying on for about
20 seconds, after the door is closed or ignition is cycled.
Rotate the knob to the right to the parking lamp symbol
to turn on:
0 Parking Lamps
0 Sidemarker Lamps
Taillamps
License Plate Lamps
0 Instrument Panel Lights
0 Ashtray Lamp
Rotate the knob
to the right again to the master lighting
symbol to turn on all the lamps listed above as well as
the headlamps.
2-40
ProCarManuals.com
Page 113 of 388
Rotate the knob to the left to OFF to turn off your lamps
and lights.
Rotate the thumbwheel next to the switch knob up to
adjust instrument panel lights. Rotate the thumbwheel
up to the first notch to return the radio display and
gearshift indicator Vacuum Fluorescence (VF) display
to full intensity when the headlamps or parking lamps
are on.
Rotate the thumbwheel up to the second notch
to
activate the interior dome lamps.
You can switch your headlamps from high
to low beam
by pulling on the turn signal/high beam lever.
A circuit breaker protects your headlamps. If you have
an electrical overload, your headlamps will flicker on
and off. Have your headlamp wiring checked right away
if this happens.
Headlamps On Reminder
A tone will sound when your headlamps are turned on
and your ignition is in OFF, LOCK or ACCESSORY. If
you need to use your headlamps when the ignition
switch
is in OFF, LOCK or ACCESSORY, the tone can
be turned
off by turning the thumbwheel next to the
parking lamp/headlamp switch all the way down.
Daytime Running Lamps
Daytime Running Lamps (DRL) can make it easier for
others to see the front
of your vehicle during the day.
DRL can be helpful in many different driving
conditions, but they can be especially helpful in the
short periods after dawn and before sunset.
2-41
ProCarManuals.com
Page 114 of 388
The DRL system will make your headlamps come on at
a reduced brightness when:
The ignition is on,
The headlamp switch is off, and
The parking brake is released.
When the DRL are
on, only your headlamps will be on.
The taillamps, sidemarker and other lamps won’t be on.
Your instrument panel won’t be lit up either.
When it begins
to get dark, your DRL indicator light is
a reminder
to turn your headlamp switch on. The other
lamps that come
on with your headlamps will also
come
on.
When you turn off the headlamp switch, the regular
lamps will go off, and your headlamps will change to
the reduced brightness of
DRL.
To idle your vehicle with the engine on and the DRL off,
set the parking brake. The DRL will stay off until you
release the parking brake.
As with any vehicle, you should turn on the regular
headlamp system when you need it.
Center High-Mounted Stoplamp
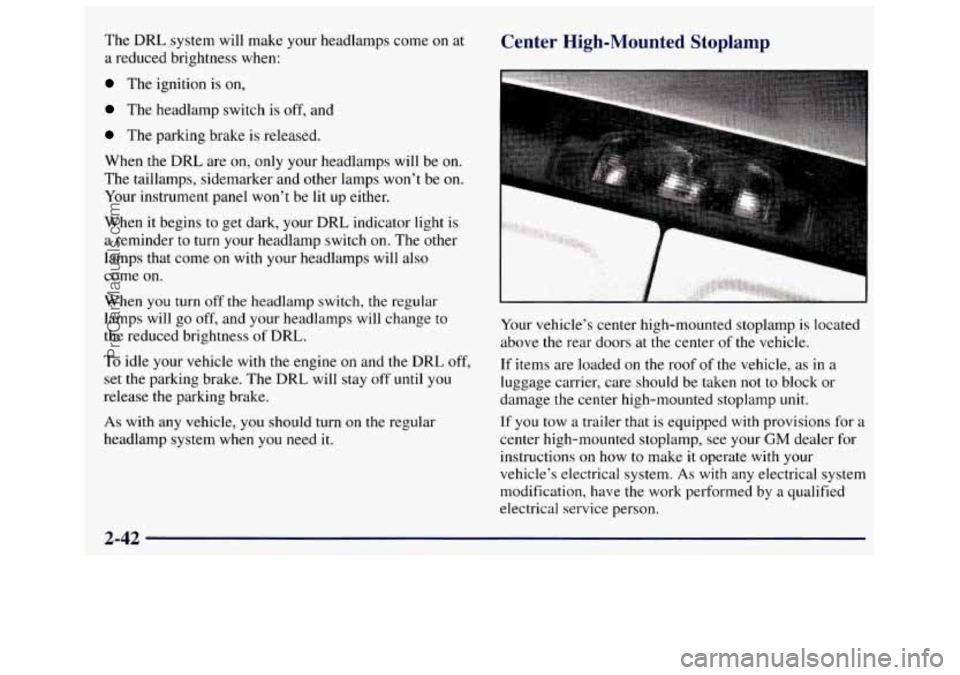
Your vehicle’s center high-mounted stoplamp is located
above the rear doors at the center of the vehicle.
If items are loaded on the roof of the vehicle, as in a
luggage carrier, care should be taken
not to block or
damage the center high-mounted stoplamp unit.
If you tow a trailer that is equipped with provisions for a
center high-mounted stoplamp, see your
GM dealer for
instructions
on how to make it operate with your
vehicle’s electrical system.
As with any electrical system
modification, have the work performed by a qualified
electrical service person.
2-42
ProCarManuals.com
Page 120 of 388
Storage Compartments
I
Cigarette LightedAshtray
The front ashtray is located in the instrument panel
extension, at the center of the instrument panel. Lift up
on the ashtray door to open it.
I NOTICE:
If you store paper and other things that burn in
your ashtrays, they could be set on fire by
cigarettes or other smoking materials. That could
cause a fire and possibly damage your vehicle.
Do
not store papers and other things that burn in
your ashtrays.
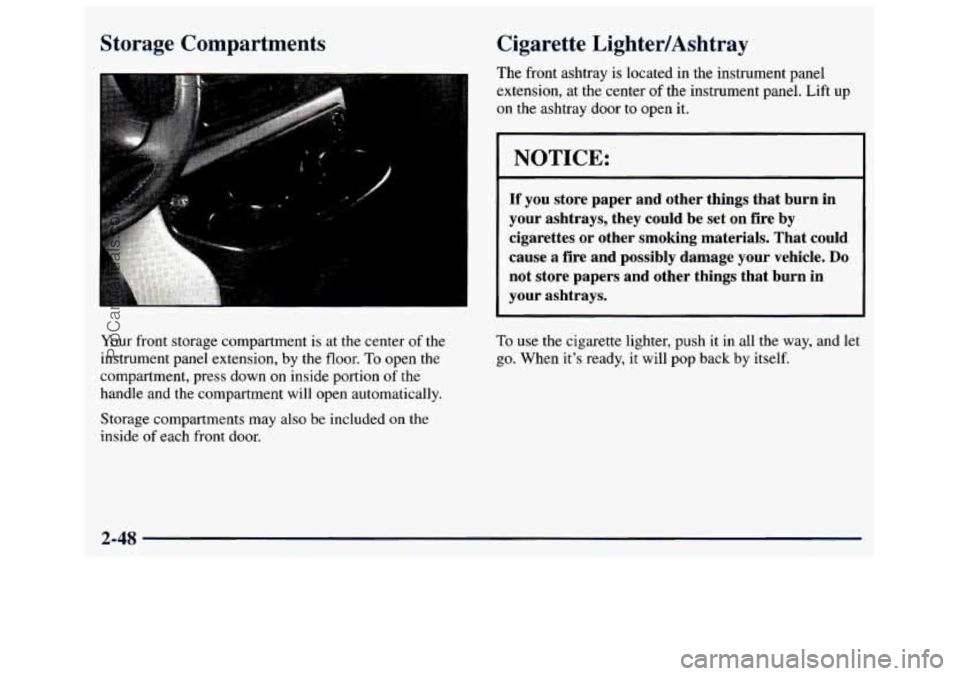
Your front storage compartment is at the center of the
instrument panel extension,
by the floor. To open the
compartment, press down
on inside portion of the
handle and the compartment will open automatically.
Storage compartments may also be included
on the
inside of each front door.
To use the cigarette lighter, push it in all the way, and let
go. When it’s ready, it will pop back
by itself.
2-48
ProCarManuals.com
Page 122 of 388
Instrument Panel
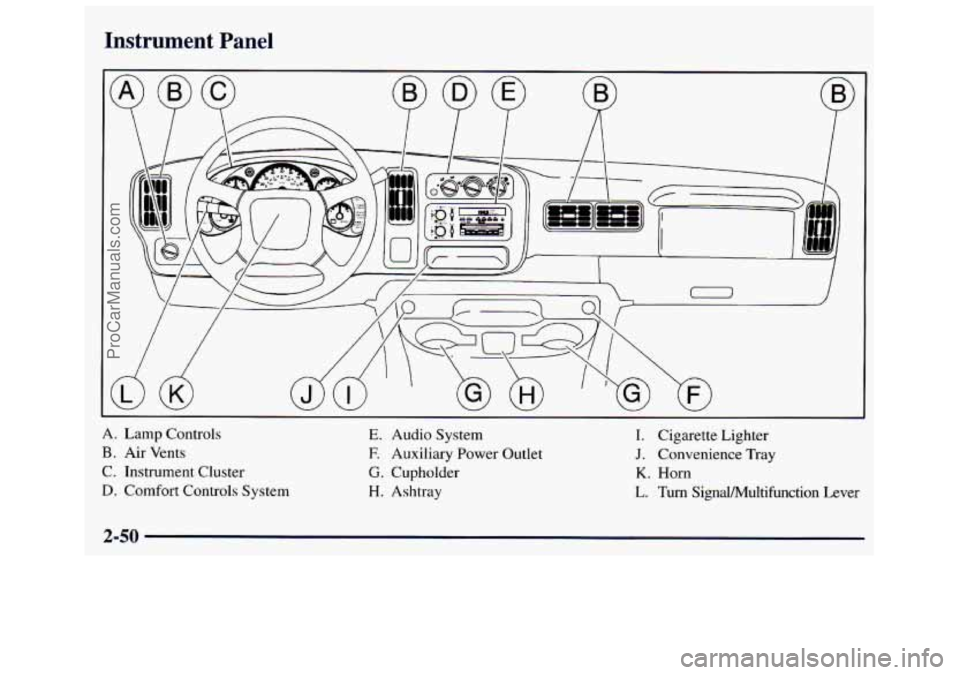
A. Lamp Controls
B. Air Vents
C. Instrument Cluster
D. Comfort Controls System
E. Audio System
E Auxiliary Power Outlet
G. Cupholder
H. Ashtray I. Cigarette
Lighter
J. Convenience Tray
K. Horn
L. Turn Signal/Multifunction Lever
2-50
ProCarManuals.com
Page 126 of 388
Air Bag Readiness Light
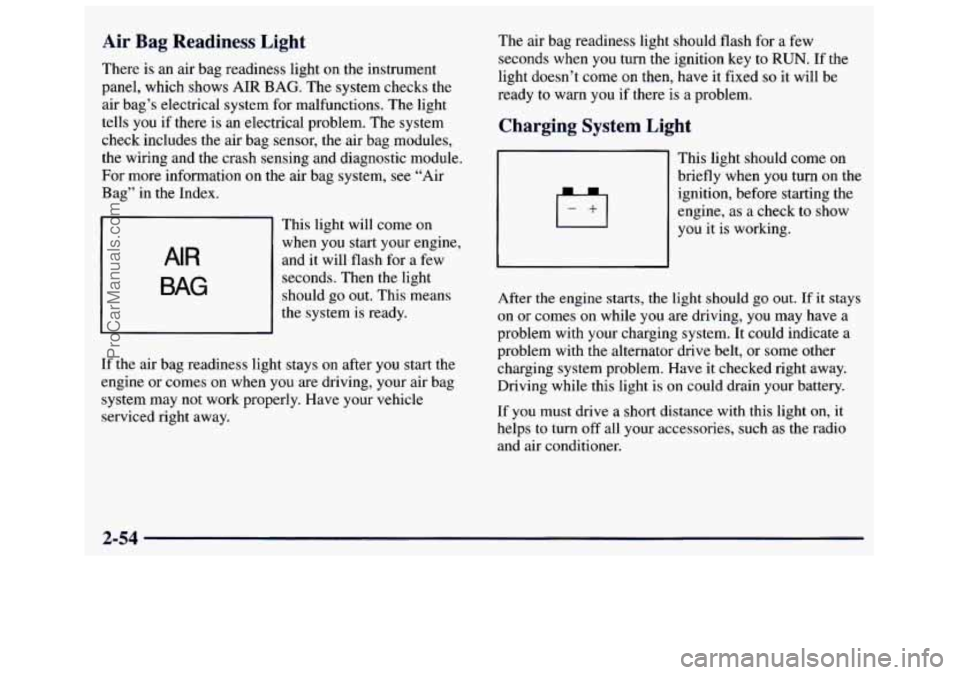
There is an air bag readiness light on the instrument
panel, which shows AIR
BAG. The system checks the
air bag’s electrical system for malfunctions. The light
tells you if there
is an electrical problem. The system
check includes the air bag sensor, the air bag modules,
the wiring and the crash sensing and diagnostic module.
For more information
on the air bag system, see “Air
Bag” in the Index.
AIR
This light will come on
when you start your engine,
and it will flash for a few
seconds. Then the light should go
out. This means
the system
is ready.
If the air bag readiness light stays on after you start the
engine or comes on when you are driving, your air bag
system may not work properly. Have your vehicle
serviced right away. The
air bag readiness light should flash for a few
seconds when
you turn the ignition key to RUN. If the
light doesn’t come
on then, have it fixed so it will be
ready
to warn you if there is a problem.
Charging System Light
(CJ
This light should come on
briefly when you turn on the
ignition, before starting the
engine, as a check to show
you it is working.
After the engine starts, the light should
go out. If it stays
on or comes on while you are driving, you may have a
problem with your charging system. It could indicate a
problem with the alternator drive belt, or some other
charging system problem. Have
it checked right away.
Driving while this light is on could drain your battery.
If you must drive a short distance with this light
on, it
helps
to turn off all your accessories, such as the radio
and air conditioner.
2-54
ProCarManuals.com
Page 134 of 388
Daytime Running Lamps Indicator Light
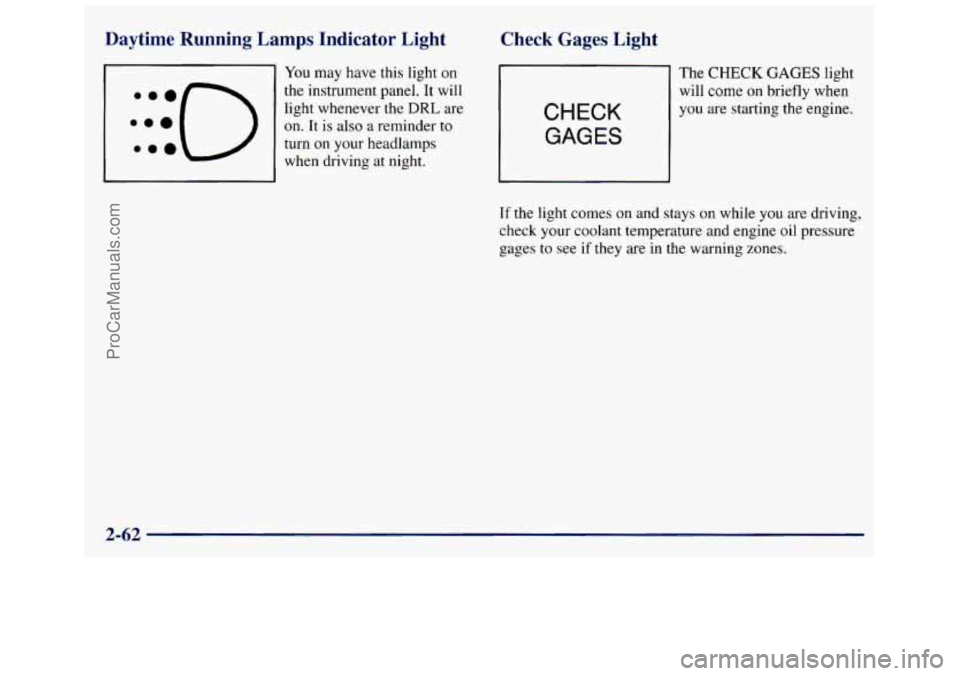
You may have this light on
the instrument panel. It will
light whenever the
DRL are
on. It is also a reminder to
turn on your headlamps
when driving at night.
Check Gages Light
CHECK
GAGES
The CHECK GAGES light
will come
on briefly when
you are starting the engine.
If the light comes on and stays on while you are driving,
check your coolant temperature and engine
oil pressure
gages
to see if they are in the warning zones.
2-62
ProCarManuals.com
Page 138 of 388
Comfort Controls Fan Knob
This section tells you how to make your air system
work for you. Your comfort control system uses
ozone-friendly
R- 134a refrigerant.
With these systems, you can control the heating, cooling and ventilation
in your van. Your vehicle also
has a flow-through ventilation system described later
in this section.
Heater Controls
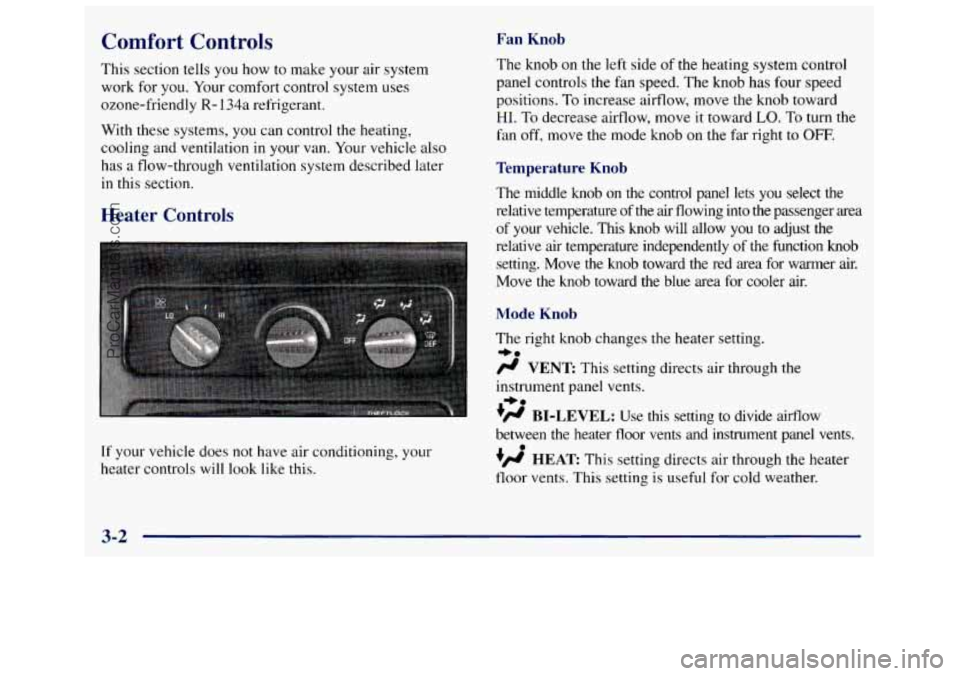
If your vehicle does not have air conditioning, your
heater controls will look like
this.
The knob on the left side of the heating system control
panel controls the fan speed. The knob has four speed
positions.
To increase airflow, move the knob toward
HI. To decrease airflow, move it toward LO. To turn the
fan off, move the mode knob on the far right
to OFF.
Temperature Knob
The middle knob on the control panel lets you select the
relative temperature of the air flowing into
the passenger area
of your vehicle. This knob will allow
you to adjust the
relative air temperature independently
of the function knob
setting. Move the knob toward the red area for warmer air.
Move the knob toward the blue area for cooler air.
Mode Knob
The right knob changes the heater setting.
/.I VENT This setting directs air through the
instrument panel vents.
+H BI-LEVEL: Use this setting to divide airflow
between the heater floor vents and instrument panel vents.
+fl HEAT This setting directs air through the heater
floor vents. This setting is useful for cold weather.
=+a
+e
0
3-2
ProCarManuals.com
Page 139 of 388
w.
?# HEAT/DEFROST Use this setting to divide
airflow between the heater floor vents and windshield.
DEFROST This setting directs air through the
windshield defroster vents. This setting is useful when
you have fog or ice on the windshield.
Heater/Air Conditioning Controls
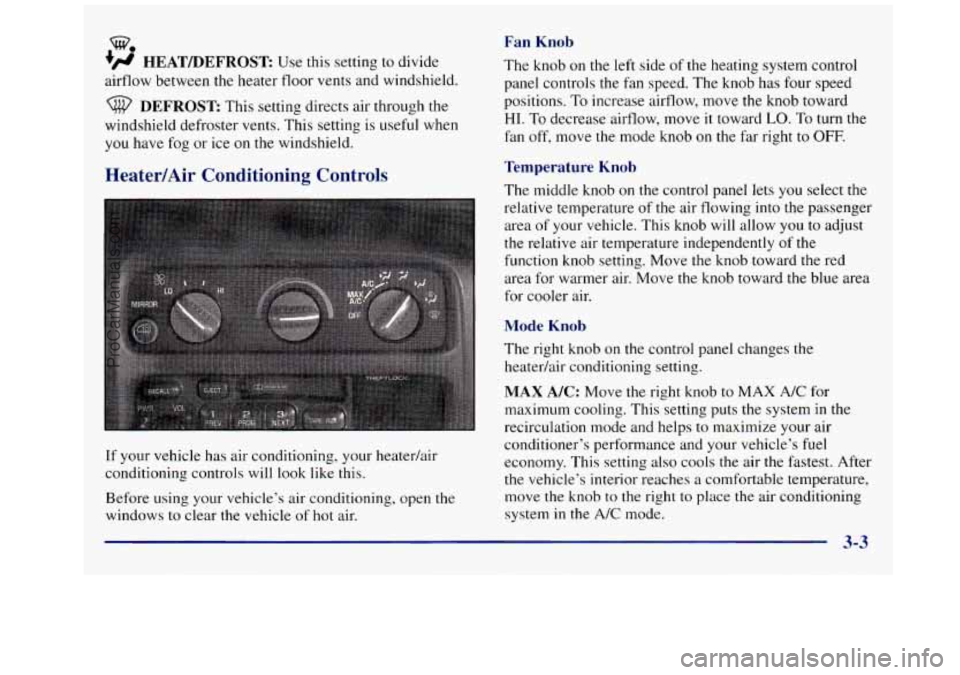
If your vehicle has air conditioning, your heatedair
conditioning controls will look like this.
Before using your vehicle’s air conditioning, open
the
windows to clear the vehicle of hot air.
Fan Knob
The knob on the left side of the heating system control
panel controls the fan speed. The knob has four speed
positions. To increase airflow, move the knob toward
HI. To decrease airflow, move it toward LO. To turn the
fan off, move the mode knob on
the far right to OFF.
Temperature Knob
The middle knob on the control panel lets you select the
relative temperature
of the air flowing into the passenger
area of your vehicle. This knob will allow
you to adjust
the relative air temperature independently of the
function knob setting. Move the knob toward the red
area for warmer air. Move the
knob toward the blue area
for cooler air.
Mode Knob
The right knob on the control panel changes the
heatedair conditioning setting.
MAX A/C: Move the right knob to MAX A/C for
maximum cooling. This setting puts the system in the
recirculation mode and helps to maximize your air
conditioner’s performance and your vehicle’s
fuel
economy. This setting also cools the air the fastest. After
the vehicle’s interior reaches a comfortable temperature,
move the knob to the right to place the air conditioning
system in the
A/C mode.
ProCarManuals.com