check engine light GMC SIERRA 2022 User Guide
[x] Cancel search | Manufacturer: GMC, Model Year: 2022, Model line: SIERRA, Model: GMC SIERRA 2022Pages: 474, PDF Size: 15.09 MB
Page 127 of 474
GMC Sierra/Sierra Denali 1500 Owner Manual (GMNA-Localizing-U.S./
Canada/Mexico-15883563) - 2022 - CRC - 11/19/21
126 Instruments and Controls
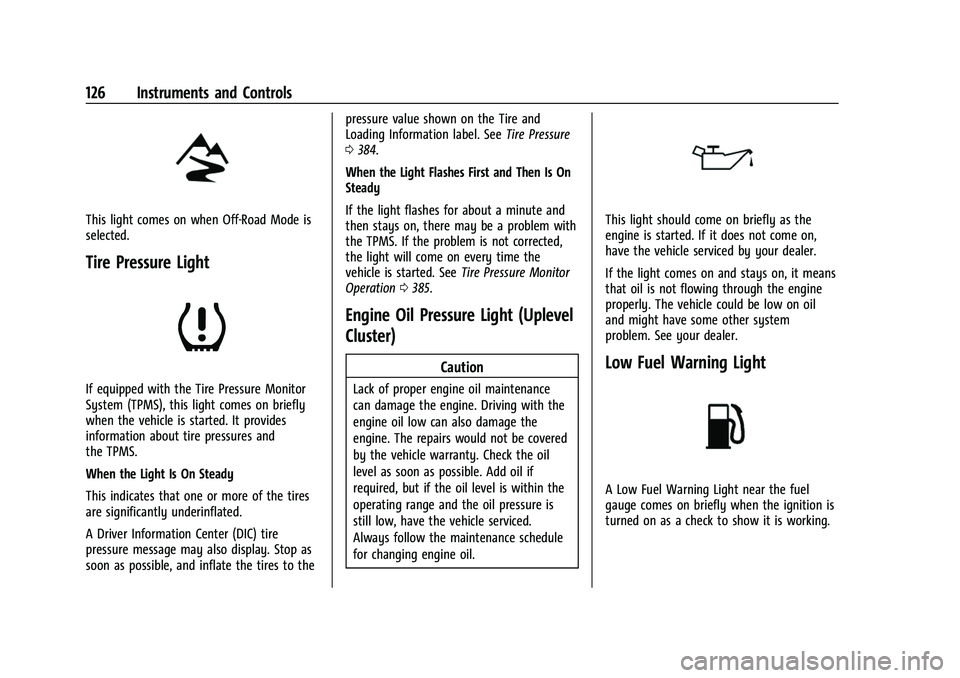
This light comes on when Off-Road Mode is
selected.
Tire Pressure Light
If equipped with the Tire Pressure Monitor
System (TPMS), this light comes on briefly
when the vehicle is started. It provides
information about tire pressures and
the TPMS.
When the Light Is On Steady
This indicates that one or more of the tires
are significantly underinflated.
A Driver Information Center (DIC) tire
pressure message may also display. Stop as
soon as possible, and inflate the tires to thepressure value shown on the Tire and
Loading Information label. See
Tire Pressure
0 384.
When the Light Flashes First and Then Is On
Steady
If the light flashes for about a minute and
then stays on, there may be a problem with
the TPMS. If the problem is not corrected,
the light will come on every time the
vehicle is started. See Tire Pressure Monitor
Operation 0385.
Engine Oil Pressure Light (Uplevel
Cluster)
Caution
Lack of proper engine oil maintenance
can damage the engine. Driving with the
engine oil low can also damage the
engine. The repairs would not be covered
by the vehicle warranty. Check the oil
level as soon as possible. Add oil if
required, but if the oil level is within the
operating range and the oil pressure is
still low, have the vehicle serviced.
Always follow the maintenance schedule
for changing engine oil.
This light should come on briefly as the
engine is started. If it does not come on,
have the vehicle serviced by your dealer.
If the light comes on and stays on, it means
that oil is not flowing through the engine
properly. The vehicle could be low on oil
and might have some other system
problem. See your dealer.
Low Fuel Warning Light
A Low Fuel Warning Light near the fuel
gauge comes on briefly when the ignition is
turned on as a check to show it is working.
Page 129 of 474
GMC Sierra/Sierra Denali 1500 Owner Manual (GMNA-Localizing-U.S./
Canada/Mexico-15883563) - 2022 - CRC - 11/19/21
128 Instruments and Controls
Cruise Control Light
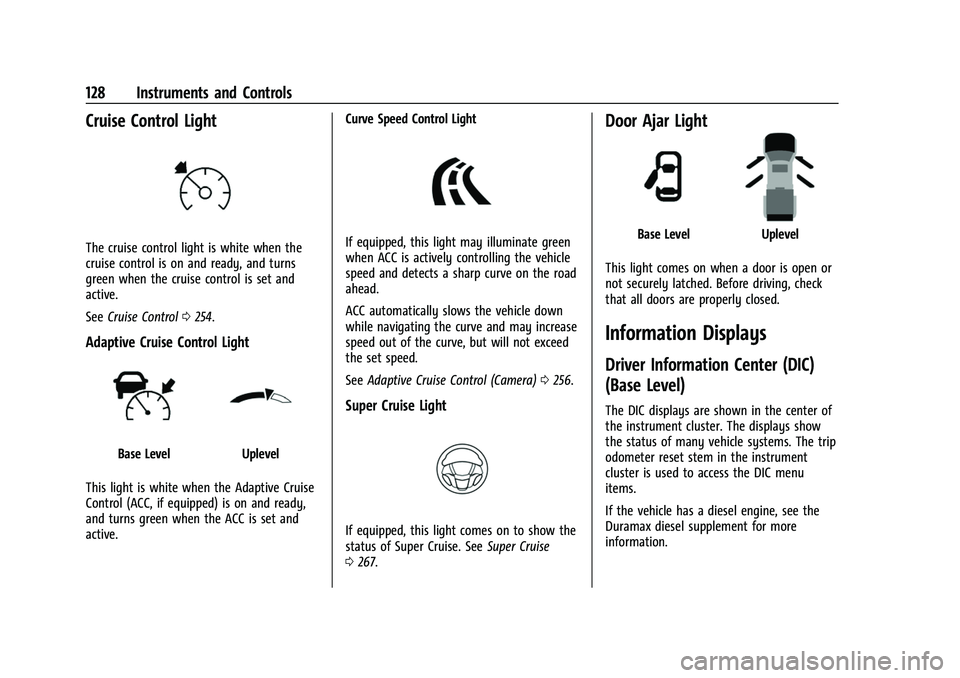
The cruise control light is white when the
cruise control is on and ready, and turns
green when the cruise control is set and
active.
SeeCruise Control 0254.
Adaptive Cruise Control Light
Base LevelUplevel
This light is white when the Adaptive Cruise
Control (ACC, if equipped) is on and ready,
and turns green when the ACC is set and
active. Curve Speed Control Light
If equipped, this light may illuminate green
when ACC is actively controlling the vehicle
speed and detects a sharp curve on the road
ahead.
ACC automatically slows the vehicle down
while navigating the curve and may increase
speed out of the curve, but will not exceed
the set speed.
See
Adaptive Cruise Control (Camera) 0256.
Super Cruise Light
If equipped, this light comes on to show the
status of Super Cruise. See Super Cruise
0 267.
Door Ajar Light
Base LevelUplevel
This light comes on when a door is open or
not securely latched. Before driving, check
that all doors are properly closed.
Information Displays
Driver Information Center (DIC)
(Base Level)
The DIC displays are shown in the center of
the instrument cluster. The displays show
the status of many vehicle systems. The trip
odometer reset stem in the instrument
cluster is used to access the DIC menu
items.
If the vehicle has a diesel engine, see the
Duramax diesel supplement for more
information.
Page 137 of 474
GMC Sierra/Sierra Denali 1500 Owner Manual (GMNA-Localizing-U.S./
Canada/Mexico-15883563) - 2022 - CRC - 11/19/21
136 Instruments and Controls
All HUD views may briefly display audio
information when the driver uses the
steering wheel controls to adjust the audio
settings appearing in the instrument cluster.
Incoming phone calls appearing in the
instrument cluster, may also display in any
HUD view.
Care of the HUD
Clean the inside of the windshield to remove
any dirt or film that could reduce the
sharpness or clarity of the HUD image.
Clean the HUD lens with a soft cloth
sprayed with glass cleaner. Wipe the lens
gently, then dry it.
HUD Troubleshooting
Check that:
.Nothing is covering the HUD lens.
.The HUD brightness setting is not too
dim or too bright.
.The HUD is adjusted to the proper height.
.Polarized sunglasses are not worn.
.The windshield and HUD lens are clean.
If the HUD image is not correct, contact
your dealer. The windshield is part of the HUD system.
See
Windshield Replacement 0365.
Vehicle Messages
Messages displayed on the Driver
Information Center (DIC) indicate the status
of the vehicle or some action that may be
needed to correct a condition. Multiple
messages may appear one after another.
The messages that do not require
immediate action can be acknowledged and
cleared by pressing the thumbwheel. The
messages that require immediate action
cannot be cleared until that action is
performed.
All messages should be taken seriously;
clearing the message does not correct the
problem.
If a SERVICE message appears, see your
dealer.
Follow the instructions given in the
messages. The system displays messages
regarding the following topics:
.Service Messages
.Fluid Levels
.Vehicle Security
.Brakes
.Steering
.Ride Control Systems
.Driver Assistance Systems
.Cruise Control
.Lighting and Bulb Replacement
.Wiper/Washer Systems
.Doors and Windows
.Seat Belts
.Airbag Systems
.Engine and Transmission
.Tire Pressure
.Battery
Engine Power Messages
REDUCED ACCELERATION DRIVE
WITH CARE
This message displays when the vehicle's
propulsion power is reduced. A reduction in
propulsion power can affect the vehicle's
ability to accelerate. If this message is on,
but there is no observed reduction in
performance, proceed to your destination.
Under certain conditions the performance
may be reduced the next time the vehicle is
driven. The vehicle may be driven while this
message is on, but maximum acceleration
and speed may be reduced. Anytime this
Page 213 of 474
GMC Sierra/Sierra Denali 1500 Owner Manual (GMNA-Localizing-U.S./
Canada/Mexico-15883563) - 2022 - CRC - 11/19/21
212 Driving and Operating
Warning (Continued)
ground from under your tires. Traction
could be lost, and the vehicle could roll
over. Do not drive through rushing water.
Caution
Do not drive through standing water if it
is deep enough to cover the wheel hubs,
axles, or exhaust pipe. Deep water can
damage the axle and other vehicle parts.
If the standing water is not too deep, drive
through it slowly. At faster speeds, water
can get into the engine and cause it to stall.
Stalling can occur if the exhaust pipe is
under water. Do not turn off the ignition
when driving through water. If the exhaust
pipe is under water, the engine will not
start. When going through water, the brakes
get wet and it may take longer to stop. See
“Driving on Wet Roads” later in this section.
After Off-Road Driving
Remove any brush or debris that has
collected on the underbody or chassis,
or under the hood. These accumulations can
be a fire hazard. Reinstall underbody air
deflector and air dam if removed. After operation in mud or sand, have the
brake linings cleaned and checked. These
substances can cause glazing and uneven
braking. Check the body structure, driveline,
steering, suspension, wheels, tires, and
exhaust system for damage and check the
fuel lines and cooling system for any
leakage.
More frequent maintenance service is
required. See the
Maintenance Schedule
0 425.
Driving on Wet Roads
Rain and wet roads can reduce vehicle
traction and affect your ability to stop and
accelerate. Always drive slower in these
types of driving conditions and avoid driving
through large puddles and deep-standing or
flowing water.
{Warning
Wet brakes can cause crashes. They
might not work as well in a quick stop
and could cause pulling to one side. You
could lose control of the vehicle.
(Continued)
Warning (Continued)
After driving through a large puddle of
water or a car/vehicle wash, lightly apply
the brake pedal until the brakes work
normally.
Flowing or rushing water creates strong
forces. Driving through flowing water
could cause the vehicle to be carried
away. If this happens, you and other
vehicle occupants could drown. Do not
ignore police warnings and be very
cautious about trying to drive through
flowing water.
Hydroplaning
Hydroplaning is dangerous. Water can build
up under the vehicle's tires so they actually
ride on the water. This can happen if the
road is wet enough and you are going fast
enough. When the vehicle is hydroplaning, it
has little or no contact with the road.
There is no hard and fast rule about
hydroplaning. The best advice is to slow
down when the road is wet.
Page 309 of 474
GMC Sierra/Sierra Denali 1500 Owner Manual (GMNA-Localizing-U.S./
Canada/Mexico-15883563) - 2022 - CRC - 11/19/21
308 Driving and Operating
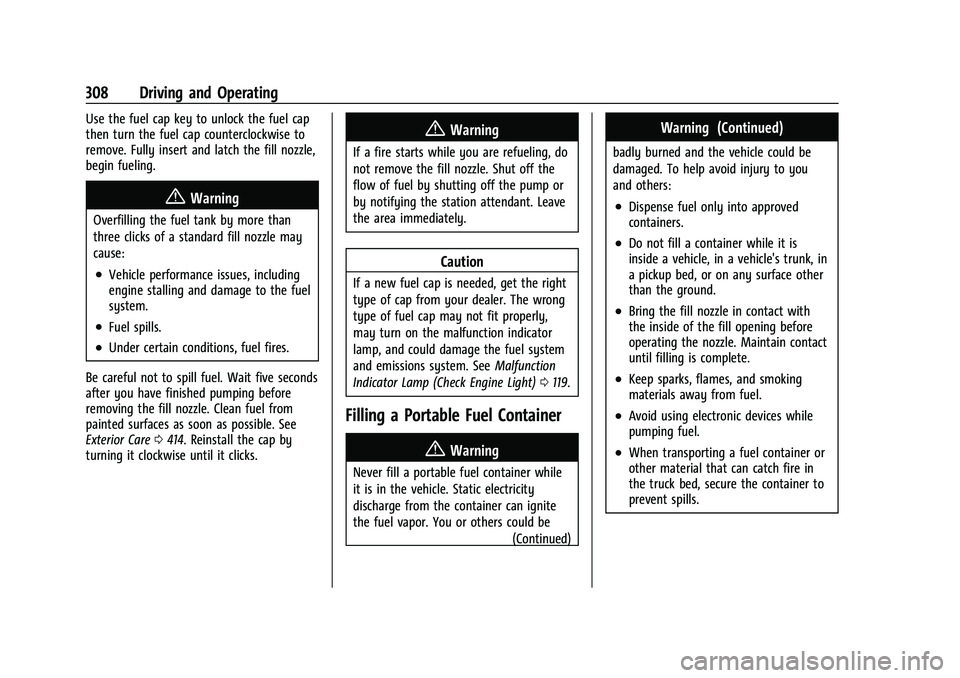
Use the fuel cap key to unlock the fuel cap
then turn the fuel cap counterclockwise to
remove. Fully insert and latch the fill nozzle,
begin fueling.
{Warning
Overfilling the fuel tank by more than
three clicks of a standard fill nozzle may
cause:
.Vehicle performance issues, including
engine stalling and damage to the fuel
system.
.Fuel spills.
.Under certain conditions, fuel fires.
Be careful not to spill fuel. Wait five seconds
after you have finished pumping before
removing the fill nozzle. Clean fuel from
painted surfaces as soon as possible. See
Exterior Care 0414. Reinstall the cap by
turning it clockwise until it clicks.
{Warning
If a fire starts while you are refueling, do
not remove the fill nozzle. Shut off the
flow of fuel by shutting off the pump or
by notifying the station attendant. Leave
the area immediately.
Caution
If a new fuel cap is needed, get the right
type of cap from your dealer. The wrong
type of fuel cap may not fit properly,
may turn on the malfunction indicator
lamp, and could damage the fuel system
and emissions system. See Malfunction
Indicator Lamp (Check Engine Light) 0119.
Filling a Portable Fuel Container
{Warning
Never fill a portable fuel container while
it is in the vehicle. Static electricity
discharge from the container can ignite
the fuel vapor. You or others could be
(Continued)
Warning (Continued)
badly burned and the vehicle could be
damaged. To help avoid injury to you
and others:
.Dispense fuel only into approved
containers.
.Do not fill a container while it is
inside a vehicle, in a vehicle's trunk, in
a pickup bed, or on any surface other
than the ground.
.Bring the fill nozzle in contact with
the inside of the fill opening before
operating the nozzle. Maintain contact
until filling is complete.
.Keep sparks, flames, and smoking
materials away from fuel.
.Avoid using electronic devices while
pumping fuel.
.When transporting a fuel container or
other material that can catch fire in
the truck bed, secure the container to
prevent spills.
Page 328 of 474
GMC Sierra/Sierra Denali 1500 Owner Manual (GMNA-Localizing-U.S./
Canada/Mexico-15883563) - 2022 - CRC - 11/19/21
Driving and Operating 327
If the CHECK TRAILER WIRING message only
reappears when connecting the trailer wiring
harness to the vehicle, the electrical fault is
on the trailer side.
SERVICE TRAILER BRAKE SYSTEM: This
message will display when there is a
problem with the ITBC system. If this
message continues over multiple ignition
cycles, have the vehicle serviced.
If either the CHECK TRAILER WIRING or
SERVICE TRAILER BRAKE SYSTEM message
displays while driving, the ITBC system may
not be fully functional or may not function
at all. When traffic conditions allow,
carefully pull the vehicle over to the side of
the road and turn the ignition off. Check the
wiring connection to the trailer and turn the
ignition back on. If either of these messages
continues, either the vehicle or trailer needs
service.
A GM dealer may be able to diagnose and
repair problems with the trailer. However,
any diagnosis and repair of the trailer is not
covered under the vehicle warranty. Contact
your trailer dealer for assistance with trailer
repairs and trailer warranty information.Trailer Sway Control (TSC)
Vehicles with StabiliTrak/Electronic Stability
Control (ESC) have a Trailer Sway Control
(TSC) feature. Trailer sway is unintended
side-to-side motion of a trailer while towing.
If the vehicle is towing a trailer and the TSC
detects that sway is increasing, the vehicle
brakes are selectively applied at each wheel,
to help reduce excessive trailer sway.
If equipped with the Integrated Trailer Brake
Control (ITBC) system, and the trailer has an
electric brake system, StabiliTrak/ESC may
also apply the trailer brakes.
If TSC is enabled, the Traction Control
System (TCS)/StabiliTrak/ESC warning light
will flash on the instrument cluster. Reducevehicle speed by gradually removing your
foot from the accelerator. If trailer sway
continues, StabiliTrak/ESC can reduce engine
torque to help slow the vehicle. TSC will not
function if StabiliTrak/ESC is turned off. See
Traction Control/Electronic Stability Control
0
247.
{Warning
Trailer sway can result in a crash and in
serious injury or death, even if the
vehicle is equipped with TSC.
If the trailer begins to sway, reduce
vehicle speed by gradually removing your
foot from the accelerator. Then pull over
to check the trailer and vehicle to help
correct possible causes, including an
improperly or overloaded trailer,
unrestrained cargo, improper trailer hitch
configuration, or improperly inflated or
incorrect vehicle or trailer tires. See
Towing Equipment 0317 for trailer
ratings and hitch setup recommendations.
Page 339 of 474
GMC Sierra/Sierra Denali 1500 Owner Manual (GMNA-Localizing-U.S./
Canada/Mexico-15883563) - 2022 - CRC - 11/19/21
338 Driving and Operating
if the setting is on for the active Trailer
Profile, the vehicle has an OnStar or
connected service plan and the smartphone
number has been added to the account for
this notification.
If the setting is turned off for a given Trailer
Profile, the smartphone will not receive this
security notification even if the Trailer
Profile is active.
Tow/Haul Mode Reminder
This is a reminder to turn on the Tow/Haul
Mode when towing a trailer. SeeDriver
Mode Control 0249.
Touch Tow/Haul Mode Reminder to turn on/
off Tow/Haul Mode reminders for the
selected profile. These alerts are based on
the Trailer Profile, so the settings for each
Trailer Profile must be turned on or off.
This setting will default to OFF for each
Trailer Profile, including the Guest Trailer
Profile.
If Tow/Haul Mode is off and this setting is
on for a Trailer Profile, each time the vehicle
is turned on, a reminder will appear to turn
on Tow/Haul Mode when the Trailer Profile
is active. If Tow/Haul Mode is on and this setting is
on for a Trailer Profile, the reminder will not
appear when the Trailer Profile is active.
Conversions and Add-Ons
Add-On Electrical Equipment
{Warning
The Data Link Connector (DLC) is used for
vehicle service and Emission Inspection/
Maintenance testing. See
Malfunction
Indicator Lamp (Check Engine Light) 0119.
A device connected to the DLC —such as
an aftermarket fleet or driver-behavior
tracking device —may interfere with
vehicle systems. This could affect vehicle
operation and cause a crash. Such devices
may also access information stored in the
vehicle’s systems.
Caution
Some electrical equipment can damage
the vehicle or cause components to not
work and would not be covered by the
vehicle warranty. Always check with your
dealer before adding electrical equipment. Add-on equipment can drain the vehicle's
12-volt battery, even if the vehicle is not
operating.
The vehicle has an airbag system. Before
attempting to add anything electrical to the
vehicle, see
Servicing the Airbag-Equipped
Vehicle 070 and
Adding Equipment to the Airbag-Equipped
Vehicle 070.
For information on wiring auxiliary switches,
see www.gmupfitter.com or contact your
dealer.
Adding a Snow Plow or Similar
Equipment
Caution
Do not exceed 72 km/h (45 mph) with a
snow plow mounted to the vehicle. The
vehicle could overheat and be damaged.
Before installing a snow plow on the vehicle,
follow these guidelines:
Page 342 of 474
GMC Sierra/Sierra Denali 1500 Owner Manual (GMNA-Localizing-U.S./
Canada/Mexico-15883563) - 2022 - CRC - 11/19/21
Vehicle Care 341
Vehicle Care
General Information
General Information . . . . . . . . . . . . . . . . . . . 342
California Perchlorate MaterialsRequirements . . . . . . . . . . . . . . . . . . . . . . . . 342
Accessories and Modifications . . . . . . . . . 342
Vehicle Checks
Doing Your Own Service Work . . . . . . . . 343
Hood . . . . . . . . . . . . . . . . . . . . . . . . . . . . . . . . . . 343
Engine Compartment Overview . . . . . . . . 345
Engine Oil . . . . . . . . . . . . . . . . . . . . . . . . . . . . . 348
Engine Oil Life System . . . . . . . . . . . . . . . . 350
Automatic Transmission Fluid . . . . . . . . . 350
Engine Air Filter Life System . . . . . . . . . . . 351
Engine Air Cleaner/Filter . . . . . . . . . . . . . . . 351
Cooling System . . . . . . . . . . . . . . . . . . . . . . . . 352
Engine Overheating . . . . . . . . . . . . . . . . . . . 356
Overheated Engine Protection Operating Mode . . . . . . . . . . . . . . . . . . . . . 357
Engine Fan . . . . . . . . . . . . . . . . . . . . . . . . . . . . 358
Washer Fluid . . . . . . . . . . . . . . . . . . . . . . . . . . 358
Brakes . . . . . . . . . . . . . . . . . . . . . . . . . . . . . . . . . 358
Brake Pad Life System . . . . . . . . . . . . . . . . . 359
Brake Fluid . . . . . . . . . . . . . . . . . . . . . . . . . . . . 360
Battery - North America . . . . . . . . . . . . . . . 361
Four-Wheel Drive . . . . . . . . . . . . . . . . . . . . . . 363
Front Axle . . . . . . . . . . . . . . . . . . . . . . . . . . . . . 363
Rear Axle . . . . . . . . . . . . . . . . . . . . . . . . . . . . . . 363 Automatic Transmission Shift Lock
Control Function Check (Mechanical
Shifter) . . . . . . . . . . . . . . . . . . . . . . . . . . . . . . 364
Park Brake and P (Park) Mechanism Check . . . . . . . . . . . . . . . . . . . . . . . . . . . . . . . 364
Wiper Blade Replacement . . . . . . . . . . . . . 364
Glass Replacement . . . . . . . . . . . . . . . . . . . . 365
Windshield Replacement . . . . . . . . . . . . . . 365
Gas Strut(s) . . . . . . . . . . . . . . . . . . . . . . . . . . . 365Headlamp Aiming
Front Headlamp Aiming . . . . . . . . . . . . . . . 366
Bulb Replacement
Bulb Replacement . . . . . . . . . . . . . . . . . . . . . 366
Halogen Bulbs . . . . . . . . . . . . . . . . . . . . . . . . 366
LED Lighting . . . . . . . . . . . . . . . . . . . . . . . . . . 366
Taillamps, Turn Signal, Stoplamps, and Back-Up Lamps . . . . . . . . . . . . . . . . . . . . . . 367
Center High-Mounted Stoplamp (CHMSL) and Cargo Lamp . . . . . . . . . . . . 367
License Plate Lamp . . . . . . . . . . . . . . . . . . . . 368
Electrical System
Electrical System Overload . . . . . . . . . . . . 368
Fuses and Circuit Breakers . . . . . . . . . . . . . 370
Engine Compartment Fuse Block . . . . . . 370
Instrument Panel Fuse Block (Left) . . . . . 373
Instrument Panel Fuse Block (Right) . . . 375
Wheels and Tires
Tires . . . . . . . . . . . . . . . . . . . . . . . . . . . . . . . . . . . 377
All-Season Tires . . . . . . . . . . . . . . . . . . . . . . . . 378
Winter Tires . . . . . . . . . . . . . . . . . . . . . . . . . . . 378
All-Terrain Tires . . . . . . . . . . . . . . . . . . . . . . . . 378
Tire Sidewall Labeling . . . . . . . . . . . . . . . . . 379
Tire Designations . . . . . . . . . . . . . . . . . . . . . . 380
Tire Terminology and Definitions . . . . . . 382
Tire Pressure . . . . . . . . . . . . . . . . . . . . . . . . . . 384
Tire Pressure Monitor System . . . . . . . . . 385
Tire Pressure Monitor Operation . . . . . . 385
Tire Inspection . . . . . . . . . . . . . . . . . . . . . . . . 389
Tire Rotation . . . . . . . . . . . . . . . . . . . . . . . . . . 390
When It Is Time for New Tires . . . . . . . . 391
Buying New Tires . . . . . . . . . . . . . . . . . . . . . . 391
Different Size Tires and Wheels . . . . . . . 392
Uniform Tire Quality Grading . . . . . . . . . 393
Wheel Alignment and Tire Balance . . . . 394
Wheel Replacement . . . . . . . . . . . . . . . . . . . 394
Tire Chains . . . . . . . . . . . . . . . . . . . . . . . . . . . . 395
If a Tire Goes Flat . . . . . . . . . . . . . . . . . . . . . 395
Tire Changing . . . . . . . . . . . . . . . . . . . . . . . . . 397
Full-Size Spare Tire . . . . . . . . . . . . . . . . . . . . 406
Jump Starting
Jump Starting - North America . . . . . . . . 407
Towing the Vehicle
Towing the Vehicle . . . . . . . . . . . . . . . . . . . 409
Recreational Vehicle Towing . . . . . . . . . . . 411
Page 352 of 474
GMC Sierra/Sierra Denali 1500 Owner Manual (GMNA-Localizing-U.S./
Canada/Mexico-15883563) - 2022 - CRC - 11/19/21
Vehicle Care 351
in these vehicles. Because this procedure is
difficult, this should be done at the dealer.
Contact the dealer for additional information
or the procedure can be found in the service
manual. SeePublication Ordering
Information 0449.
Caution
Use of the incorrect automatic
transmission fluid may damage the
vehicle, and the damage may not be
covered by the vehicle warranty. Always
use the correct automatic transmission
fluid. See Recommended Fluids and
Lubricants 0434.
Change the fluid and filter at the scheduled
maintenance intervals listed in Maintenance
Schedule 0425. Be sure to use the
transmission fluid listed in Recommended
Fluids and Lubricants 0434.
Engine Air Filter Life System
If equipped, this feature provides the engine
air filter’s remaining life and best timing for
a change. The timing to change an engine
air filter depends on driving and
environmental conditions.
When to Change the Engine Air Filter
When the Driver Information Center (DIC)
displays a message to replace the engine air
filter at the next oil change, follow this
timing.
When the DIC displays a message to replace
the engine air filter soon, replace the engine
air filter at the earliest convenience.
The system must be reset after the engine
air filter is changed.
If the DIC displays a message to check the
engine air filter system, see your dealer.
How to Reset the Engine Air Filter Life
System
To reset:
1. Place the vehicle in P (Park).
2. Display the Air Filter Life on the DIC. See Driver Information Center (DIC) (Base
Level) 0128 or
Driver Information Center (DIC) (Uplevel)
0 130.
3. Press
Ton the steering wheel, or press
the trip odometer reset stem if the
vehicle does not have DIC controls, to
move to the Reset/Disable display area. Select Reset then press the thumbwheel
or press the reset stem for several
seconds.
4. Press the thumbwheel or the reset stem to confirm the reset.
Engine Air Cleaner/Filter
The engine air cleaner/filter is on the driver
side of the engine compartment. See Engine
Compartment Overview 0345.
When to Inspect the Engine Air Cleaner/
Filter
If the vehicle is not equipped with the
engine air filter life system see Maintenance
Schedule 0425 for intervals on inspecting
and replacing the engine air cleaner filter.
How to Inspect/Replace the Engine Air
Cleaner/Filter
Do not start or run the engine with the
engine air cleaner/filter housing open.
Before removing the engine air cleaner/
filter, clear any dirt and debris away from
the engine air cleaner/filter housing and
nearby components. Remove the engine air
cleaner/filter. Lightly tap and shake the
engine air cleaner/filter (away from the
vehicle), to release loose dust and dirt.
Page 361 of 474
GMC Sierra/Sierra Denali 1500 Owner Manual (GMNA-Localizing-U.S./
Canada/Mexico-15883563) - 2022 - CRC - 11/19/21
360 Vehicle Care
3. Select YES on the confirmation message,or press the trip odometer reset stem on
a base level DIC. Repeat for pads on the
other axle if they were also replaced.
How to Disable the Brake Pad Life
System
The brake pad life system can be turned off.
This may be necessary if aftermarket brake
pads without wear sensors are installed.
When the system is turned off, the front
and rear brake pad life percentages will not
display. However, the built-in wear
indicators that make a high-pitched warning
sound when the brake pads are worn can
still determine when the pads should be
replaced. See Brakes0358.
To turn off the brake pad life system: 1. Display Brake Pad Life on the DIC. See Driver Information Center (DIC) (Base
Level) 0128 or
Driver Information Center (DIC) (Uplevel)
0 130.
2. Select DISABLE.
To turn the brake pad life system back on,
follow the above steps but select ENABLE in
Step 2.
Brake Fluid
The brake master cylinder reservoir is filled
with GM approved DOT 4 brake fluid as
indicated on the reservoir cap. See Engine
Compartment Overview 0345 for the
location of the reservoir.
Checking Brake Fluid
With the vehicle in P (Park) on a level
surface, the brake fluid level should be
between the minimum and maximum marks
on the brake fluid reservoir.
There are only two reasons why the brake
fluid level in the reservoir may go down:
.Normal brake lining wear. When new
linings are installed, the fluid level goes
back up.
.A fluid leak in the brake hydraulic system.
Have the brake hydraulic system fixed.
With a leak, the brakes will not
work well. Always clean the brake fluid reservoir cap
and the area around the cap before
removing it.
Do not top off the brake fluid. Adding fluid
does not correct a leak. If fluid is added
when the linings are worn, there will be too
much fluid when new brake linings are
installed. Add or remove fluid, as necessary,
only when work is done on the brake
hydraulic system.
{Warning
If too much brake fluid is added, it can
spill on the engine and burn, if the
engine is hot enough. You or others could
be burned, and the vehicle could be
damaged. Add brake fluid only when
work is done on the brake hydraulic
system.
When the brake fluid falls to a low level,
the brake warning light comes on. See Brake
System Warning Light 0121.
Brake fluid absorbs water over time which
degrades the effectiveness of the brake fluid.
Replace brake fluid at the specified intervals
to prevent increased stopping distance. See
Maintenance Schedule 0425.