brake GMC SIERRA CLASSIC 2007 Owners Manual
[x] Cancel search | Manufacturer: GMC, Model Year: 2007, Model line: SIERRA CLASSIC, Model: GMC SIERRA CLASSIC 2007Pages: 674, PDF Size: 3.5 MB
Page 13 of 674
To store the memory settings, do the following:
1. If you have an automatic transmission, place
the vehicle in PARK (P).
If you have a manual transmission, set the
parking brake.
2. Adjust the driverās seat, including the seatback
recliner and lumbar, and both outside mirrors
to your preference.
3. Press and hold the 1 or 2 button of the
memory control for three seconds. A
double chime will sound to let you know that
the position has been stored.
To repeat the procedure for a second driver,
follow the preceding steps, but press the other
numbered memory control button.To recall a memory position, do one of the
following:
If you have an automatic transmission, press
and release the desired button 1 or 2 while
the vehicle is in PARK (P). A single chime will
sound and the memory position will be
recalled.
If the vehicle is not in PARK (P), the memory
position will not be recalled.
If you have a manual transmission, press and
release the desired button 1 or 2 while the
parking brake is set. A single chime will sound
and the memory position will be recalled.
If the parking brake is not set, the memory
position will not be recalled.
To stop recall movement of the memory seat
feature at any time, press one of the memory
buttons or power seat controls.
13
Page 14 of 674
Easy Exit Seat
The controls for this memory function are located
on the driverās door.
B(Easy Exit Seat):This button is used to
program and recall the desired driverās seat
position when exiting or entering the vehicle. The
seat position can be saved for up to two drivers.
To store the seat exit position, do the following:
1. If you have an automatic transmission,
place the vehicle in PARK (P).
If you have a manual transmission, set the
parking brake.
2. Press and release the 1 or 2 button. The seat
will move to the stored memory position.
3. Adjust the seat to the desired exit position.
4. Press and hold the exit button of the memory
control for three seconds. A double chime will
sound to let you know that the position has
been stored for the selected button 1 or 2.
To repeat the procedure for a second driver,
follow the preceding steps, but press the other
numbered memory control button.To use the seat exit position, do one of the
following:
If you have an automatic transmission, press
and release the exit button on the memory
control while the vehicle is in PARK (P).
If you have a manual transmission, press and
release the exit button on the memory control
while the parking brake is set.
If this feature is activated in the Driver
Information Center (DIC), removing the key
from the ignition will move the seat to the exit
position.
See āEasy Exit Seatā underDIC Vehicle
Customization on page 282for more information
on activating this feature in the DIC.
14
Page 113 of 674
Keys............................................................ 115
Remote Keyless Entry System.................. 116
Remote Keyless Entry System
Operation............................................... 117
Doors and Locks........................................ 120
Door Locks................................................ 120
Power Door Locks..................................... 121
Delayed Locking........................................ 122
Programmable Automatic Door Locks........ 123
Rear Door Security Locks (Crew Cab)....... 126
Lockout Protection..................................... 126
Rear Doors............................................... 126
Tailgate..................................................... 127
Windows...................................................... 129
Manual Windows....................................... 129
Power Windows........................................ 130
Swing-Out Windows.................................. 131
Sliding Rear Window................................. 131
Sun Visors................................................ 131Theft-Deterrent Systems............................. 131
Content Theft-Deterrent............................. 131
Passlock
Ā®.................................................. 133
Starting and Operating Your Vehicle......... 134
New Vehicle Break-In................................ 134
Ignition Positions....................................... 135
Retained Accessory Power (RAP)............. 137
Starting the Engine.................................... 137
Engine Coolant Heater.............................. 139
Automatic Transmission Operation............. 140
Tow/Haul Mode......................................... 147
Manual Transmission Operation................. 149
Four-Wheel Drive...................................... 153
Parking Brake........................................... 169
Shifting Into Park (P)
(Automatic Transmission)....................... 170
Shifting Out of Park (P)
(Automatic Transmission)....................... 172
Parking Over Things That Burn................. 173
Engine Exhaust......................................... 174
Running the Engine While Parked............. 175
Section 2 Features and Controls
113
Page 134 of 674
Starting and Operating Your
Vehicle
New Vehicle Break-In
Notice:Your vehicle does not need an
elaborate break-in. But it will perform better in
the long run if you follow these guidelines:
Keep your speed at 55 mph (88 km/h)
or less for the �rst 500 miles (805 km).
Do not drive at any one constant speed, fast
or slow, for the �rst 500 miles (805 km). Do
not make full-throttle starts. Avoid
downshifting to brake, or slow, the vehicle.
Avoid making hard stops for the �rst
200 miles (322 km) or so. During this time
your new brake linings are not yet broken
in. Hard stops with new linings can mean
premature wear and earlier replacement.
Follow this breaking-in guideline every time
you get new brake linings.
Do not tow a trailer during break-in. See
Towing a Trailer on page 429for the trailer
towing capabilities of your vehicle and more
information.
Following break-in, engine speed and load can
be gradually increased.
134
Page 137 of 674
Retained Accessory Power (RAP)
If the vehicle has Retained Accessory Power
(RAP), certain features will continue to operate for
up to 10 minutes after the ignition key is turned
to LOCK unless a door is opened.
Starting the Engine
Your vehicle has a Starter Motor Control. This
feature assists in starting the engine and protects
the electrical system. This feature may cause
the engine to crank even after the ignition key is
not in START.
Automatic Transmission
Move your shift lever to PARK (P) or
NEUTRAL (N). Your engine will not start in any
other position ā that is a safety feature. To restart
when you are already moving, use NEUTRAL (N)
only. If you have a diesel engine refer to the
diesel supplement for the starting procedure.Notice:Do not try to shift to PARK (P) if your
vehicle is moving. If you do, you could
damage the transmission. Shift to PARK (P)
only when your vehicle is stopped.
Manual Transmission
The gear selector should be in NEUTRAL (N) and
the parking brake engaged. Hold the clutch
pedal to the �oor and start the engine. Your
vehicle will not start if the clutch pedal is not all
the way down ā that is a safety feature.
137
Page 141 of 674
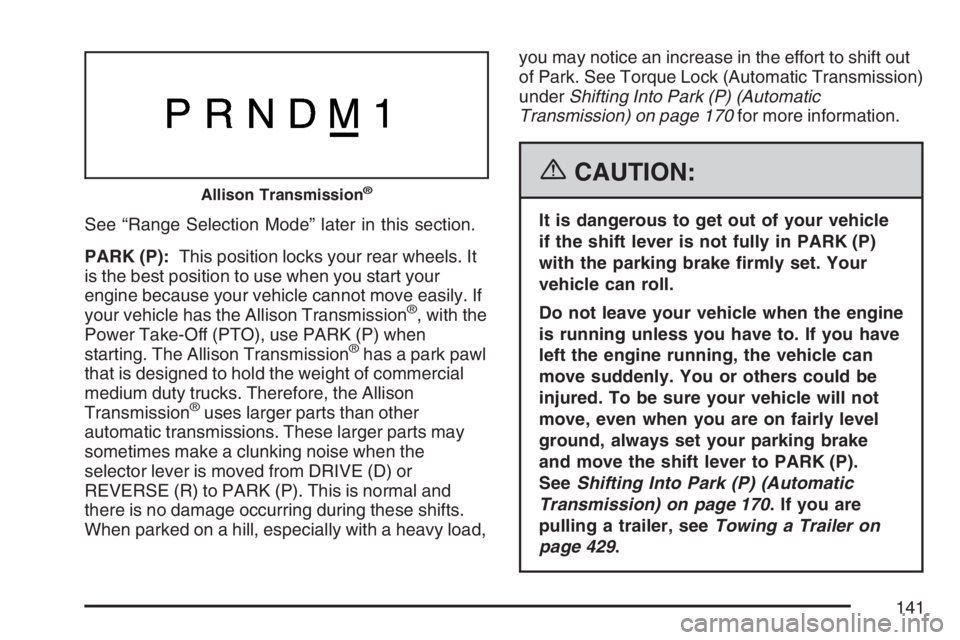
See āRange Selection Modeā later in this section.
PARK (P):This position locks your rear wheels. It
is the best position to use when you start your
engine because your vehicle cannot move easily. If
your vehicle has the Allison Transmission
Ā®, with the
Power Take-Off (PTO), use PARK (P) when
starting. The Allison Transmission
Ā®has a park pawl
that is designed to hold the weight of commercial
medium duty trucks. Therefore, the Allison
Transmission
Ā®uses larger parts than other
automatic transmissions. These larger parts may
sometimes make a clunking noise when the
selector lever is moved from DRIVE (D) or
REVERSE (R) to PARK (P). This is normal and
there is no damage occurring during these shifts.
When parked on a hill, especially with a heavy load,you may notice an increase in the effort to shift out
of Park. See Torque Lock (Automatic Transmission)
underShifting Into Park (P) (Automatic
Transmission) on page 170for more information.
{CAUTION:
It is dangerous to get out of your vehicle
if the shift lever is not fully in PARK (P)
with the parking brake �rmly set. Your
vehicle can roll.
Do not leave your vehicle when the engine
is running unless you have to. If you have
left the engine running, the vehicle can
move suddenly. You or others could be
injured. To be sure your vehicle will not
move, even when you are on fairly level
ground, always set your parking brake
and move the shift lever to PARK (P).
SeeShifting Into Park (P) (Automatic
Transmission) on page 170. If you are
pulling a trailer, seeTowing a Trailer on
page 429.
Allison TransmissionĀ®
141
Page 142 of 674
{CAUTION:
If you have four-wheel drive, your vehicle
will be free to roll ā even if your shift
lever is in PARK (P) ā if your transfer
case is in NEUTRAL. So, be sure the
transfer case is in a drive gear, two-wheel
high (2H) or four-wheel high (4H) or
four-wheel low (4L) ā not in NEUTRAL.
SeeShifting Into Park (P) (Automatic
Transmission) on page 170.
REVERSE (R):Use this gear to back up. If your
vehicle has the Allison Transmission
Ā®,theRonthe
shift display, may blink if the shift inhibitor is active.
Notice:Shifting to REVERSE (R) while your
vehicle is moving forward could damage the
transmission. The repairs would not be covered
by your warranty. Shift to REVERSE (R) only
after your vehicle is stopped.
To rock your vehicle back and forth to get out of
snow, ice, or sand without damaging your
transmission, seeIf Your Vehicle is Stuck in Sand,
Mud, Ice, or Snow on page 406.NEUTRAL (N):In this position, your engine does
not connect with the wheels. To restart when
you are already moving, use NEUTRAL (N) only.
Also, use NEUTRAL (N) when your vehicle is
being towed.
{CAUTION:
Shifting into a drive gear while your
engine is running at high speed is
dangerous. Unless your foot is �rmly on
the brake pedal, your vehicle could move
very rapidly. You could lose control and
hit people or objects. Do not shift into a
drive gear while your engine is running at
high speed.
Notice:Shifting out of PARK (P) or
NEUTRAL (N) with the engine running at high
speed may damage the transmission. The
repairs would not be covered by your warranty.
Be sure the engine is not running at high
speed when shifting your vehicle.
142
Page 144 of 674
MANUAL MODE (M):This position, is available
on vehicles with the Allison TransmissionĀ®.It
lets drivers select the range of gears appropriate
for current driving conditions. If your vehicle
has this feature, see Range Select Mode (Allison
Transmission
Ā®) later in this section.
THIRD (3):This position is also used for normal
driving. However, it reduces vehicle speed
more than DRIVE (D) without using your brakes.
You might choose THIRD (3) instead of DRIVE (D)
when driving on hilly, winding roads, when
towing a trailer, so there is less shifting between
gears and when going down a steep hill.
SECOND (2):This position reduces vehicle speed
even more than THIRD (3) without using your
brakes. You can use SECOND (2) on hills. It can
help control your speed as you go down steep
mountain roads, but then you would also want to
use your brakes off and on.
If you manually select SECOND (2) in an
automatic transmission, the transmission will start
in second gear. You can use this feature for
reducing the speed of the rear wheels when you
are trying to start your vehicle from a stop on
slippery road surfaces.For an Allison Transmission
Ā®, see Low Traction
Mode later in this section.
FIRST (1):For an automatic transmission, this
position reduces vehicle speed even more than
SECOND (2) without using your brakes. You can
use it on very steep hills, or in deep snow or mud. If
the shift lever is put in FIRST (1) while the vehicle is
moving forward, the transmission will not shift into
�rst gear until the vehicle is going slowly enough.
For an Allison Transmission
Ā®, This position reduces
vehicle speed, without using your brakes. You can
use it for major/sever downgrades and off-road
driving where the vehicle would otherwise
accelerate due to steepness of grade. When you
shift to FIRST (1) it will provide the lowest gear
appropriate to your current road speed and will
continue to downshift as the vehicle slows,
eventually downshifting to FIRST (1) gear.
Notice:Spinning the tires or holding the
vehicle in one place on a hill using only the
accelerator pedal may damage the
transmission. The repair will not be covered by
your warranty. If you are stuck, do not spin
the tires. When stopping on a hill, use the
brakes to hold the vehicle in place.
144
Page 146 of 674
Low Traction Mode
(Allison TransmissionĀ®)
If your vehicle has the DURAMAXĀ®diesel engine
and the Allison TransmissionĀ®,ithasaLow
Traction Mode that assists in vehicle acceleration
when road conditions are slippery, such as
with ice or snow. While at a stop, selecting the
second gear range using the Range Selection
system, will allow the Allison Transmission
Ā®to limit
torque to the wheels after it detects wheel slip,
preventing the tires from spinning.
Notice:Spinning the tires or holding the
vehicle in one place on a hill using only the
accelerator pedal may damage the
transmission. The repair will not be covered by
your warranty. If you are stuck, do not spin
the tires. When stopping on a hill, use the
brakes to hold the vehicle in place.
Cold Weather Operation
(Allison TransmissionĀ®)
On cold days, approximately 32Ā°F (0Ā°C) or colder,
your automatic transmission is designed to shift
differently. The transmission uses a warm-up mode
shift schedule until the engine reaches normal
operating temperature. While the transmission is
in warm-up mode it is normal for transmission
upshifts to be delayed or held longer. This feature
improves heater performance by giving quicker
vehicle warm-ups.
When temperatures are belowā13Ā°F (ā25Ā°C), the
transmission will prevent certain operations to
protect against damage. When active the DIC will
display the message āTrans in Warm-upā.
SeeDIC Warnings and Messages on page 270for
more information.
146
Page 148 of 674
Tow/Haul Mode (Allison
TransmissionĀ®)
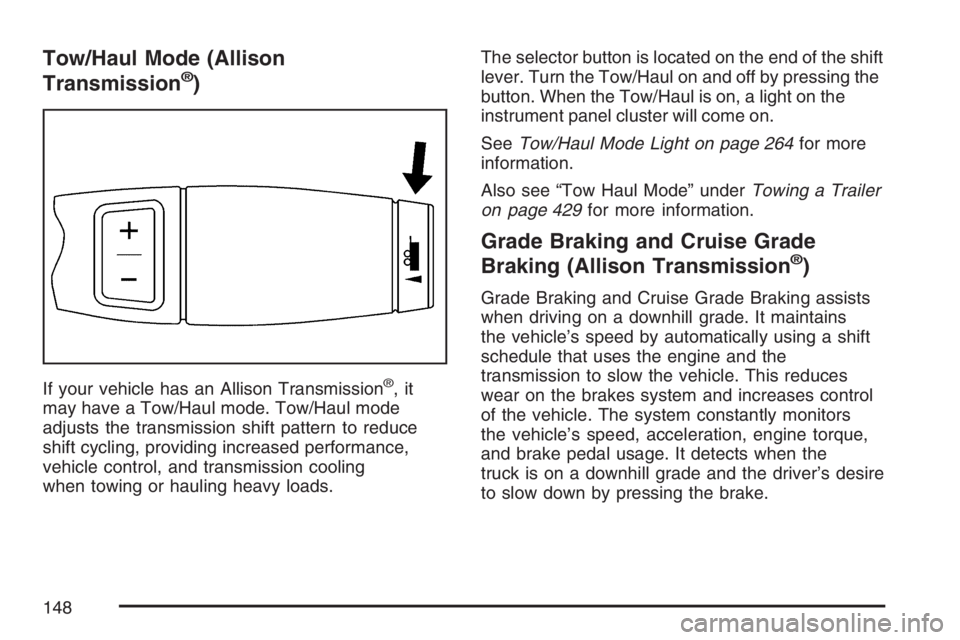
If your vehicle has an Allison TransmissionĀ®,it
may have a Tow/Haul mode. Tow/Haul mode
adjusts the transmission shift pattern to reduce
shift cycling, providing increased performance,
vehicle control, and transmission cooling
when towing or hauling heavy loads.The selector button is located on the end of the shift
lever. Turn the Tow/Haul on and off by pressing the
button. When the Tow/Haul is on, a light on the
instrument panel cluster will come on.
SeeTow/Haul Mode Light on page 264for more
information.
Also see āTow Haul Modeā underTowing a Trailer
on page 429for more information.
Grade Braking and Cruise Grade
Braking (Allison TransmissionĀ®)
Grade Braking and Cruise Grade Braking assists
when driving on a downhill grade. It maintains
the vehicleās speed by automatically using a shift
schedule that uses the engine and the
transmission to slow the vehicle. This reduces
wear on the brakes system and increases control
of the vehicle. The system constantly monitors
the vehicleās speed, acceleration, engine torque,
and brake pedal usage. It detects when the
truck is on a downhill grade and the driverās desire
to slow down by pressing the brake.
148