weight GMC SIERRA DENALI 2003 Owners Manual
[x] Cancel search | Manufacturer: GMC, Model Year: 2003, Model line: SIERRA DENALI, Model: GMC SIERRA DENALI 2003Pages: 428, PDF Size: 20.35 MB
Page 41 of 428
Children who are up against, or v - lose to,
any air bag when
it inflates can be seriously
injured or killed. Air bags plus lap-shoulder
belts offer outstanding protection for adults and
older children, but not for young children and infants. Neither the vehicle’s safety belt system
nor
its air bag system is designed for them.
Young children and infants need the protection
that a child restraint system can provide.
Q: What are the different types of add-on child
restraints?
A: Add-on child restraints, which are purchased by the
vehicle’s owner, are available in four basic types.
Selection of a particular restraint should take into
consideration not only the child’s weight, height and
age but also whether or not the restraint will be
compatible with the motor vehicle in which it will
be used.
For most basic types of child restraints, there are
many different models available. When purchasing a
child restraint, be sure it is designed
to be used
in a motor vehicle. If it is, the restraint will have a
label saying that it meets federal motor vehicle
safety standards.
The restraint manufacturer’s instructions that come
with the restraint state the weight and height
limitations for a particular child restraint. In addition,
there are many kinds of restraints available for
children with special needs.
1-34
Page 76 of 428
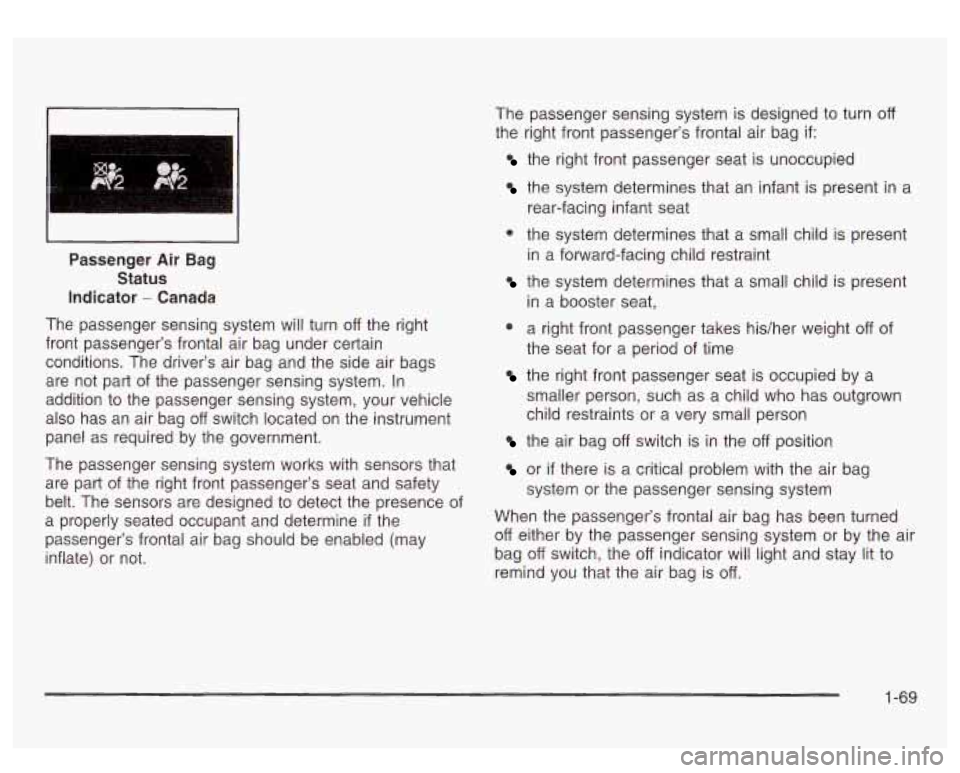
Passenger Air Bag
Status
Indicator
- Canada
The passenger sensing system will turn
off the right
front passenger’s frontal air bag under certain
conditions. The driver’s air bag and the side air bags
are not part of the passenger sensing system. In
addition to the passenger sensing system, your vehicle
also has an air bag
off switch located on the instrument
panel as required by the government.
The passenger sensing system works with sensors that
are part of the right front passenger’s seat and safety
belt. The sensors are designed to detect the presence of
a properly seated occupant and determine
if the
passenger’s frontal air bag should be enabled (may
inflate) or not. The passenger
sensing system is designed to turn
oft
the right front passenger’s frontal air bag if:
the right front passenger seat is unoccupied
the system determines that an infant is present in a
rear-facing infant seat
J the system determines that a small child is present
in a forward-facing child restraint
the system determines that a small child is present
in a booster seat,
0 a right front passenger takes hidher weight off of
the seat for a period of time
the right front passenger seat is occupied by a
smaller person, such as a child who has outgrown
child restraints or a very small person
the air bag off switch is in the off position
or if there is a critical problem with the air bag
system or the passenger sensing system
When the passenger’s frontal air bag has been turned
off either by the passenger sensing system or by the air
bag
off switch, the off indicator will light and stay lit to
remind you that the air bag is
off.
1-69
Page 106 of 428
Torque Lock
If you are parking on a hill and you don’t shift your
transmission into PARK
(P) properly, the weight of the
vehicle may put too much force on the parking pawl
in the transmission. You may find it difficult to pull the
shift lever out of PARK
(P). This is called ”torque
lock.” To prevent torque lock, set the parking brake and
then shift into PARK (P) properly before you leave
the driver’s seat.
To find out how, see Shifting lnto
Park
(P) on page 2-23.
When you are ready to drive, move the shift lever out of
PARK
(P) before you release the parking brake.
If torque lock does occur, you may need to have another
vehicle push yours a little uphill to take some of the
pressure from the parking pawl in the transmission,
so
you can pull the shift lever out of PARK (P).
Shifting Out of Park (P)
Your vehicle has an automatic transmission shift lock
control system. You have to fully apply your regular
brakes before you can shift from PARK (P) when the
ignition
is in RUN. See Automatic Transmission
Operation on page
2- 18.
If you cannot shift out of PARK (P), ease pressure on
the shift lever and push the shift lever all the way up into
PARK
(P) as you maintain brake application. Then,
move the shift lever into the gear you want.
If you ever hold the brake pedal down but still can’t shift
out of PARK (P), try this:
1. Turn the key to LOCK.
2. Apply and hold the brake until the end of Step 4.
3. Shift the vehicle to NEUTRAL (N).
4. Start the vehicle and then shift to the drive gear
5. Have the system fixed as soon as you can.
you want.
2-25
Page 212 of 428
Many adults - by some estimates, nearly half the adult
population
- choose never to drink alcohol, so they
never drive after drinking. For persons under 21,
it’s against the law in every
U.S. state to drink alcohol.
There are good medical, psychological and
developmental reasons for these laws.
The obvious way to eliminate the leading highway safety
problem is for people never to drink alcohol and then
drive. But what
if people do? How much is “too much” if
someone plans to drive? It’s a lot less than many might
think. Although it depends
on each person and situation,
here is some general information on the problem.
The Blood Alcohol Concentration (BAC)
of someone
who is drinking depends upon four things:
The amount of alcohol consumed
0 The drinker’s body weight
The amount of food that is consumed before and
during drinking
consume the alcohol.
0 The length of time it has taken the drinker to
According to the American Medical Association, a 180
Ib
(82 kg) person who drinks three 12 ounce (355 ml)
bottles of beer in an hour will end up with a BAC
of about
0.06 percent. The person would reach the
same BAC by drinking three
4 ounce (120 ml) glasses
of wine or three mixed drinks
if each had 1 - 1/2 ounces
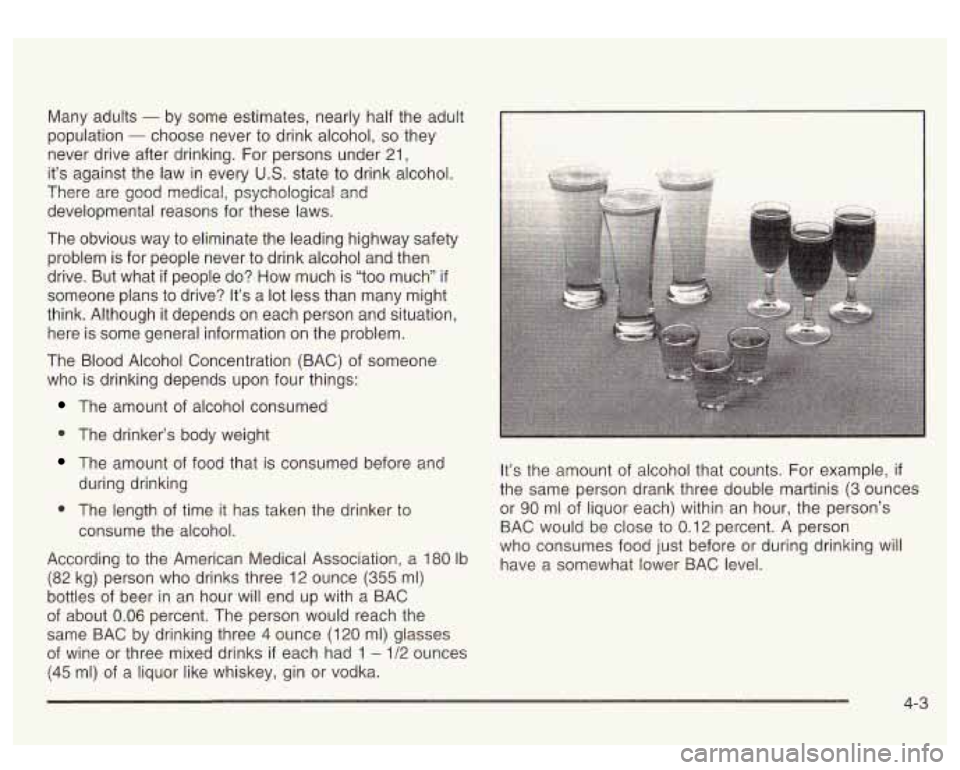
(45 mi) of a liquor like whiskey, gin or vodka. It’s the
amount of alcohol that counts. For example,
if
the same person drank three double martinis (3 ounces
or
90 ml of liquor each) within an hour, the person’s
BAC would be close to 0.1 2 percent. A person
who consumes food just before or during drinking will
have a somewhat lower BAC level.
4-3
Page 213 of 428
There is a gender difference, too. Women generally
have a lower relative percentage of body water
than men. Since alcohol
is carried in body water, this
means that a woman generally will reach a higher BAC
level than a man
of her same body weight when
each has the same number
of drinks.
The law in an increasing number
of U.S. states, and
throughout Canada, sets the legal limit at
0.08 percent.
In some other countries, the limit is even lower. For
example, it is
0.05 percent in both France and Germany.
The BAC limit for all commercial drivers in the United
States is
0.04 percent.
The BAC will be over
0.10 percent after three to six
drinks (in one hour).
Of course, as we’ve seen, it
depends on how much alcohol is in the drinks, and how
quickly the person drinks them. But
the ability to drive is affected well below a BAC
of
0.10 percent. Research shows that the driving skills
of many people are impaired at a BAC approaching
0.05 percent, and that the effects are worse at night. All
drivers are impaired at BAC levels above
0.05 percent.
Statistics show that the chance of being in a collision
increases sharply for drivers who have a BAC of
0.05 percent or above. A driver with a BAC level of
0.06 percent has doubled his or her chance of having a
collision. At a BAC level of
0.10 percent, the chance
of this driver having a collision is
12 times greater; at a
level of
0.15 percent, the chance is 25 times greater!
The body takes about an hour to rid itself of the alcohol
in one drink.
No amount of coffee or number of cold
showers will speed that up.
“1’11 be careful’’ isn’t the right
answer. What
if there’s an emergency, a need to
take sudden action, as when a child darts into the
street? A person with even a moderate BAC might not
be able to react quickly enough to avoid the collision.
4-4
Page 215 of 428
‘\, Braking
Braking action involves perception time and
reaction time.
First, you have to decide to push on the brake pedal.
That’s
perception time. Then you have to bring up your
foot and do it. That’s
reaction time.
Average reaction time is about 3/4 of a second. But
that’s only an average. It might be less with one driver
and as long as two or three seconds or more with
another. Age, physical condition, alertness, coordination
and eyesight all play a part. So do alcohol, drugs and
frustration. But even in
3/4 of a second, a vehicle moving
at
60 mph (I00 km/h) travels 66 feet (20 m). That
could be a lot of distance in an emergency,
so keeping
enough space between your vehicle and others is
important.
And, of course, actual stopping distances vary greatly
with the surface of the road (whether it’s pavement
or gravel); the condition of the road (wet, dry, icy); tire
tread; the condition of your brakes; the weight of
the vehicle and the amount of brake force applied. Avoid needless
heavy braking. Some people drive in
spurts
- heavy acceleration followed by heavy
braking
- rather than keeping pace with traffic. This is
a mistake. Your brakes may not have time to cool
between hard stops. Your brakes will wear out much
faster
if you do a lot of heavy braking. If you keep pace
with the traffic and allow realistic following distances,
you will eliminate a lot of unnecessary braking.
That means better braking and longer brake life.
If your engine ever stops while you’re driving, brake
normally but don’t pump your brakes. If you do,
the pedal may get harder
to push down. If your engine
stops, you will still have some power brake assist.
But you will use it when you brake. Once the power
assist is used up, it may take longer to stop and
the brake pedal will be harder to push.
4-6
Page 221 of 428
I
Higher Speeds (40 m.p.h./64 km/h and above)
J
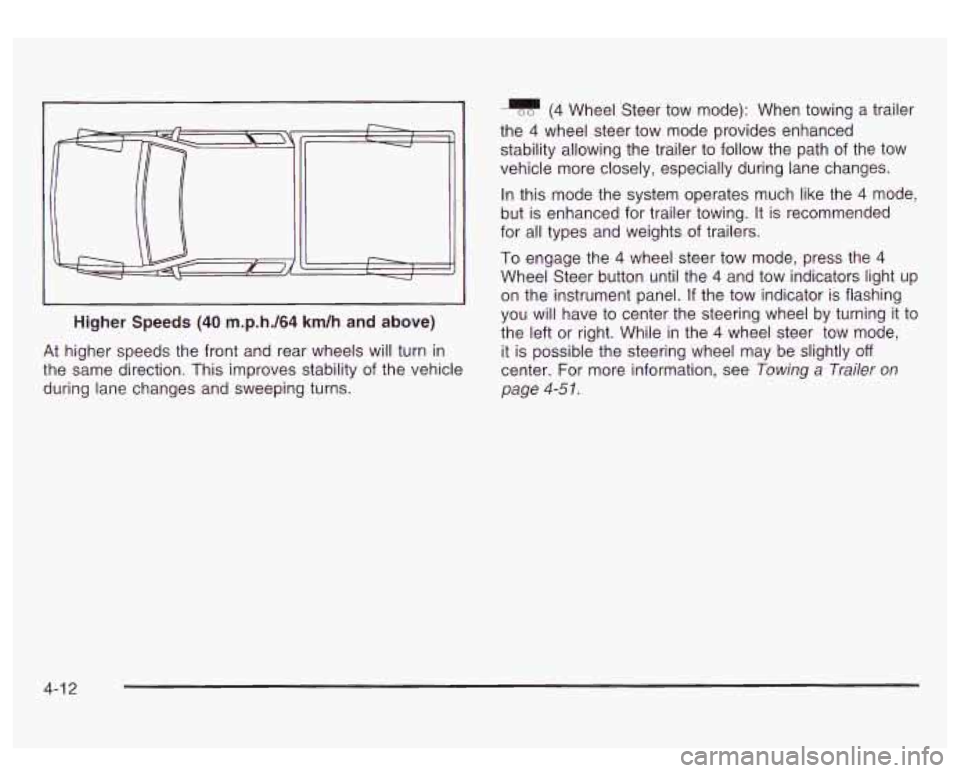
At higher speeds the front and rear wheels will turn in
the same direction. This improves stability of the vehicle
during lane changes and sweeping turns.
(4 Wheel Steer tow mode): When towing a trailer
the
4 wheel steer tow mode provides enhanced
stability allowing the trailer to follow the path of the tow
vehicle more closely, especially during lane changes.
In this mode the system operates much like the
4 mode,
but is enhanced for trailer towing. It is recommended
for all types and weights
of trailers.
To engage the
4 wheel steer tow mode, press the 4
Wheel Steer button until the 4 and tow indicators light up
on the instrument panel.
If the tow indicator is flashing
you will have to center the steering wheel by turning it to
the left or right. While in the
4 wheel steer tow mode,
it is possible the steering wheel may be slightly
off
center. For more information, see Towing a Trailer on
page
4-5 I.
4-1 2
Page 254 of 428
Towing Loading Your Vehicle
Towing Your Vehicle
Consult your dealer or a professional towing service if
you need to have your disabled vehicle towed. See
Roadside Assistance Program on page 7-5.
If you want to tow your vehicle behind another vehicle
for recreational purposes (such as behind a motorhome),
see “Recreational Vehicle Towing” following.
Recreational Vehicle Towing
Recreational vehicle towing means towing your vehicle
behind another vehicle
- such as behind a motorhome.
The two most common types of recreational vehicle
towing are known as “dinghy towing” (towing your
vehicle with all four wheels on the ground) and “dolly
towing” (towing your vehicle with two wheels on
the ground and two wheels up on a device known
as a
“dolly”).
Your vehicle was not designed to be towed with any of
its wheels on the ground. If your vehicle must be
towed, see
Towing Your Vehicle on page 4-45.
Notice: Towing an all-wheel-drive vehicle with all
four wheels on the ground, or even with only two
of
its wheels on the ground, will damage drivetrain
components. Don’t tow an all-wheel-drive vehicle if
any
of its wheels will be on the ground.
COLD TIRE PRESSURE
00
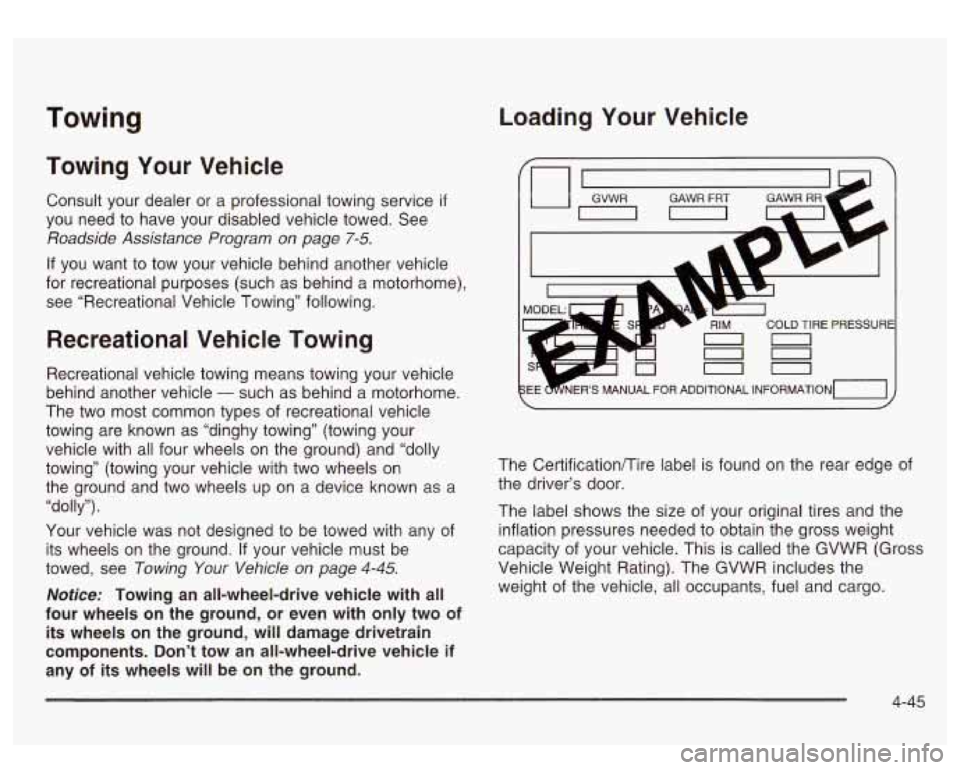
The Certificationflire label is found on the rear edge of
the driver’s door.
The label shows the size of your original tires and the
inflation pressures needed to obtain the gross weight
capacity of your vehicle. This is called the GVWR (Gross
Vehicle Weight Rating). The GVWR includes the
weight of the vehicle, all occupants, fuel and cargo.
4-45
Page 255 of 428
The Certification/Tire label also tells you the maximum
weights for the front and rear axles, called Gross
Axle Weight Rating (GAWR).
To find out the actual loads
on your front and rear axles, you need to go to a
weigh station and weigh your vehicle. Your dealer can
help you with this. Be sure to spread out your load
equally on both sides of the centerline.
Never exceed the GVWR for your vehicle, or the GAWR
for either the front or rear axle.
And,
if you do have a heavy load, you should spread
it out.
In the case of a sudden stop or collision,
things carried in the bed of your truck could
shift forward and come into the passenger
area, injuring you and others. If you put things
in the bed of your truck, you should make sure
they are properly secured. Do
not load your vehicle any heavier than the
GVWR, or either the maximum front or rear
GAWR. If you do, parts on
your vehicle can
break, and
it can change the way your vehicle
handles. These could cause you to lose
control and crash.
Also, overloading can
shorten the life of your vehicle.
Your warranty does not cover parts or components that
fail because of overloading.
This will help you decide how much cargo and installed
equipment your truck can carry.
Using heavier suspension components to get added
durability might not change your weight ratings. Ask your
dealer to help you load your vehicle the right way.
If you put things inside your vehicle - like suitcases,
tools, packages, or anything else
- they go as fast
as the vehicle goes.
If you have to stop or turn quickly,
or
if there is a crash, they’ll keep going.
4-46
Page 256 of 428
Th.,,ds yo^ pur inside your vehicle can strike
and injure people in a sudden stop or turn, or
in a crash.
Put things in the trunk of your vehicle. In a
trunk, put them
as far forward as you can.
Try to spread the weight evenly.
Never stack heavier things, like suitcases,
inside the vehicle
so that some of them
are above the tops of the seats.
Don’t leave an unsecured child restraint in
your vehicle.
When you carry something inside the
vehicle, secure it whenever you can.
There’s also important loading information for off-road
driving in this manual. See “Loading Your Vehicle
for Off-Road Driving“ under
Operating Your
All- Wheel-Drive Vehicle Off Paved Roads on page 4- 16.
Payload
Payload capacity is the maximum load capacity that your
vehicle can carry. Be sure to include the weight of the
occupants as part of your load.
If you added any accessories or
equipment after your vehicle left the
factory, remember to subtract the weight of these things
from the payload. Your dealer can help you with this.
Remember not to exceed the Gross Axle Weight Rating
(GAWR) of the front or rear axle.
Two-Tiered Loading
By positioning four 2’’ x 6’’ wooden planks across the
width of the pickup box, you can create an upper
load platform. The planks must be inserted in the pickup
box depressions. The length of the planks must allow
for at least a
3/4 inch (2 cm) bearing surface on
each end of the plank.
When using this upper load platform, be sure the load is
securely tied down to prevent it from shifting. The
load’s center of gravity should be positioned in a zone
over the rear axle. The zone is located in the area
between the front of each wheel well and the rear of
each wheel well. The center of gravity height must not
extend above the top of the pickup box flareboard.
Any load that extends beyond the vehicle’s taillamp area
must be properly marked according to local laws and
regulations.
Remember not to exceed the Gross Axle Weight Rating
(GAWR) of the front or rear axle.
4-47