radio GMC SIERRA DENALI 2004 Owners Manual
[x] Cancel search | Manufacturer: GMC, Model Year: 2004, Model line: SIERRA DENALI, Model: GMC SIERRA DENALI 2004Pages: 452, PDF Size: 3.02 MB
Page 89 of 452
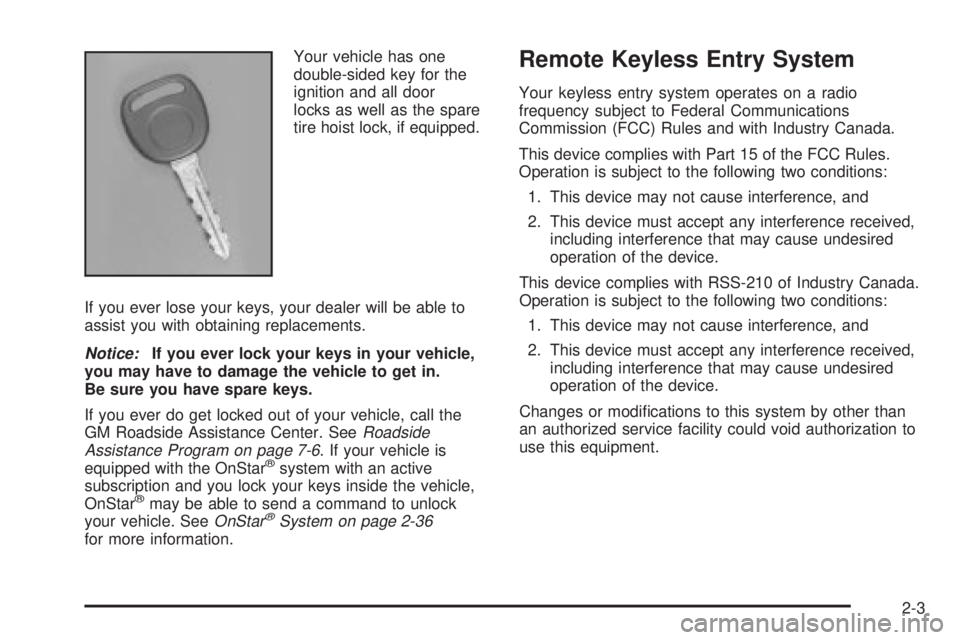
Your vehicle has one
double-sided key for the
ignition and all door
locks as well as the spare
tire hoist lock, if equipped.
If you ever lose your keys, your dealer will be able to
assist you with obtaining replacements.
Notice:If you ever lock your keys in your vehicle,
you may have to damage the vehicle to get in.
Be sure you have spare keys.
If you ever do get locked out of your vehicle, call the
GM Roadside Assistance Center. See
Roadside
Assistance Program on page 7-6. If your vehicle is
equipped with the OnStaržsystem with an active
subscription and you lock your keys inside the vehicle,
OnStar
žmay be able to send a command to unlock
your vehicle. SeeOnStaržSystem on page 2-36for more information.
Remote Keyless Entry System
Your keyless entry system operates on a radio
frequency subject to Federal Communications
Commission (FCC) Rules and with Industry Canada.
This device complies with Part 15 of the FCC Rules.
Operation is subject to the following two conditions:
1. This device may not cause interference, and
2. This device must accept any interference received,
including interference that may cause undesired
operation of the device.
This device complies with RSS-210 of Industry Canada.
Operation is subject to the following two conditions:
1. This device may not cause interference, and
2. This device must accept any interference received,
including interference that may cause undesired
operation of the device.
Changes or modi®cations to this system by other than
an authorized service facility could void authorization to
use this equipment.
2-3
Page 105 of 452
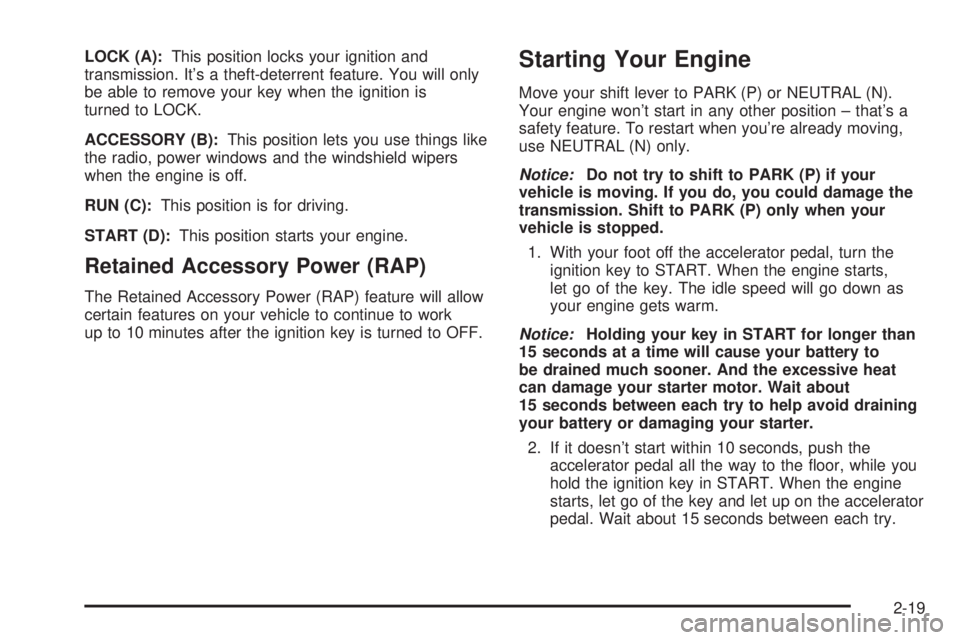
LOCK (A):This position locks your ignition and
transmission. It's a theft-deterrent feature. You will only
be able to remove your key when the ignition is
turned to LOCK.
ACCESSORY (B):This position lets you use things like
the radio, power windows and the windshield wipers
when the engine is off.
RUN (C):This position is for driving.
START (D):This position starts your engine.
Retained Accessory Power (RAP)
The Retained Accessory Power (RAP) feature will allow
certain features on your vehicle to continue to work
up to 10 minutes after the ignition key is turned to OFF.
Starting Your Engine
Move your shift lever to PARK (P) or NEUTRAL (N).
Your engine won't start in any other position ± that's a
safety feature. To restart when you're already moving,
use NEUTRAL (N) only.
Notice:Do not try to shift to PARK (P) if your
vehicle is moving. If you do, you could damage the
transmission. Shift to PARK (P) only when your
vehicle is stopped.
1. With your foot off the accelerator pedal, turn the
ignition key to START. When the engine starts,
let go of the key. The idle speed will go down as
your engine gets warm.
Notice:Holding your key in START for longer than
15 seconds at a time will cause your battery to
be drained much sooner. And the excessive heat
can damage your starter motor. Wait about
15 seconds between each try to help avoid draining
your battery or damaging your starter.
2. If it doesn't start within 10 seconds, push the
accelerator pedal all the way to the ¯oor, while you
hold the ignition key in START. When the engine
starts, let go of the key and let up on the accelerator
pedal. Wait about 15 seconds between each try.
2-19
Page 125 of 452
Programming the HomeLinkž
Transmitter
Do not use the HomeLinkžTransmitter with any garage
door opener that does not have the ªstop and reverseº
feature. This includes any garage door opener model
manufactured before April 1, 1982. If you have a newer
garage door opener with rolling codes, please be
sure to follow steps 6 through 8 to complete the
programming of your HomeLink
žTransmitter.
Read the instructions completely before attempting to
program the HomeLink
žTransmitter. Because of
the steps involved, it may be helpful to have another
person available to assist you in programming the
transmitter.
Keep the original transmitter for use in other vehicles as
well as for future HomeLink
žprogramming. It is also
recommended that upon the sale of the vehicle,
the programmed HomeLink
žbuttons should be erased
for security purposes. Refer to ªErasing HomeLinkž
Buttonsº or, for assistance, contact HomeLinkžon the
internet at: www.homelink.com or by calling
1-800-355-3515.Be sure that people and objects are clear of the garage
door or gate operator you are programming. When
programming a garage door, it is advised to park outside
of the garage.
It is recommended that a new battery be installed in
your hand-held transmitter for quicker and more
accurate transmission of the radio frequency.
Your vehicle's engine should be turned off while
programming the transmitter. Follow these steps to
program up to three channels:
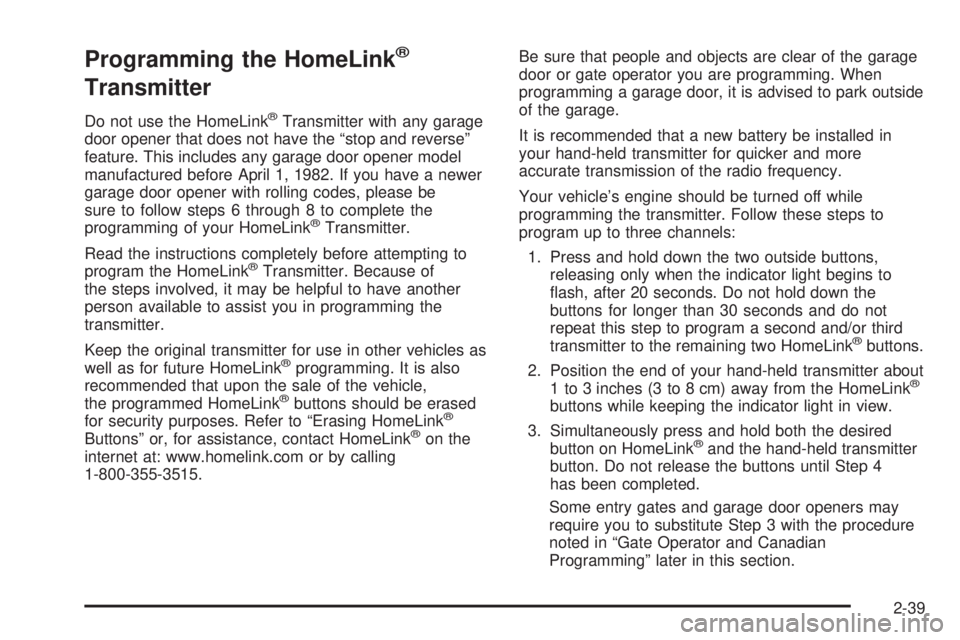
1. Press and hold down the two outside buttons,
releasing only when the indicator light begins to
¯ash, after 20 seconds. Do not hold down the
buttons for longer than 30 seconds and do not
repeat this step to program a second and/or third
transmitter to the remaining two HomeLink
žbuttons.
2. Position the end of your hand-held transmitter about
1 to 3 inches (3 to 8 cm) away from the HomeLink
ž
buttons while keeping the indicator light in view.
3. Simultaneously press and hold both the desired
button on HomeLink
žand the hand-held transmitter
button. Do not release the buttons until Step 4
has been completed.
Some entry gates and garage door openers may
require you to substitute Step 3 with the procedure
noted in ªGate Operator and Canadian
Programmingº later in this section.
2-39
Page 127 of 452
Gate Operator and Canadian
Programming
Canadian radio-frequency laws require transmitter
signals to ªtime outº or quit after several seconds of
transmission. This may not be long enough for
HomeLink
žto pick up the signal during programming.
Similarly, some U.S. gate operators are manufactured to
ªtime outº in the same manner.
If you live in Canada, or you are having difficulty
programming a gate operator by using the
ªProgramming HomeLink
žº procedures (regardless of
where you live), replace Step 3 under ªProgramming
HomeLink
žº with the following:
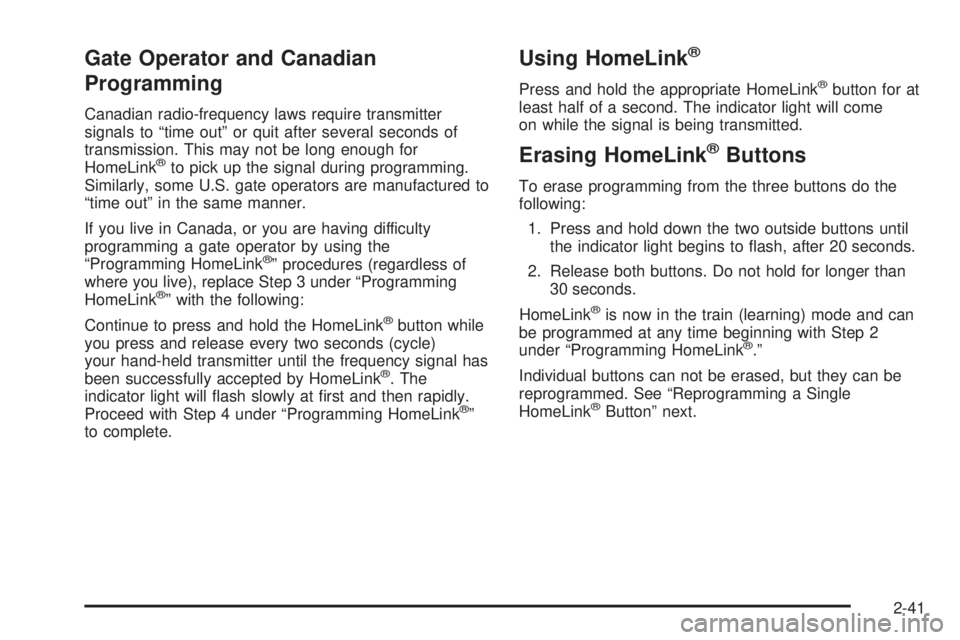
Continue to press and hold the HomeLink
žbutton while
you press and release every two seconds (cycle)
your hand-held transmitter until the frequency signal has
been successfully accepted by HomeLink
ž. The
indicator light will ¯ash slowly at ®rst and then rapidly.
Proceed with Step 4 under ªProgramming HomeLink
žº
to complete.
Using HomeLinkž
Press and hold the appropriate HomeLinkžbutton for at
least half of a second. The indicator light will come
on while the signal is being transmitted.
Erasing HomeLinkžButtons
To erase programming from the three buttons do the
following:
1. Press and hold down the two outside buttons until
the indicator light begins to ¯ash, after 20 seconds.
2. Release both buttons. Do not hold for longer than
30 seconds.
HomeLink
žis now in the train (learning) mode and can
be programmed at any time beginning with Step 2
under ªProgramming HomeLink
ž.º
Individual buttons can not be erased, but they can be
reprogrammed. See ªReprogramming a Single
HomeLink
žButtonº next.
2-41
Page 131 of 452
Vehicle Personalization
Memory Seat
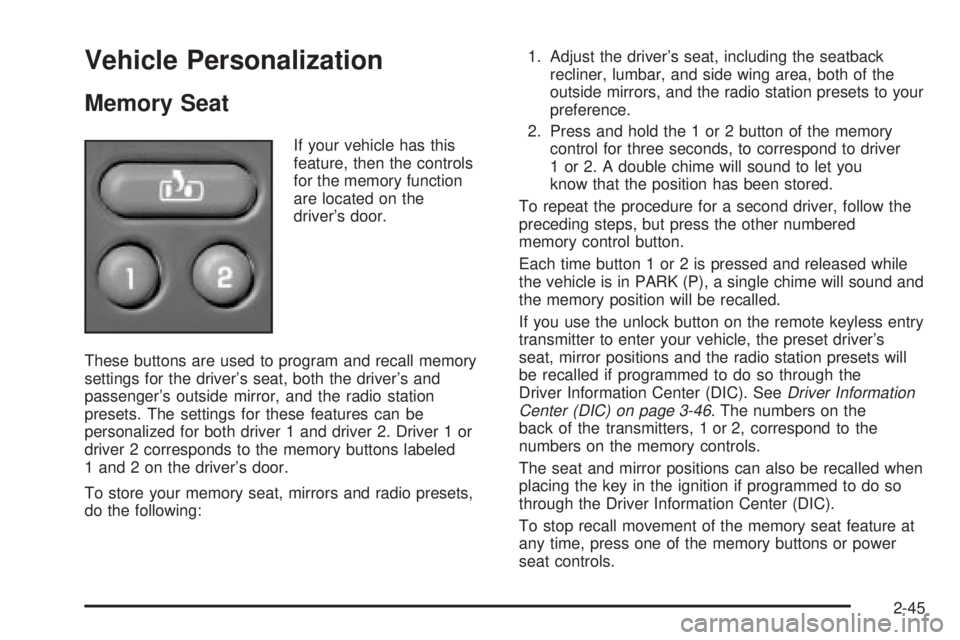
If your vehicle has this
feature, then the controls
for the memory function
are located on the
driver's door.
These buttons are used to program and recall memory
settings for the driver's seat, both the driver's and
passenger's outside mirror, and the radio station
presets. The settings for these features can be
personalized for both driver 1 and driver 2. Driver 1 or
driver 2 corresponds to the memory buttons labeled
1 and 2 on the driver's door.
To store your memory seat, mirrors and radio presets,
do the following:1. Adjust the driver's seat, including the seatback
recliner, lumbar, and side wing area, both of the
outside mirrors, and the radio station presets to your
preference.
2. Press and hold the 1 or 2 button of the memory
control for three seconds, to correspond to driver
1 or 2. A double chime will sound to let you
know that the position has been stored.
To repeat the procedure for a second driver, follow the
preceding steps, but press the other numbered
memory control button.
Each time button 1 or 2 is pressed and released while
the vehicle is in PARK (P), a single chime will sound and
the memory position will be recalled.
If you use the unlock button on the remote keyless entry
transmitter to enter your vehicle, the preset driver's
seat, mirror positions and the radio station presets will
be recalled if programmed to do so through the
Driver Information Center (DIC). See
Driver Information
Center (DIC) on page 3-46. The numbers on the
back of the transmitters, 1 or 2, correspond to the
numbers on the memory controls.
The seat and mirror positions can also be recalled when
placing the key in the ignition if programmed to do so
through the Driver Information Center (DIC).
To stop recall movement of the memory seat feature at
any time, press one of the memory buttons or power
seat controls.
2-45
Page 133 of 452
Instrument Panel Overview...............................3-2
Hazard Warning Flashers................................3-4
Other Warning Devices...................................3-4
Horn.............................................................3-5
Tilt Wheel.....................................................3-5
Turn Signal/Multifunction Lever.........................3-5
Exterior Lamps.............................................3-12
Interior Lamps..............................................3-16
Accessory Power Outlets...............................3-18
Ashtrays and Cigarette Lighter........................3-19
Climate Controls............................................3-19
Dual Automatic Climate Control System...........3-19
Warning Lights, Gages and Indicators.............3-27
Warning Lights, Gages, and Indicators.............3-27
Instrument Panel Cluster................................3-28
Speedometer and Odometer...........................3-29
Tachometer.................................................3-29
Safety Belt Reminder Light.............................3-29
Air Bag Readiness Light................................3-30
Air Bag Off Light..........................................3-30
Passenger Air Bag Status Indicator.................3-33
Battery Warning Light....................................3-35
Voltmeter Gage............................................3-36
Brake System Warning Light..........................3-37
Anti-Lock Brake System Warning Light.............3-38
Engine Coolant Temperature Gage..................3-38Transmission Temperature Gage.....................3-39
Malfunction Indicator Lamp.............................3-40
Oil Pressure Gage........................................3-43
Cruise Control Light......................................3-44
Tow/Haul Mode Light....................................3-44
Fuel Gage...................................................3-45
Low Fuel Warning Light.................................3-45
Driver Information Center (DIC).......................3-46
DIC Operation and Displays...........................3-46
DIC Warnings and Messages.........................3-57
Audio System(s).............................................3-64
Setting the Time...........................................3-64
Radio with Cassette and CD..........................3-65
Navigation/Radio System...............................3-79
Rear Seat Audio (RSA).................................3-80
CD Changer................................................3-82
Theft-Deterrent Feature..................................3-85
Audio Steering Wheel Controls.......................3-85
Radio Reception...........................................3-86
Care of Your Cassette Tape Player.................3-87
Care of Your CDs.........................................3-88
Care of Your CD Player................................3-88
Fixed Mast Antenna......................................3-88
XMŸ Satellite Radio Antenna System
(48 Contiguous US States).........................3-88
Chime Level Adjustment................................3-88
Section 3 Instrument Panel
3-1
Page 145 of 452
Automatic Headlamp System
When it is dark enough outside, your automatic
headlamp system will turn on your headlamps at the
normal brightness along with other lamps such as
the taillamps, sidemarker, parking lamps and the
instrument panel lights. The radio lights will also be dim.
Your vehicle is equipped with a headlamp off delay,
which will keep the headlamps on for a short time after
the ignition is turned off. For more information see
DIC Operation and Displays on page 3-46.
Your vehicle has a light sensor located on the top of the
instrument panel in the defroster grille. Be sure it is
not covered, or the system will be on whenever
the ignition is on.
The system may also turn on your headlamps when
driving through a parking garage, heavy overcast
weather or a tunnel. This is normal.
There is a delay in the transition between the daytime
and nighttime operation of the Daytime Running
Lamps (DRL) and the automatic headlamp systems so
that driving under bridges or bright overhead street
lights does not affect the system. The DRL and
automatic headlamp system will only be affected when
the light sensor sees a change in lighting lasting
longer than the delay.If you start your vehicle in a dark garage, the automatic
headlamp system will come on immediately. Once
you leave the garage, it will take approximately
one minute for the automatic headlamp system to
change to DRL if it is bright enough outside. During that
delay, your instrument panel cluster may not be as
bright as usual. Make sure your instrument panel
brightness control is in the full bright position. See
ªInstrument Panel Brightness Controlº under
Interior
Lamps on page 3-16.
To idle your vehicle with the automatic headlamp
system off, turn the control to the off position.
You may be able to turn off your automatic headlamp
system. See Daytime Running Lamps (DRL) later in this
section for more information.
Your headlamps will also stay on after you exit the
vehicle. You can program this feature using the Driver
Information Center. See
Driver Information Center (DIC)
on page 3-46
As with any vehicle, you should turn on the regular
headlamps if you need them.
3-13
Page 148 of 452
Interior Lamps
Instrument Panel Brightness Control
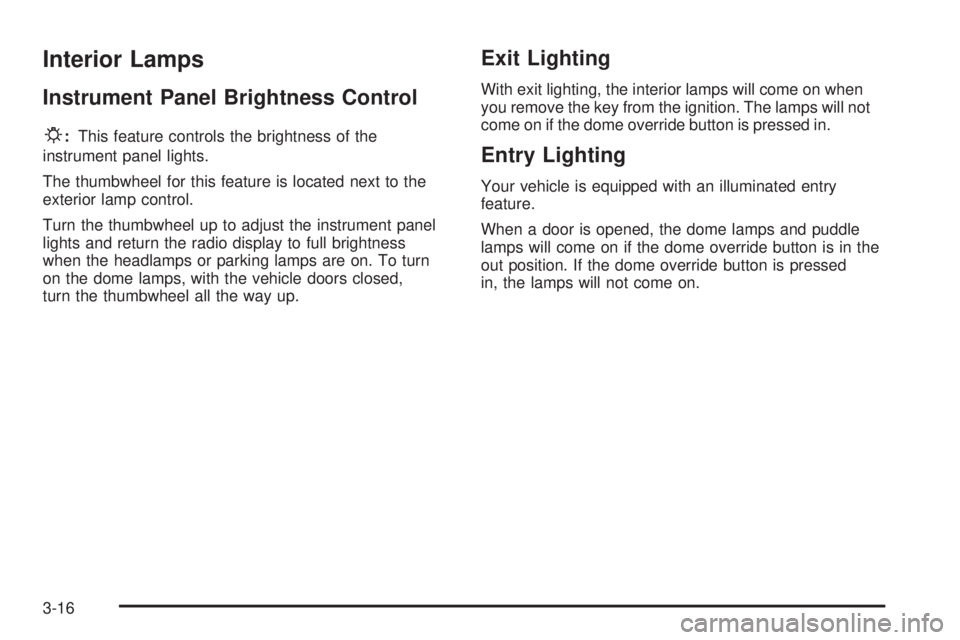
P
:This feature controls the brightness of the
instrument panel lights.
The thumbwheel for this feature is located next to the
exterior lamp control.
Turn the thumbwheel up to adjust the instrument panel
lights and return the radio display to full brightness
when the headlamps or parking lamps are on. To turn
on the dome lamps, with the vehicle doors closed,
turn the thumbwheel all the way up.
Exit Lighting
With exit lighting, the interior lamps will come on when
you remove the key from the ignition. The lamps will not
come on if the dome override button is pressed in.
Entry Lighting
Your vehicle is equipped with an illuminated entry
feature.
When a door is opened, the dome lamps and puddle
lamps will come on if the dome override button is in the
out position. If the dome override button is pressed
in, the lamps will not come on.
3-16
Page 167 of 452
If, after several seconds, all status indicator lights
remain on, or if there are no lights at all, there may be a
problem with the lights or the passenger sensing
system. See your dealer for service.
{CAUTION:
If the air bag off indicator and the air bag
readiness light ever come on together, it
means that something may be wrong with the
air bag system. If this ever happens, have the
vehicle serviced promptly, because an
adult-size person sitting in the right front
passenger seat may not have the protection of
the air bag. See²Air Bag Readiness Light²in
the Index.
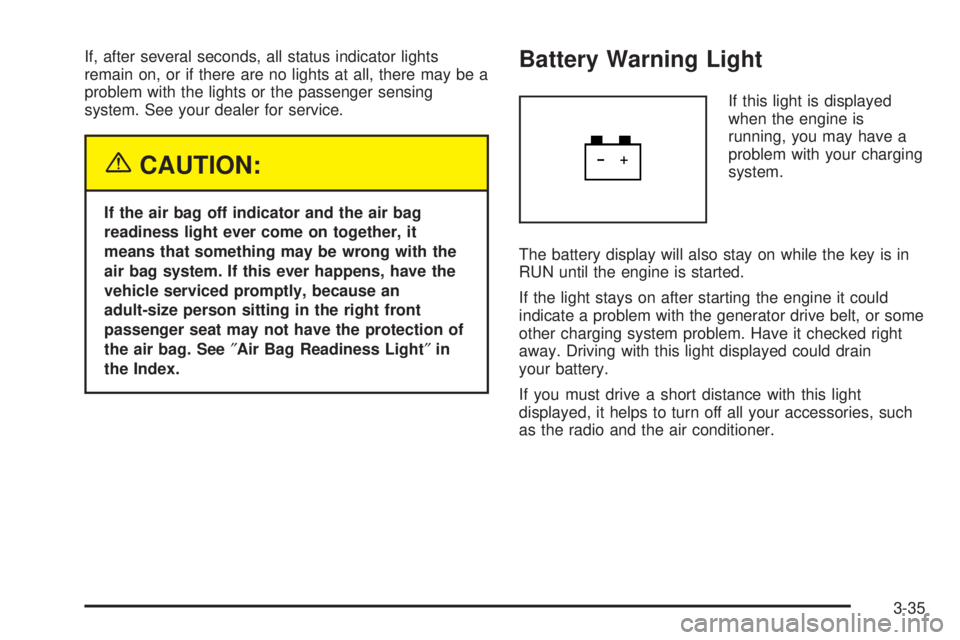
Battery Warning Light
If this light is displayed
when the engine is
running, you may have a
problem with your charging
system.
The battery display will also stay on while the key is in
RUN until the engine is started.
If the light stays on after starting the engine it could
indicate a problem with the generator drive belt, or some
other charging system problem. Have it checked right
away. Driving with this light displayed could drain
your battery.
If you must drive a short distance with this light
displayed, it helps to turn off all your accessories, such
as the radio and the air conditioner.
3-35
Page 196 of 452
Audio System(s)
Notice:Before you add any sound equipment to
your vehicle ± like a tape player, CB radio, mobile
telephone or two-way radio ± be sure you can
add what you want. If you can, it's very important to
do it properly. Added sound equipment may
interfere with the operation of your vehicle's engine,
radio or other systems, and even damage them.
Your vehicle's systems may interfere with the
operation of sound equipment that has been added
improperly.
So, before adding sound equipment, check with
your dealer and be sure to check federal rules
covering mobile radio and telephone units.
Your audio system has been designed to operate easily
and to give years of listening pleasure. You will get
the most enjoyment out of it if you acquaint yourself with
it ®rst. Figure out which radio you have in your vehicle,
®nd out what your audio system can do and how to
operate all of its controls to be sure you're getting the
most out of the advanced engineering that went into it.
Your vehicle has a feature called Retained Accessory
Power (RAP). With RAP, you can play your audio
system even after the ignition is turned off. See
ªRetained Accessory Power (RAP)º under
Ignition
Positions on page 2-18.
Setting the Time
Press and hold the HR button until the correct hour
appears on the display. Press and hold the MN button
until the correct minute appears on the display. The time
may be set with the ignition on or off.
To synchronize the time with an FM station broadcasting
Radio Data System (RDS) information, press and
hold the hour and minute buttons at the same time until
RDS TIME appears on the display. To accept this
time, press and hold the hour and minute buttons, at the
same time, for another 2 seconds. If the time is not
available from the station, NO UPDAT will appear on the
display.
RDS time is broadcast once a minute. Once you have
tuned to an RDS broadcast station, it may take a
few minutes for your time to update.
3-64