display GMC TERRAIN 2010 Workshop Manual
[x] Cancel search | Manufacturer: GMC, Model Year: 2010, Model line: TERRAIN, Model: GMC TERRAIN 2010Pages: 410, PDF Size: 2.55 MB
Page 207 of 410
Climate Controls 7-5
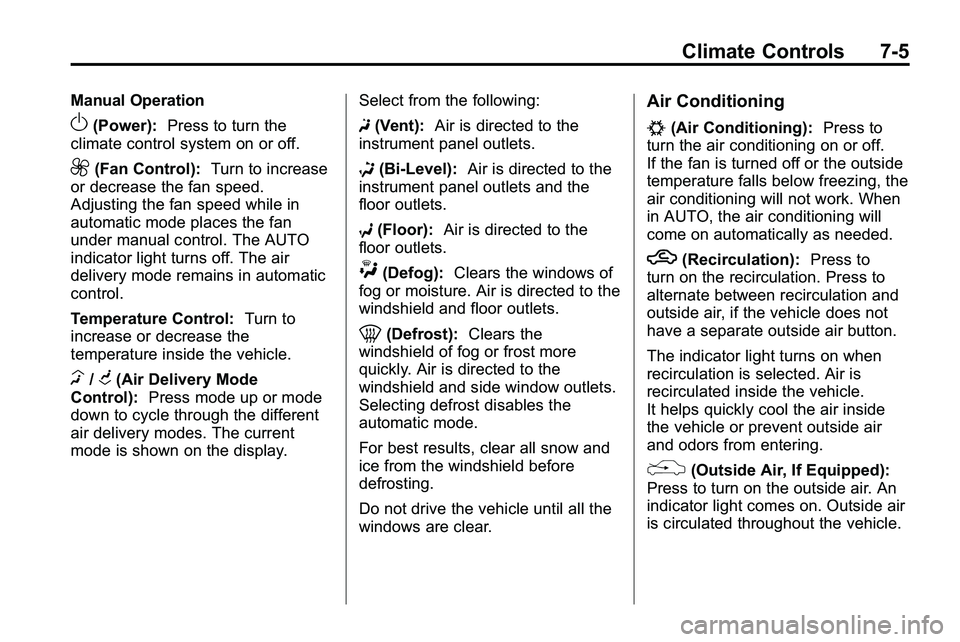
Manual Operation
O(Power):Press to turn the
climate control system on or off.
9(Fan Control): Turn to increase
or decrease the fan speed.
Adjusting the fan speed while in
automatic mode places the fan
under manual control. The AUTO
indicator light turns off. The air
delivery mode remains in automatic
control.
Temperature Control: Turn to
increase or decrease the
temperature inside the vehicle.
H/G(Air Delivery Mode
Control): Press mode up or mode
down to cycle through the different
air delivery modes. The current
mode is shown on the display. Select from the following:
F
(Vent): Air is directed to the
instrument panel outlets.
* (Bi-Level): Air is directed to the
instrument panel outlets and the
floor outlets.
7 (Floor): Air is directed to the
floor outlets.
W(Defog): Clears the windows of
fog or moisture. Air is directed to the
windshield and floor outlets.
0(Defrost): Clears the
windshield of fog or frost more
quickly. Air is directed to the
windshield and side window outlets.
Selecting defrost disables the
automatic mode.
For best results, clear all snow and
ice from the windshield before
defrosting.
Do not drive the vehicle until all the
windows are clear.
Air Conditioning
#(Air Conditioning): Press to
turn the air conditioning on or off.
If the fan is turned off or the outside
temperature falls below freezing, the
air conditioning will not work. When
in AUTO, the air conditioning will
come on automatically as needed.
h(Recirculation): Press to
turn on the recirculation. Press to
alternate between recirculation and
outside air, if the vehicle does not
have a separate outside air button.
The indicator light turns on when
recirculation is selected. Air is
recirculated inside the vehicle.
It helps quickly cool the air inside
the vehicle or prevent outside air
and odors from entering.
%(Outside Air, If Equipped):
Press to turn on the outside air. An
indicator light comes on. Outside air
is circulated throughout the vehicle.
Page 236 of 410
8-28 Driving and Operating
Ignition Positions
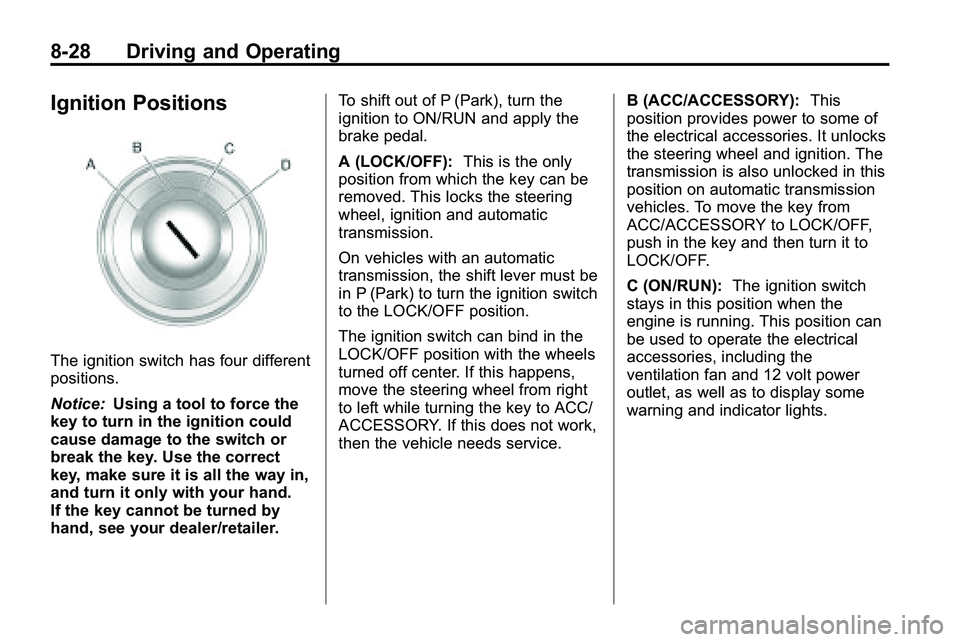
The ignition switch has four different
positions.
Notice:Using a tool to force the
key to turn in the ignition could
cause damage to the switch or
break the key. Use the correct
key, make sure it is all the way in,
and turn it only with your hand.
If the key cannot be turned by
hand, see your dealer/retailer. To shift out of P (Park), turn the
ignition to ON/RUN and apply the
brake pedal.
A (LOCK/OFF):
This is the only
position from which the key can be
removed. This locks the steering
wheel, ignition and automatic
transmission.
On vehicles with an automatic
transmission, the shift lever must be
in P (Park) to turn the ignition switch
to the LOCK/OFF position.
The ignition switch can bind in the
LOCK/OFF position with the wheels
turned off center. If this happens,
move the steering wheel from right
to left while turning the key to ACC/
ACCESSORY. If this does not work,
then the vehicle needs service. B (ACC/ACCESSORY):
This
position provides power to some of
the electrical accessories. It unlocks
the steering wheel and ignition. The
transmission is also unlocked in this
position on automatic transmission
vehicles. To move the key from
ACC/ACCESSORY to LOCK/OFF,
push in the key and then turn it to
LOCK/OFF.
C (ON/RUN): The ignition switch
stays in this position when the
engine is running. This position can
be used to operate the electrical
accessories, including the
ventilation fan and 12 volt power
outlet, as well as to display some
warning and indicator lights.
Page 245 of 410
Driving and Operating 8-37
Notice:If the vehicle seems to
accelerate slowly or not shift
gears when you go faster, and
you continue to drive the vehicle
that way, you could damage the
transmission. Have the vehicle
serviced right away. You can
drive in L (Low) when you are
driving less than 56 km/h (35 mph)
and D (Drive) for higher speeds
until then.
M (Manual Mode): Allows the
driver to select the range of gear
positions. If the vehicle has this
feature, see Manual Mode
on
page 8‑37.
Manual Mode
Electronic Range Select
(ERS) Mode
ERS or manual mode allows for the
selection of the range of gear
positions. Use this mode when
driving down hill or towing a trailer
to limit the top gear and vehicle
speed. The shift position indicator
within the Driver Information Center
(DIC) will display a number next to
the M indicating the highest
available gear under manual mode
and the driving conditions when
manual mode was selected.
To use this feature:
1. Move the shift lever to M (Manual Mode).
2. Press the plus/minus button on the shift lever, to increase or
decrease the gear range
available. When shifting to M (Manual Mode),
the transmission will shift to a preset
lower gear range. For this preset
range, the highest gear available is
displayed next to the M in the DIC.
See
Driver Information Center (DIC)
on page 4‑25for more information.
All gears below that number are
available to use. For example, when
4 (Fourth) is shown next to the M,
1 (First) through 4 (Fourth) gears are
shifted automatically. To shift to
5 (Fifth) gear, press the + (Plus)
button or shift into D (Drive).
M (Manual Mode) will prevent
shifting to a lower gear range if the
engine speed is too high. If vehicle
speed is not reduced within the time
allowed, the lower gear range shift
will not be completed. Slow the
vehicle, then press the −(Minus)
button to the desired lower gear
range.
While using the ERS, cruise control
can be used.
Page 246 of 410
8-38 Driving and Operating
Fuel Economy Mode
The vehicle may have a Fuel
Economy Mode. When engaged,
fuel economy mode can improve the
vehicle's fuel economy.
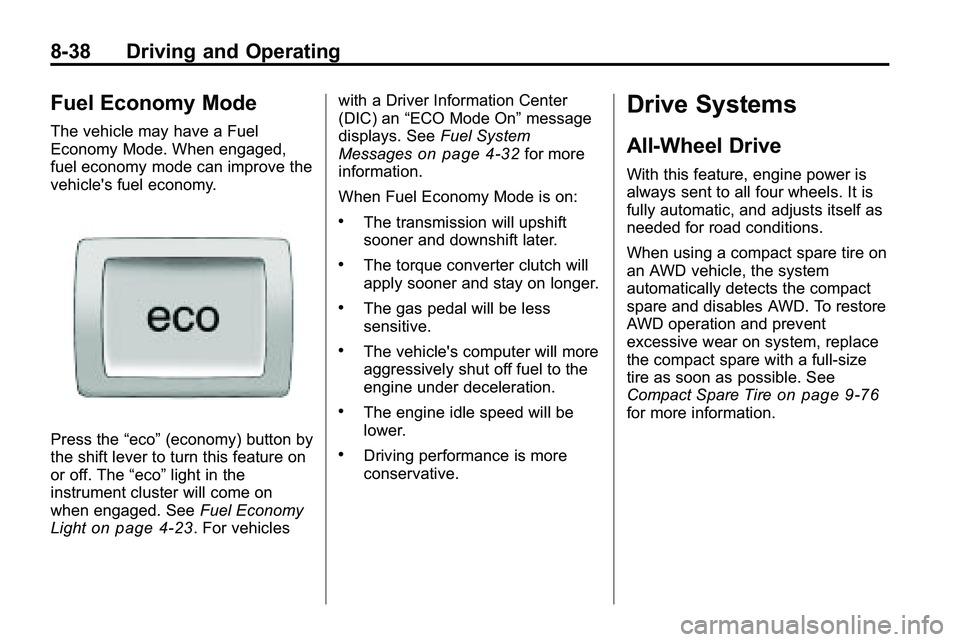
Press the“eco”(economy) button by
the shift lever to turn this feature on
or off. The “eco”light in the
instrument cluster will come on
when engaged. See Fuel Economy
Light
on page 4‑23. For vehicles with a Driver Information Center
(DIC) an
“ECO Mode On” message
displays. See Fuel System
Messages
on page 4‑32for more
information.
When Fuel Economy Mode is on:
.The transmission will upshift
sooner and downshift later.
.The torque converter clutch will
apply sooner and stay on longer.
.The gas pedal will be less
sensitive.
.The vehicle's computer will more
aggressively shut off fuel to the
engine under deceleration.
.The engine idle speed will be
lower.
.Driving performance is more
conservative.
Drive Systems
All-Wheel Drive
With this feature, engine power is
always sent to all four wheels. It is
fully automatic, and adjusts itself as
needed for road conditions.
When using a compact spare tire on
an AWD vehicle, the system
automatically detects the compact
spare and disables AWD. To restore
AWD operation and prevent
excessive wear on system, replace
the compact spare with a full-size
tire as soon as possible. See
Compact Spare Tire
on page 9‑76for more information.
Page 250 of 410
8-42 Driving and Operating
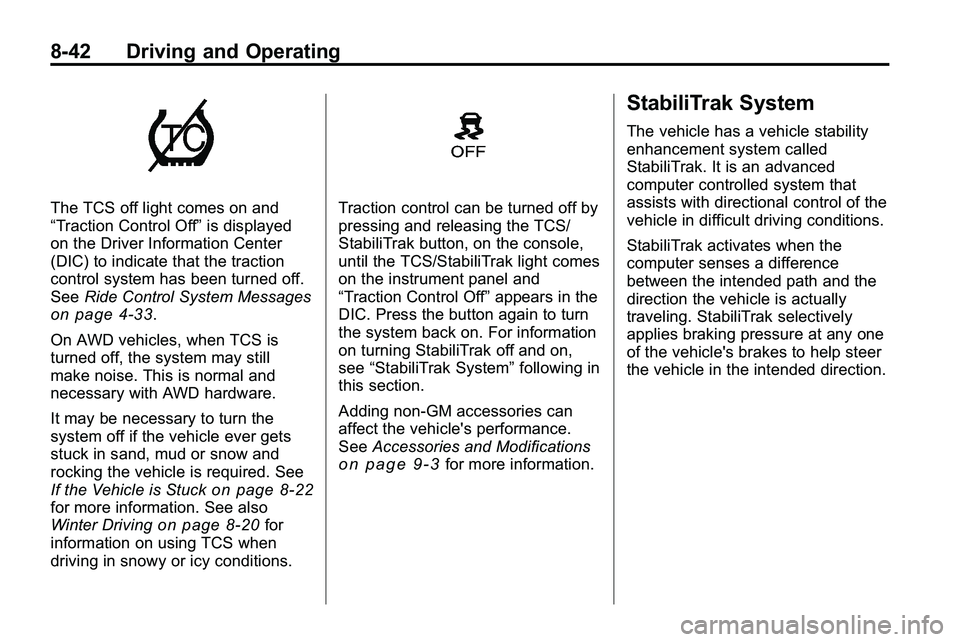
The TCS off light comes on and
“Traction Control Off”is displayed
on the Driver Information Center
(DIC) to indicate that the traction
control system has been turned off.
See Ride Control System Messages
on page 4‑33.
On AWD vehicles, when TCS is
turned off, the system may still
make noise. This is normal and
necessary with AWD hardware.
It may be necessary to turn the
system off if the vehicle ever gets
stuck in sand, mud or snow and
rocking the vehicle is required. See
If the Vehicle is Stuck
on page 8‑22for more information. See also
Winter Drivingon page 8‑20for
information on using TCS when
driving in snowy or icy conditions.
Traction control can be turned off by
pressing and releasing the TCS/
StabiliTrak button, on the console,
until the TCS/StabiliTrak light comes
on the instrument panel and
“Traction Control Off” appears in the
DIC. Press the button again to turn
the system back on. For information
on turning StabiliTrak off and on,
see “StabiliTrak System” following in
this section.
Adding non‐GM accessories can
affect the vehicle's performance.
See Accessories and Modifications
on page 9‑3for more information.
StabiliTrak System
The vehicle has a vehicle stability
enhancement system called
StabiliTrak. It is an advanced
computer controlled system that
assists with directional control of the
vehicle in difficult driving conditions.
StabiliTrak activates when the
computer senses a difference
between the intended path and the
direction the vehicle is actually
traveling. StabiliTrak selectively
applies braking pressure at any one
of the vehicle's brakes to help steer
the vehicle in the intended direction.
Page 251 of 410
Driving and Operating 8-43
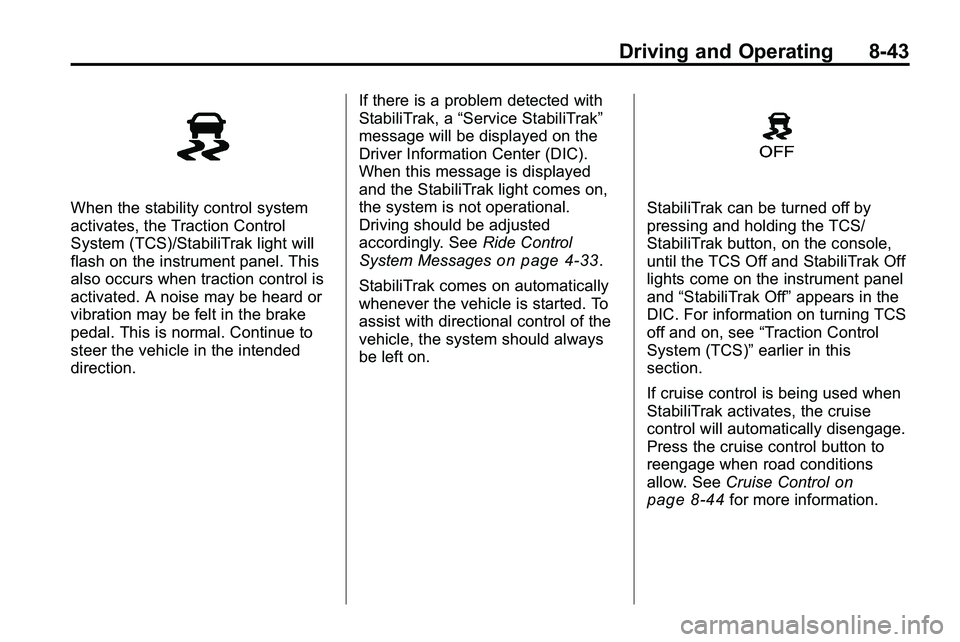
When the stability control system
activates, the Traction Control
System (TCS)/StabiliTrak light will
flash on the instrument panel. This
also occurs when traction control is
activated. A noise may be heard or
vibration may be felt in the brake
pedal. This is normal. Continue to
steer the vehicle in the intended
direction.If there is a problem detected with
StabiliTrak, a
“Service StabiliTrak”
message will be displayed on the
Driver Information Center (DIC).
When this message is displayed
and the StabiliTrak light comes on,
the system is not operational.
Driving should be adjusted
accordingly. See Ride Control
System Messages
on page 4‑33.
StabiliTrak comes on automatically
whenever the vehicle is started. To
assist with directional control of the
vehicle, the system should always
be left on.
StabiliTrak can be turned off by
pressing and holding the TCS/
StabiliTrak button, on the console,
until the TCS Off and StabiliTrak Off
lights come on the instrument panel
and “StabiliTrak Off” appears in the
DIC. For information on turning TCS
off and on, see “Traction Control
System (TCS)” earlier in this
section.
If cruise control is being used when
StabiliTrak activates, the cruise
control will automatically disengage.
Press the cruise control button to
reengage when road conditions
allow. See Cruise Control
on
page 8‑44for more information.
Page 255 of 410
Driving and Operating 8-47
Object Detection
Systems
Ultrasonic Parking Assist
For vehicles with the Ultrasonic
Rear Parking Assist (URPA) system,
it assists the driver with parking
and avoiding objects while in
R (Reverse). URPA operates at
speeds less than 8 km/h (5 mph),
and the sensors on the rear bumper
detect objects up to 2.5 m (8 ft)
behind the vehicle, and at least
20 cm (8 in) off the ground.
{WARNING
The Ultrasonic Rear Parking
Assist (URPA) system does not
replace driver vision. It cannot
detect:
.Objects that are below the
bumper, underneath the
vehicle, or if they are too
close or far from the vehicle
.Children, pedestrians,
bicyclists, or pets.
If you do not use proper care
before and while backing; vehicle
damage, injury, or death could
occur. Even with URPA, always
check behind the vehicle before
backing up. While backing, be
sure to look for objects and check
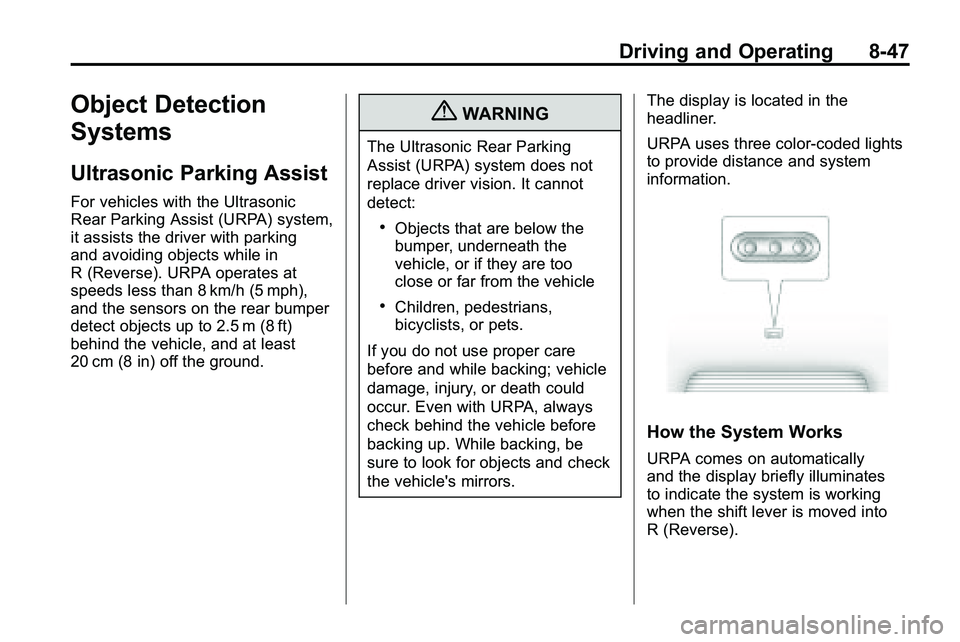
the vehicle's mirrors. The display is located in the
headliner.
URPA uses three color-coded lights
to provide distance and system
information.
How the System Works
URPA comes on automatically
and the display briefly illuminates
to indicate the system is working
when the shift lever is moved into
R (Reverse).
Page 256 of 410
8-48 Driving and Operating
If the vehicle is traveling faster then
8 km/h (5 mph) in reverse, the red
light on the rear display flashes.
Objects must be at least 20 cm (8 in)
off the ground, below liftgate level,
and within 2.5 m (8 ft) from the rear
bumper to be detected. The
distance may be less during warmer
or humid weather.
A single beep sounds the first time
an object is detected between
0.6 m (23 in) and 2.5 m (8 ft) away.
Beeping occurs continuously when
the vehicle is 0.6 m (23 in) or closer
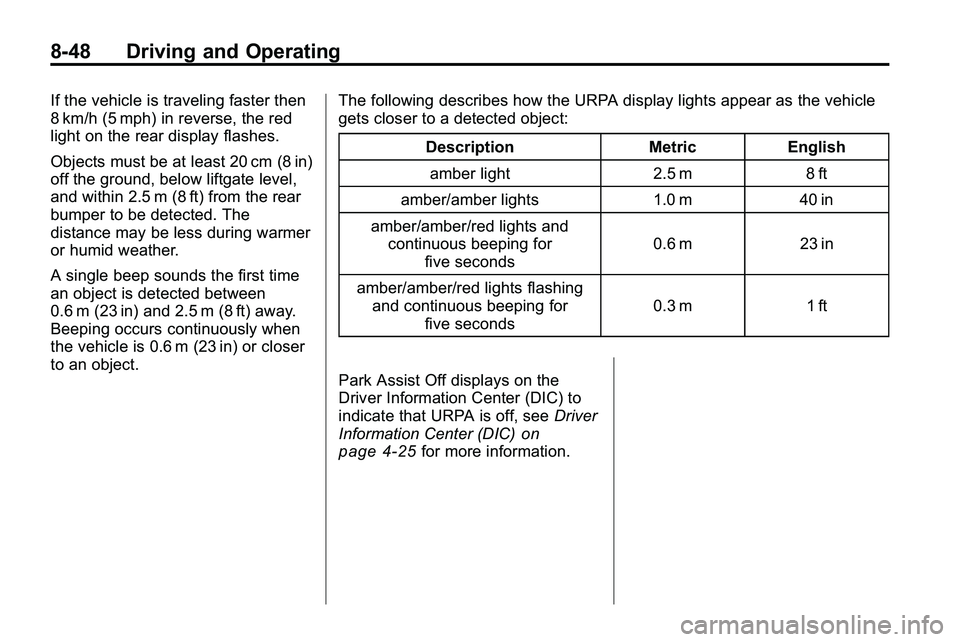
to an object.The following describes how the URPA display lights appear as the vehicle
gets closer to a detected object:
Description Metric Englishamber light 2.5 m 8 ft
amber/amber lights 1.0 m 40 in
amber/amber/red lights and continuous beeping for five seconds 0.6 m 23 in
amber/amber/red lights flashing and continuous beeping for five seconds 0.3 m 1 ft
Park Assist Off displays on the
Driver Information Center (DIC) to
indicate that URPA is off, see Driver
Information Center (DIC)
on
page 4‑25for more information.
Page 257 of 410
Driving and Operating 8-49
System Settings
Each time the vehicle is started
URPA defaults to the On setting.
Use theVehicle Personalization
on
page 4‑36menu to
configure URPA.
The settings are:
.On: Turns URPA on
.Off: Turns URPA off
.Tow Bar: Use when a tow bar is
attached to the vehicle
Tow Bar
When the tow bar setting is used,
an area of 16 cm (6 in) around the
hitch is not detected by the system.
When the System Does Not
Seem to Work Properly
If the URPA system does not
activate due to a temporary
condition, the message Park Assist
Off displays on the DIC and a red
light is shown on the rear URPA
display when the shift lever is
moved into R (Reverse). This can
occur under the following
conditions:
.The ultrasonic sensors are not
clean. Keep the vehicle's rear
bumper free of mud, dirt, snow,
ice and slush. For cleaning
instructions, see Exterior Care
on page 9‑85.
.A trailer was attached to the
vehicle, or an object was
hanging out of the liftgate during
the last drive cycle, a red light
may come on in the rear display.
Once the attached object is
removed, URPA will return to
normal operation.
.A tow bar is attached to the
vehicle and the tow bar setting is
not being used, or an odd
shaped tow bar is attached to
the vehicle and the tow bar
setting is being used.
.The vehicle's bumper is
damaged. Take the vehicle to
your dealer/retailer to repair the
system.
.Other conditions may affect
system performance, such as
vibrations from a jackhammer or
the compression of air brakes on
a very large truck.
If the system is still disabled, after
driving forward at least 25 km/h
(15 mph), take the vehicle to your
dealer/retailer.
Page 258 of 410
8-50 Driving and Operating
Rear Vision
Camera (RVC)
The vehicle may have a Rear Vision
Camera (RVC) system. Read this
entire section before using it.
The RVC can assist the driver when
backing up by displaying a view of
the area behind the vehicle.
{WARNING
The Rear Vision Camera (RVC)
system does not replace driver
vision. RVC does not:
.Detect objects that are
outside the camera's field of
view, below the bumper,
or underneath the vehicle.
.Detect children, pedestrians,
bicyclists, or pets.(Continued)
WARNING (Continued)
Do not back the vehicle by only
looking at the RVC screen, or use
the screen during longer, higher
speed backing maneuvers or
where there could be cross-traffic.
Your judged distances using the
screen will differ from actual
distances.
So if you do not use proper care
before backing up, you could hit a
vehicle, child, pedestrian,
bicyclist, or pet, resulting in
vehicle damage, injury, or death.
Even though the vehicle has the
RVC system, always check
carefully before backing up by
checking behind and around the
vehicle.
Vehicles Without a Navigation
System
When the key is in the ON/RUN
position and the driver shifts the
vehicle into R (Reverse), the video
image automatically appears on the
inside rear view mirror. Once the
driver shifts out of R (Reverse), the
video image automatically
disappears from the inside rear view
mirror.
Turning the Rear Vision Camera
System Off or On
To turn off the RVC system, press
and hold
z, located on the inside
rearview mirror, until the left
indicator light turns off. The RVC
display is now disabled.
To turn the RVC system on again,
press and hold
zuntil the left
indicator light illuminates. The RVC
system display is now enabled and
the display will appear in the mirror
normally.