check engine GMC YUKON DENALI 2003 Owners Manual
[x] Cancel search | Manufacturer: GMC, Model Year: 2003, Model line: YUKON DENALI, Model: GMC YUKON DENALI 2003Pages: 447, PDF Size: 21.97 MB
Page 15 of 447
3. Pull (push if you are exiting the third row with no
assistance) the seat forward until it stops.
If the seatback isn’t locked,
it could move
forward in a sudden stop or crash. That could
cause injury to the person sitting there. Always
press rearward on the seatback to be sure
it is
locked.
Heated Seats
A safety belt that is improperly routed, not
properly attached, or twisted won’t provide the protection needed
in a crash. The person
wearing the belt could be seriously injured.
After raising the rear seatback, always check
to be sure that the safety belts are properly routed and attached, and are not twisted. The
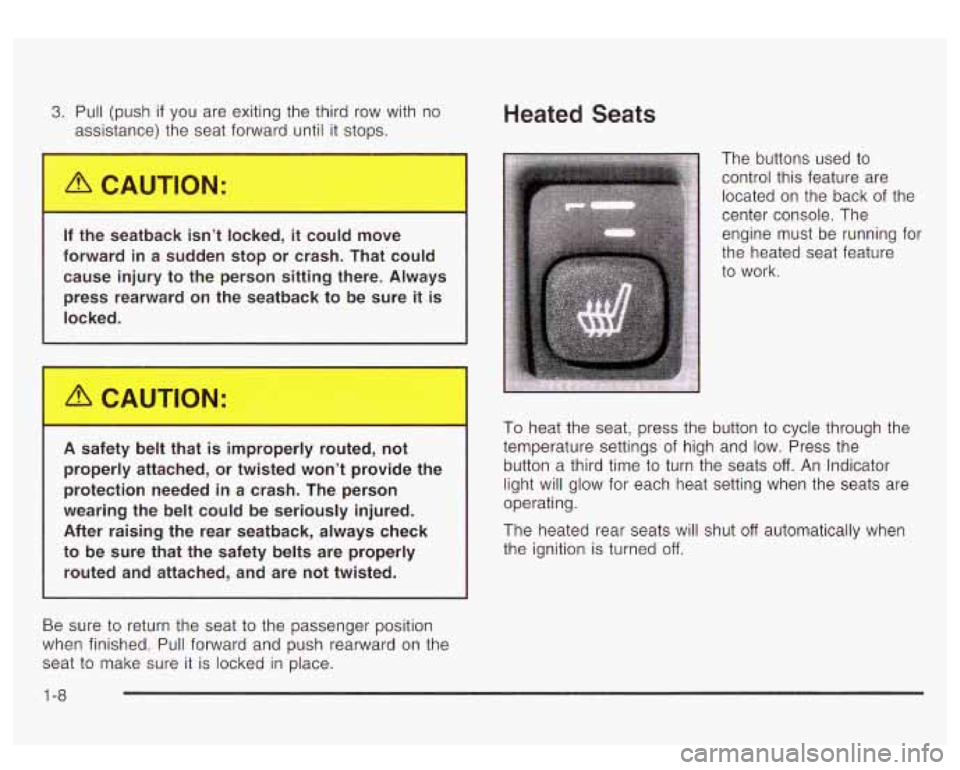
buttons used to
control this feature are
located on the back of the
center console. The
engine must be running for
the heated seat feature
To heat the seat, press the button to cycle through the
temperature settings of high and low. Press the
button a third time to turn the seats
off. An Indicator
light will glow for each heat setting when the seats are
operating.
The heated rear seats will shut
off automatically when
the ignition is turned
off.
Be sure to return the seat to the passenger position
when finished. Pull forward and push rearward on the
seat to make sure it is locked in place.
1 -8
Page 112 of 447
Testing the Alarm Passlock@’
The alarm can be tested by following these steps:
1. From inside the vehicle, lower the driver’s window
and open the driver’s door.
2. Activate the system by locking the doors with the
power door lock switch while the door is open, or
with the remote keyless entry transmitter.
3. Get out of the vehicle, close the door and wait for
the security light
to go out.
4. Then reach in through the window, unlock the door
with the manual door lock and open the door. This
should set
off the alarm.
While the alarm is set, the power door unlock switch is
not operational.
If the alarm does not sound when it should but the
headlamps flash, check
to see if the horn works. The
horn fuse may be blown. To replace the fuse, see Fuses
and Circuit Breakers on page
5-87.
If the alarm does not sound or the headlamps do not
flash, the vehicle should be serviced by your dealer. Your
vehicle is equipped with the Passlock@
theft-deterrent system.
Passlock@ is a passive theft-deterrent system. Passlock@
enables fuel
if the ignition lock cylinder is turned with
a valid key. If a correct key is not used or the ignition
lock cylinder is tampered with, the fuel system is
disabled and the vehicle will not start.
During normal operation, the security light will turn
off
approximately five seconds after the key is turned
to RUN.
If the engine stalls and the security light flashes, wait
about
10 minutes until the light stops flashing before
trying
to restart the engine. Remember to release
the key from START as soon as the engine starts.
If the engine does not start after three tries, the vehicle
needs service.
If the engine is running and the security light comes on,
you will be able to restart the engine
if you turn the engine
off. However, your Passlock@system is not working
properly and must be serviced by your dealer. Your
vehicle is not protected by Passlock@at this time. You
may also want
to check the fuse. See Fuses and Circuit
Breakers
on page 5-87. See your dealer for service.
In an emergency, call the Roadside Assistance Center.
See Roadside Assistance Program
on page 7-5.
3-1 7
Page 115 of 447
2. If your engine still won’t start (or starts but then
stops), it could be flooded with too much gasoline.
Try pushing your accelerator pedal all the way to the
floor and holding it there as you hold the key in START for about three seconds. When the engine
starts, let go of the key and accelerator. If the
vehicle starts briefly but then stops again, do the
same thing, but this time keep the pedal down
for five or six seconds. This clears the extra
gasoline from the engine.
Notice: Your engine is designed to work with the
electronics in your vehicle.
If you add electrical
parts or accessories, you could change the way the
engine operates. Before adding electrical equipment,
check with your dealer. If you don’t, your engine
might not perform properly.
Adjustable Throttle and Brake Pedal
If your vehicle has this feature, you can change the
position of the throttle and brake pedals. This feature is
designed for shorter drivers, since the pedals cannot
move farther away from the standard position, but can
move forward for better pedal reach. This feature
can be programmed to work with the memory function
(if equipped) on your vehicle. See Memory Seat on
page 2-47.
The vehicle must be in PARK (P) for this feature to
operate.
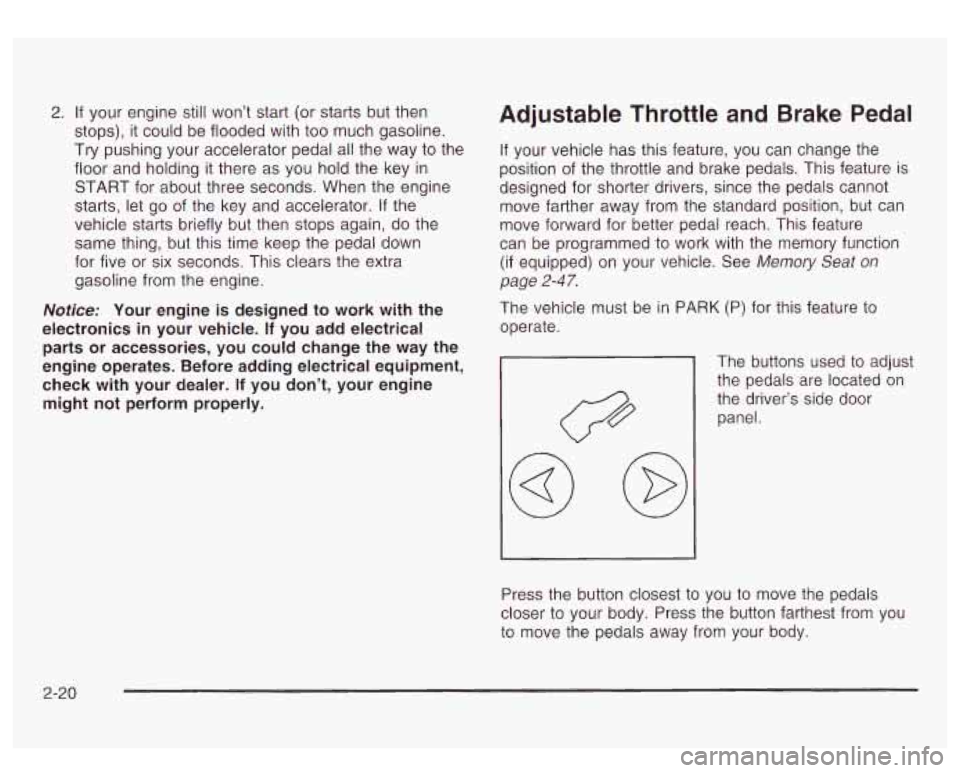
The buttons used to adjust
the pedals are located on
the driver’s side door panel.
Press the button closest to you to move the pedals
closer to your body. Press the button farthest from you
to move the pedals away from your body.
2-20
Page 171 of 447
Warning Lights, Gages and
Indicators
This part describes the warning lights and gages on
your vehicle. The pictures will help you locate them.
Warning lights and gages can signal that something is
wrong before it becomes serious enough
to cause
an expensive repair or replacement. Paying attention
to
your warning lights and gages could also save you
or others from injury.
Warning lights come on when there may be or is a
problem with one of your vehicle’s functions.
As you will
see in the details on the next few pages, some
warning lights come on briefly when you start the
engine
just to let you know they’re working. If you are
familiar with this section, you should not be alarmed
when this happens. Gages can indicate
when there may be or
is a problem
with one of your vehicle’s functions. Often gages
and warning lights work together
to let you know when
there’s a problem with your vehicle.
When one of the warning lights comes on and stays on
when you are driving, or when one of the gages
shows there may be a problem, check the section that
tells you what to do about it. Please follow this
manual’s advice. Waiting to do repairs can be
costly
- and even dangerous. So please get to know
your warning lights and gages. They’re
a big help.
Your vehicle also has a message center that works
along with warning lights and gages. See
DIC Warnings
and Messages on page
3-52.
3-28
Page 173 of 447
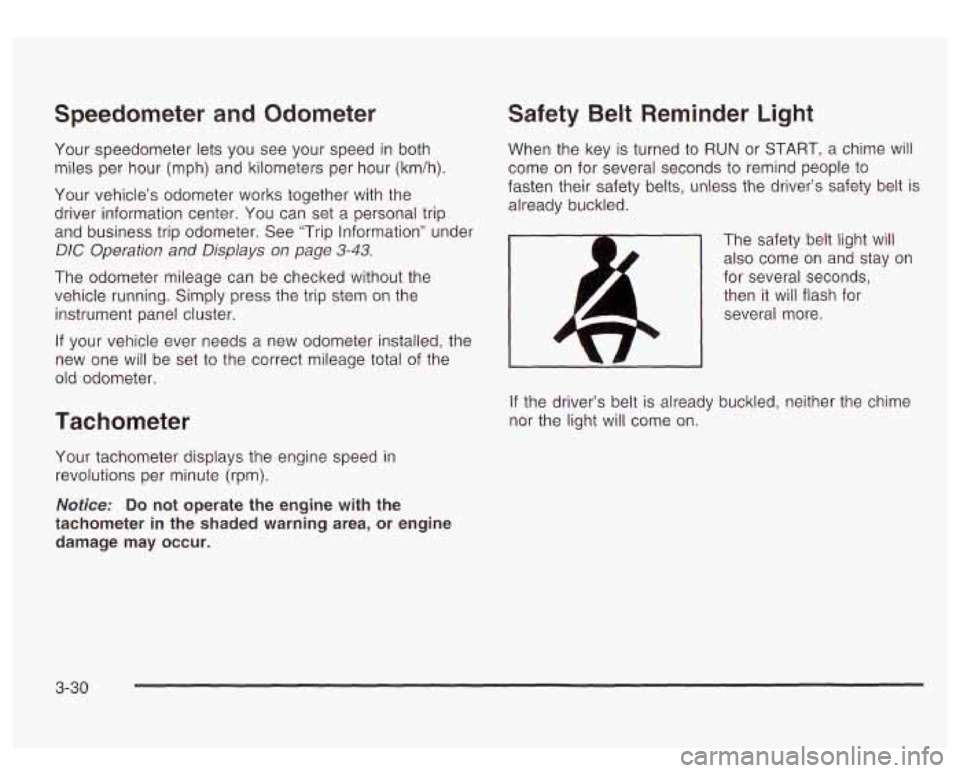
Speedometer and Odometer
Your speedometer lets you see your speed in both
miles per hour (mph) and kilometers per hour (km/h).
Your vehicle’s odometer works together with the driver information center. You can set
a personal trip
and business trip odometer. See “Trip Information” under
DIC Operation and Displays on page 3-43.
The odometer mileage can be checked without the
vehicle running. Simply press the trip stem
on the
instrument panel cluster.
If your vehicle ever needs a new odometer installed, the
new one will be set
to the correct mileage total of the
old odometer.
Tachometer
Your tachometer displays the engine speed in
revolutions per minute (rpm).
Safety Belt Reminder Light
When the key is turned to RUN or START, a chime will
come
on for several seconds to remind people to
fasten their safety belts, unless the driver’s safety belt is
already buckled.
The safety belt light will
also come on and stay on
for several seconds,
then it will flash for
several more.
If the driver’s belt is already buckled, neither the chime
nor the light will come
on.
Notice: Do not operate the engine with the
tachometer in the shaded warning area, or engine
damage may occur.
3-30
Page 176 of 447
If the word OFF or the off symbol is lit on the air bag
status indicator,
it means that the passenger sensing
system has turned
off the right front passenger’s frontal
air bag. See Passenger Sensing System on page
7 -8 7
for more on this, including important safety information.
If, after several seconds, all status indicator lights
remain on, or
if there are no lights at all, there may be a
problem with the lights or the passenger sensing
system. See your dealer for service.
__ -he ofl ..jdicator and the air bag readiness
light ever come on together, it means that
something may be wrong with the air bag
system.
If this ever happens, have the vehicle
serviced promptly, because an adult-size
person sitting in the right front passenger seat
may not have the protection of the frontal air
bag. See “Air Bag Readiness Light” in the
Index.
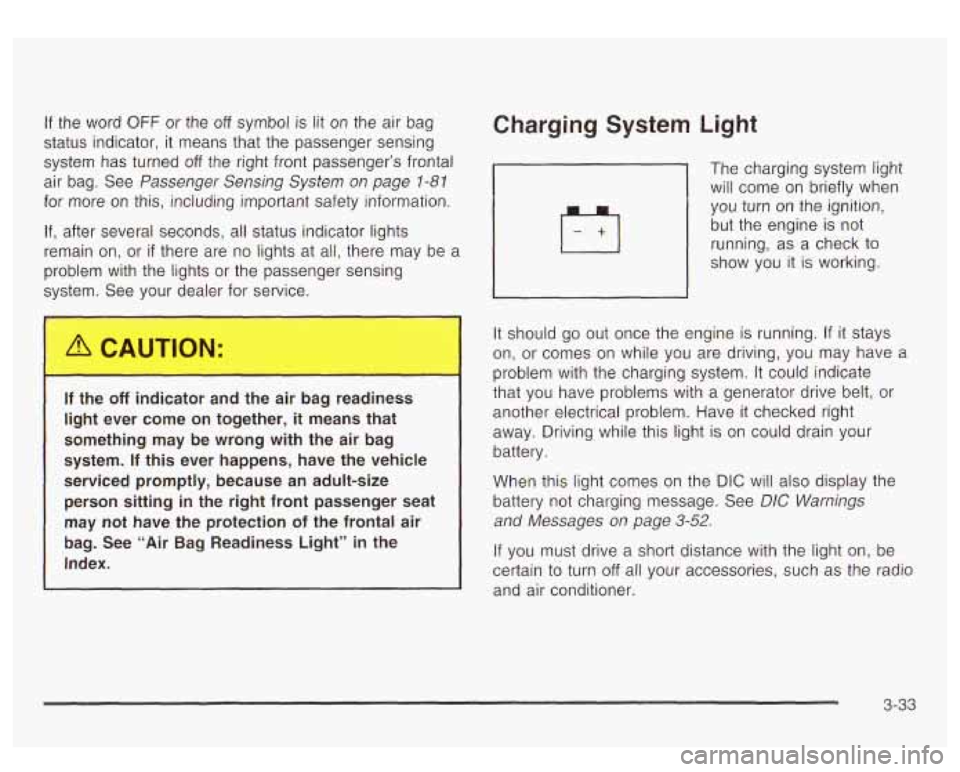
Charging System Light
The charging system light
will come on briefly when you turn on the ignition,
but the engine is
not
running, as a check to
show you it
is working.
It should go out once the engine is running. If it stays
on, or comes on while you are driving, you may have a
problem with the charging system.
It could indicate
that you have problems with a generator drive belt, or
another electrical problem. Have it checked right
away. Driving while this light is on could drain your
battery.
When this light comes on the DIC will also display the
battery not charging message. See
DIC Warnings
and Messages
on page 3-52.
If you must drive a short distance with the light on, be
certain to turn
off all your accessories, such as the radio
and air conditioner.
3-33
Page 181 of 447
A temporary solution to hotter transmission operating
temperatures may be
to let the transmission cool down.
If the transmission is operated at higher temperatures
on a frequent basis, see
Scheduled Maintenance
on page
6-5 for the proper transmission maintenance
intervals.
Malfunction Indicator Lamp
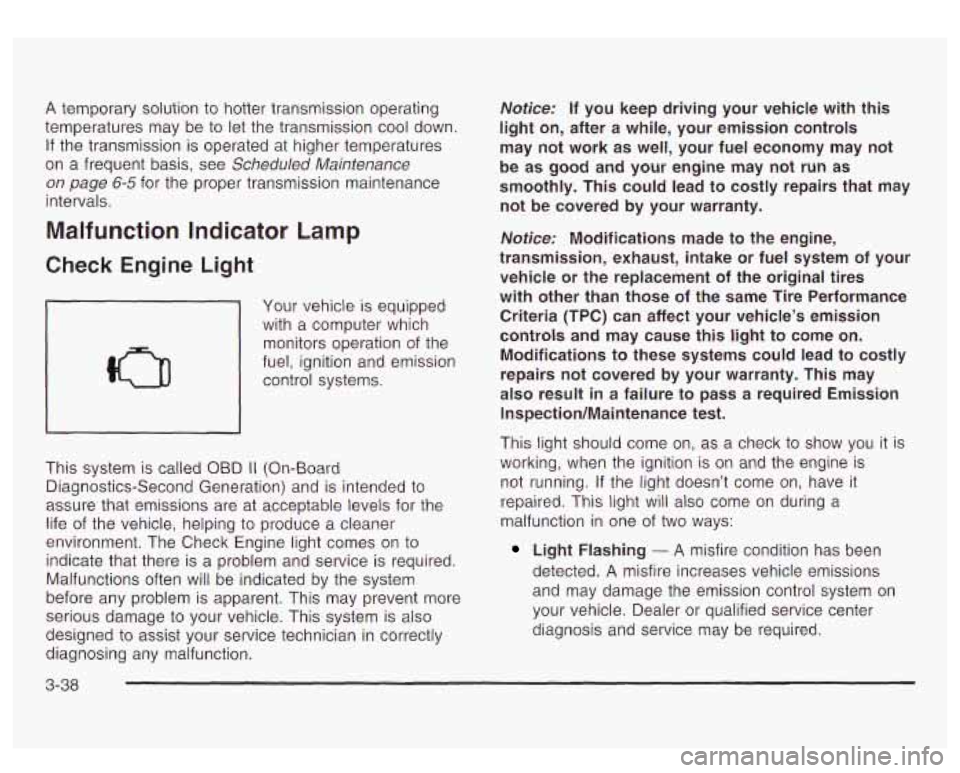
Check Engine Light
Your vehicle is equipped
with
a computer which
monitors operation of the
fuel, ignition and emission
control systems.
This system is called OBD
II (On-Board
Diagnostics-Second Generation) and is intended to
assure that emissions are at acceptable levels for the
life of the vehicle, helping
to produce a cleaner
environment. The Check Engine light comes on
to
indicate that there is a problem and service is required.
Malfunctions often will be indicated by the system
before any problem is apparent. This may prevent more
serious damage
to your vehicle. This system is also
designed to
assist your service technician in correctly
diagnosing any malfunction.
Notice: If you keep driving your vehicle with this
light on, after a while, your emission controls
may not work as well, your fuel economy may not
be as good and your engine may not run as
smoothly. This could lead to costly repairs that may
not be covered by your warranty.
Notice: Modifications made to the engine,
transmission, exhaust, intake or fuel system of your
vehicle or the replacement of the original tires
with other than those of the same Tire Performance
Criteria (TPC) can affect your vehicle’s emission
controls and may cause this light to come on.
Modifications to these systems could lead to costly
repairs not covered by your warranty. This may
also result
in a failure to pass a required Emission
Inspection/Maintenance test.
This light should come on, as a check to show you it is
working, when the ignition is on and the engine is
not running. If the light doesn’t come on, have it
repaired. This light will also come on during
a
malfunction in one of two ways:
Light Flashing - A misfire condition has been
detected.
A misfire increases vehicle emissions
and may damage the emission control system on
your vehicle. Dealer or qualified service center
diagnosis and service may be required.
3-38
Page 183 of 447
If none of the above steps have made the light turn off,
have your dealer or qualified service center check
the vehicle. Your dealer has the proper test equipment
and diagnostic
tools to fix any mechanical or electrical
problems that may have developed.
€missions Inspection and Maintenance
Programs
Some state/provincial and local governments have or
may begin programs
to inspect the emission control
equipment on your vehicle. Failure to pass this
inspection could prevent you from getting a vehicle
registration.
Here are some things you need
to know to help your
vehicle pass an inspection:
Your vehicle will not pass this inspection
if the Check
Engine light is on or not working properly.
Your vehicle will not pass this inspection
if the OBD
(on-board diagnostic) system determines that critical
emission control systems have not been completely
diagnosed by the system. The vehicle would be
considered not ready for inspection. This can happen
if
you have recently replaced your battery or if your
battery has run down. The diagnostic system is
designed
to evaluate critical emission control systems
during normal driving. This may take several days
of routine driving.
If you have done this and your vehicle still does
not pass the inspection for lack of
OBD
system readiness, see your dealer or qualified service
center to prepare the vehicle for inspection.
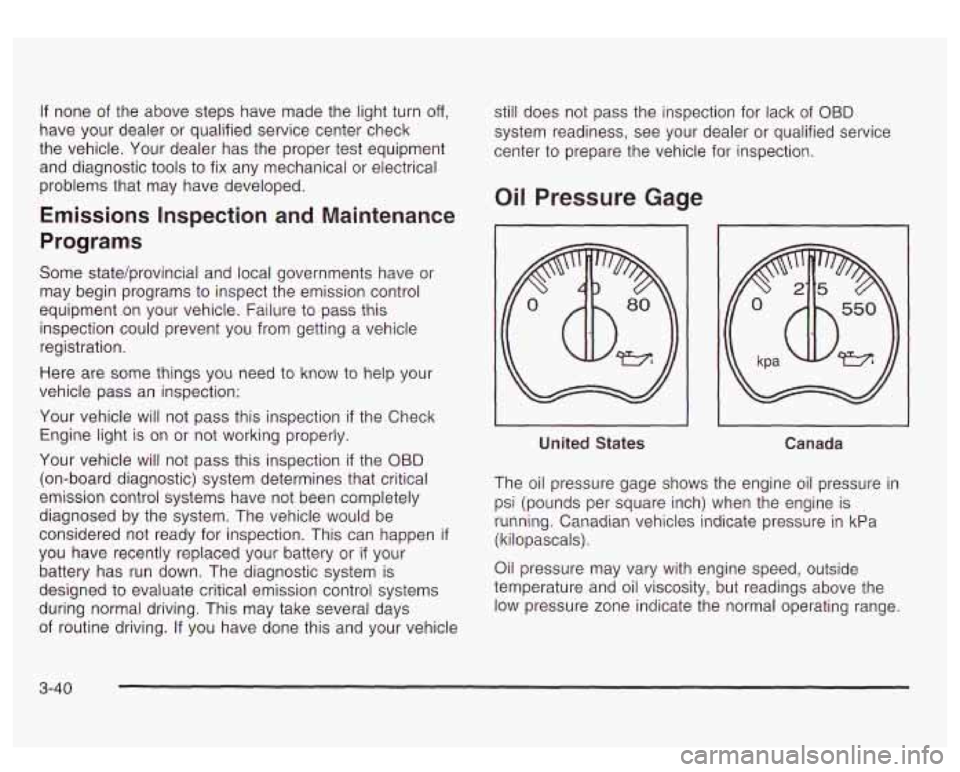
Oil Pressure Gage
_I
United States Canada
The oil pressure gage shows the engine oil pressure in
psi (pounds per square inch) when the engine is
running. Canadian vehicles indicate pressure in kPa
(kilopascals).
Oil pressure may vary with engine speed, outside
temperature and
oil viscosity, but readings above the
low pressure zone indicate the normal operating range.
3-40
Page 184 of 447
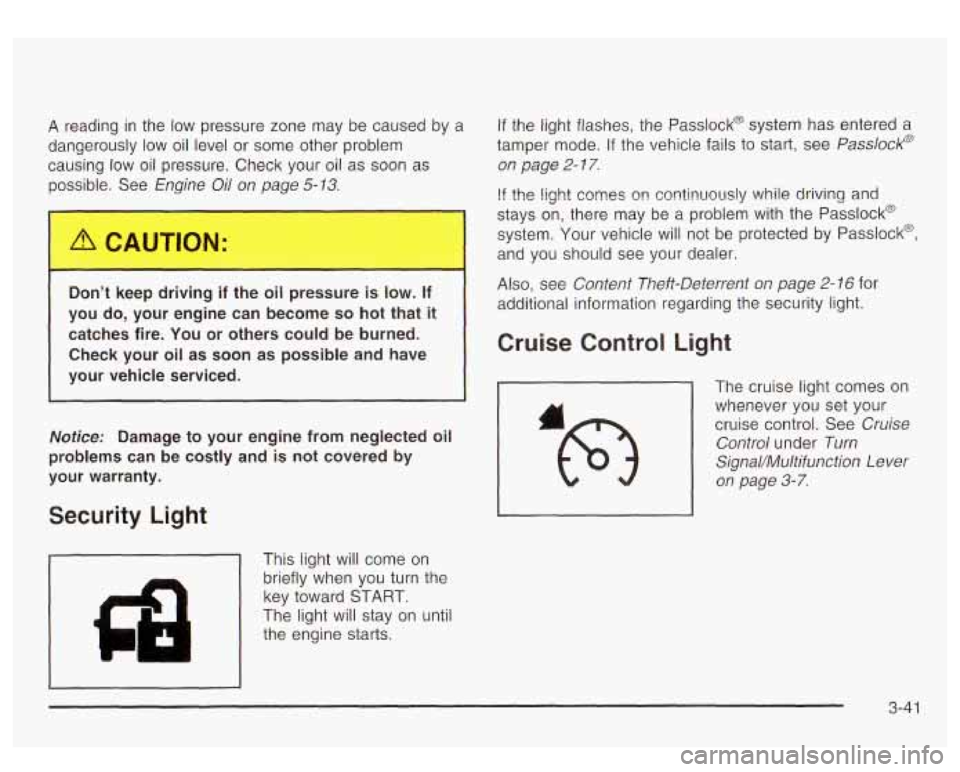
A reading in the low pressure zone may be caused by a
dangerously low oil level or some other problem
causing
low oil pressure. Check your oil as soon as
possible. See
Engine Oil on page 5-13.
DL.. t kc-> dl - - jng if -..3 oil pressure is IOL- If
you do, your engine can become
so hot that it
catches fire. You or others could be burned.
Check your oil as soon as possible and have
your vehicle serviced.
Notice: Damage to your engine from neglected oil
problems can be costly and is not covered by
your warranty.
Security Light
1 This light will come on
I'
brieflywhen you turn the
key toward START.
The light will stay on until
the engine starts.
If the light flashes, the Passlock@ system has entered a
tamper mode. If the vehicle fails
to start, see Passlock@
on page
2- 17.
If the iight comes on continuously while driving and
stays on, there may be a problem with the Passlock@
system. Your vehicle will not be protected by Passlock@,
and you should see your dealer.
Also, see Content Theft-Deterrent on page 2- 16 for
additional information regarding the security light.
Cruise Control Light
The cruise light comes on
whenever you
set your
cruise control. See Cruise
Control under Turn
SignaVMultifunction Lever
on page 3-7.
3-4 1
Page 189 of 447
Fuel Range GM Oil Life System
Press the fuel information button until RANGE appears
to display the remaining distance you can drive
without refueling. It’s based on fuel economy and the
fuel remaining in the tank. The display will show LOW
if
the fuel level is low.
The fuel economy data used
to determine fuel range is
an average of recent driving conditions. As your
driving conditions change, this data is gradually updated. Fuel range cannot be reset.
Average Fuel Economy
Press the fuel information button until AVG ECON
appears in the display. Average fuel economy is how
many miles per gallon your vehicle is getting based on
current and past driving conditions.
Press and hold the select button for two seconds while
AVG ECON is displayed to reset the average fuel
economy. Average fuel economy will then be calculated
starting from that point. If the average fuel economy is not
reset, it will be continually updated each time you drive.
Instant Fuel Economy
Press the fuel information button until INST ECON
appears in the display. Instant fuel economy is how
many miles per gallon your vehicle is getting at
the particular moment in time. The instant fuel economy
cannot be reset. Press the fuel information button until
ENGINE OIL LIFE
appears in the display. The GM Oil Life System shows
an estimate of the oil’s remaining useful life.
It will show
100% when the system is reset after an oil change.
It will alert you to change your oil on a schedule
consistent with your driving conditions.
Always reset the engine oil life after an oil change.
To reset the Oil Life System press and hold the select
button for five seconds while ENGINE OIL LIFE is
displayed. OIL LIFE RESET will appear on the display
for
10 seconds to let you know the system is reset.
The DIC does not replace the need
to maintain
your vehicle as recommended in the Maintenance
Schedule in this manual.
Also, the oil change reminder
will not detect dusty conditions or engine malfunctions
that may affect the oil.
Also, the oil change reminder
does not measure how much oil you have in your
engine.
So, be sure to check your oil level often.
See
Engine Oil on page 5- 13.
3-46