light GMC YUKON DENALI 2003 Owners Manual
[x] Cancel search | Manufacturer: GMC, Model Year: 2003, Model line: YUKON DENALI, Model: GMC YUKON DENALI 2003Pages: 447, PDF Size: 21.97 MB
Page 2 of 447
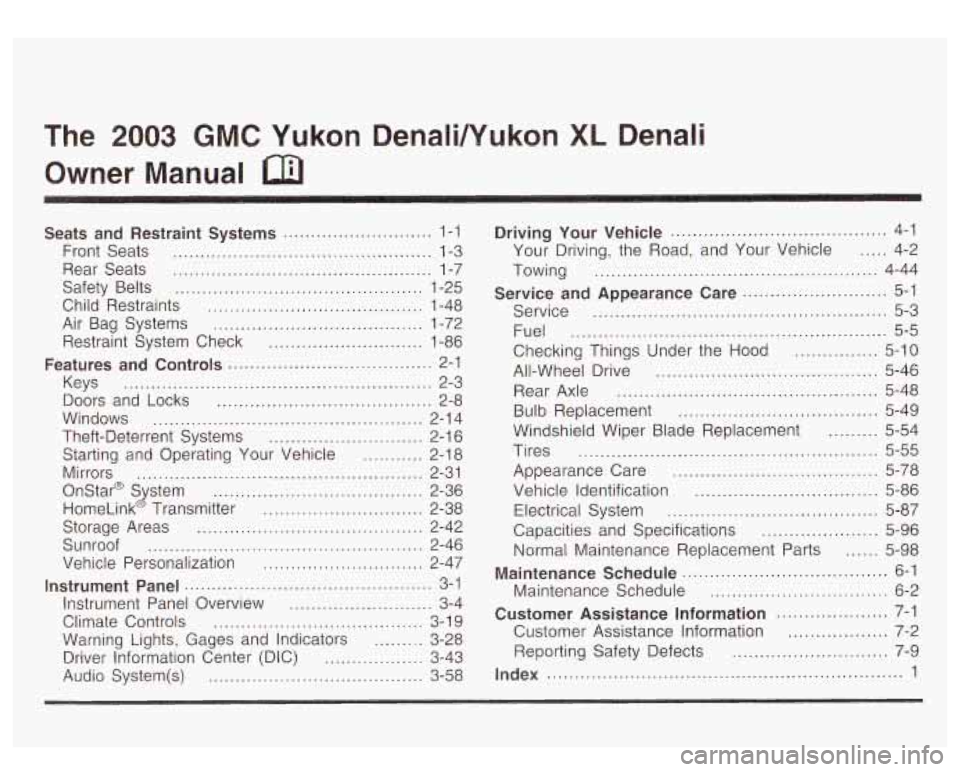
The 2003 GMC Yukon DenaIiNukon XL Denali
Owner Manual
Seats and Restraint Systems ........................... 1-1
Front Seats
............................................... 1-3
Rear Seats
............................................... 1-7
Safety Belts
............................................. 1-25
Child Restraints
....................................... 1-48
Air Bag Systems
...................................... 1-72
Restraint System Check
............................ 1-86
Features and Controls ..................................... 2-1
Keys
........................................................ 2-3
Doors and Locks
....................................... 2-8
Windows
................................................. 2-14
Theft-Deterrent Systems
............................ 2-1 6
Starting and Operating Your Vehicle
....... 2-18
Mirrors
.................................................... 2-31
Onstar@
S stem ...................................... 2-36
HomeLink
J Transmitter ............................. 2-38
Storage Areas
......................................... 2-42
Sunroof
.................................................. 2-46
Vehicle Personalization
............................. 2-47
Instrument Panel ............................................. 3-1
Instrument Panel Overview
.......................... 3-4
Warning Lights, Gages and Indicators
......... 3-28
Driver Information Center (DIC)
.................. 3-43
Climate Controls
...................................... 3-1 9
Audio System(s)
....................................... 3-58
Driving Your Vehicle ....................................... 4-1
Your Driving, the Road, and Your Vehicle
..... 4-2
Towing
................................................... 4-44
Service
..................................................... 5-3
Fuel
......................................................... 5-5
Checking Things Under the Hood ............... 5-10
All-Wheel Drive
........................................ 5-46
Rear Axle ............................................... 5-48
Bulb Replacement
.................................... 5-49
Tires
...................................................... 5-55
Appearance Care ..................................... 5-78
Vehicle Identification
................................. 5-86
Electrical System
...................................... 5-87
Capacities and Specifications
..................... 5-96
Normal Maintenance Replacement Parts
...... 5-98
Maintenance Schedule
................................ 6-2
Customer Assistance Information .................... 7-1
Customer Assistance Information
.................. 7-2
Reporting Safety Defects
............................ 7-9
Index ................................................................ 1
Service and Appearance Care .......................... 5-1
Windshield Wiper Blade Replacement
......... 5-54
Maintenance Schedule ..................................... 6-1
Page 5 of 447
Vehicle Damage Warnings
Also, in this book you will find these notices:
Notice: These mean there is something that could
damage
your vehicle.
A notice will tell you about something that can damage
your vehicle. Many times, this damage would not be covered by your warranty, and
it could be costly. But the
notice will tell you what
to do to help avoid the
damage.
When you read other manuals, you might see CAUTION
and NOTICE warnings in different colors or in different
words.
You’ll also see warning labels on your vehicle. They use
the same words, CAUTION or NOTICE.
Vehicle Symbols
Your vehicle has components and labels that use
symbols instead of text. Symbols, used on your vehicle,
are shown along with the text describing the operation
or information relating
to a specific component, control,
message, gage or indicator.
If you need help figuring out a specific name of a
component, gage or indicator reference the following
topics:
Seats and Restraint Systems in Section 1
0 Features and Controls in Section 2
Instrument Panel Overview in Section 3
Climate Controls in Section 3
Warning Lights, Gages and Indicators in Section 3
0 Audio System(s) in Section 3
Engine Compartment Overview in Section 5
iv
Page 6 of 447
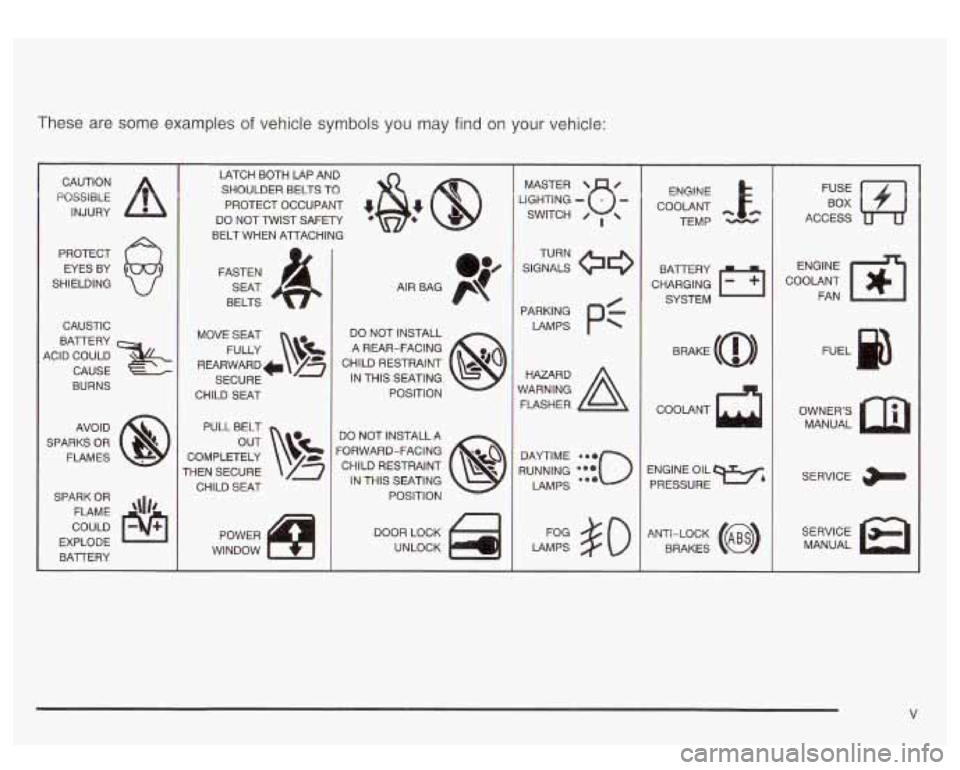
These are some examples of vehicle symbols you may find on your vehicle:
CAUTION
POSSIBLE
INJURY
PROTECT EYES BY
SHIELDING
CAUSTIC
BATTERY
ACID COULD CAUSE
BURNS
AVO ID
SPARKS
OR
FLAMES
SPARK
OR
FLAME '\I/'
COULD
EXPLODE BATTERY LATCH BOTH LAP AND
SHOULDER BELTS TO
PROTECT OCCUPANT
4
DO NOT TWIST SAFETY
BELT WHEN ATTACHING
FASTEN SEAT
BELTS
MOVE SEAT DO NOT INSTALL
A REAR-FACING
CHILD RESTRAINT
SECURE IN THIS SEATING
CHILD SEAT POSITION
FULLY
c REARWARD+ /3
PULL BELT DO NOT INSTALL A
COMPLETELY
THEN SECURE
CHILD SEAT FORWARD-FACING
CHILD RESTRAINT IN THIS SEATING
POSITION
POWER DOOR LOCK
WINDOW UNLOCK LIGHTING
- MASTER SWITCH u- 0 ,
LAMPS #O
ENGINE
COOLANT
-FA TEMP -
CHARGING Fl
BATTERY
SYSTEM
ENGINE OIL PRESSURE
9%77
ANTI-LOCK (@)
BRAKES
FUSE BOX
ACCESS
ENGINE
COOLANT FAN
OWNER'S MANUAL
SERVICE
SERVICE MANUAL
V
Page 11 of 447
Power Lumbar
Heated Seats
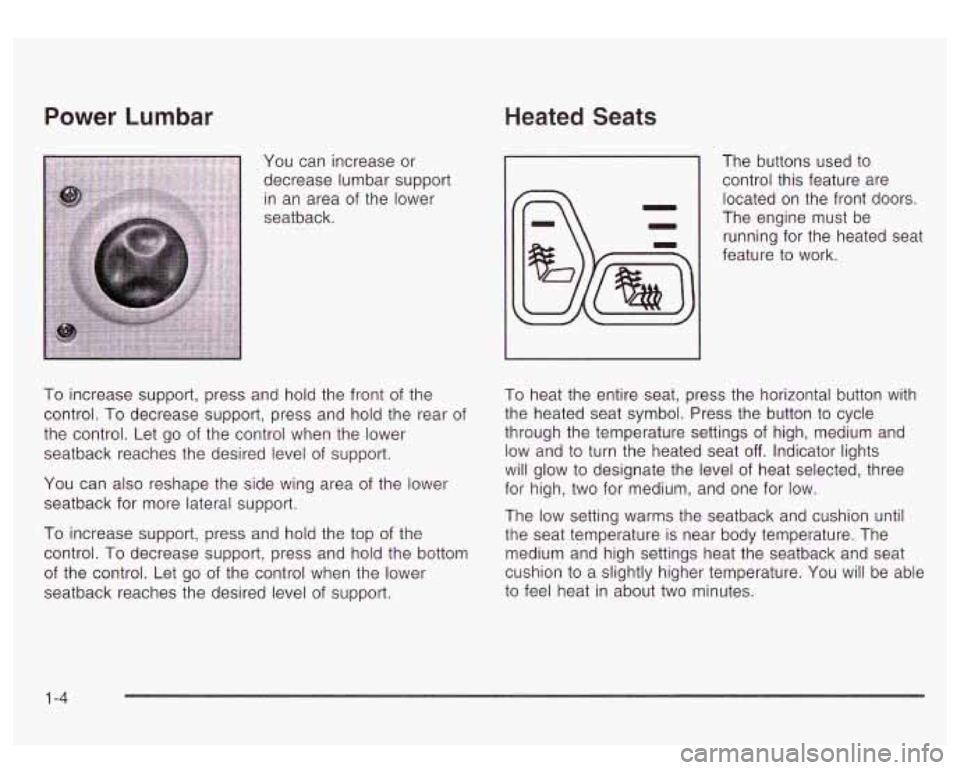
You can increase or
decrease lumbar support in an area of the lower
seatback.
To increase support, press and hold the front of the
control.
To decrease support, press and hold the rear of
the control. Let go of the control when the lower
seatback reaches the desired level of support.
You can also reshape the side wing area
of the lower
seatback for more lateral support.
To increase support, press and hold the top of the
control. To decrease support, press and hold the bottom
of the control. Let go of the control when the lower
seatback reaches the desired level
of support.
-1 control this feature are
The
buttons used
to
located on the front doors.
The engine must be
running for the heated seat
feature
to work.
To heat the entire seat, press the horizontal button with
the heated seat symbol. Press the button
to cycle
through the temperature settings
of high, medium and
low and
to turn the heated seat off. Indicator lights
will glow
to designate the level of heat selected, three
for high, two for medium, and one for low.
The low setting warms the seatback and cushion until
the seat temperature is near body temperature. The
medium and high settings heat the seatback and seat
cushion
to a slightly higher temperature. You will be able
to feel heat in about two minutes.
1 -4
Page 12 of 447
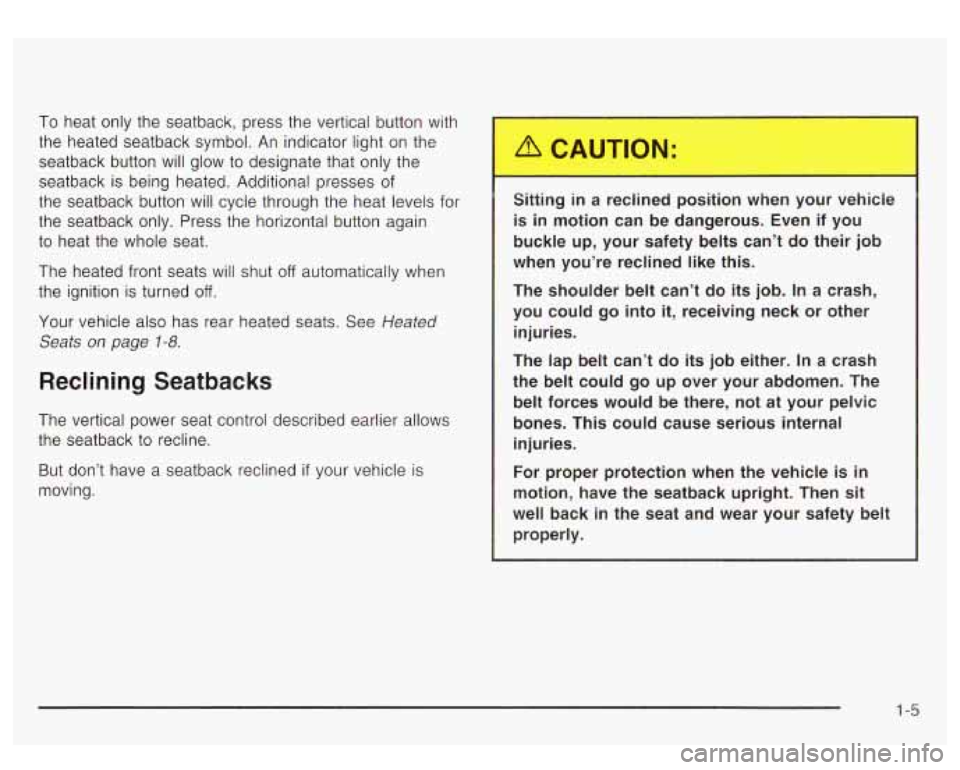
To heat only the seatback, press the vertical button with
the heated seatback symbol. An indicator light on the
seatback button will glow
to designate that only the
seatback is being heated. Additional presses of
the seatback button will cycle through the heat levels
for
the seatback only. Press the horizontal button again
to heat the whole seat.
The heated front seats will shut
off automatically when
the ignition is turned
off.
Your vehicle also has rear heated seats. See Heated
Seats
on page 1-8.
Reclining Seatbacks
The vertical power seat control described earlier allows
the seatback
to recline.
But don’t have a seatback reclined
if your vehicle is
moving. Sitting
in a
re nec losition when your ve :le
is in motion can be dangerous. Even if you
buckle up, your safety belts can’t do their job
when you’re reclined like this.
The shoulder belt can’t do its job. In
a crash,
you could go into
it, receiving neck or other
injuries.
The lap belt can’t do its
job either. In a crash
the belt could go up over your abdomen. The
belt forces would be there, not at your pelvic
bones. This could cause serious internal injuries.
For proper protection when the vehicle is in
motion, have the seatback upright. Then sit
well back in the seat and wear your safety belt
properly.
1-5
Page 15 of 447
3. Pull (push if you are exiting the third row with no
assistance) the seat forward until it stops.
If the seatback isn’t locked,
it could move
forward in a sudden stop or crash. That could
cause injury to the person sitting there. Always
press rearward on the seatback to be sure
it is
locked.
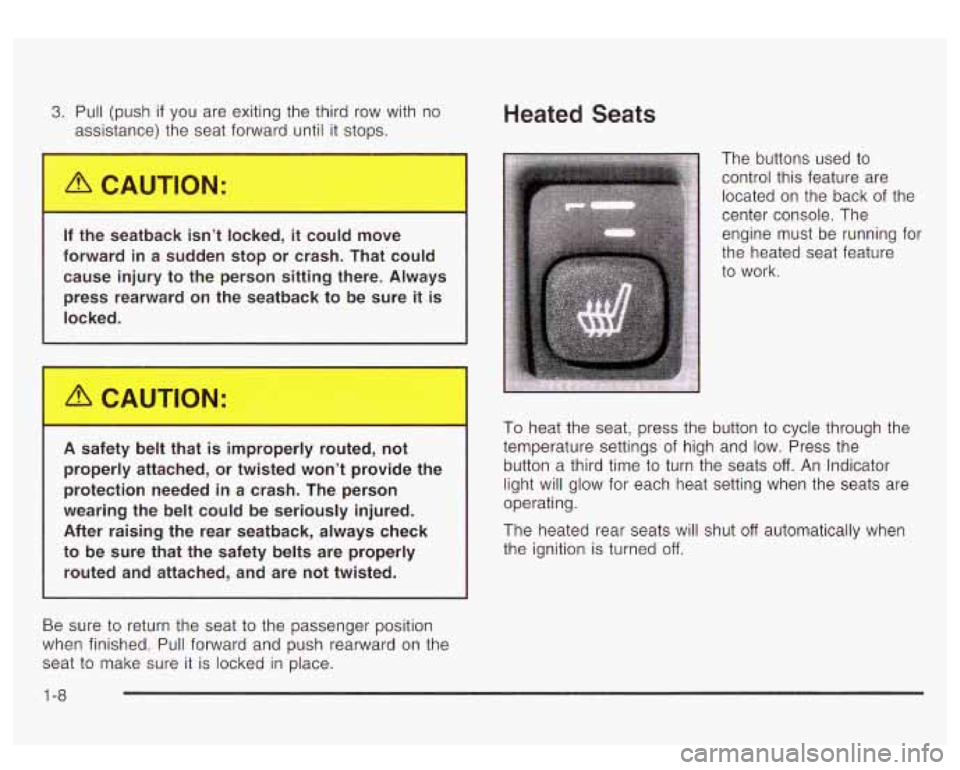
Heated Seats
A safety belt that is improperly routed, not
properly attached, or twisted won’t provide the protection needed
in a crash. The person
wearing the belt could be seriously injured.
After raising the rear seatback, always check
to be sure that the safety belts are properly routed and attached, and are not twisted. The
buttons used to
control this feature are
located on the back of the
center console. The
engine must be running for
the heated seat feature
To heat the seat, press the button to cycle through the
temperature settings of high and low. Press the
button a third time to turn the seats
off. An Indicator
light will glow for each heat setting when the seats are
operating.
The heated rear seats will shut
off automatically when
the ignition is turned
off.
Be sure to return the seat to the passenger position
when finished. Pull forward and push rearward on the
seat to make sure it is locked in place.
1 -8
Page 21 of 447
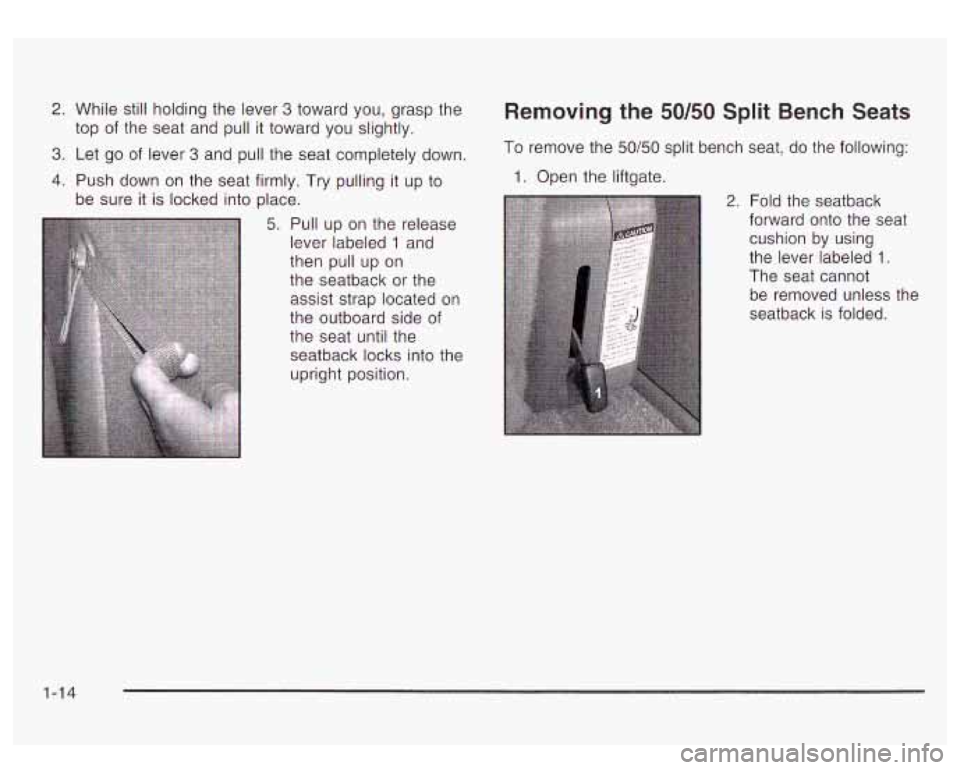
2. While still holding the lever 3 toward you, grasp the
3. Let go of lever 3 and pull the seat completely down.
4. Push down on the seat firmly. Try pulling it up to
top
of the seat and pull it toward
you slightly.
be sure it is locked into place.
5. Pull up on the release
lever labeled
1 and
then pull up on
the seatback or the
assist strap located on
the outboard side
of
the seat until the
seatback locks into the upright position.
Removing the 50/50 Split Bench Seats
To remove the 50/50 split bench seat, do the following:
1. Open the liftgate.
2. Fold the seatback
forward onto the seat
cushion
by using
the lever labeled
1.
The seat cannot
be removed unless the
seatback is folded.
1-14
Page 32 of 447
Safety Belts
Safety Belts: They Are for Everyone
This part of the manual tells you how to use safety
belts properly.
It also tells you some things you should
n-’
do ---!Lh safety belts.
Don’t
let anyone ride where he or she can’t
wear a safety belt properly. If you are
in a
crash and you’re not wearing a safety belt,
your injuries can be much worse. You can hit
things inside the vehicle or be ejected from
it.
You can be seriously injured or killed. In the
same crash, you might not be, if you are
buckled up. Always fasten your safety belt,
and check that your passengers’ belts are
fastened properly too.
It is extremeiy dangerous to ride in a cargo
area, inside or outside of a vehicle.
In a
collision, people riding
in these areas are more
likely to be seriously injured or killed.
Do not
allow people to ride in any area of your vehicle
that is not equipped with seats and safety belts. Be sure everyone
in your vehicle is in a
seat and using a safety belt properly.
Your vehicle has a light
that comes on as a
reminder to buckle up. See
Safety Belt Reminder
Light
on page 3-30.
In most states and in all Canadian provinces, the law
says
to wear safety belts. Here’s why: They work.
You never know if you’ll be in a crash. If you do have a
crash, you don’t know
if it will be a bad one.
1-25
Page 76 of 447
A child in a rear-facing child restraint can be
seriously injured or killed if the right front passenger’s air bag inflates. This
is because
the back of the rear facing child restraint
would be very close
to the inflating air bag.
Be sure the air bag is
off before using a
rear-facing child restraint
in the right front seat
position.
Even though the passenger sensing system is
designed to turn
off the passenger’s frontal air
bag if the system detects a rear-facing child
restraint, no system is fail-safe, and no one
can guarantee that an air bag will not deploy under some unusual circumstance, even
though
it is turned off. General Motors
therefore recommends that rear-facing child restraints be secured in the rear seat whenever
possible, even
if the air bag is off.
You’ll be using the lap-shoulder belt. See Top Strap on
page
1-57 if the child restraint has one. Be sure to
follow the instructions that came with the child restraint.
Secure the child in the child restraint when and as
the instructions say.
1. Because your vehicle has a right front passenger
air bag, always move the seat as far back as it will
go before securing a child restraint,
if you need
to secure a forward-facing child restraint in the right
front seat position. See
Power Seats on page 1-3.
If your vehicle has the passenger sensing
system and you are using a rear-facing child
restraint in this seat, make sure the frontal air bag
is
off. See Passenger Sensing System on
page
1-8 1.
When the passenger sensing system has turned off
the right front passenger’s frontal air bag, the off
indicator on the inside rearview mirror will light and
stay lit when you turn the ignition to RUN or
START.
2. Put the restraint on the seat.
3. Pick up the latch plate, and run the lap and shoulder
portions of the vehicle’s safety belt through or
around the restraint. The child restraint instructions
will show
you how.
1-69
Page 78 of 447
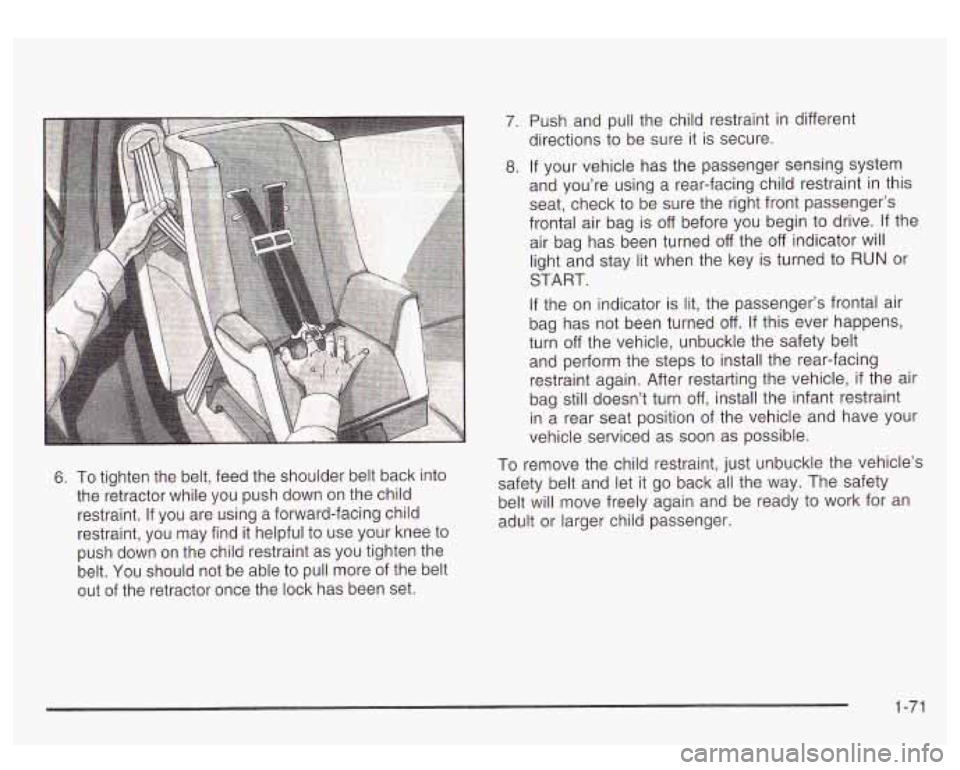
6. To tighten the belt, feed the shoulder belt back into
the retractor while you push down on the child
restraint. If you are using a forward-facing child
restraint, you may find it helpful to use your knee to
push down on the child restraint as you tighten the
belt. You should not be able to pull more of the belt
out of the retractor once the lock has been set.
7. Push and pull the child restraint in different
directions to be sure it is secure.
8. If your vehicle has the passenger sensing system
and you’re using a rear-facing child restraint in this
seat, check to be sure the right front passenger’s
frontal air bag is off before you begin to drive.
If the
air bag has been turned off the
off indicator will
light and stay lit when the key is turned to RUN or
START.
If the on indicator is lit, the passenger’s frontal air
bag has not been turned
off. If this ever happens,
turn off the vehicle, unbuckle the safety belt
and perform the steps to install the rear-facing
restraint again. After restarting the vehicle,
if the air
bag still doesn’t turn off, install the infant restraint
in
a rear seat position of the vehicle and have your
vehicle serviced as soon as possible.
To remove the child restraint, just unbuckle the vehicle’s
safety belt and let it go back all the way. The safety
belt will move freely again and be ready to work for an
adult or larger child passenger.
1-71