run flat GMC YUKON HYBRID 2010 Owners Manual
[x] Cancel search | Manufacturer: GMC, Model Year: 2010, Model line: YUKON HYBRID, Model: GMC YUKON HYBRID 2010Pages: 120, PDF Size: 1.03 MB
Page 73 of 120
Only a trained service technician with the proper
knowledge and tools should inspect, test, or replace
the hybrid battery. See your dealer/retailer if the
hybrid battery needs service. The dealer/retailer
has information on how to recycle the hybrid
battery. There is also information available at
http://www.recyclemybattery.com.
If an airbag inflates or the vehicle has been in a crash,
the vehicle's sensing system might command the
automatic hybrid battery disconnect to open. See
Replacing Restraint System Parts After a Crash
on
page 2‑3for more information.
{DANGER:
Battery posts, terminals, and related accessories
contain lead and lead compounds, chemicals
known to the State of California to cause cancer
and reproductive harm. Wash hands after
handling.
Vehicle Storage
{WARNING:
Batteries have acid that can burn you and gas
that can explode. You can be badly hurt if you are
not careful. See Jump Starting
on page 6‑18
for tips on working around a battery without
getting hurt.
Infrequent Usage: Remove the 12‐volt battery black,
negative (−) cable from the battery to keep the battery
from running down.
Extended Storage: Remove the 12‐volt battery black,
negative (−) cable from the battery or use a battery
trickle charger.
Remember to reconnect the battery when ready to drive
the vehicle.
6-17
Page 88 of 120
TPMS Sensor Matching Process
Each TPMS sensor has a unique identification code.
Any time you rotate your vehicle's tires or replace one
or more of the TPMS sensors, the identification codes
will need to be matched to the new tire/wheel position.
The sensors are matched to the tire/wheel positions in
the following order: driver side front tire, passenger
side front tire, passenger side rear tire, and driver side
rear tire using a TPMS diagnostic tool. See your
dealer/retailer for service.
The TPMS sensors can also be matched to each
tire/wheel position by increasing or decreasing the
tire's air pressure. If increasing the tire's air pressure,
do not exceed the maximum inflation pressure indicated
on the tire's sidewall.
To decrease air-pressure out of a tire you can use the
pointed end of the valve cap, a pencil-style air pressure
gage, or a key.
You have two minutes to match the first tire/wheel
position, and five minutes overall to match all four
tire/wheel positions. If it takes longer than two minutes,
to match the first tire and wheel, or more than
five minutes to match all four tire and wheel positions
the matching process stops and you need to start over.The TPMS sensor matching process is outlined below:
1. Set the parking brake.
2. Turn the ignition switch to ON/RUN with the engine off.
3. Press
QandKon the Remote Keyless Entry
(RKE) transmitter at the same time for
approximately five seconds. The horn sounds
twice to signal the receiver is in relearn mode and
TIRE LEARNING ACTIVE message displays on
the DIC screen.
4. Start with the driver side front tire.
5. Remove the valve cap from the valve cap stem. Activate the TPMS sensor by increasing or
decreasing the tire's air pressure for five seconds,
or until a horn chirp sounds. The horn chirp, which
may take up to 30 seconds to sound, confirms that
the sensor identification code has been matched to
this tire and wheel position.
6. Proceed to the passenger side front tire, and repeat the procedure in Step 5.
7. Proceed to the passenger side rear tire, and repeat the procedure in Step 5.
6-32
Page 92 of 120
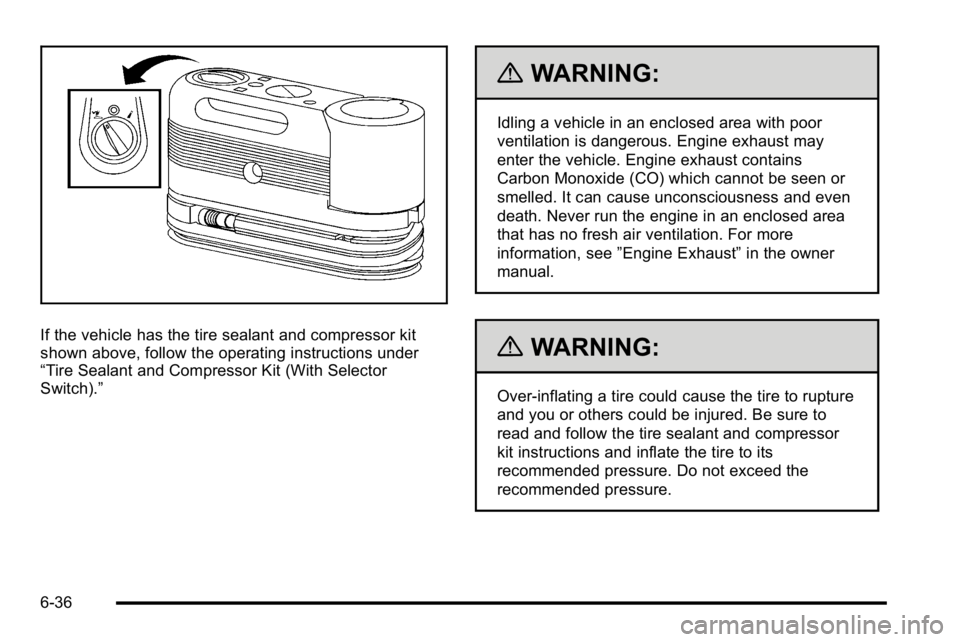
If the vehicle has the tire sealant and compressor kit
shown above, follow the operating instructions under
“Tire Sealant and Compressor Kit (With Selector
Switch).”
{WARNING:
Idling a vehicle in an enclosed area with poor
ventilation is dangerous. Engine exhaust may
enter the vehicle. Engine exhaust contains
Carbon Monoxide (CO) which cannot be seen or
smelled. It can cause unconsciousness and even
death. Never run the engine in an enclosed area
that has no fresh air ventilation. For more
information, see”Engine Exhaust” in the owner
manual.
{WARNING:
Over-inflating a tire could cause the tire to rupture
and you or others could be injured. Be sure to
read and follow the tire sealant and compressor
kit instructions and inflate the tire to its
recommended pressure. Do not exceed the
recommended pressure.
6-36
Page 95 of 120
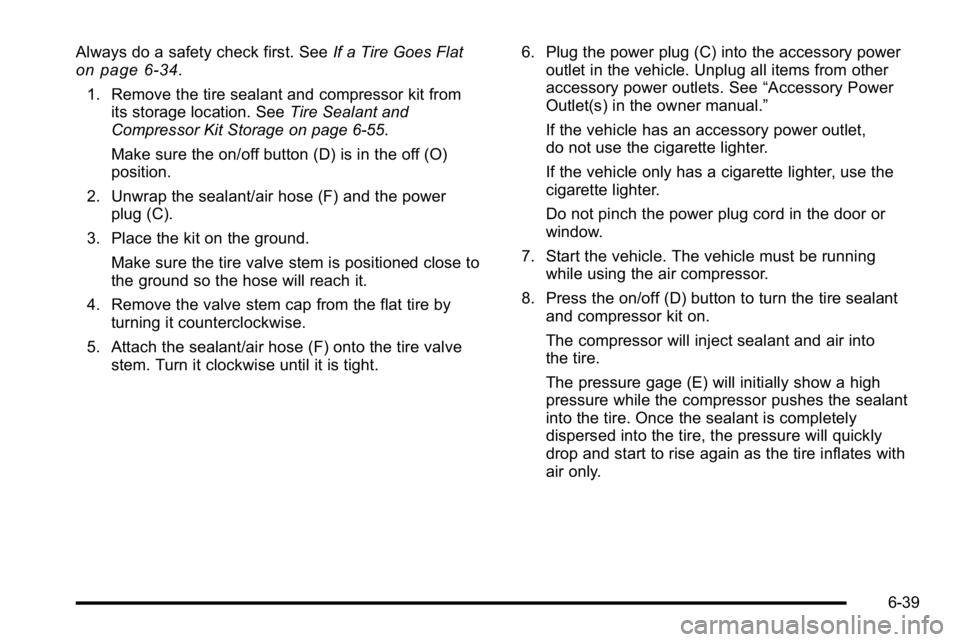
Always do a safety check first. SeeIf a Tire Goes Flaton page 6‑34.
1. Remove the tire sealant and compressor kit from its storage location. See Tire Sealant and
Compressor Kit Storage on page 6‑55.
Make sure the on/off button (D) is in the off (O)
position.
2. Unwrap the sealant/air hose (F) and the power plug (C).
3. Place the kit on the ground. Make sure the tire valve stem is positioned close to
the ground so the hose will reach it.
4. Remove the valve stem cap from the flat tire by turning it counterclockwise.
5. Attach the sealant/air hose (F) onto the tire valve stem. Turn it clockwise until it is tight. 6. Plug the power plug (C) into the accessory power
outlet in the vehicle. Unplug all items from other
accessory power outlets. See “Accessory Power
Outlet(s) in the owner manual.”
If the vehicle has an accessory power outlet,
do not use the cigarette lighter.
If the vehicle only has a cigarette lighter, use the
cigarette lighter.
Do not pinch the power plug cord in the door or
window.
7. Start the vehicle. The vehicle must be running while using the air compressor.
8. Press the on/off (D) button to turn the tire sealant and compressor kit on.
The compressor will inject sealant and air into
the tire.
The pressure gage (E) will initially show a high
pressure while the compressor pushes the sealant
into the tire. Once the sealant is completely
dispersed into the tire, the pressure will quickly
drop and start to rise again as the tire inflates with
air only.
6-39
Page 99 of 120

8. Plug the power plug (C) into the accessory poweroutlet in the vehicle. Unplug all items from other
accessory power outlets. See “Accessory Power
Outlet(s) in the owner manual.”
If the vehicle has an accessory power outlet,
do not use the cigarette lighter.
If the vehicle only has a cigarette lighter, use the
cigarette lighter.
Do not pinch the power plug cord in the door or
window.
9. Start the vehicle. The vehicle must be running while using the air compressor.
10. Press the on/off (D) button to turn the compressor on.
The compressor will inflate the tire with air only.
11. Inflate the tire to the recommended inflation pressure using the pressure gage (E).
The recommended inflation pressure can be
found on the Tire and Loading Information label.
See Inflation - Tire Pressure on page 6‑28. The pressure gage (E) may read higher than the
actual tire pressure while the compressor is on.
Turn the compressor off to get an accurate
reading. The compressor may be turned on/off until
the correct pressure is reached.
12. Press the on/off button (D) to turn the tire sealant and compressor kit off.
Be careful while handling the tire sealant and
compressor kit as it could be warm after usage.
13. Unplug the power plug (C) from the accessory power outlet in the vehicle.
14. Disconnect the air only hose (C) from the tire valve stem, by turning it counterclockwise, and replace
the tire valve stem cap.
15. Replace the air only hose (F) and the power plug (C) back in its original location.
16. Place the equipment in the original storage location in the vehicle.
6-43
Page 102 of 120
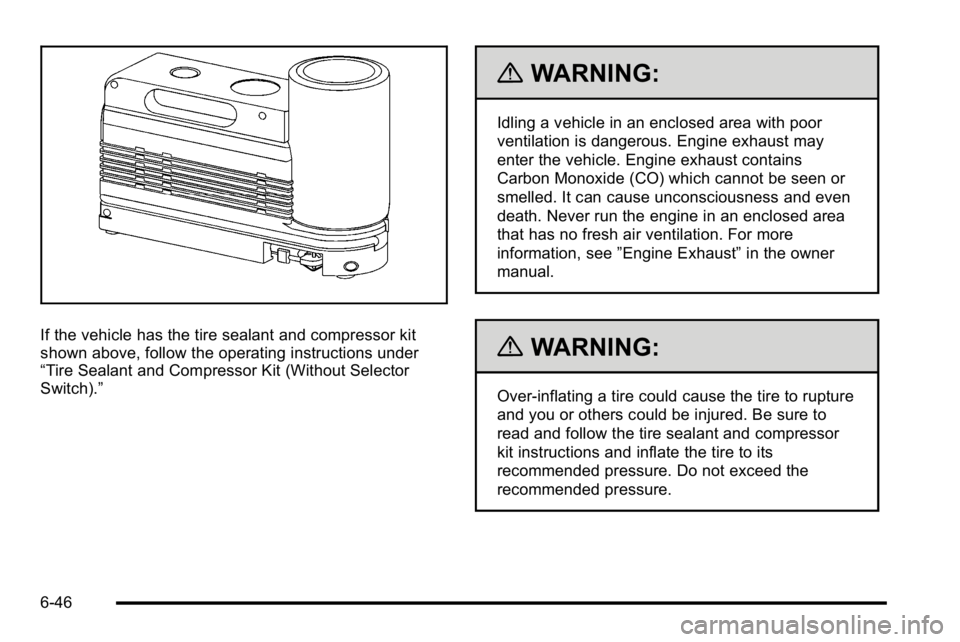
If the vehicle has the tire sealant and compressor kit
shown above, follow the operating instructions under
“Tire Sealant and Compressor Kit (Without Selector
Switch).”
{WARNING:
Idling a vehicle in an enclosed area with poor
ventilation is dangerous. Engine exhaust may
enter the vehicle. Engine exhaust contains
Carbon Monoxide (CO) which cannot be seen or
smelled. It can cause unconsciousness and even
death. Never run the engine in an enclosed area
that has no fresh air ventilation. For more
information, see”Engine Exhaust” in the owner
manual.
{WARNING:
Over-inflating a tire could cause the tire to rupture
and you or others could be injured. Be sure to
read and follow the tire sealant and compressor
kit instructions and inflate the tire to its
recommended pressure. Do not exceed the
recommended pressure.
6-46
Page 105 of 120
Always do a safety check first. SeeIf a Tire Goes Flaton page 6‑34. Do not remove any objects that have
penetrated the tire.
1. Remove the tire sealant and compressor kit from its storage location. See Tire Sealant and
Compressor Kit Storage on page 6‑55.
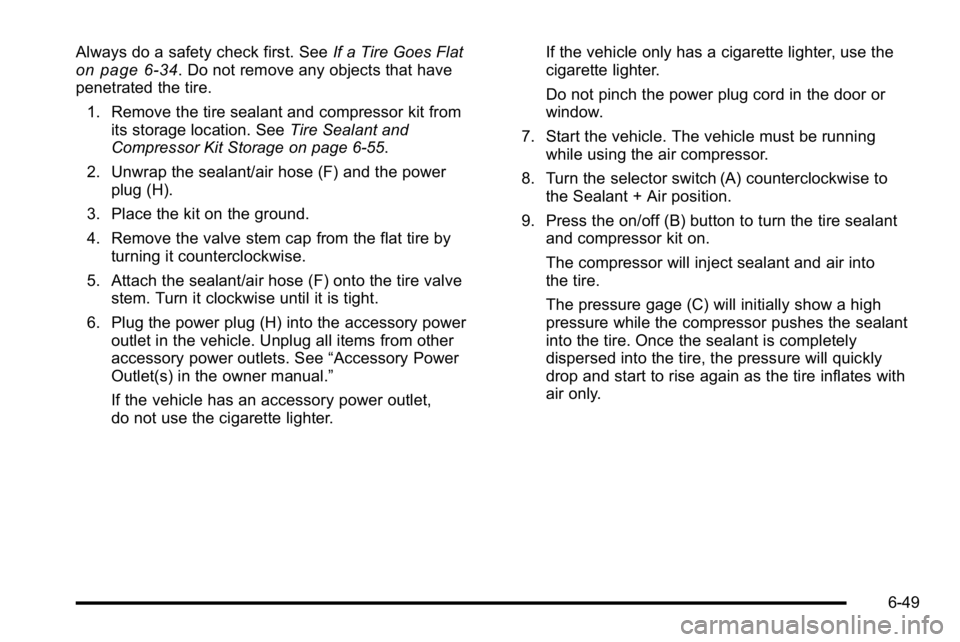
2. Unwrap the sealant/air hose (F) and the power plug (H).
3. Place the kit on the ground.
4. Remove the valve stem cap from the flat tire by turning it counterclockwise.
5. Attach the sealant/air hose (F) onto the tire valve stem. Turn it clockwise until it is tight.
6. Plug the power plug (H) into the accessory power outlet in the vehicle. Unplug all items from other
accessory power outlets. See “Accessory Power
Outlet(s) in the owner manual.”
If the vehicle has an accessory power outlet,
do not use the cigarette lighter. If the vehicle only has a cigarette lighter, use the
cigarette lighter.
Do not pinch the power plug cord in the door or
window.
7. Start the vehicle. The vehicle must be running while using the air compressor.
8. Turn the selector switch (A) counterclockwise to the Sealant + Air position.
9. Press the on/off (B) button to turn the tire sealant and compressor kit on.
The compressor will inject sealant and air into
the tire.
The pressure gage (C) will initially show a high
pressure while the compressor pushes the sealant
into the tire. Once the sealant is completely
dispersed into the tire, the pressure will quickly
drop and start to rise again as the tire inflates with
air only.
6-49
Page 109 of 120

7. Start the vehicle. The vehicle must be runningwhile using the air compressor.
8. Turn the selector switch (A) clockwise to the Air Only position.
9. Press the on/off (B) button to turn the compressor on.
The compressor will inflate the tire with air only.
10. Inflate the tire to the recommended inflation pressure using the pressure gage (C).
The recommended inflation pressure can be
found on the Tire and Loading Information label.
See Inflation - Tire Pressure on page 6‑28.
The pressure gage (C) may read higher than the
actual tire pressure while the compressor is on.
Turn the compressor off to get an accurate
reading. The compressor may be turned on/off
until the correct pressure is reached. If you inflate the tire higher than the recommended
pressure you can adjust the excess pressure by
pressing the pressure deflation button (D) until the
proper pressure reading is reached. This option is
only functional when using the air only hose (G).
11. Press the on/off button (B) to turn the tire sealant and compressor kit off.
Be careful while handling the tire sealant and
compressor kit as it could be warm after usage.
12. Unplug the power plug (H) from the accessory power outlet in the vehicle.
13. Disconnect the air only hose (G) from the tire valve stem, by turning it counterclockwise, and replace
the tire valve stem cap.
14. Replace the air only hose (G) and the power plug (H) and cord back in its original location.
15. Place the equipment in the original storage location in the vehicle.
6-53
Page 120 of 120

T
Tachometer . . . . . . . . . . . . . . . . . . . . . . . . . . . . . . . . . . . . . . . . . .4-4
TaillampsTurn Signal, Stoplamps and Back-up Lamps . . . . . . 6-24
Tires Chains . . . . . . . . . . . . . . . . . . . . . . . . . . . . . . . . . . . . . . . . . . . . 6-34
If a Tire Goes Flat . . . . . . . . . . . . . . . . . . . . . . . . . . . . . . . . 6-34
Inflation, Pressure . . . . . . . . . . . . . . . . . . . . . . . . . . . . . . . . 6-28
Inspection and Rotation . . . . . . . . . . . . . . . . . . . . . . . . . . 6-33
Sealant and Compressor Kit . . . . . . . . . . 6-35, 6-45, 6-55
Towing
Towing Your Vehicle . . . . . . . . . . . . . . . . . . . . . . . . . . . . . . . 5-2
Trailer . . . . . . . . . . . . . . . . . . . . . . . . . . . . . . . . . . . . . . . . . . . . . 5-8
Transmission, Automatic Fluid . . . . . . . . . . . . . . . . . . . . . . .6-5
V
Vehicle Running While Parked . . . . . . . . . . . . . . . . . . . . . . . . . . . . 3-18
Voltage Devices, and Wiring . . . . . . . . . . . . . . . . . . . . . . . . .6-3
W
Wiring, High Voltage Devices . . . . . . . . . . . . . . . . . . . . . . . .6-3
i - 4