Circuit HONDA CIVIC 2003 7.G Owners Manual
[x] Cancel search | Manufacturer: HONDA, Model Year: 2003, Model line: CIVIC, Model: HONDA CIVIC 2003 7.GPages: 1139, PDF Size: 28.19 MB
Page 532 of 1139
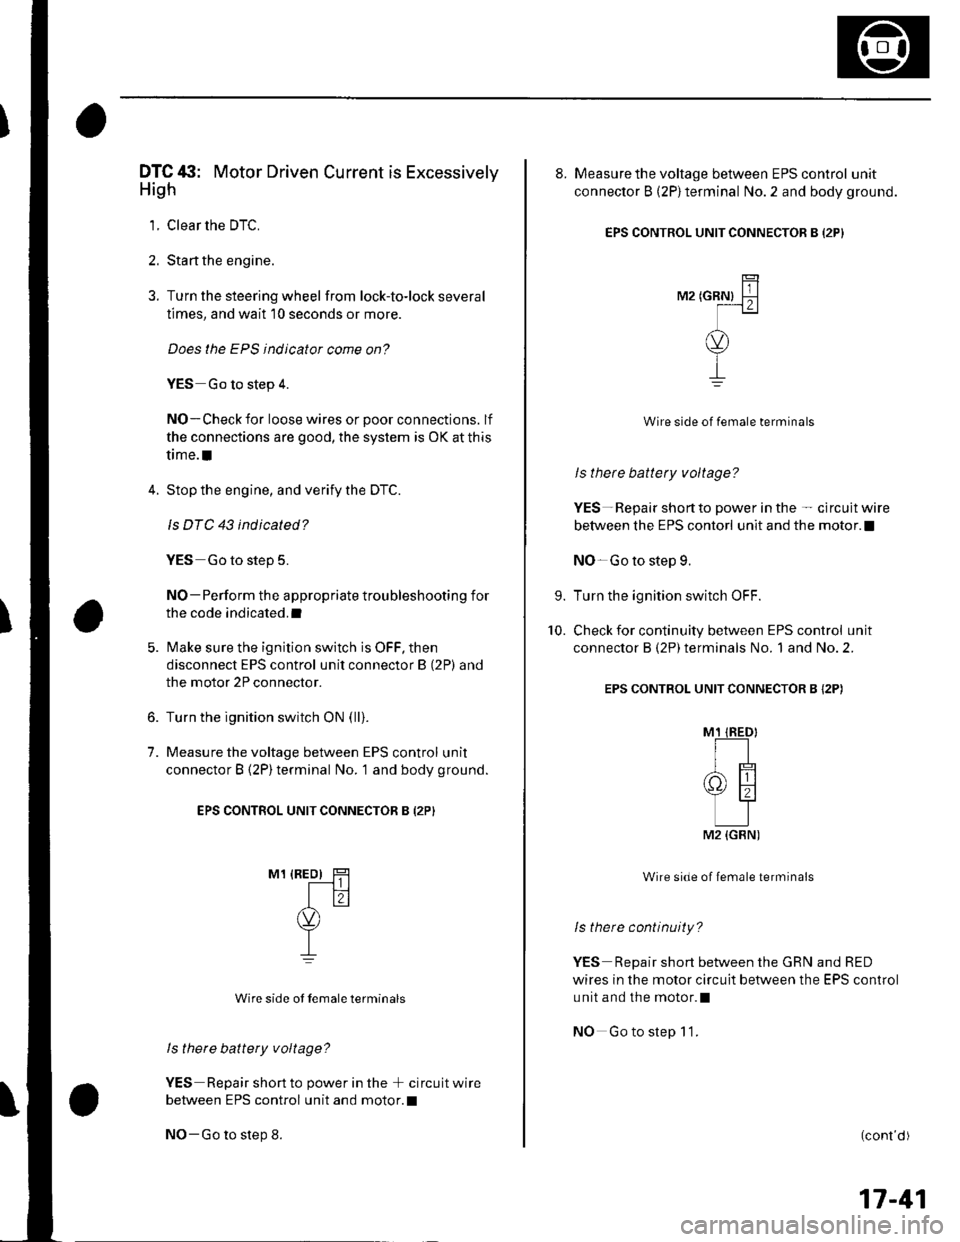
DTC tli|: Motor Driven Current is Excessively
Hish
1. Clear the DTC.
2. Start the engine.
3. Turn the steering wheel from lock-to-lock several
times, and wait '10 seconds or more.
Does the EPS indicator come on?
YES Go to step 4.
NO-Check for loose wires or poor connections. lf
the connections are good, the system is OK at this
ttme.I
4. Stop the engine, and verify the DTC.
ls DTC 43 indicated?
YES Go to step 5.
NO-Perform the appropriate troubleshooting for
the code indicated.I
5. Make sure the ignition switch is OFF, then
disconnect EPS control unit connector B (2P) and
the motor 2P connector.
6. Turn the ignition switch ON (ll).
7. Measure the voltage between EPS control unit
connector B (2P)terminal No. '1 and body ground.
EPS CONTROL UNIT CONNECTOR B {2P}
M1 {REo) HT------t I I
Itr(v)
T-L
Wire side ot Iemale terminals
ls therc battery voltage?
YES Repair short to power in the + circuit wire
between EPS control unit and motor.l
NO-Go to step 8.
8. Measure the voltage between EPS control unit
connector B (2P)terminal No. 2 and body ground.
EPS CONTROL UNIT CONNECTOR B I2PI
TilM2 tcRNl F-lf---1 z I
(v)
Y
I
Wire side of female terminals
ls there battety voltage?
YES- Repair short to power in the - circuit wire
between the EPS contorl unit and the motor. !
NO-Go to step 9.
Turn the ignition switch OFF.
Check for continuity between EPS control unit
connector B (2P) terminals No. 1 and No. 2.
EPS CONTROL UNIT CONNECTOR B {2P)
Wire side of female terminals
ls there continuity?
YES Repair short between the GRN and RED
wires in the motor circuit between the EPS control
unit and the motor.l
NO Gotostep 11.
9.
10.
(cont d)
17-41
M2 {GBN)
Page 533 of 1139
EPS Components
11.
12.
DTC Troubleshooting (cont'dl
Substitute a known-good EPS control unit, and
connect all the disconnected connectors.
Sta rt the engine, and turn the steering wheel from
lock to lock several times.
Does the EPS indicator come on?
YES Go to step 13.
NO -Check for loose or poor connections at the
EPS control unit and the motor connections. lf the
connections are good, replace the EPS control unit
and recheck.l
Stop the engine, and verity the DTC.
ls DTC 43 indicated?
YES-Replace the steering gearbox motor and
recheck. tl
NO-Perform the appropriate troubleshooting for
the code indicated.l
13.
17-42
DTC 47: EPS Control Unit lnternal Circuit(Power Relay)
1. Clear the DTC.
2. Start the engine.
Does the EPS indicator come on?
YES-Go to step 3,
NO-Check for loose wires or poor connections, lf
the connections are good, the system is OK at this
time.I
3. Stop the engine, and verify the DTC.
ls DTC 47 indicated?
YES Check for loose EPS control unit connectors.
lf necessary, substitute a known-good EPS control
unit and recheck.l
NO Perform the appropriate troubleshooting for
the code indicated.I
(
Page 534 of 1139
DTC 50: EPS Control Unit Internal Circuit(CPU or Microcomputer)
1. Clear the DTC.
2. Sta rt the engine.
Does the EPS indicator come on?
YES Go to step 3.
NO Check for loose wires or poor connections. lf
the connections are good. the system is OK at this
time. t
3. Stop the engine, and verify the DTC.
ls DTC 50 indicated?
YES-Check for loose or poor connections at the
EPS control unit connections. lf the connections are
good, substitute a known-good EPS control unit. lf
the symptom/indication goes away, replace the
original EPS control unit.l
NO Perform the appropriate troubleshooting for
the code indicated. t
DTC 51: EPS Control Unit Internal Circuit(EEPROM)
1. Clear the DTC.
2. Start the engine.
Does the EPS indicatot come on?
YES-Go to step 3.
NO-Check for loose wires or poor connections. lf
the connections are good, the system is OK at this
time.I
3. Stop the engine, and verify the DTC.
ls DTC 51 indicated?
YES-Check for loose or poor connections at the
EPS control unit connections. lf the connections are
good. substitute a known-good EPS control unit. lf
the symptom/indication goes away, replace the
original EPS control unit. !
NO Perform the appropriate troubleshooting for
the code indicated. t
17-43
Page 535 of 1139
EPS Components
DTC Troubleshootang (cont'dl
DTC 62: EPS Control Unit Internal Circuit
(Fail-safe Relay Stuck ON)
'1. Clear the DTC.
2. Start the engine.
Does the EPS indicator come on?
YES-Go to step 3.
NO-Check for loose wires or poor connections. lf
the connections are good, the system is OK at this
time.I
3. Stop the engine, and verify the DTC.
ls DTC 62 indicated?
YES-Check for loose or poor connections at the
EPS control unit. lf the connections are good,
substitute a known-good EPS control unit. lf the
symptom/indication goes away, replace the
original EPS control unit and recheck.l
NO-Perform the appropriate troubleshooting for
the code indicated. t
17-44
DTC 64: Battery Voltage is Excessively Low
(Fail-safe Relay Contact Failure and Motor
Voltage FallOff)
1. Clear the DTC.
2. Start the engine.
Does the EPS indicatot come on?
YES Go to step 3.
NO Check for loose wires or poor connections. lf
the connections are good, the system is OK at this
trme.l
3. Stop the engine, and verify the DTC.
ls DTC 64 indicated?
YES Go to step 4.
NO Perform the appropriate troubleshooting for
the code indicated.
4. Check the No. '18 (604) fuse in the under-hood fuse/
relay box, and reinstallthe fuse if it is OK.
Is the f use OK?
YES Go to step 5.
NO Replace the fuse and recheck.l
5. Disconnect EPS control unit connector A (2P).
6. Measure the voltage between EPS control unit
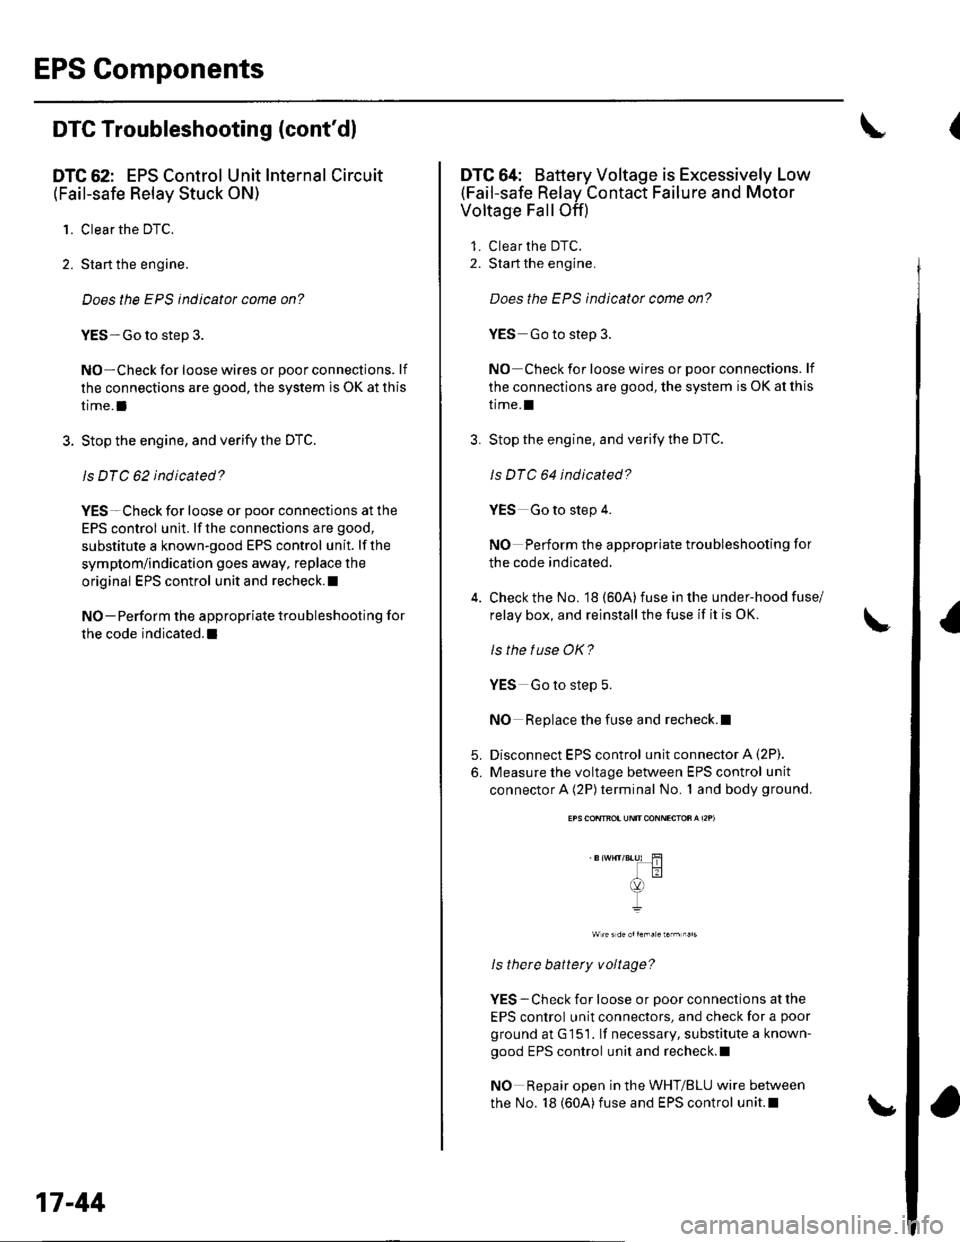
connector A (2P) terminal No. 1 and body ground.
-Blwt{r/Bl.ur Hl
\9
I
ls there battety voltage?
YES - Check for loose or poor connections at the
EPS control unit connectors, and check for a poor
ground at G 15 1. lf necessary, substitute a known-
good EPS control unit and recheck.l
NO Repair open in the WHT/BLU wire between
the No. 18 (60,4)fuse and EPS control unit.l
(
Page 536 of 1139
DTC 66,68: EPS Control Unit lnternal Circuit
1. Clear the DTC.
2. Sta rt the engine.
3. Turn the steering wheel from lock-to-lock several
times, and wait 10 seconds or more.
Does the EPS indicator come on?
YES-Go to step 4.
NO-Check for loose wires or poor connections. lf
the connections are good. the system is OK at this
time.l
4. Stop the engine. and verify the DTC.
ls DTC 66 or 68 indicated?
YES-Check for loose or poor connections at the
EPS control unit. lf the conneclions are good,
substitute a known-good EPS control unit. lf the
symptom/indication goes away, replace the
original EPS control unit and recheck.I
NO Perform the appropriate troubleshooting for
the code indicated. t
DTC 67: Torque Sensor l/F Circuit
1. Clear the DTC.
2. Start the engine.
3. Turn the steering wheelfrom lock-to-lock several
times, and wait 10 seconds or more.
Does the EPS indicator come on?
YES-Go to step 4.
NO Check for loose wires or poor connections. lf the
connections are good, the system is OK at this time. !
4. Stop the engine, and verify the DTC.
ls DTC 67 indicated?
YES Check for loose or poor connections at the
EPS control unit. lf the connections are good,
substitute a known-good EPS control unit. lf the
symptom/indication goes away, replace the
original EPS control unit and recheck. !
NO-Perform the appropriate troubleshooting for
the code indicated.I
17-45
Page 537 of 1139
EPS Components
DTC Troubleshooting (cont'd)
DTC 69: EPS Control Unit Internal Circuit
1. Clear the DTC.
2. Start the engine.
3. Turn the steering wheel from lock-to-lock several
times, and wait 10 seconds or more,
Does the EPS indicator come on?
YES Go to step 4.
NO-Check for loose wires or poor connections. lf
the connections are good, the system is OK at this
time.l
4. Stop the engine, and verify the DTC.
ls DTC 69 indicated?
YES-Check for loose or poor connections at the
EPS control unit. lf the connections are good,
substitute a known-good EPS control unit. lf the
symptom/indication goes away, replace the
original EPS control unit and recheck.l
NO- Perform the appropriate troubleshooting for
the code indicated.l
17-46
Page 538 of 1139
EPS Indicator Circuit Troubleshooting
1.Turn the ignition switch ON (ll), start the engine,
and watch the EPS indicator.
Does the EPS indicator come on?
YES lf the EPS indicator comes on and goes off, it's
OK. lf the EPS indicator stays on or blinks. go to
step 12.
NO Go to step 2.
Turn the ignition switch OFF, then ON (ll) again,
and watch the brake system indicator,
Does the brake system indicator come on?
YES-Go to step 3.
NO Repair open in the indicator power source
circuit.l. Blown No. 10 (7.5A)fuse.
. Open in the wire between the No. 10 (7.5A) fuse
and gauge assembly.. Open circuit inside the under-dash fuse/relay box,. Faulty gauge assembly.
Turn the ignition switch OFF,
Connect a jumper wire between the gauge
assembly 22P connector terminal No. 13 and body
ground, then turn the ignition switch ON (ll).
GAUGE ASSEMBLY 22P CONNECTOR (Blue connector)
Wire side of female terminals
Does the EPS indicator come on?
YES-Go to step 5.
NO Inspect the EPS indicator bulb, if the bulb is
OK, replace the bulb circuit board in the gauge
assembly.l
3.
4.
5. Turn the ignition switch OFF.
6. Disconnect EPS control u n it connector C (20P).
7. Turn the ignition switch ON (ll).
8. Connect EPS control unit connector C (20P)
terminal No. 6 to body ground with a jumper wire.
Wire s d€ oflemale16rmina s
Does the EPS indicatot come on?
YES Go to step 9.
NO Repair open in the wire between the gauge
assembly and the EPS control unit.l
Turn the ignition switch OFF.
Disconnect EPS control unit connector A (2P),
Check for continuity between EPS control unit
connector A terminal No. 2 and body ground.
EPS CONTROL UNITCONNECTOA A I2PI
wire s de oftemale terminals
ls there continuity?
YES Check for loose or poor connections at the
EPS control unit. lf the connections are good,
substitute a known-good EPS control unit. lf the
symptom/indication goes away, replace the
original EPS control unit and recheck.I
NO Repair open in the wire or a bad ground at
G151,t(cont'd)
9.
10.
'l 1.
EPS CONTBOL UNIT CONNECTOB C {2OP)
17-47
Page 539 of 1139
EPS Components
I
12.
EPS Indicator Circuit Troubleshooting (cont'dl
Turn the ignition switch OFF.
Disconnect EPS control unit connector C (20P).
Turn the ignition switch ON (ll).
Does the EPS indicator come on?
YES-Repair short to ground in the YEUBLU wire
between the gauge assembly and the EPS control
unit, or replace the bulb circuit board in the gauge
assembly.l
NO-Go to step 15.
Measure the voltage between EPS control unit
connector C (20P)terminal No. 10 and body ground.
EPS CONTROL UNIT CONNECTOR C I2OP)
Wire side of female terminals
ls there battery voltage?
YES-Go to step 16.
NO-Repair open in the wire between EPS control
unit connector C (20P) and the No, 10 (7.5A) fuse. t
13.
14.
17-48
16. Measure the voltage between EPS control unit
connector A (2P)terminal No. '1 and body ground.
EPS CONTROL UNITCONNECTON A (2P}
+B (WHT/BLUI H
Itr
v-L
17.
18,
19.
20.
Wire side of female terminals
ls there battery voltage?
YES-Go to step 17.
NO-Check for a blown No. 18 (604) fuse in the
under-hood fuse/relay box or open/short in the
WHT/BLU wire between the under-hood fuse/relay
box and the EPS control unit.l
Turn the ignition switch OFF.
Reconnect EPS control unit connector A (2P).
Turn the ignition switch ON (ll).
Measure the voltage between EPS control unit
connector C (20P)terminal No. 8 and body ground.
EPS CONTROL UNIT CONNECTOR C (2OP)
Wire side of female terminals
ls therc about 10 V?
YES Check for loose or poor connections at the
EPS control unit. lf the connections are good,
substitute a known-good EPS control unit. lf the
symptom/indication goes away, replace the
original EPS control unit and recheck.l
NO Repair short to ground in the BRN wire
between the data link connector and the EPS
control unit.I
Page 596 of 1139
Brakes
Conventional Brake Components
Special Tools ... ..... ... l9-2
Component Location Index ......................................... 19-3
Brake System Inspection and
Tests ............... .......... 19-4
Brake Pedal and Brake Pedal Position Switch
Adjustment .............. 19-6
Parking Brake Check and
Adjustment .............. 19-7
Brake System Bleeding ...................... 19-8
Brake System Indicator Circuit
Diagram ................... 19-9
Parking Brake Switch Test ................. 19-10
Brake Fluid Level Switch Test ...................................... 19-10
Front Brake Pads lnsoection and
Replacement ........... 19-11
Front Brake Disc Inspection ............... 19-13
Front Brake Calioer Overhaul ...................................... 19-14
Master Cylinder Replacement ........... 19-15
Master Cylinder Inspection ................ 19-16
Brake Booster
Pushrod Clearance Adjustment ................................ 19-16
Brake BoosterTest ................... .......... 19-18
Brake Booster Reolacement .............. 19-19
Rear Brake Pads Inspection and
Reolacement ........... 19-20
Rear Brake Disc Inspection ................ 19-22
Rear Brake Caliper Overhaul ....................................... 19-23
Brake Hoses and Lines Insoection .... 19-24
Brake Hose Reolacement ................... 19-25
Parking Brake Cable Replacement .............................. 19-26
ABS (Anti-lock Brake System)
Gomponents ... 19-29
Page 598 of 1139
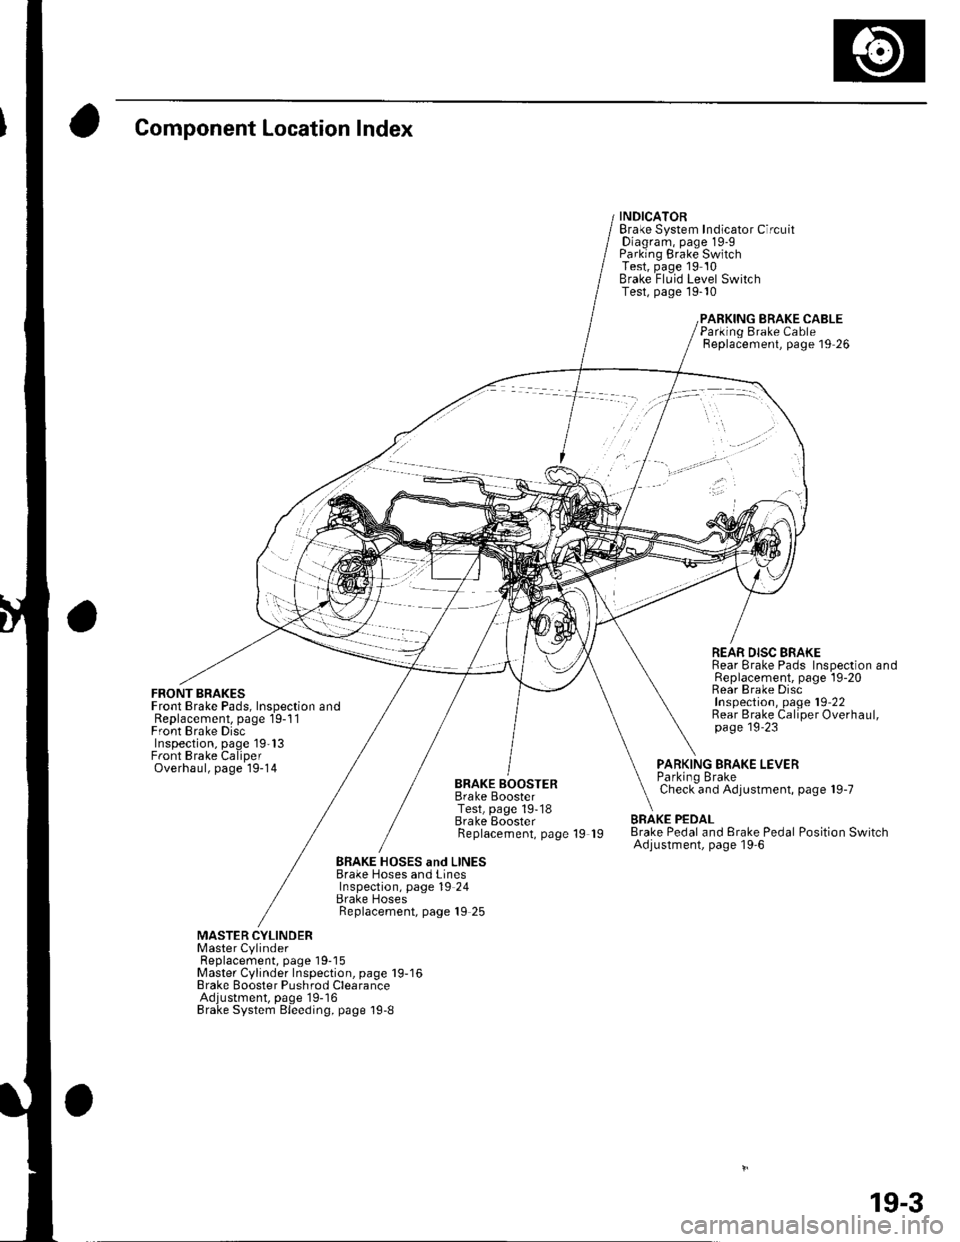
Component Location Index
FRONT BRAKESFront Brake Pads, Inspection andReplacement, page 19-1 1Front Brake DiscInspection, page 19'13Front Brake CaliperOverhaul, page 19-14
INDICATORBrake System Indicator CircuitDiagram, page 19-9Parking Brake SwitchTest, page 19 10Brake Fluid Level SwitchTest, page 19-10
BRAKE CABLE
BRAKE BOOSTERBrake BoosterTest, page 19-18Brake EoosterReplacement, page 19 19
Parking Brake CableReplacement, page 19 26
REAR DISC BRAKERear Brake Pads Inspection andReplacement, page l9-20Rear Brake DiscInspection, page 19'22Rear Brake Caliper Overhaul,page 19'23
PARKING BRAKE LEVERParkino BrakeCheck and Adjustment, page 19-7
BRAKE PEDALBrake Pedal and Erake Pedal Position SwitchAdjustment, page l9-6
BRAKE HOSES and LINESBrake Hoses and LinesInspection, page 19 24Brake HosesReplacement, page 19 25
MASTER CYLINDERMaster CylinderFl6^1.^6m6nr ^2^o 1O-18Master Cylinder Inspection, page 19-16Brake Booster Pushrod ClearanceAdjustment, page'19-16Brake System Bleeding, page 19-8
19-3