ECO mode HONDA CR-V 2013 RM1, RM3, RM4 / 4.G Owner's Guide
[x] Cancel search | Manufacturer: HONDA, Model Year: 2013, Model line: CR-V, Model: HONDA CR-V 2013 RM1, RM3, RM4 / 4.GPages: 361, PDF Size: 6.58 MB
Page 236 of 361
235
uuTowing a TraileruTowing Your Vehicle
Continued
Driving
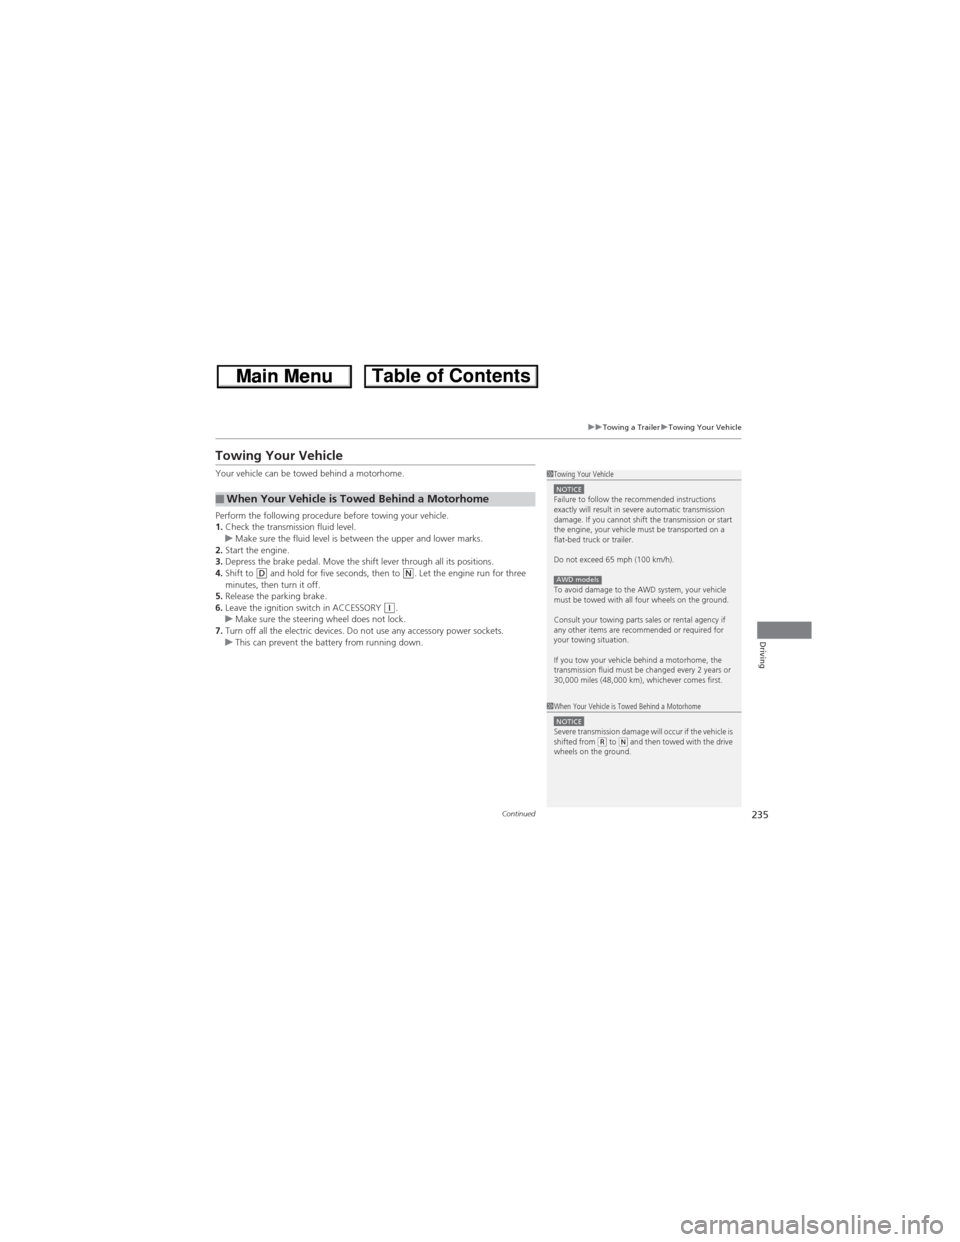
Towing Your Vehicle
Your vehicle can be towed behind a motorhome.
Perform the following procedure before towing your vehicle.
1.Check the transmission fluid level.
uMake sure the fluid level is between the upper and lower marks.
2.Start the engine.
3.Depress the brake pedal. Move the shift lever through all its positions.
4.Shift to
(D and hold for five seconds, then to (N. Let the engine run for three
minutes, then turn it off.
5.Release the parking brake.
6.Leave the ignition switch in ACCESSORY
(q.
uMake sure the steering wheel does not lock.
7.Turn off all the electric devices. Do not use any accessory power sockets.
uThis can prevent the battery from running down.
■When Your Vehicle is Towed Behind a Motorhome
1Towing Your VehicleNOTICEFailure to follow the recommended instructions
exactly will result in severe automatic transmission
damage. If you cannot shift the transmission or start
the engine, your vehicle must be transported on a
flat-bed truck or trailer.
Do not exceed 65 mph (100 km/h).
To avoid damage to the AWD system, your vehicle
must be towed with all four wheels on the ground.
Consult your towing parts sales or rental agency if
any other items are recommended or required for
your towing situation.
If you tow your vehicle behind a motorhome, the
transmission fluid must be changed every 2 years or
30,000 miles (48,000 km), whichever comes first.
AWD models
1When Your Vehicle is Towed Behind a MotorhomeNOTICESevere transmission damage will occur if the vehicle is
shifted from (R to (N and then towed with the drive
wheels on the ground.
Page 246 of 361
245
uuWhen DrivinguECON Button
Driving
ECON Button
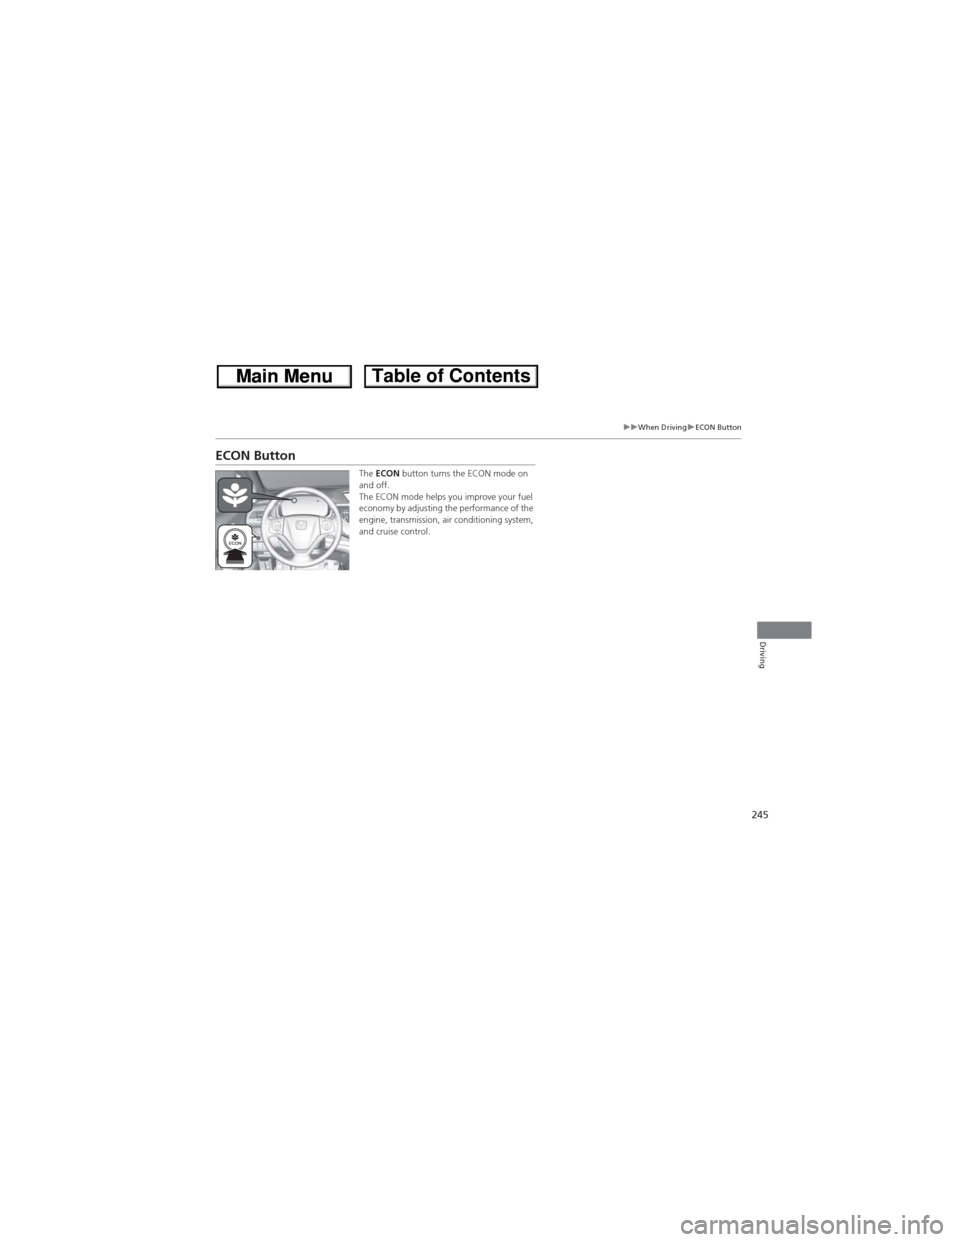
The ECON button turns the ECON mode on
and off.
The ECON mode helps you improve your fuel
economy by adjusting the performance of the
engine, transmission, air conditioning system,
and cruise control.
Page 247 of 361
246
uuWhen DrivinguCruise Control
Driving
Cruise Control
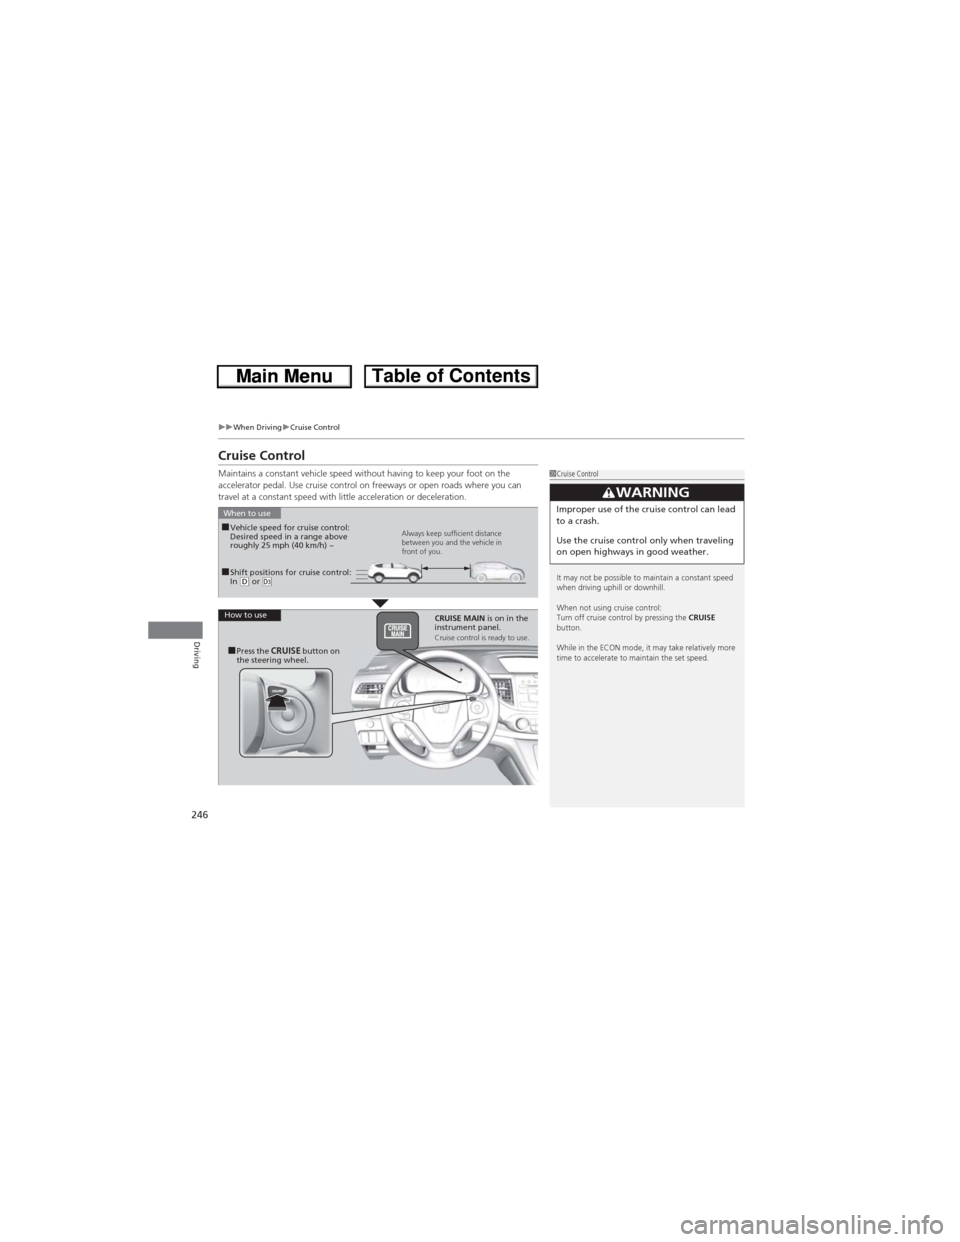
Maintains a constant vehicle speed without having to keep your foot on the
accelerator pedal. Use cruise control on freeways or open roads where you can
travel at a constant speed with little acceleration or deceleration.1Cruise Control
It may not be possible to maintain a constant speed
when driving uphill or downhill.
When not using cruise control:
Turn off cruise control by pressing the CRUISE
button.
While in the ECON mode, it may take relatively more
time to accelerate to maintain the set speed.
3WARNINGImproper use of the cruise control can lead
to a crash.
Use the cruise control only when traveling
on open highways in good weather.
■Shift positions for cruise control:
In (D or (d
When to use
Always keep sufficient distance
between you and the vehicle in
front of you.■Vehicle speed for cruise control:
Desired speed in a range above
roughly 25 mph (40 km/h) ~
How to use
CRUISE MAIN is on in the
instrument panel.
Cruise control is ready to use.■Press the CRUISE button on
the steering wheel.
Page 252 of 361
251
uuWhen DrivinguReal Time AWD with Intelligent Control System™*
Driving
Real Time AWD with Intelligent Control System™*
When the system senses a loss of front wheel traction, it automatically transfers
some power to the rear wheels. This allows you to utilize all available traction and
may increase mobility.
You still need to exercise the same care when accelerating, steering, and braking
that you would in a two wheel drive vehicle.
If you excessively spin all four wheels and overheat the AWD system, only the front
wheels receive power. Stop until the system cools down.
TPMS (Tire Pressure Monitoring System)
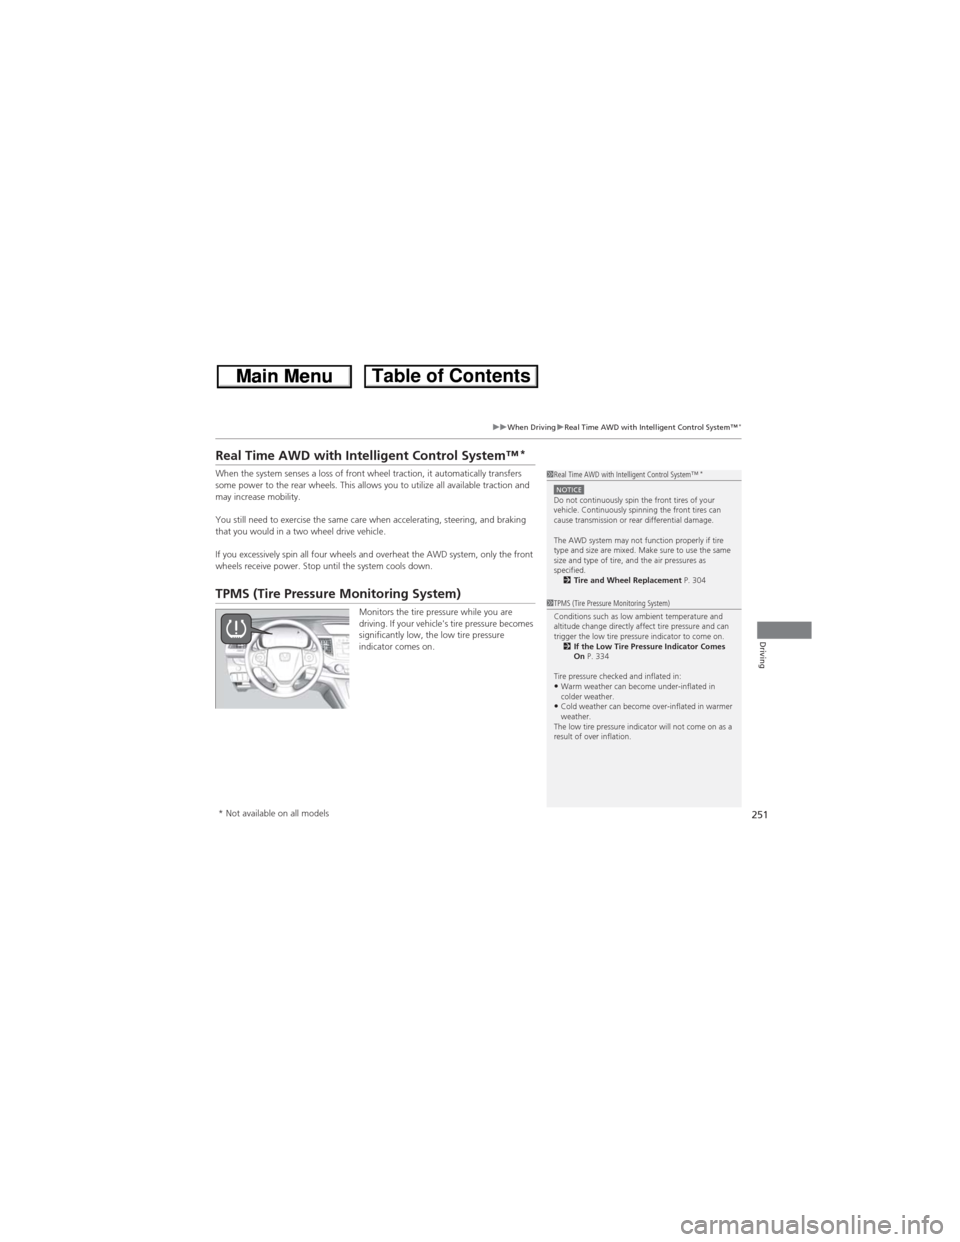
Monitors the tire pressure while you are
driving. If your vehicle's tire pressure becomes
significantly low, the low tire pressure
indicator comes on.
1Real Time AWD with Intelligent Control System™*
NOTICEDo not continuously spin the front tires of your
vehicle. Continuously spinning the front tires can
cause transmission or rear differential damage.
The AWD system may not function properly if tire
type and size are mixed. Make sure to use the same
size and type of tire, and the air pressures as
specified.
2Tire and Wheel Replacement P. 304
1TPMS (Tire Pressure Monitoring System)
Conditions such as low ambient temperature and
altitude change directly affect tire pressure and can
trigger the low tire pressure indicator to come on.
2If the Low Tire Pressure Indicator Comes
On P. 334
Tire pressure checked and inflated in:
•Warm weather can become under-inflated in
colder weather.
•Cold weather can become over-inflated in warmer
weather.
The low tire pressure indicator will not come on as a
result of over inflation.
* Not available on all models
Page 253 of 361
252
uuWhen DrivinguTire Pressure Monitoring System (TPMS) - Required Federal Explanation
Driving
Tire Pressure Monitoring System (TPMS) - Required Federal Explanation
Each tire, including the spare (if provided), should be checked
monthly when cold and inflated to the inflation pressure
recommended by the vehicle manufacturer on the vehicle placard
or tire inflation pressure label.
(If your vehicle has tires of a different size than the size indicated
on the vehicle placard or tire inflation pressure label, you should
determine the proper tire inflation pressure for those tires.)
As an added safety feature, your vehicle has been equipped with
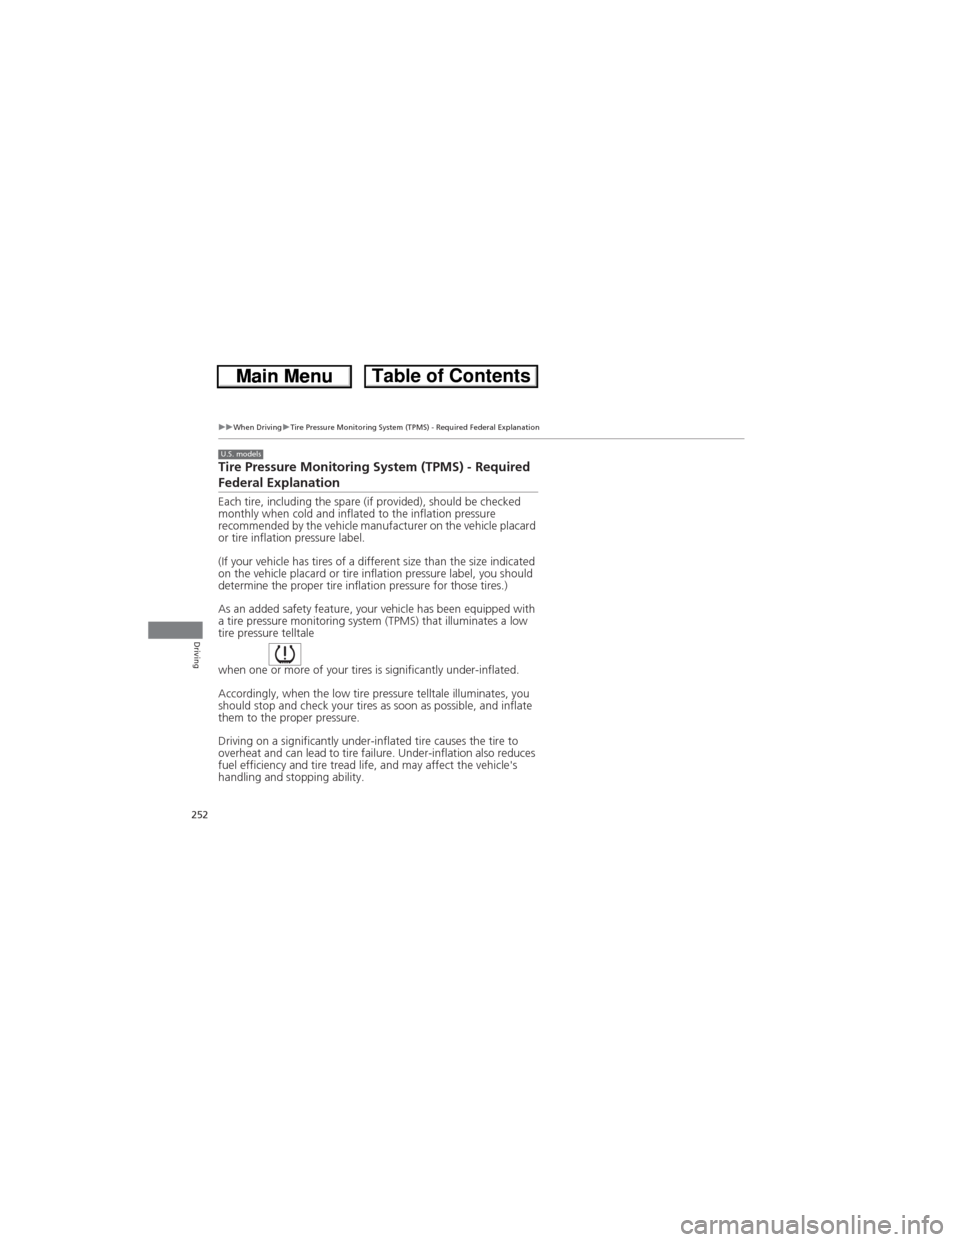
a tire pressure monitoring system (TPMS) that illuminates a low
tire pressure telltale
when one or more of your tires is significantly under-inflated.
Accordingly, when the low tire pressure telltale illuminates, you
should stop and check your tires as soon as possible, and inflate
them to the proper pressure.
Driving on a significantly under-inflated tire causes the tire to
overheat and can lead to tire failure. Under-inflation also reduces
fuel efficiency and tire tread life, and may affect the vehicle's
handling and stopping ability.
U.S. models
Page 266 of 361
265
Maintenance
This chapter discusses basic maintenance.
Before Performing Maintenance
Inspection and Maintenance ............ 266
Safety When Performing Maintenance..... 267Parts and Fluids Used in Maintenance
Service ........................................... 268
Maintenance Minder™.................... 269
Maintenance Under the Hood
Maintenance Items Under the Hood ..... 275Opening the Hood ........................... 276
Recommended Engine Oil ................ 277
Oil Check ......................................... 278
Adding Engine Oil ............................ 279
Changing the Engine Oil and Oil Filter ..... 280
Engine Coolant ................................ 282
Transmission Fluid ............................ 284
Brake Fluid ....................................... 285
Refilling Window Washer Fluid......... 286
Replacing Light Bulbs....................... 287
Checking and Maintaining Wiper Blades.... 294Checking and Maintaining Tires
Checking Tires ................................. 298
Tire and Loading Information Label ...... 299Tire Labeling .................................... 299DOT Tire Quality Grading (U.S. Vehicles)....... 301Wear Indicators................................ 303
Tire Service Life ................................ 303Tire and Wheel Replacement ........... 304
Tire Rotation .................................... 305
Winter Tires ..................................... 306
Battery............................................... 307
Remote Transmitter Care
Replacing the Button Battery ........... 308
Remote Control and Wireless
Headphone Care
*........................... 309
Heating and Cooling System*/Climate
Control System* Maintenance....... 311
Cleaning
Interior Care .................................... 312
Exterior Care.................................... 314
* Not available on all models
Page 267 of 361
266
Maintenance
Before Performing Maintenance
Inspection and Maintenance
For your safety, perform all listed inspections and maintenance to keep your vehicle
in good condition. If you become aware of any abnormality (noise, smell, insufficient
brake fluid, oil residue on the ground, etc.), have your vehicle inspected by a dealer.
(Note, however, that service at a dealer is not mandatory to keep your warranties in
effect.) Refer to the separate maintenance booklet for detailed maintenance and
inspection information.
■Daily inspections
Perform inspections before long distance trips, when washing the vehicle, or when
refueling.
■Periodic inspections
•Check the automatic transmission fluid level monthly.
2Automatic Transmission Fluid P. 284•Check the brake fluid level monthly.2Checking the Brake Fluid P. 285•Check the tire pressure monthly. Examine the tread for wear and foreign objects.2Checking and Maintaining Tires P. 298•Check the operation of the exterior lights monthly.2Replacing Light Bulbs P. 287•Check the condition of the wiper blades at least every six months.2Checking and Maintaining Wiper Blades P. 294
■Types of Inspection and Maintenance
1Inspection and Maintenance
Maintenance, replacement, or repair of
emissions control devices and systems may be
done by any automotive repair establishment or
individuals using parts that are “certified” to
EPA standards.
According to state and federal regulations, failure to
perform maintenance on the maintenance main
items marked with # will not void your emissions
warranties. However, all maintenance services should
be performed in accordance with the intervals
indicated by the information display/multi-
information display.
2Maintenance Service Items P. 272
If you want to perform complex maintenance tasks
that require more skills and tools, you can purchase a
subscription to the Service Express website at
www.techinfo.honda.com.
2Authorized Manuals P. 351
If you want to perform maintenance yourself, make
sure that you have the necessary tools and skills first.
After performing maintenance, update the records in
the separate maintenance booklet.U.S. models
Page 272 of 361
271
uuMaintenance Minder™uTo Use Maintenance MinderTM
Continued
Maintenance
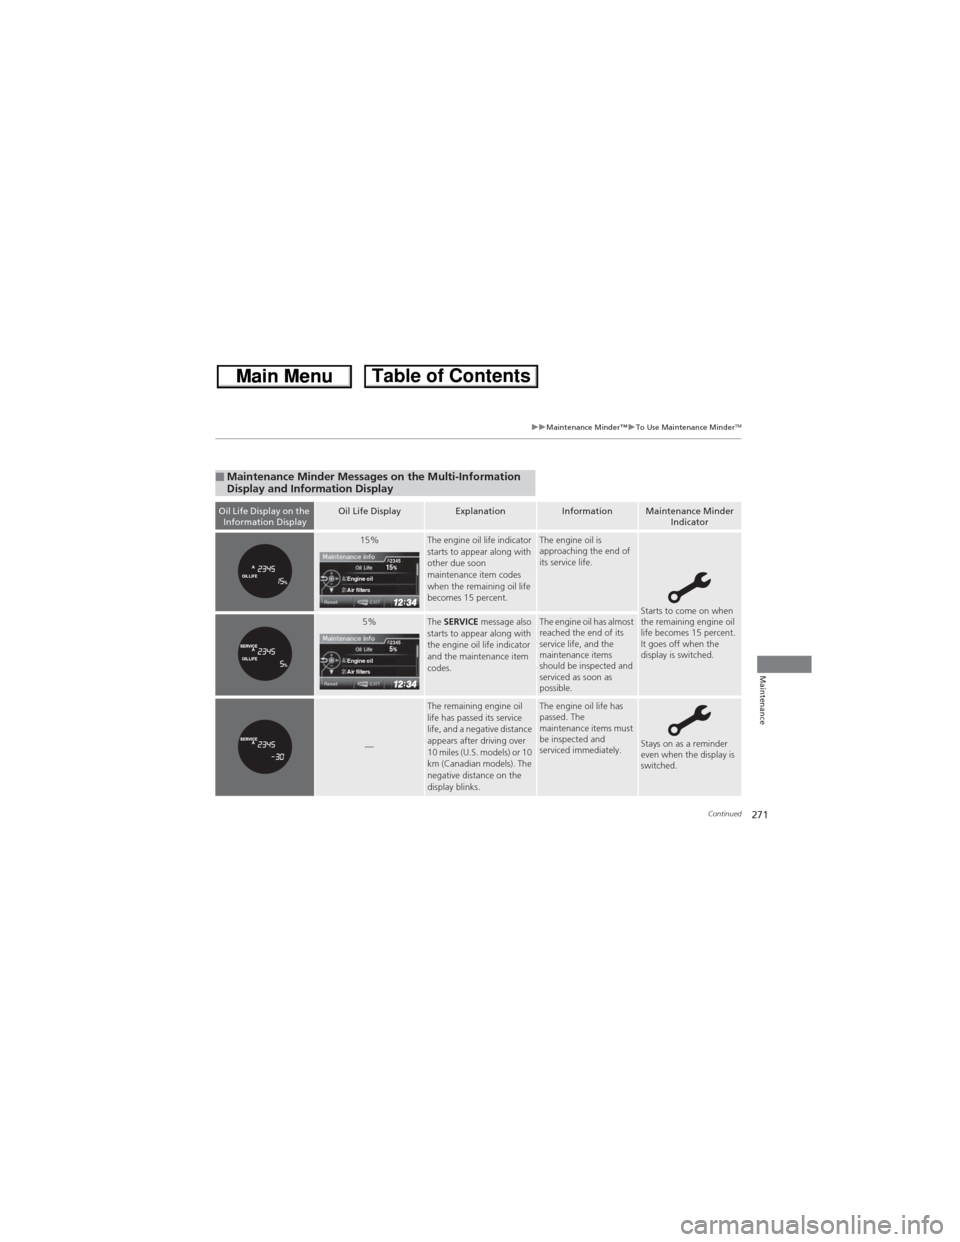
■Maintenance Minder Messages on the Multi-Information
Display and Information Display
Oil Life Display on the
Information DisplayOil Life DisplayExplanationInformationMaintenance Minder
Indicator
15%The engine oil life indicator
starts to appear along with
other due soon
maintenance item codes
when the remaining oil life
becomes 15 percent.The engine oil is
approaching the end of
its service life.
Starts to come on when
the remaining engine oil
life becomes 15 percent.
It goes off when the
display is switched.5%The SERVICE message also
starts to appear along with
the engine oil life indicator
and the maintenance item
codes.The engine oil has almost
reached the end of its
service life, and the
maintenance items
should be inspected and
serviced as soon as
possible.
—
The remaining engine oil
life has passed its service
life, and a negative distance
appears after driving over
10 miles (U.S. models) or 10
km (Canadian models). The
negative distance on the
display blinks.The engine oil life has
passed. The
maintenance items must
be inspected and
serviced immediately.
Stays on as a reminder
even when the display is
switched.
15Engine oilAir filters
2345
5Engine oilAir filters
2345
Page 305 of 361
304
uuChecking and Maintaining TiresuTire and Wheel Replacement
Maintenance
Tire and Wheel Replacement
Replace your tires with radials of the same size, load range, speed rating, and
maximum cold tire pressure rating (as shown on the tire’s sidewall). Using tires of a
different size or construction can cause the ABS, VSA® (vehicle stability assist), hill
start assist, and the AWD
* system to work incorrectly.
It is best to replace all four tires at the same time. If that isn’t possible, replace the
front or rear tires in pairs.
Make sure that the wheel’s specifications match those of the original wheels.
If you replace a wheel, only use TPMS specified wheels approved for your vehicle.
1Tire and Wheel Replacement
3WARNINGInstalling improper tires on your vehicle can
affect handling and stability. This can cause
a crash in which you can be seriously hurt or
killed.
Always use the size and type of tires
recommended in this owner’s manual.
* Not available on all models
Page 308 of 361
307
Maintenance
Battery
Checking the Battery
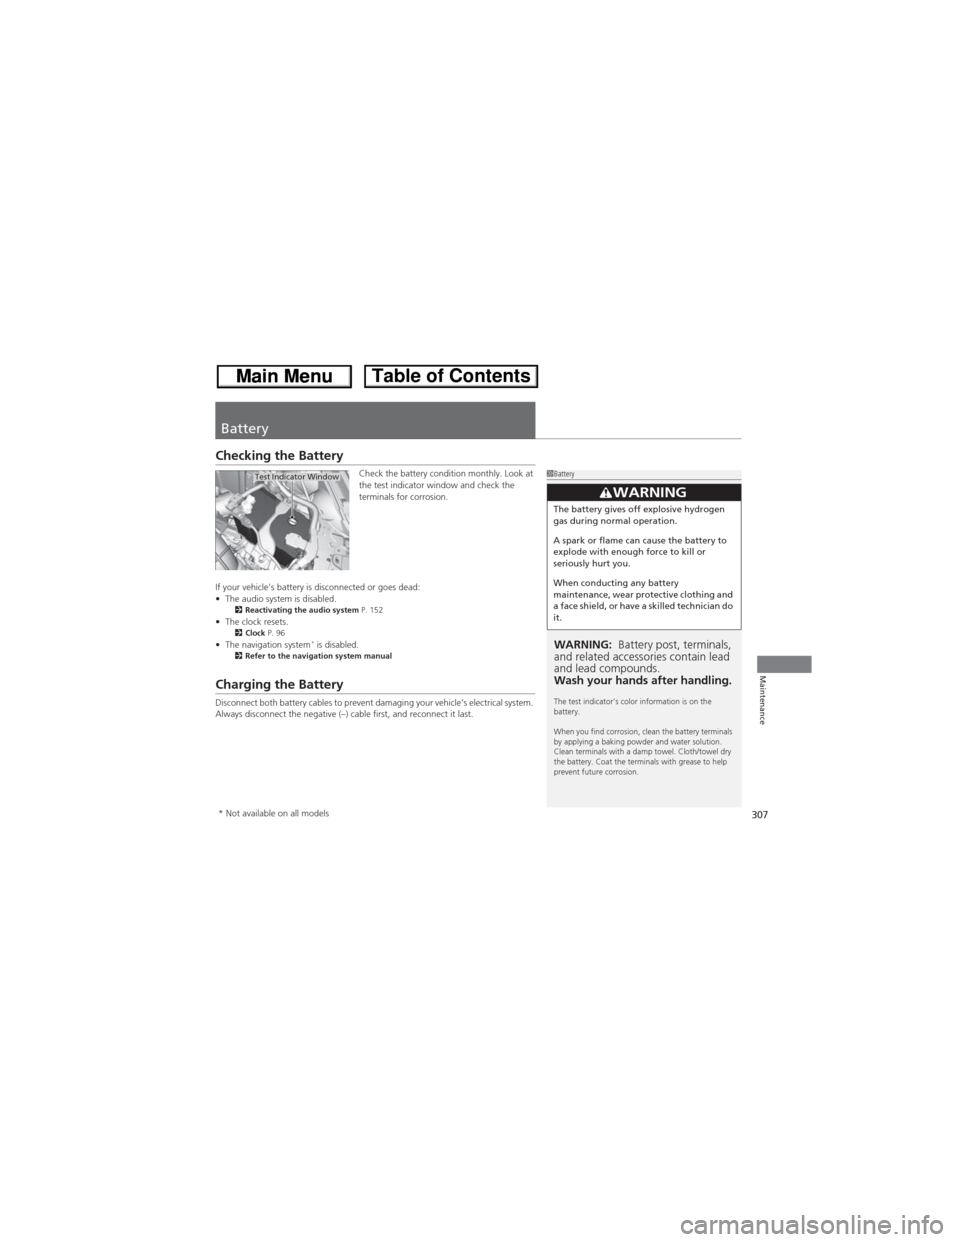
Check the battery condition monthly. Look at
the test indicator window and check the
terminals for corrosion.
If your vehicle's battery is disconnected or goes dead:
•The audio system is disabled.
2Reactivating the audio system P. 152•The clock resets.2Clock P. 96•The navigation system* is disabled.2Refer to the navigation system manual
Charging the Battery
Disconnect both battery cables to prevent damaging your vehicle's electrical system.
Always disconnect the negative (–) cable first, and reconnect it last.
1Battery
WARNING: Battery post, terminals,
and related accessories contain lead
and lead compounds.
Wash your hands after handling.
The test indicator's color information is on the
battery.
When you find corrosion, clean the battery terminals
by applying a baking powder and water solution.
Clean terminals with a damp towel. Cloth/towel dry
the battery. Coat the terminals with grease to help
prevent future corrosion.
3WARNINGThe battery gives off explosive hydrogen
gas during normal operation.
A spark or flame can cause the battery to
explode with enough force to kill or
seriously hurt you.
When conducting any battery
maintenance, wear protective clothing and
a face shield, or have a skilled technician do
it.
Test Indicator Window
* Not available on all models