ad blue HONDA CR-V 2014 RM1, RM3, RM4 / 4.G Navigation Manual
[x] Cancel search | Manufacturer: HONDA, Model Year: 2014, Model line: CR-V, Model: HONDA CR-V 2014 RM1, RM3, RM4 / 4.GPages: 212, PDF Size: 11.59 MB
Page 83 of 212
82
Driving to Your DestinationViewing the Route
Navigation
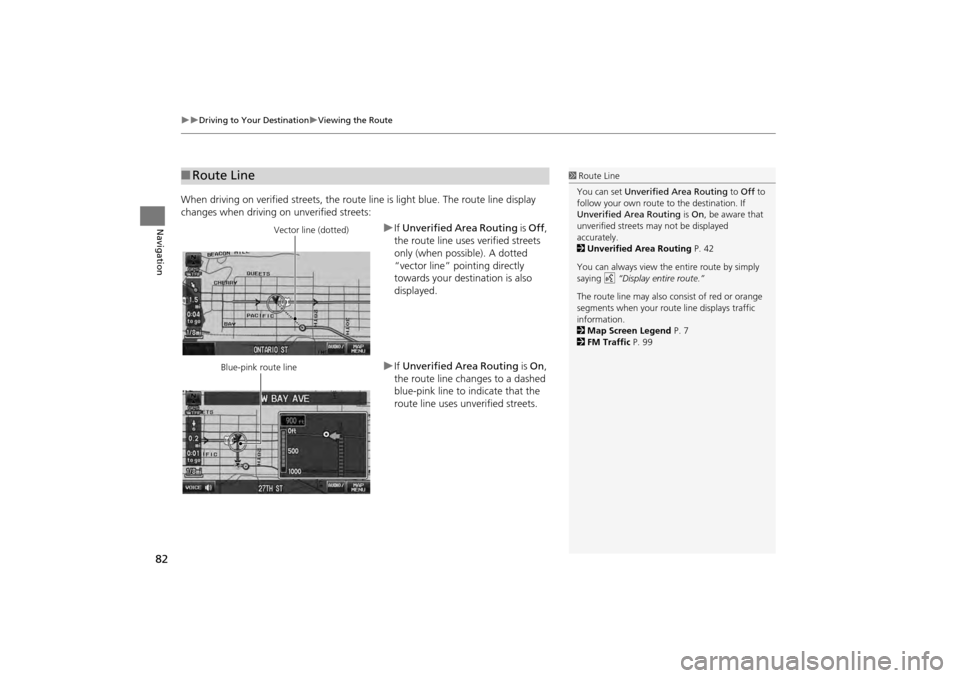
When driving on verified streets, the route line is light blue. The route line display
changes when driving on unverified streets:
If Unverified Area Routing is Off ,
the route line uses verified streets
only (when possible). A dotted
“vector line” pointing directly
towards your destination is also
displayed.
If Unverified Area Routing is On,
the route line changes to a dashed
blue-pink line to indicate that the
route line uses unverified streets.
■ Route Line1 Route Line
You can set Unverified Area Routing to Off to
follow your own route to the destination. If
Unverified Area Routing is On , be aware that
unverified streets ma y not be displayed
accurately.
2 Unverified Area Routing P. 42
You can always view the entire route by simply
saying d “Display entire route.”
The route line may also c onsist of red or orange
segments when your route line displays traffic
information.
2 Map Screen Legend P. 7
2 FM Traffic P. 99
Vector line (dotted)
Blue-pink route line
CR-V_KA-31T0A800.book 82 ページ 2011年7月4日 月曜日 午後1時56分
Page 113 of 212
112
Navigation
Resuming Your Trip
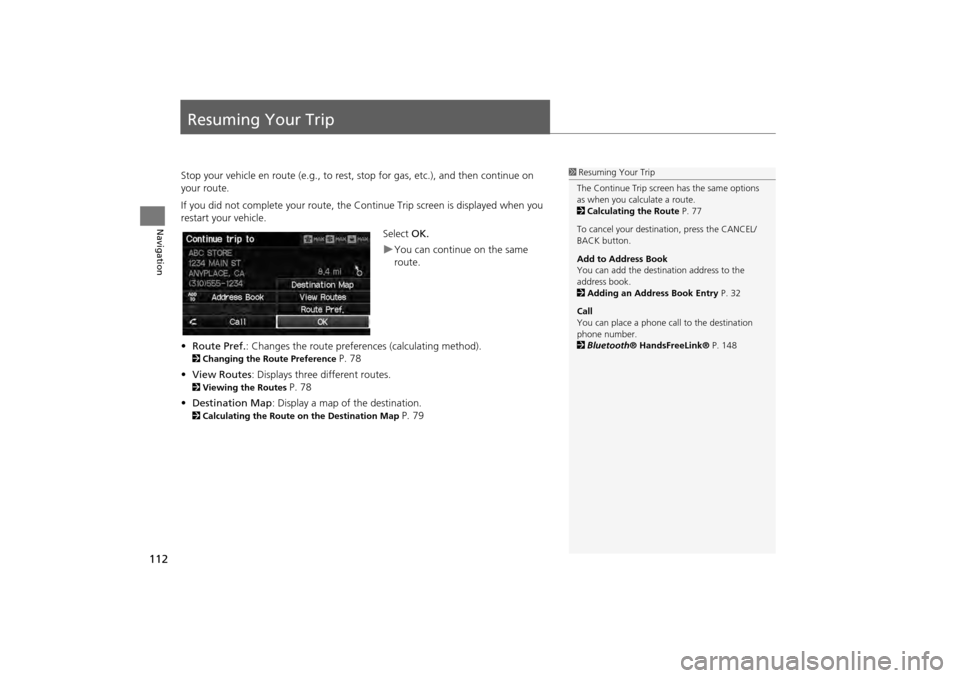
Stop your vehicle en route (e.g., to rest, stop for gas, etc.), and then continue on
your route.
If you did not complete your route, the Continue Trip screen is displayed when you
restart your vehicle.
Select OK.
You can continue on the same
route.
• Route Pref. : Changes the route preferences (calculating method).
2Changing the Route Preference P. 78
• View Routes : Displays three different routes.
2Viewing the Routes P. 78
• Destination Map : Display a map of the destination.
2Calculating the Route on the Destination Map P. 79
1Resuming Your Trip
The Continue Trip screen has the same options
as when you calculate a route.
2 Calculating the Route P. 77
To cancel your destination, press the CANCEL/
BACK button.
Add to Address Book
You can add the destination address to the
address book.
2 Adding an Address Book Entry P. 32
Call
You can place a phone ca ll to the destination
phone number.
2 Bluetooth ® HandsFreeLink® P. 148
CR-V_KA-31T0A800.book 112 ページ 2011年7月4日 月曜日 午後1時56分
Page 114 of 212
113
Audio
This section describes how to operate the audio system. You can play
music from a wide array of media s ources, and control the audio system
using the audio buttons, the touch screen, or voice control.
Audio System ........................................ 114
About Your Audio System .................... 114
Auxiliary Input Jack .............................. 114
System Theft Protection ....................... 115
Playing FM/AM Radio ........................... 116
Selecting FM/AM Mode........................ 116
Audio Screen Control ........................... 117
Audio Menu ........................................ 118
Radio Data System (RDS) ...................... 119
Playing XM® Radio ............................... 121
Selecting XM Mode.............................. 121
Audio Screen Control ........................... 122
Audio Menu ........................................ 123
XM® Radio Service .............................. 124 Playing a Disc
.........................................125
Selecting Disc Mode ..............................125
Audio Screen Control............................126
Playing MP3/WMA/AAC Discs ...............127
Recommended Discs .............................128
Playing an iPod® ...................................129
Selecting iPod® Mode ..........................130
Audio Screen Control............................131
Searching for Music ..............................132
Playing Pandora® ..................................133
Selecting Pandora® Mode ....................133
Audio Screen Control............................134
Quick Mix .............................................135 Playing a USB Flash Drive
..................... 136
Selecting USB Mode ............................. 137
Audio Screen Control ........................... 138
Playing Tracks in Folders ....................... 139
Playing Bluetooth ® Audio................... 140
Selecting Bluetooth ® Audio Mode ....... 140
Switching to HFL Mode ........................ 141
Audio Screen Control ........................... 142
Adjusting the Sound ............................. 143
Audio Remote Controls ........................ 144
Steering Wheel Controls ...................... 144
CR-V_KA-31T0A800.book 113 ページ 2011年7月4日 月曜日 午後1時56分
Page 115 of 212
114
Audio
Audio System
About Your Audio System
The audio system features FM/AM radio and XM® Radio. It can also play audio discs,
WMA/MP3/AAC tracks, iPods®, USB flash drives, and Bluetooth® devices.
The audio system is operable from the buttons and switches on the panel, or the
remote controls on the steering wheel.
2 Audio Remote Controls P. 144
2Audio System P. 6
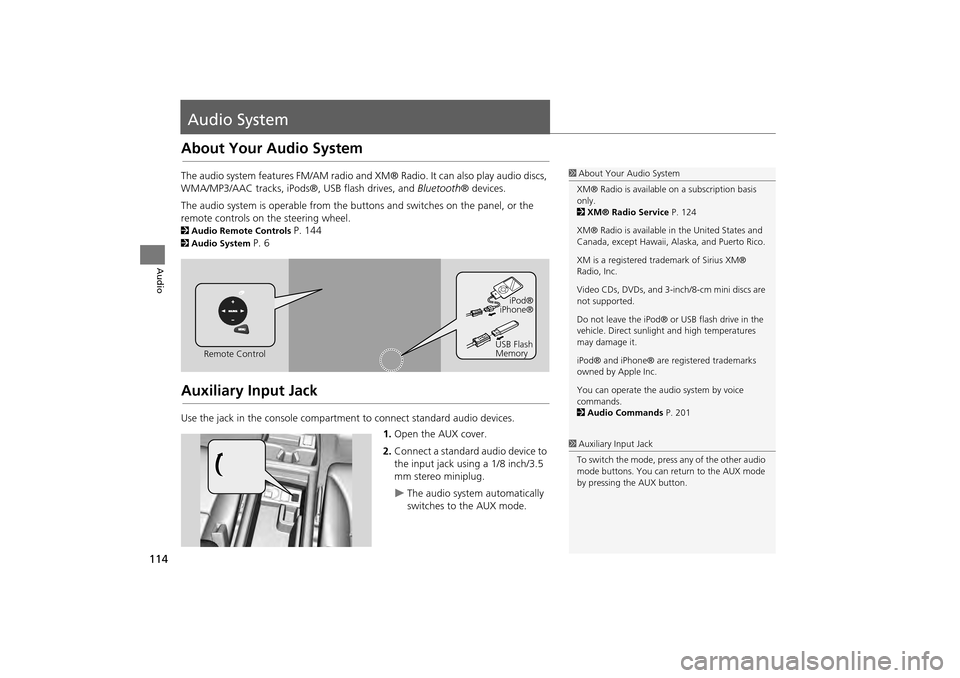
Auxiliary Input Jack
Use the jack in the console compartment to connect standard audio devices.
1.Open the AUX cover.
2. Connect a standard audio device to
the input jack using a 1/8 inch/3.5
mm stereo miniplug.
The audio system automatically
switches to the AUX mode.
1About Your Audio System
XM® Radio is available on a subscription basis
only.
2 XM® Radio Service P. 124
XM® Radio is available in the United States and
Canada, except Ha waii, Alaska, and Puerto Rico.
XM is a registered trademark of Sirius XM®
Radio, Inc.
Video CDs, DVDs, and 3-inch/8-cm mini discs are
not supported.
Do not leave the iPod® or USB flash drive in the
vehicle. Direct sunlight and high temperatures
may damage it.
iPod® and iPhone® are registered trademarks
owned by Apple Inc.
You can operate the audio system by voice
commands.
2 Audio Commands P. 201
Remote Control iPod®
iPhone®
USB Flash
Memory
1 Auxiliary Input Jack
To switch the mode, press any of the other audio
mode buttons. You can return to the AUX mode
by pressing the AUX button.
CR-V_KA-31T0A800.book 114 ページ 2011年7月4日 月曜日 午後1時56分
Page 117 of 212
116
Audio
Playing FM/AM Radio
Selecting FM/AM Mode
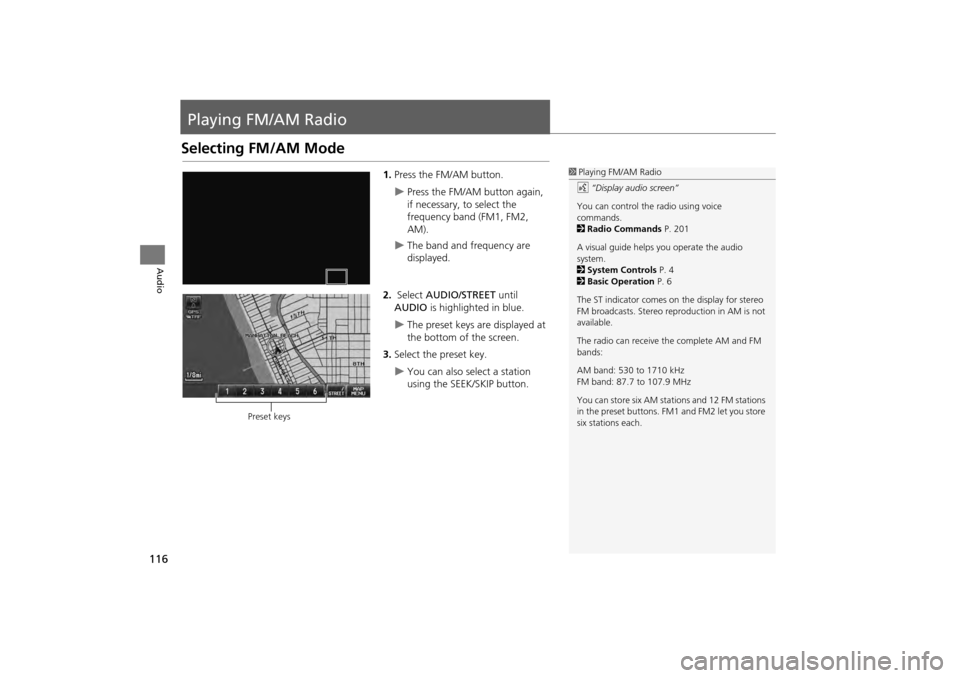
1.Press the FM/AM button.
Press the FM/AM button again,
if necessary, to select the
frequency band (FM1, FM2,
AM).
The band and frequency are
displayed.
2. Select AUDIO/STREET until
AUDIO is highlighted in blue.
The preset keys are displayed at
the bottom of the screen.
3. Select the preset key.
You can also select a station
using the SEEK/SKIP button.
1Playing FM/AM Radio
d “Display audio screen”
You can control the radio using voice
commands.
2 Radio Commands P. 201
A visual guide helps you operate the audio
system.
2 System Controls P. 4
2 Basic Operation P. 6
The ST indicator comes on the display for stereo
FM broadcasts. Stereo re production in AM is not
available.
The radio can receive the complete AM and FM
bands:
AM band: 530 to 1710 kHz
FM band: 87.7 to 107.9 MHz
You can store six AM stati ons and 12 FM stations
in the preset buttons. FM1 and FM2 let you store
six stations each.
Preset keys
CR-V_KA-31T0A800.book 116 ページ 2011年7月4日 月曜日 午後1時56分
Page 122 of 212
121
Audio
Playing XM® Radio
Selecting XM Mode
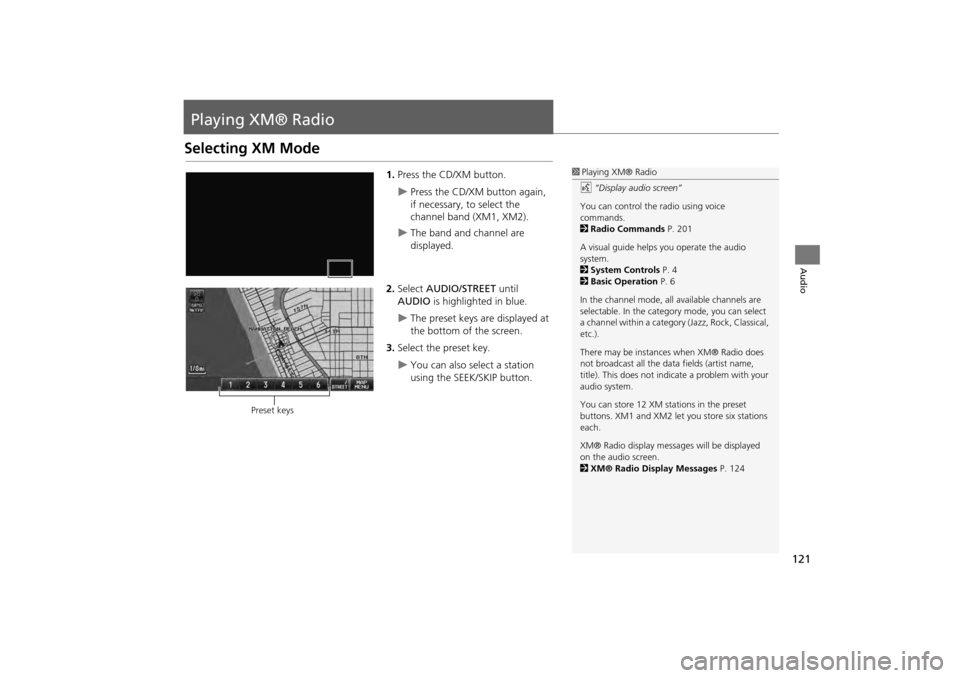
1.Press the CD/XM button.
Press the CD/XM button again,
if necessary, to select the
channel band (XM1, XM2).
The band and channel are
displayed.
2. Select AUDIO/STREET until
AUDIO is highlighted in blue.
The preset keys are displayed at
the bottom of the screen.
3. Select the preset key.
You can also select a station
using the SEEK/SKIP button.
1Playing XM® Radio
d “Display audio screen”
You can control the radio using voice
commands.
2 Radio Commands P. 201
A visual guide helps you operate the audio
system.
2 System Controls P. 4
2 Basic Operation P. 6
In the channel mode, all available channels are
selectable. In the categor y mode, you can select
a channel within a category (Jazz, Rock, Classical,
etc.).
There may be instance s when XM® Radio does
not broadcast all the data fields (artist name,
title). This does not indica te a problem with your
audio system.
You can store 12 XM stat ions in the preset
buttons. XM1 and XM2 let you store six stations
each.
XM® Radio display messag es will be displayed
on the audio screen.
2 XM® Radio Display Messages P. 124
Preset keys
CR-V_KA-31T0A800.book 121 ページ 2011年7月4日 月曜日 午後1時56分
Page 126 of 212
125
Audio
Playing a Disc
Selecting Disc Mode
1.Press the CD/XM button.
2. Insert a disc into the disc slot.
The disc automatically begins
playing.
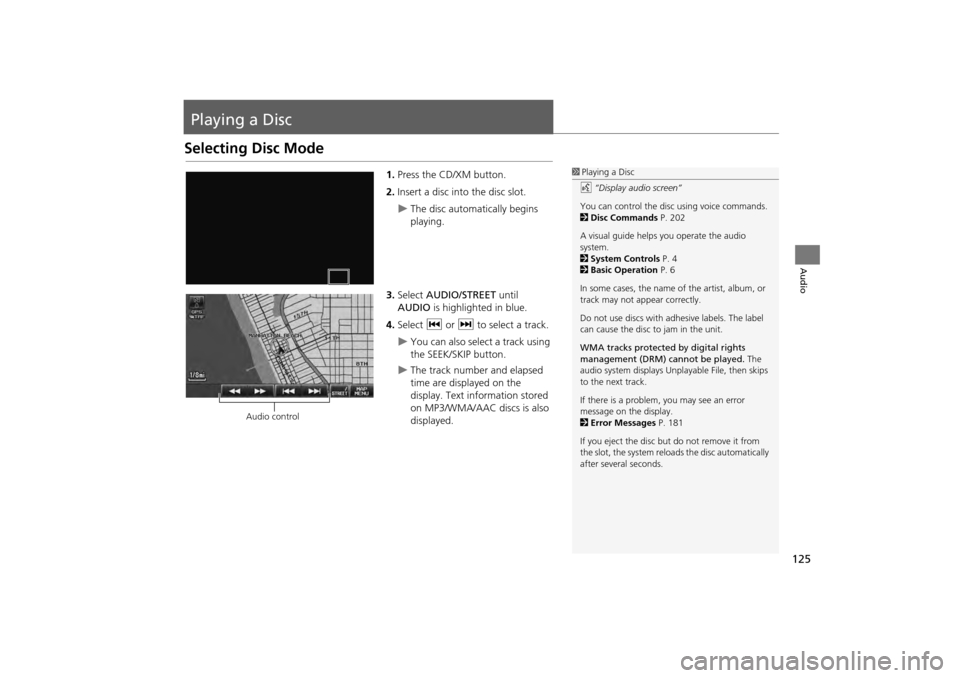
3. Select AUDIO/STREET until
AUDIO is highlighted in blue.
4. Select c or x to select a track.
You can also select a track using
the SEEK/SKIP button.
The track number and elapsed
time are displayed on the
display. Text info rmation stored
on MP3/WMA/AAC discs is also
displayed.
1 Playing a Disc
d “Display audio screen”
You can control the disc using voice commands.
2 Disc Commands P. 202
A visual guide helps you operate the audio
system.
2 System Controls P. 4
2 Basic Operation P. 6
In some cases, the name of the artist, album, or
track may not appear correctly.
Do not use discs with a dhesive labels. The label
can cause the disc to jam in the unit.
WMA tracks protected by digital rights
management (DRM) cannot be played. The
audio system displays Unplayable File, then skips
to the next track.
If there is a problem, you may see an error
message on the display.
2 Error Messages P. 181
If you eject the disc but do not remove it from
the slot, the system reloads the disc automatically
after severa l seconds.
Audio control
CR-V_KA-31T0A800.book 125 ページ 2011年7月4日 月曜日 午後1時56分
Page 131 of 212
130
Playing an iPod®Selecting iPod® Mode
Audio
Selecting iPod® Mode
1.Connect the iPod® to the USB
adapter cable in the center console.
2. Press the CD/XM button until you
get to iPod® mode.
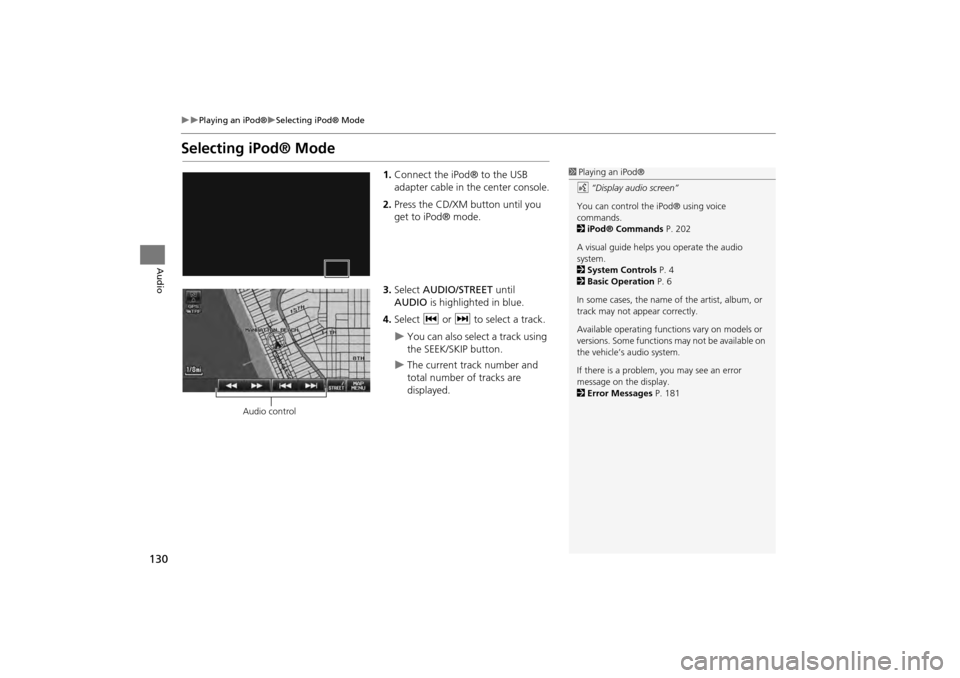
3. Select AUDIO/STREET until
AUDIO is highlighted in blue.
4. Select c or x to select a track.
You can also select a track using
the SEEK/SKIP button.
The current track number and
total number of tracks are
displayed.
1Playing an iPod®
d “Display audio screen”
You can control the iPod® using voice
commands.
2 iPod® Commands P. 202
A visual guide helps you operate the audio
system.
2 System Controls P. 4
2 Basic Operation P. 6
In some cases, the name of the artist, album, or
track may not appear correctly.
Available operating functi ons vary on models or
versions. Some functions may not be available on
the vehicle’s audio system.
If there is a problem, you may see an error
message on the display.
2 Error Messages P. 181
Audio control
CR-V_KA-31T0A800.book 130 ページ 2011年7月4日 月曜日 午後1時56分
Page 134 of 212
133
Audio
Playing Pandora®
Pandora® is a personalized Internet radio service that selects music based on an
artist, song, or genre a user enters, and s treams what is likely to be of interest.
Selecting Pandora® Mode
1.Activate Pandora® on your
iPhone®.
2. Connect the iPhone® to the USB
adapter cable in the center console.
2 Connecting an iPod® P. 129
3. Press the CD/XM button until you
get to Pandora® mode.
4. Select AUDIO/STREET until
AUDIO is highlighted in blue.
The current station name, artist
name, rating, and track artist
name are displayed.
1Playing Pandora®
d “Display audio screen” (when in Pandora®
mode)
You can control Pandora® using voice
commands.
2 Pandora® Commands P. 202
A visual guide helps you operate the audio
system.
2 System Controls P. 4
2 Basic Operation P. 6
To use this service in your vehicle, the Pandora®
app must first be installed on your iPhone®. Visit
www.pandora.com for more information.
Pandora® Mode and Audi o Screen Control is
only available for iPhone ®. For other phones,
Pandora® can be played through Bluetooth®
Audio.
2 Playing Bluetooth® Audio P. 140
If there is a problem, you may see an error
message on the display.
2 Error Messages P. 181
If Pandora® is not sele cted from your phone,
iPod® music is played.
Press the Home button on your iPhone to switch
from Pandora® to iPod®. To play Pandora®
again, you must reactivate it from your phone.
Audio control
CR-V_KA-31T0A800.book 133 ページ 2011年7月4日 月曜日 午後1時56分
Page 135 of 212
134
�X�X
Playing Pandora®
�XAudio Screen Control
Audio
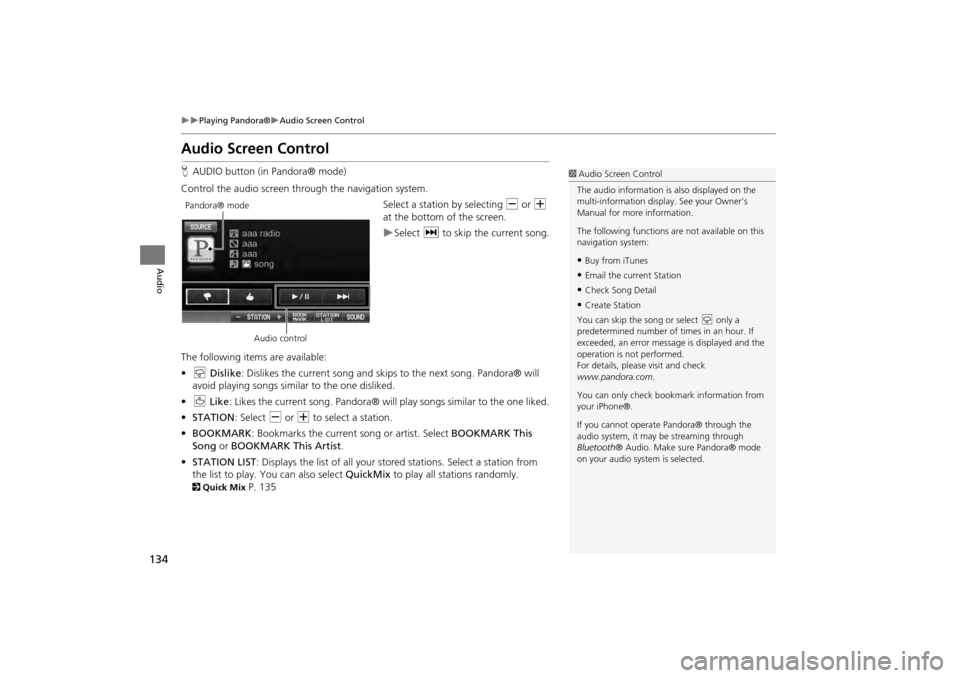
Audio Screen ControlHAUDIO button (in Pandora® mode)
Control the audio screen through the navigation system. Select a station by selecting B or N
at the bottom of the screen.
�XSelect x to skip the current song.
The following item s are available:
• w Dislike : Dislikes the current song and skips to the next song. Pandora® will
avoid playing songs similar to the one disliked.
• e Like : Likes the current song. Pandora® will play songs similar to the one liked.
• STATION : Select B or N to select a station.
• BOOKMARK : Bookmarks the current song or artist. Select BOOKMARK This
Song or BOOKMARK This Artist .
• STATION LIST : Displays the list of all your stored stations. Select a station from
the list to play. You can also select QuickMix to play all stations randomly.
2Quick Mix
P. 135
1Audio Screen Control
The audio information is also displayed on the
multi-information display. See your Owner’s
Manual for more information.
The following functions ar e not available on this
navigation system:•Buy from iTunes•Email the current Station•Check Song Detail•Create Station
You can skip the song or select w only a
predetermined num ber of times in an hour. If
exceeded, an error message is displayed and the
operation is not performed.
For details, please visit and check
www.pandora.com .
You can only check bookmark information from
your iPhone®.
If you cannot operate Pandora® through the
audio system, it may be streaming through
Bluetooth ® Audio. Make su re Pandora® mode
on your audio system is selected.
Pandora® mode
Audio control
CR-V_KA-31T0A800_03.fm 134 ページ 2012年7月13日 金曜日 午後6時52分