lights HONDA ODYSSEY 2004 RB1-RB2 / 3.G User Guide
[x] Cancel search | Manufacturer: HONDA, Model Year: 2004, Model line: ODYSSEY, Model: HONDA ODYSSEY 2004 RB1-RB2 / 3.GPages: 296, PDF Size: 3.84 MB
Page 111 of 296
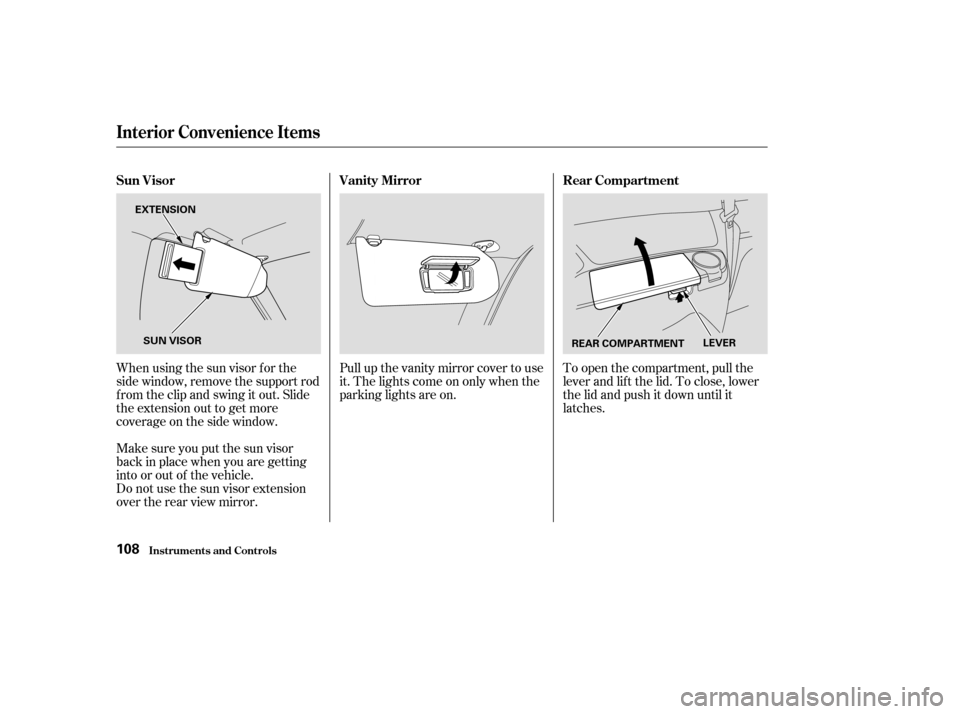
Whenusingthesunvisorforthe
side window, remove the support rod
f rom the clip and swing it out. Slide
the extension out to get more
coverage on the side window.Pull up the vanity mirror cover to use
it. The lights come on only when the
parking lights are on.
To open the compartment, pull the
lever and lif t the lid. To close, lower
the lid and push it down until it
latches.
Make sure you put the sun visor
back in place when you are getting
into or out of the vehicle.
Do not use the sun visor extension
over the rear view mirror.
Interior Convenience Items
Inst rument s and Cont rols
Sun Visor Vanity MirrorRear Compartment
108
REAR COMPARTMENTLEVER
EXTENSION
SUN VISOR
Page 113 of 296
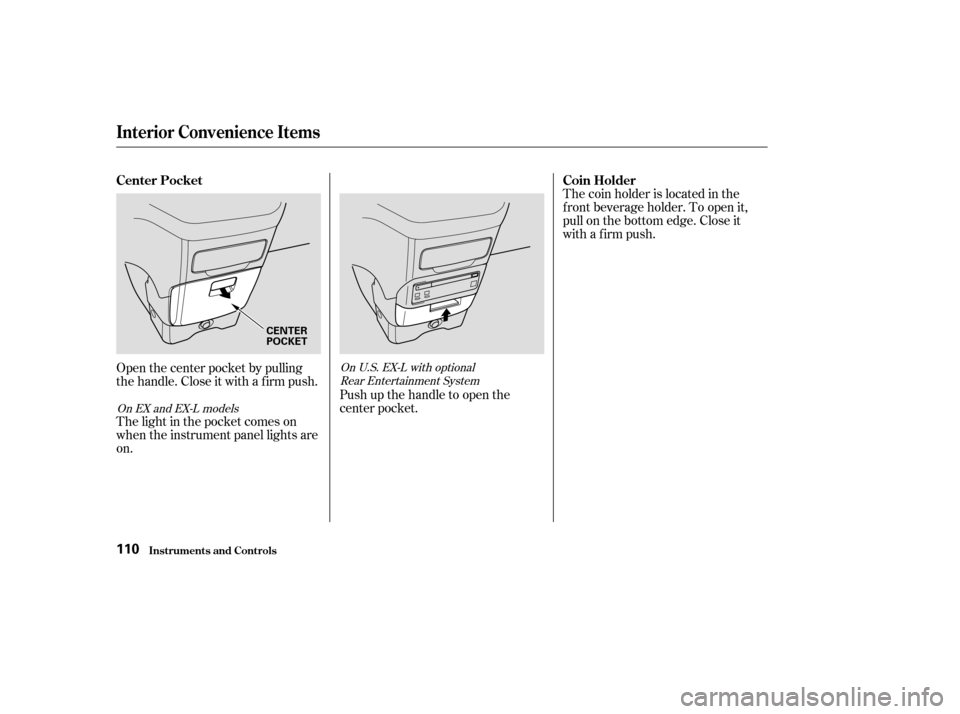
Open the center pocket by pulling
thehandle.Closeitwithafirmpush.
The light in the pocket comes on
when the instrument panel lights are
on.Push up the handle to open the
center pocket.The coin holder is located in the
f ront beverage holder. To open it,
pull on the bottom edge. Close it
with a firm push.
On EX and EX-L models
On U.S. EX-L with optional
Rear Entertainment System
Interior Convenience Items
Inst rument s and Cont rols
Center Pocket Coin Holder
110
CENTER
POCKET
Page 115 of 296
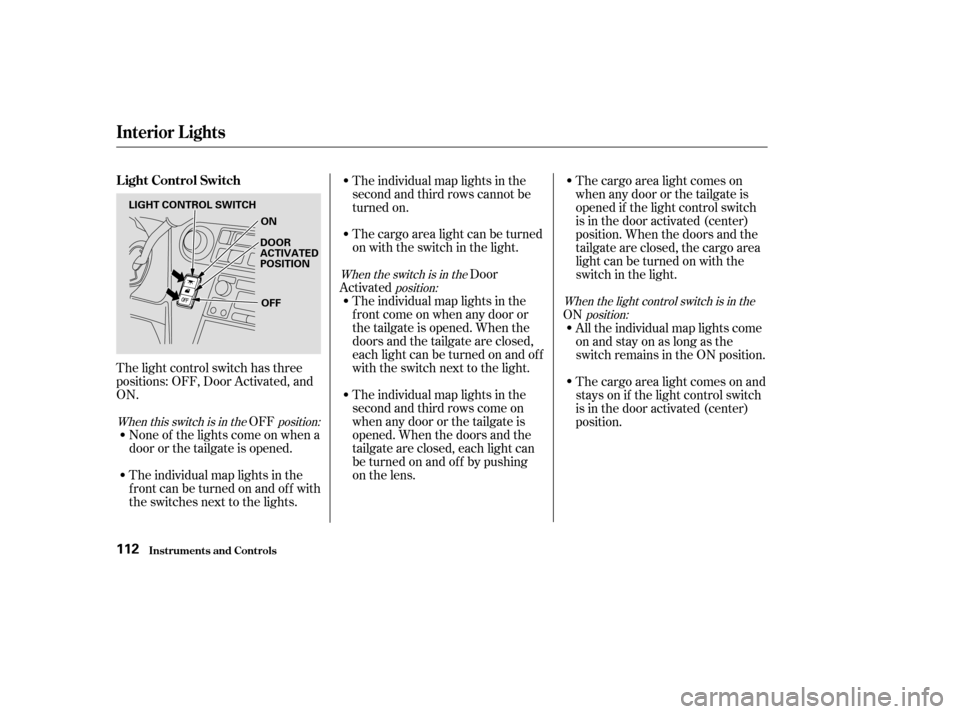
The light control switch has three
positions: OFF, Door Activated, and
ON.OFF
None of the lights come on when a
door or the tailgate is opened.
The individual map lights in the
f ront can be turned on and of f with
the switches next to the lights. The individual map lights in the
second and third rows cannot be
turned on.
The cargo area light can be turned
on with the switch in the light.
Door
Activated The individual map lights in the
f ront come on when any door or
thetailgateisopened.Whenthe
doors and the tailgate are closed,
eachlightcanbeturnedonandoff
with the switch next to the light.
The individual map lights in the
second and third rows come on
whenanydoororthetailgateis
opened. When the doors and the
tailgate are closed, each light can
be turned on and of f by pushing
on the lens. The cargo area light comes on
when any door or the tailgate is
opened if the light control switch
is in the door activated (center)
position. When the doors and the
tailgate are closed, the cargo area
lightcanbeturnedonwiththe
switch in the light.
ON All the individual map lights come
onandstayonaslongasthe
switch remains in the ON position.
The cargo area light comes on and
stays on if the light control switch
is in the door activated (center)
position.
When this switch is in the position: When the switch is in the
position: When the light control switch is in theposition:
Inst rument s and Cont rols
Interior Lights
L ight Control Switch
112
LIGHT CONTROL SWITCH
ON
DOOR
ACTIVATED
POSITION
OFF
Page 116 of 296
The lights go out about six seconds
after all the doors and the tailgate
are closed.
With the light control switch in the
Door Activated position, all the
individual map lights and the cargo
area light (with its switch in the
center position) come on when you
unlock the door with the remote
transmitter (see page ).
Withanydoororthetailgateleft
open, the lights stay on about 3
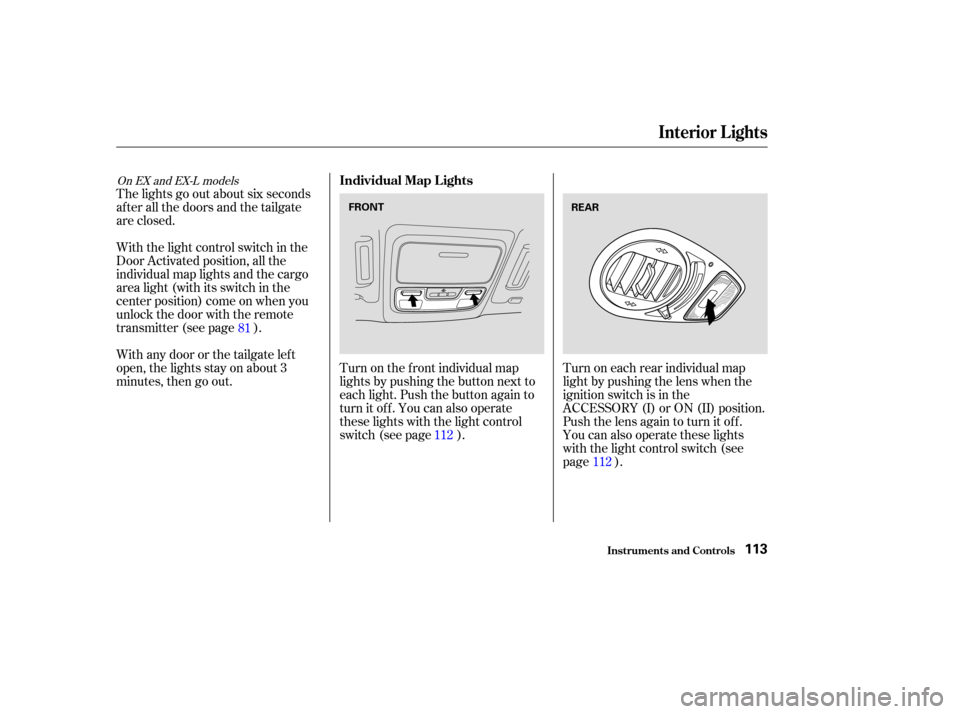
minutes, then go out.Turn on the f ront individual map
lights by pushing the button next to
each light. Push the button again to
turn it off. You can also operate
these lights with the light control
switch (see page ).Turn on each rear individual map
light by pushing the lens when the
ignition switch is in the
ACCESSORY (I) or ON (II) position.
Push the lens again to turn it off.
You can also operate these lights
with the light control switch (see
page ).
112
81
112
On EX and EX-L models
Interior Lights
Inst rument s and Cont rols
Individual Map L ights
113
FRONTREAR
Page 117 of 296
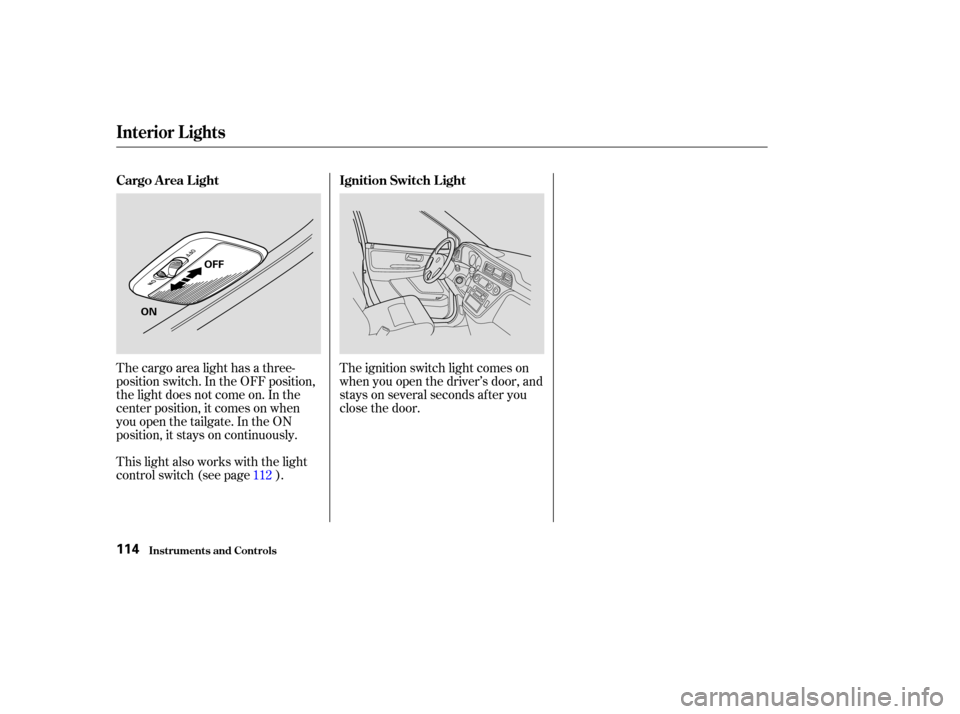
The cargo area light has a three-
position switch. In the OFF position,
the light does not come on. In the
center position, it comes on when
you open the tailgate. In the ON
position, it stays on continuously.
This light also works with the light
control switch (see page ).The ignition switch light comes on
when you open the driver’s door, and
stays on several seconds after you
close the door.
112
Interior Lights
Inst rument s and Cont rols
Cargo A rea L ight Ignition Switch L ight
114
OFF
ON
Page 133 of 296
You can use the instrument panel
brightness control knob to adjust the
illumination of the audio system (see
page ). The audio system
illuminates when the parking lights
are on, even if the radio is of f .
Your Honda’s radio can receive the
complete AM and FM bands.
Those bands cover these f requen-
cies:
AM band:
530 to 1,710 kilohertz
FM band:
87.7 to 107.9 megahertz
Radio stations on the AM band are
assigned f requencies at least ten
kilohertz apart (530, 540, 550).
Stations on the FM band are
assigned f requencies at least 0.2
megahertz apart (87.9, 88.1, 88.3).Stations must use these exact
f requencies. It is f airly common f or
stations to round-of f the f requency in
their advertising, so your radio could
display a f requency of 100.9 even
though the announcer may identif y
the station as ‘‘FM101.’’
How well your Honda’s radio
receives stations is dependent on
many f actors, such as the distance
from the station’s transmitter,
nearby large objects, and atmos-
pheric conditions.
A radio station’s signal gets weaker
as you get f arther away f rom its
transmitter. If you are listening to an
AM station, you will notice the sound
volume becoming weaker, and the
stationdriftinginandout.If youare
listening to an FM station, you will
see the stereo indicator f lickering of f
and on as the signal weakens.
Eventually, the stereo indicator willgo of f and the sound will f ade
completely as you get out of range of
the station’s signal.
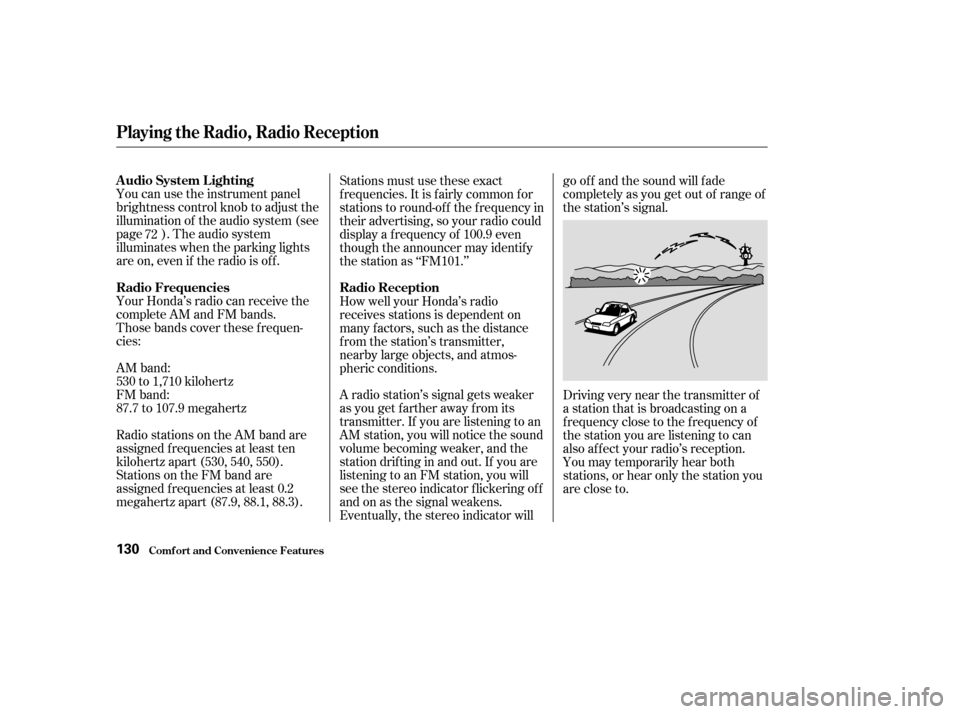
Driving very near the transmitter of
a station that is broadcasting on a
f requency close to the f requency of
the station you are listening to can
also af f ect your radio’s reception.
You may temporarily hear both
stations,orhearonlythestationyou
are close to.
72
Playing the Radio, Radio Reception
Comf ort and Convenience Feat ures
A udio System L ighting
Radio Frequencies
Radio Reception
130
Page 162 of 296
The security system helps to protect
your vehicle and valuables f rom thef t.
The horn sounds and a combination
of headlights, parking lights, side
marker lights and taillights f lashes if
someone attempts to break into your
vehicleorremovetheradio.This
alarm continues f or two minutes,
then the alarm stops. To reset an
alarming system before the two
minutes have elapsed, unlock either
f ront door with the key or the
remote transmitter.
The security system automatically
sets 15 seconds after you lock the
doors, hood, and the tailgate. For the
system to activate, you must lock the
doors f rom the outside with the key,
the lock tab, the door lock switch, or
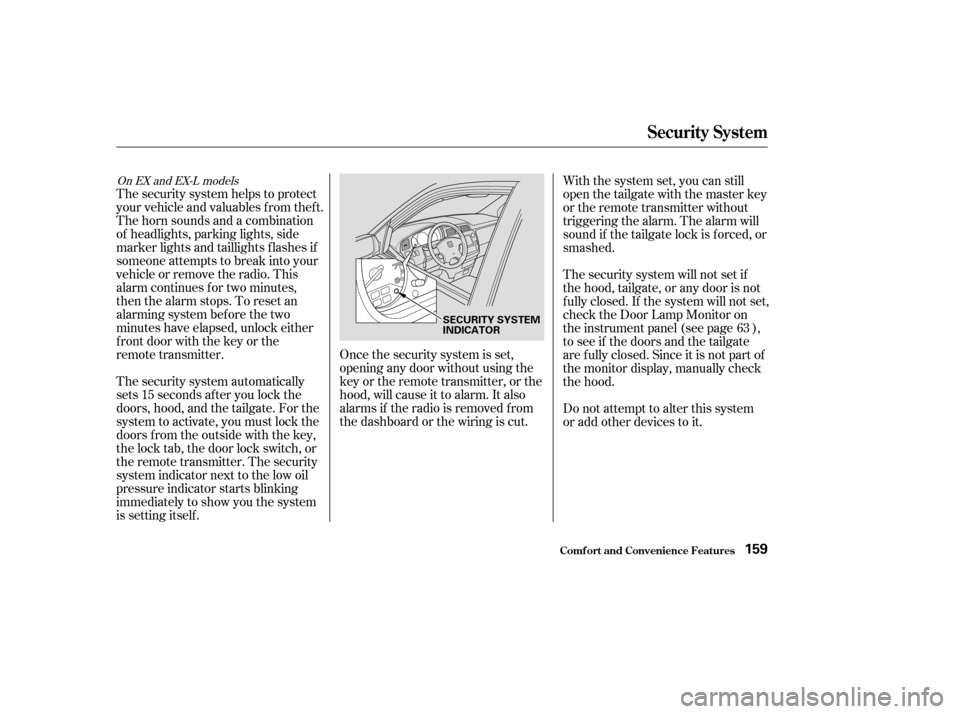
theremotetransmitter.Thesecurity
system indicator next to the low oil
pressure indicator starts blinking
immediately to show you the system
is setting itself .Once the security system is set,
opening any door without using the
key or the remote transmitter, or the
hood, will cause it to alarm. It also
alarms if the radio is removed from
the dashboard or the wiring is cut.With the system set, you can still
open the tailgate with the master key
or the remote transmitter without
triggering the alarm. The alarm will
sound if the tailgate lock is f orced, or
smashed.
The security system will not set if
the hood, tailgate, or any door is not
f ully closed. If the system will not set,
check the Door Lamp Monitor on
the instrument panel (see page ),
to see if the doors and the tailgate
are f ully closed. Since it is not part of
the monitor display, manually check
the hood.
Do not attempt to alter this system
or add other devices to it.
63
On EX and EX-L models
Comf ort and Convenience Feat ures
Security System
159
SECURITY SYSTEM
INDICATOR
Page 177 of 296
Modif ying your vehicle, or installing
some non-Honda accessories, can
make your vehicle unsaf e. Bef ore
you make any modif ications or add
anyaccessories,besuretoreadthe
f ollowing inf ormation.
Your dealer has Honda accessories
that allow you to personalize your
vehicle. These accessories have
been designed and approved f or your
vehicle, and are covered by warranty.
Although aftermarket accessories
may f it on your vehicle, they may not
meet f actory specif ications, and
could adversely af f ect your vehicle’s
handling and stability. (See
‘‘Modif ications’’ on page f or
additional information.)When properly installed, cellular
phones, alarms, two-way radios, and
low-powered audio systems should
not interf ere with your vehicle’s
computer controlled systems, such
as the SRS and anti-lock brake
system.Bef ore installing any accessory:
Make sure the accessory does not
obscure any lights, or interf ere
with proper vehicle operation or
perf ormance.
Be sure electronic accessories do
not overload electrical circuits
(see page ) or interf ere with
proper operation.
Have the installer contact your
Honda dealer f or assistance bef ore
installing any electronic accessory. 257
175
A ccessories
A ccessories
Bef ore Driving174
Improper accessories or
modifications can affect your
vehicle’s handling, stability, and
performance, and cause a
crash in which you can be hurt
or killed.
Follow all instructions in this
owner’s manual regarding
accessories and modifications.
Page 185 of 296

Youshoulddothefollowingchecks
and adjustments bef ore you drive
your vehicle.Make sure all windows, mirrors,
and outside lights are clean and
unobstructed. Remove f rost, snow,
or ice.
Check that the hood is f ully closed.
Visually check the tires. If a tire
looks low, use a gauge to check its
pressure.
Check that any items you may be
carrying are stored properly or
f astened down securely. Check the seat adjustment (see
page ).
Check the adjustment of the
inside and outside mirrors (see
page ).
Check the steering wheel
adjustment (see page ).
Make sure the doors and the
tailgate are securely closed and
locked.
Fasten your seat belt. Check that
your passengers have f astened
their seat belts (see page ).
When you start the engine, check
the gauges and indicators in the
instrument panel (see page ).
3.
2.
1.
4. 5.
6.
7.
8.
9.
10. 88
102 74
1460
Preparing to Drive
Driving182
Page 191 of 296

Always use the parking brake when
you park your vehicle. Make sure
the parking brake is set f irmly or
your vehicle may roll if it is parked
on an incline.
Set the parking brake bef ore you put
the transmission in Park. This keeps
the vehicle from moving and putting
pressure on the parking mechanism
in the transmission.Make sure the windows are closed.
Turn of f the lights.
Place any packages, valuables, etc.
in the cargo area, or take them
with you.
Lock the doors and the tailgate.
Never park over dry leaves, tall
grass, or other f lammable
materials. The hot three way
catalytic converter could cause
these materials to catch on fire.If the vehicle is f acing uphill, turn
the f ront wheels away f rom the
curb.
If the vehicle is f acing downhill,
turn the front wheels toward the
curb.
Make sure the parking brake is
f ully released bef ore driving away.
Driving with the parking brake
partially set can overheat or
damage the rear brakes.
Driving
Parking T ips
Parking T ips
188