Navigation HONDA ODYSSEY 2011 RB3-RB4 / 4.G Navigation Manual
[x] Cancel search | Manufacturer: HONDA, Model Year: 2011, Model line: ODYSSEY, Model: HONDA ODYSSEY 2011 RB3-RB4 / 4.GPages: 178, PDF Size: 3.97 MB
Page 81 of 178
Navigation System81
Information Features
Clock/Wallpaper
The Clock/Wallpaper option allows
you to set up the clock screen or choose
a wallpaper image to display. See
page 113.
Calendar
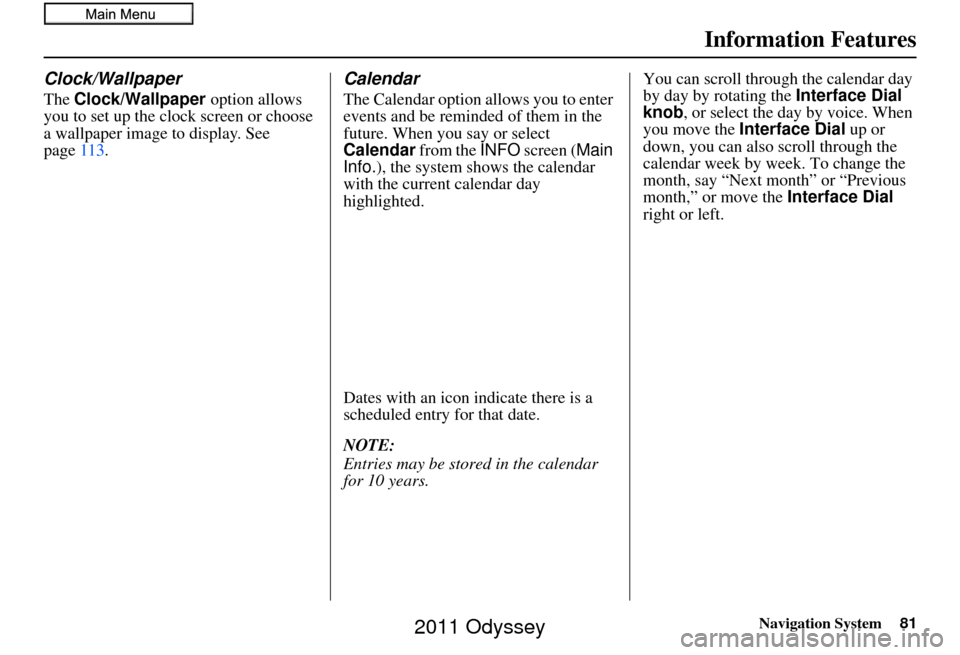
The Calendar option allows you to enter
events and be reminded of them in the
future. When you say or select
Calendar from the INFO screen ( Main
Info.), the system sh ows the calendar
with the current calendar day
highlighted.
Dates with an icon indicate there is a
scheduled entry for that date.
NOTE:
Entries may be stored in the calendar
for 10 years. You can scroll through the calendar day
by day by rotating the
Interface Dial
knob, or select the day by voice. When
you move the Interface Dial up or
down, you can also scroll through the
calendar week by week. To change the
month, say “Next month” or “Previous
month,” or move the Interface Dial
right or left.
2011 Odyssey
Page 82 of 178
82Navigation System
Information Features
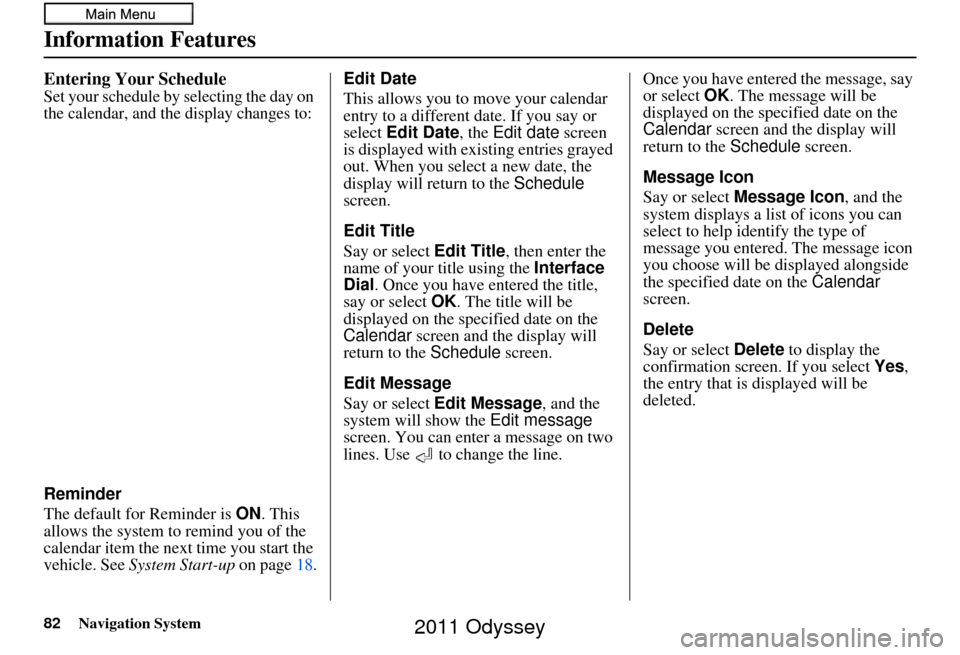
Entering Your Schedule
Set your schedule by selecting the day on
the calendar, and the display changes to:
Reminder
The default for Reminder is ON. This
allows the system to remind you of the
calendar item the next time you start the
vehicle. See System Start-up on page 18.Edit Date
This allows you to move your calendar
entry to a different date. If you say or
select
Edit Date , the Edit date screen
is displayed with existing entries grayed
out. When you select a new date, the
display will return to the Schedule
screen.
Edit Title
Say or select Edit Title, then enter the
name of your title using the Interface
Dial . Once you have entered the title,
say or select OK. The title will be
displayed on the specified date on the
Calendar screen and the display will
return to the Schedule screen.
Edit Message
Say or select Edit Message , and the
system will show the Edit message
screen. You can enter a message on two
lines. Use to change the line. Once you have entered the message, say
or select
OK. The message will be
displayed on the spec ified date on the
Calendar screen and the display will
return to the Schedule screen.
Message Icon
Say or select Message Icon , and the
system displays a list of icons you can
select to help identify the type of
message you entered. The message icon
you choose will be displayed alongside
the specified date on the Calendar
screen.
Delete
Say or select Delete to display the
confirmation screen. If you select Yes ,
the entry that is displayed will be
deleted.
2011 Odyssey
Page 83 of 178
Navigation System83
Information Features
NOTE:
Only one entry can be stored for each
calendar day.
A maximum of 50 entries can be stored in the calendar. After you
reach 50 entries, a warning message
will appear telling you that the limit
has been reached. You can clear any
older entries as needed.
The system displays active calendar entries only after you answer OK on
the Disclaimer screen.
For more information, see System
Start-up on page 18.Voice Help
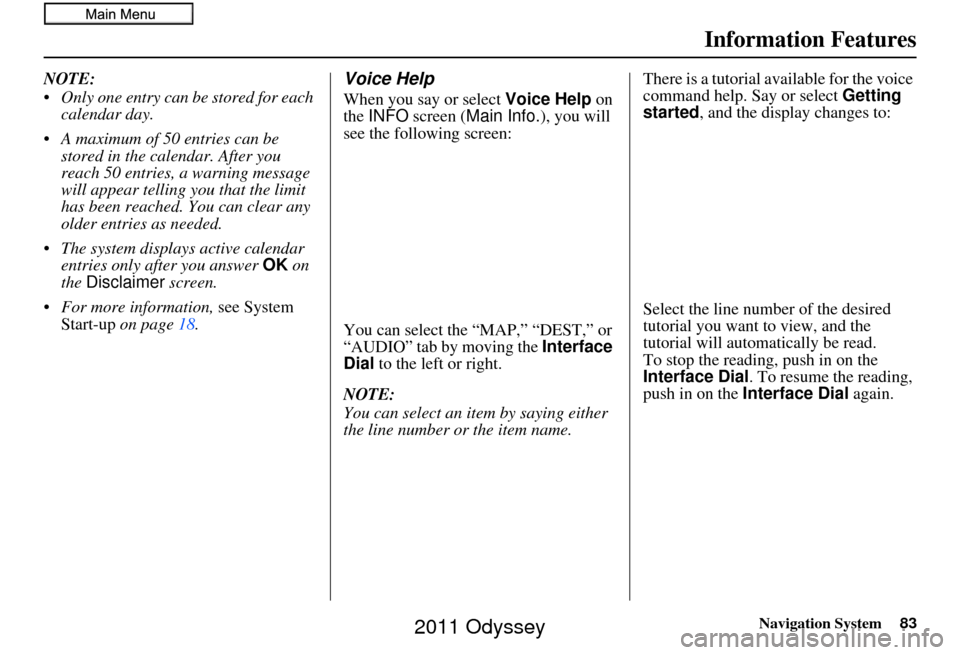
When you say or select Voice Help on
the INFO screen ( Main Info. ), you will
see the following screen:
You can select the “MAP,” “DEST,” or
“AUDIO” tab by moving the Interface
Dial to the left or right.
NOTE:
You can select an item by saying either
the line number or the item name. There is a tutorial available for the voice
command help. Say or select
Getting
started, and the display changes to:
Select the line number of the desired
tutorial you want to view, and the
tutorial will automatically be read.
To stop the reading, push in on the
Interface Dial. To resume the reading,
push in on the Interface Dial again.
2011 Odyssey
Page 84 of 178
84Navigation System
Information Features
When you make a command help
selection under any of the help screens,
you will see the help commands that can
be used with voice control. You can say
“Read List” or push in on the Interface
Dial to select Using the talk button ,
and the system will read the list to you.
For a listing of all voice commands, see
Voice Command Index on page157.Setup
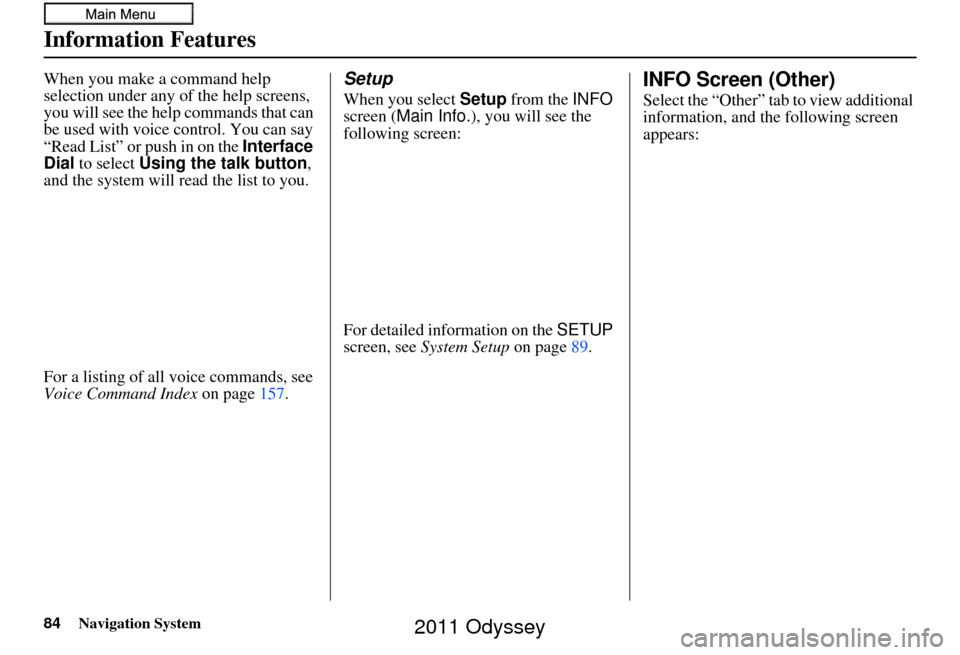
When you select Setup from the INFO
screen ( Main Info. ), you will see the
following screen:
For detailed information on the SETUP
screen, see System Setup on page89.
INFO Screen (Other)
Select the “Other” tab to view additional
information, and the following screen
appears:
2011 Odyssey
Page 85 of 178
Navigation System85
Information Features
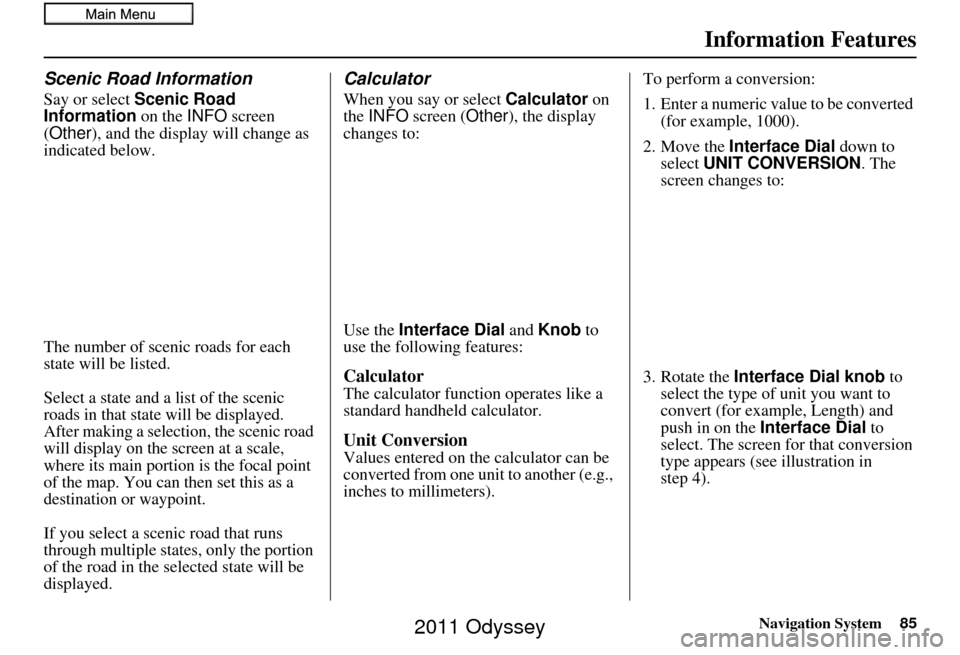
Scenic Road Information
Say or select Scenic Road
Information on the INFO screen
(Other ), and the displa y will change as
indicated below.
The number of scenic roads for each
state will be listed.
Select a state and a list of the scenic
roads in that state will be displayed.
After making a selection, the scenic road
will display on the screen at a scale,
where its main portion is the focal point
of the map. You can then set this as a
destination or waypoint.
If you select a scenic road that runs
through multiple states, only the portion
of the road in the se lected state will be
displayed.
Calculator
When you say or select Calculator on
the INFO screen ( Other), the display
changes to:
Use the Interface Dial and Knob to
use the following features:
Calculator
The calculator function operates like a
standard handheld calculator.
Unit Conversion
Values entered on the calculator can be
converted from one unit to another (e.g.,
inches to millimeters). To perform a conversion:
1. Enter a numeric value to be converted
(for example, 1000).
2. Move the Interface Dial down to
select UNIT CONVERSION . The
screen changes to:
3. Rotate the Interface Dial knob to
select the type of unit you want to
convert (for example, Length) and
push in on the Interface Dial to
select. The screen for that conversion
type appears (see illustration in
step 4).
2011 Odyssey
Page 86 of 178
86Navigation System
Information Features
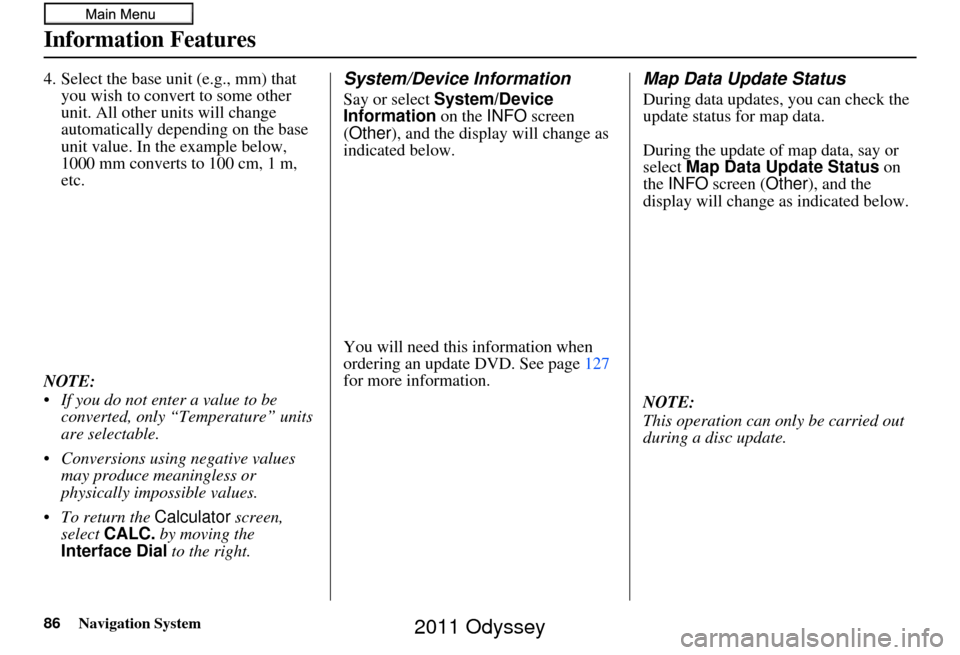
4. Select the base unit (e.g., mm) that you wish to convert to some other
unit. All other units will change
automatically depending on the base
unit value. In the example below,
1000 mm converts to 100 cm, 1 m,
etc.
NOTE:
If you do not enter a value to be converted, only “Temperature” units
are selectable.
Conversions using negative values may produce meaningless or
physically impossible values.
To return the Calculator screen,
select CALC. by moving the
Interface Dial to the right.System/Device Information
Say or select System/Device
Information on the INFO screen
(Other ), and the display will change as
indicated below.
You will need this information when
ordering an update DVD. See page 127
for more information.
Map Data Update Status
During data updates, you can check the
update status for map data.
During the update of map data, say or
select Map Data Update Status on
the INFO screen (Other), and the
display will change as indicated below.
NOTE:
This operation can only be carried out
during a disc update.
2011 Odyssey
Page 87 of 178
Navigation System87
Information Features
Key to ZAGAT Ratings
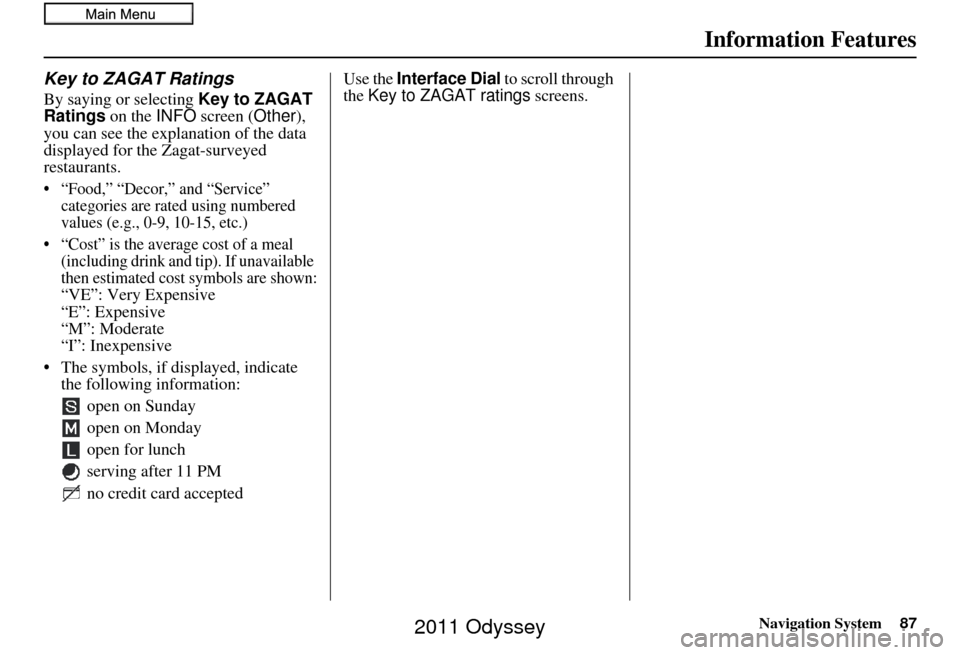
By saying or selecting Key to ZAGAT
Ratings on the INFO screen ( Other),
you can see the explanation of the data
displayed for the Zagat-surveyed
restaurants.
• “Food,” “Decor,” and “Service” categories are rated using numbered
values (e.g., 0-9, 10-15, etc.)
• “Cost” is the average cost of a meal (including drink and tip). If unavailable
then estimated cost symbols are shown:
“
VE”: Very Expensive“E”: Expensive“M”: Moderate“I”: Inexpensive
• The symbols, if displayed, indicate the following information:
open on Sunday
open on Monday
open for lunch
serving after 11 PM
no credit card accepted
Use the Interface Dial to scroll through
the Key to ZAGAT ratings screens.
2011 Odyssey
Page 88 of 178
88Navigation System
Phone Features
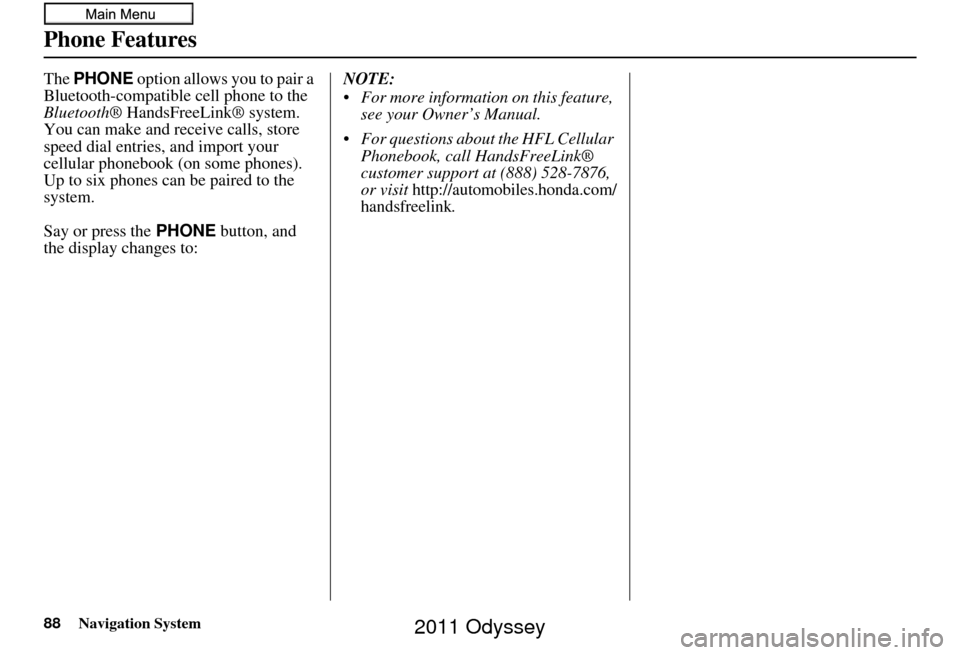
The PHONE option allows you to pair a
Bluetooth-compatible cell phone to the
Bluetooth ® HandsFreeLink® system.
You can make and receive calls, store
speed dial entries, and import your
cellular phonebook (on some phones).
Up to six phones can be paired to the
system.
Say or press the PHONE button, and
the display changes to: NOTE:
For more information on this feature,
see your Owner’s Manual.
For questions about the HFL Cellular Phonebook, call HandsFreeLink®
customer support at (888) 528-7876,
or visit
http://automobiles.honda.com/
handsfreelink.
2011 Odyssey
Page 89 of 178
Navigation System89
SETUP Mode
The SETUP function consists of two
main screens that allow you to change
and update information in the system.
NOTE:
For information on the available voice
commands, see page 167.
SETUP Screen (Main Setup)
Select Setup from the INFO screen
(Main info. ), and the following screen
will display.
Brightness
The screen brightness has 11 settings.
To change the brightness, use the voice
control system and say “Brightness up”
or “Brightness down.” You can also
select Brightness and change the
setting by rotating the Interface Dial
knob .
Tip:
If you are having trouble viewing the
screen in bright li ghting conditions, try
increasing the brightness.
Contrast
The screen contrast has 11 settings.
To adjust the contrast, use the voice
control system and say “Contrast up” or
“Contrast down.” You can also select
Contrast and change the setting by
rotating the Interface Dial knob .
Black Level
The screen black level has 11 settings.
To change the black level, use the voice
control system and say “Black level up”
or “Black level down.” You can also
select Black Level and change the
setting by rotating the Interface Dial
knob.
NOTE:
You can have separate daytime and
nighttime settings for Brightness,
Contrast, and Black Level. Adjust each
setting when the display is in either
daytime or nighttime mode. Use the
Display Mode button (page11 and
111) to select Daytime or Nighttime
mode.
System Setup
2011 Odyssey
Page 90 of 178
90Navigation System
System Setup
Volume
The navigation voice volume has 11
settings and can be adjusted by:
• Using the voice control system and saying “Volume up” or “Volume
down”.
• Selecting Volume and changing the
setting by rotating the Interface
Dial knob .
• Saying “Volume Off,” or selecting Volume and then OFF.
NOTE:
If you turn the volume off, you will not
hear route guidance or voice command
confirmations.
If you then select Voice in the Map
menu , you will hear route guidance at
the default volume.
Interface Dial Feedback
This setting allows you to control when
(and if) the system will read the current
selection you choose with the Interface
Dial . The purpose of this feature is to
minimize the need to look at the screen
while operating the dial. You can set the
one of the three settings explained in the
following table. The factory default is
AUTO .
Personal Information
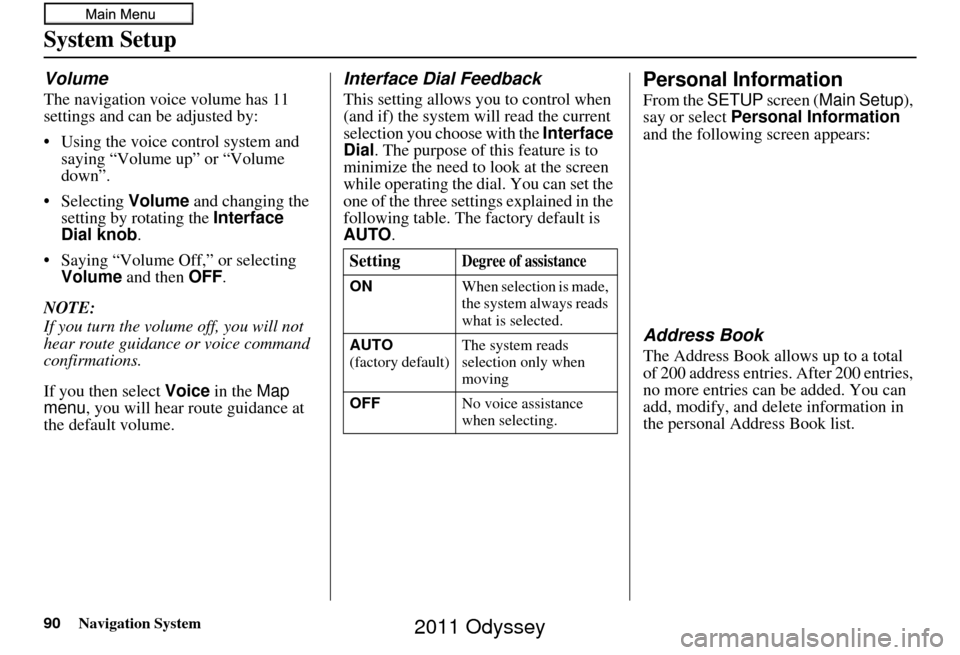
From the SETUP screen ( Main Setup),
say or select Personal Information
and the following screen appears:
Address Book
The Address Book allows up to a total
of 200 address entries. After 200 entries,
no more entries can be added. You can
add, modify, and delete information in
the personal Address Book list.
Setting
Degree of assistance
ON
When selection is made,
the system always reads
what is selected.
AUTO
(factory default) The system reads
selection only when
moving
OFF No voice assistance
when selecting.
2011 Odyssey