navigation system HONDA ODYSSEY 2015 RC1-RC2 / 5.G Navigation Manual
[x] Cancel search | Manufacturer: HONDA, Model Year: 2015, Model line: ODYSSEY, Model: HONDA ODYSSEY 2015 RC1-RC2 / 5.GPages: 325, PDF Size: 17.97 MB
Page 50 of 325
49
System Setup
Routing
HSETTINGS button Navi Settings Routing
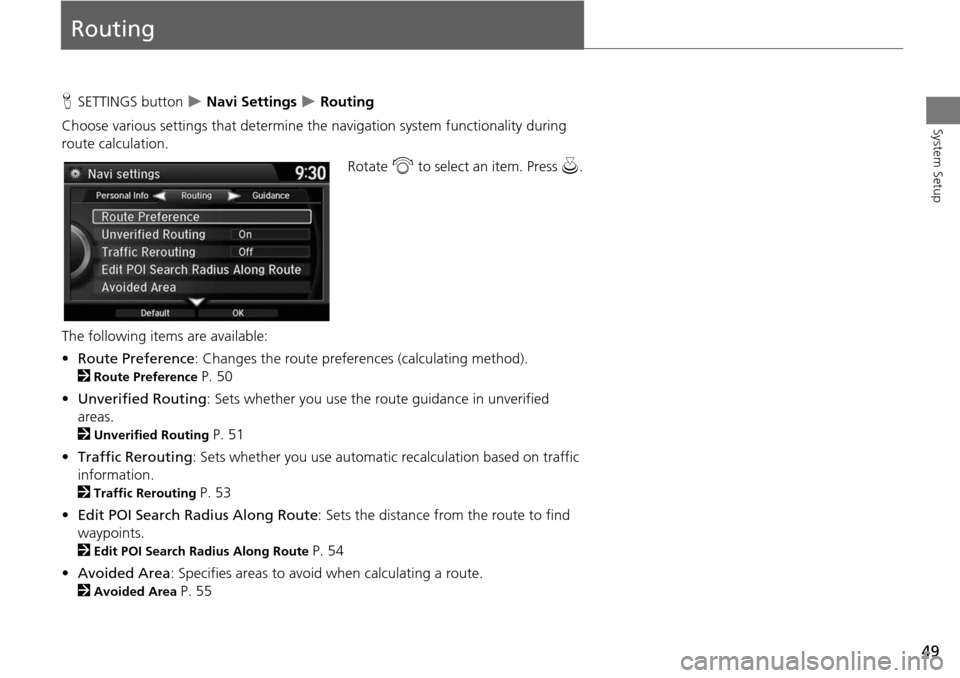
Choose various settings that determine the navigation system functionality during
route calculation. Rotate i to select an item. Press u.
The following items are available:
• Route Preference: Changes the route preferen ces (calculating method).
2
Route Preference P. 50
• Unverified Routing: Sets whether you use the ro ute guidance in unverified
areas.
2
Unverified Routing P. 51
• Traffic Rerouting : Sets whether you use automatic recalculation based on traffic
information.
2
Traffic Rerouting P. 53
• Edit POI Search Radius Along Route : Sets the distance from the route to find
waypoints.
2
Edit POI Search Radius Along Route P. 54
• Avoided Area : Specifies areas to avoid when calculating a route.
2
Avoided Area P. 55
Page 52 of 325
51
RoutingUnverified Routing
System Setup
Unverified Routing
HSETTINGS button Navi Settings Routing Unverified Routing
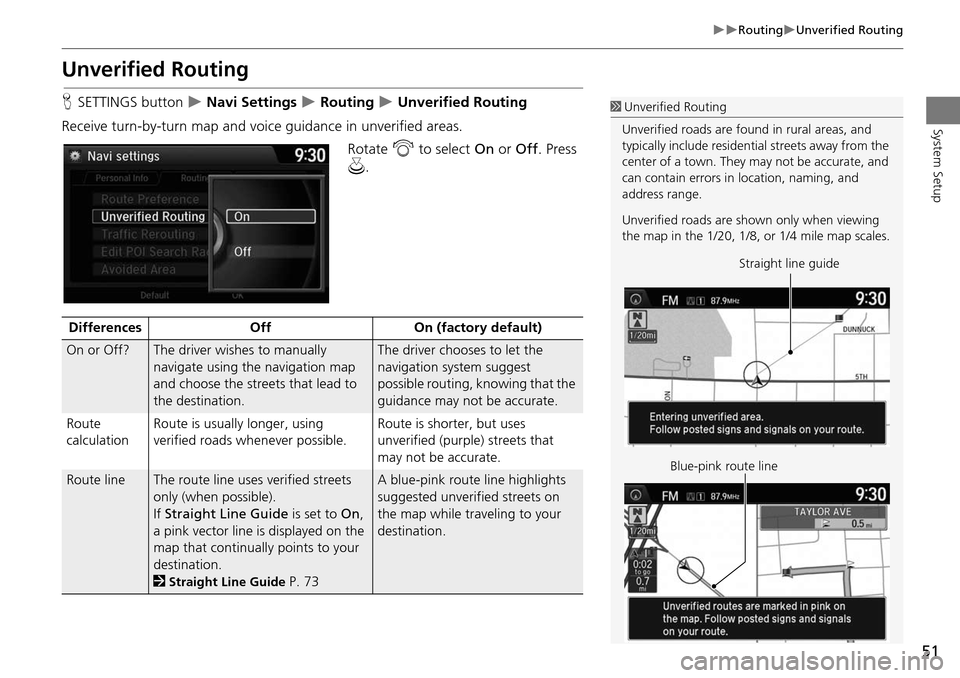
Receive turn-by-turn map and voice guidance in unverified areas. Rotate i to select On or Off . Press
u .1Unverified Routing
Unverified roads are found in rural areas, and
typically include residential streets away from the
center of a town. They may not be accurate, and
can contain errors in location, naming, and
address range.
Unverified roads are s hown only when viewing
the map in the 1/20, 1/8, or 1/4 mile map scales.
Straight line guide
Blue-pink route line
Differences OffOn (factory default)
On or Off?The driver wishes to manually
navigate using the navigation map
and choose the streets that lead to
the destination.The driver chooses to let the
navigation system suggest
possible routing, knowing that the
guidance may not be accurate.
Route
calculation Route is usually longer, using
verified roads whenever possible. Route is shorter, but uses
unverified (purple)
streets that
may not be accurate.
Route lineThe route line uses verified streets
only (when possible).
If Straight Line Guide is set to On,
a pink vector line is displayed on the
map that continually points to your
destination.
2
Straight Line Guide P. 73
A blue-pink route line highlights
suggested unverified streets on
the map while traveling to your
destination.
Page 58 of 325
57
System Setup
Guidance
HSETTINGS button Navi Settings Guidance
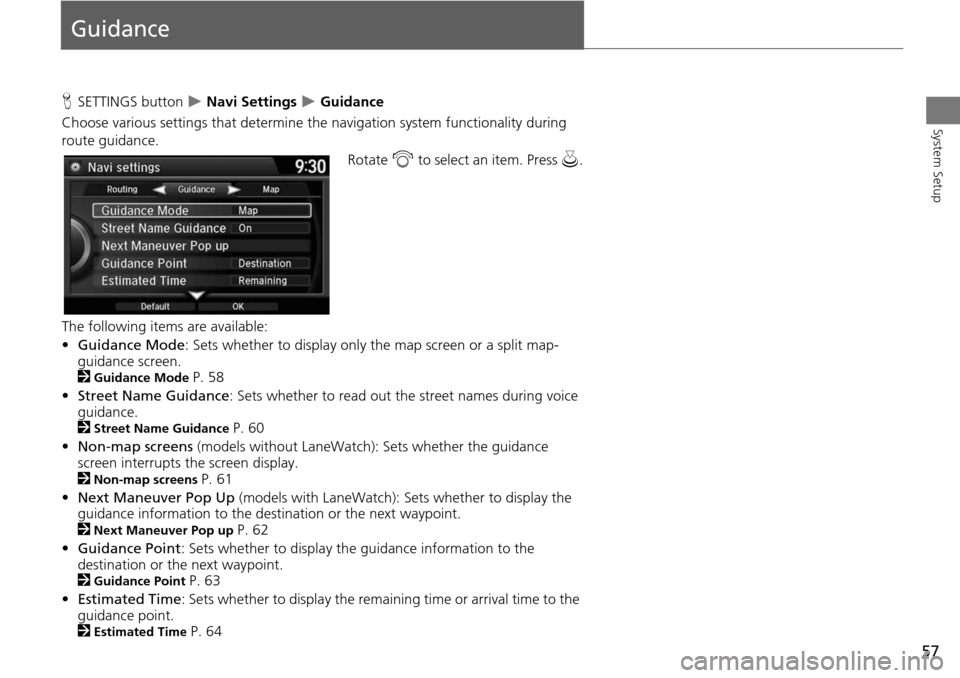
Choose various settings that determine the navigation system functionality during
route guidance. Rotate i to select an item. Press u.
The following items are available:
• Guidance Mode : Sets whether to display only the map screen or a split map-
guidance screen.
2
Guidance Mode P. 58
• Street Name Guidance : Sets whether to read out the street names during voice
guidance.
2
Street Name Guidance P. 60
• Non-map screens (models without LaneWatch): Sets whether the guidance
screen interrupts the screen display.
2
Non-map screens P. 61
• Next Maneuver Pop Up (models with LaneWatch): Sets whether to display the
guidance information to the destination or the next waypoint.
2
Next Maneuver Pop up P. 62
• Guidance Point : Sets whether to display the guidance information to the
destination or the next waypoint.
2
Guidance Point P. 63
• Estimated Time : Sets whether to display the remain ing time or arrival time to the
guidance point.
2
Estimated Time P. 64
Page 61 of 325
60
GuidanceStreet Name Guidance
System Setup
Street Name Guidance
HSETTINGS button Navi Settings Guidance Street Name Guidance
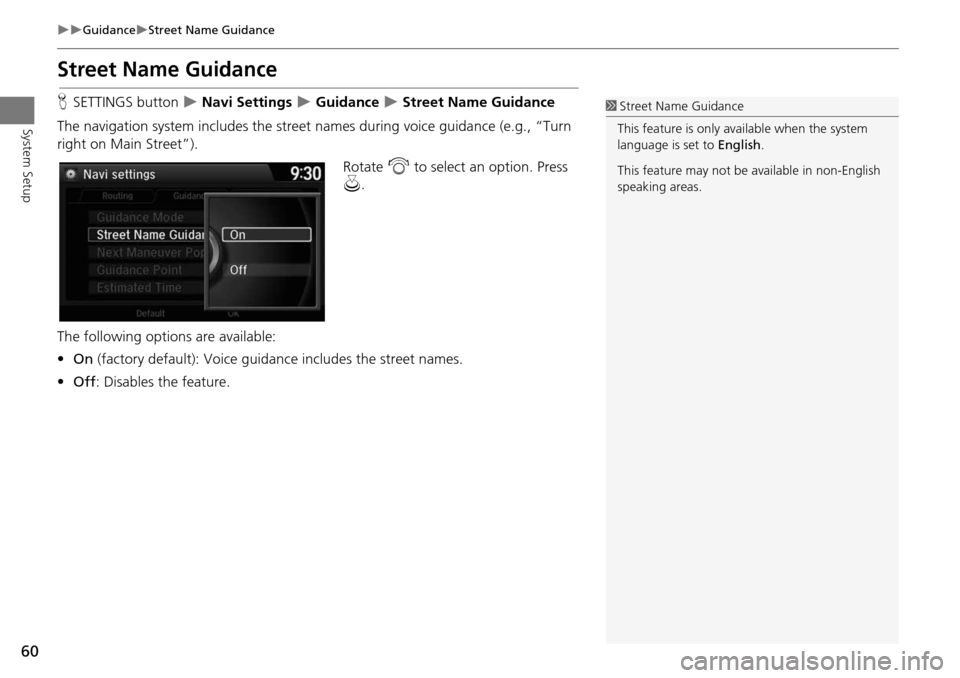
The navigation system includes the street names during voice guidance (e.g., “Turn
right on Main Street”).
Rotate i to select an option. Press
u .
The following options are available:
• On (factory default): Voice guidance includes the street names.
• Off : Disables the feature.1Street Name Guidance
This feature is only available when the system
language is set to English.
This feature may not be available in non-English
speaking areas.
Page 62 of 325
61
GuidanceNon-map screens
System Setup
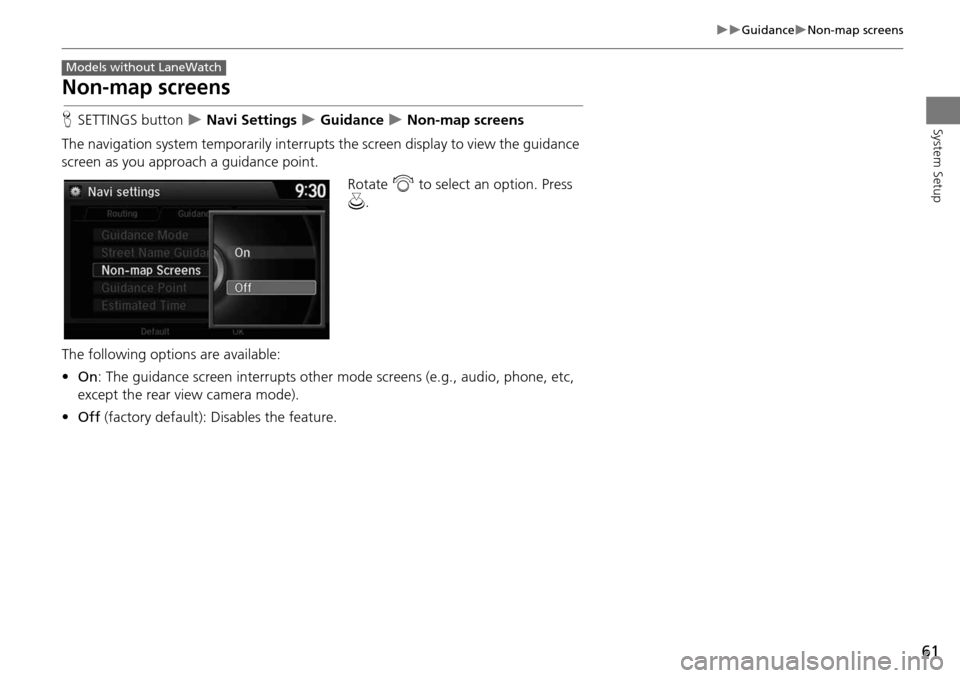
Non-map screens
HSETTINGS button Navi Settings Guidance Non-map screens
The navigation system temporarily interrupts the screen display to view the guidance
screen as you approach a guidance point.
Rotate i to select an option. Press
u .
The following options are available:
• On : The guidance screen interrupts other mode screens (e.g., audio, phone, etc,
except the rear view camera mode).
• Off (factory default): Disables the feature.
Models without LaneWatch
Page 63 of 325
62
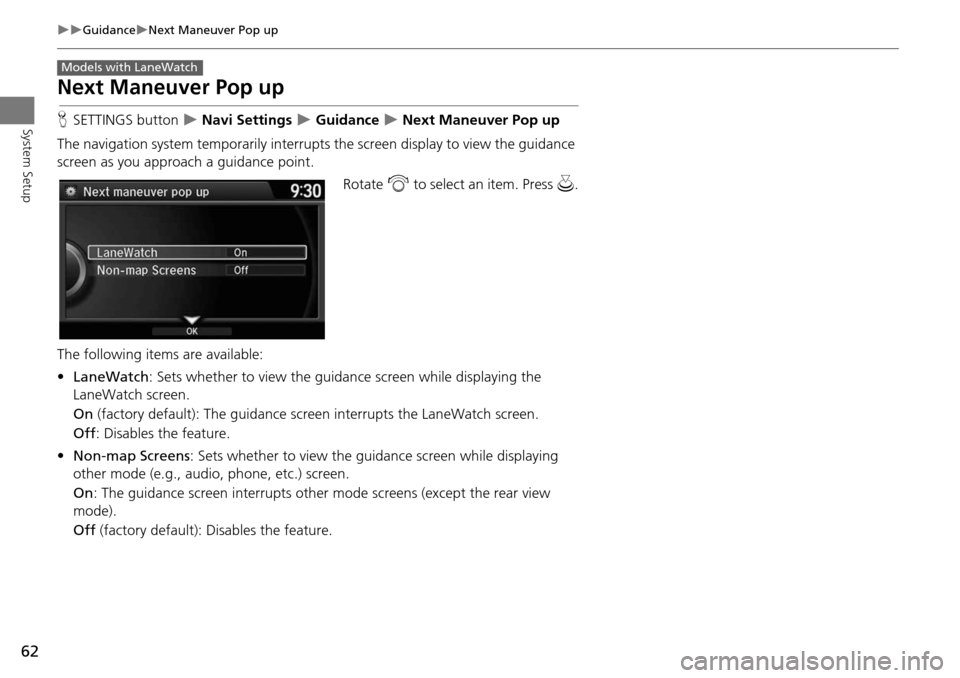
GuidanceNext Maneuver Pop up
System Setup
Next Maneuver Pop up
HSETTINGS button Navi Settings Guidance Next Maneuver Pop up
The navigation system temporarily interrupts the screen display to view the guidance
screen as you approach a guidance point.
Rotate i to select an item. Press u .
The following item s are available:
• LaneWatch : Sets whether to view the guidanc e screen while displaying the
LaneWatch screen.
On (factory default): The guidance scre en interrupts the LaneWatch screen.
Off : Disables the feature.
• Non-map Screens : Sets whether to view the guidance screen while displaying
other mode (e.g., audio, phone, etc.) screen.
On : The guidance screen interrupts other mode screens (except the rear view
mode).
Off (factory default): Disables the feature.
Models with LaneWatch
Page 76 of 325
75
MapMap Legend
System Setup
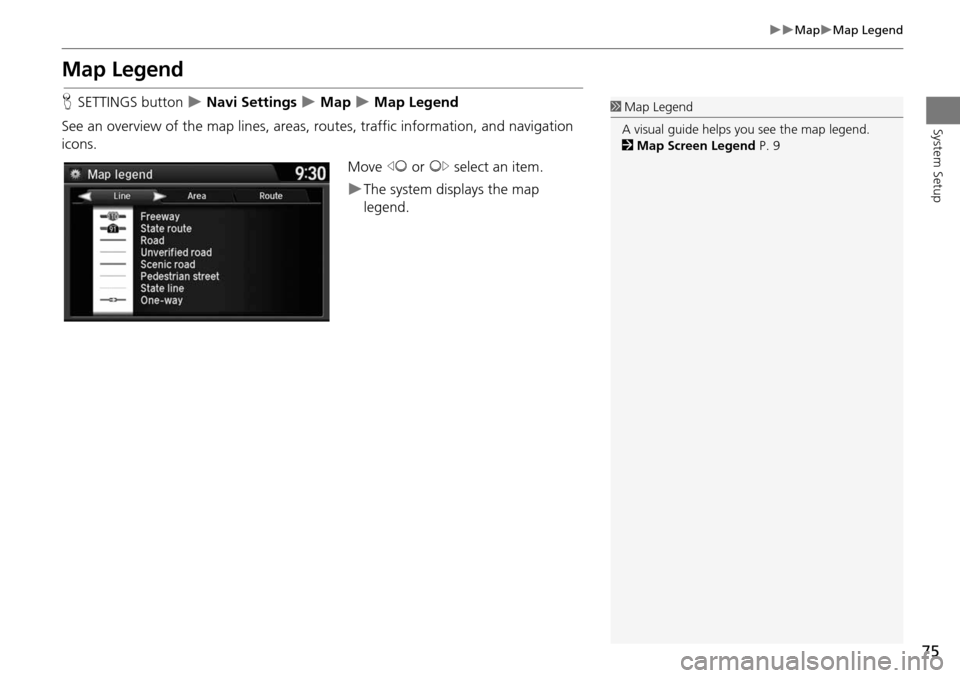
Map Legend
HSETTINGS button Navi Settings Map Map Legend
See an overview of the map lines, areas, routes, traffic information, and navigation
icons.
Move w or y select an item.
The system displays the map
legend.
1Map Legend
A visual guide helps you see the map legend.
2 Map Screen Legend P. 9
Page 80 of 325
79
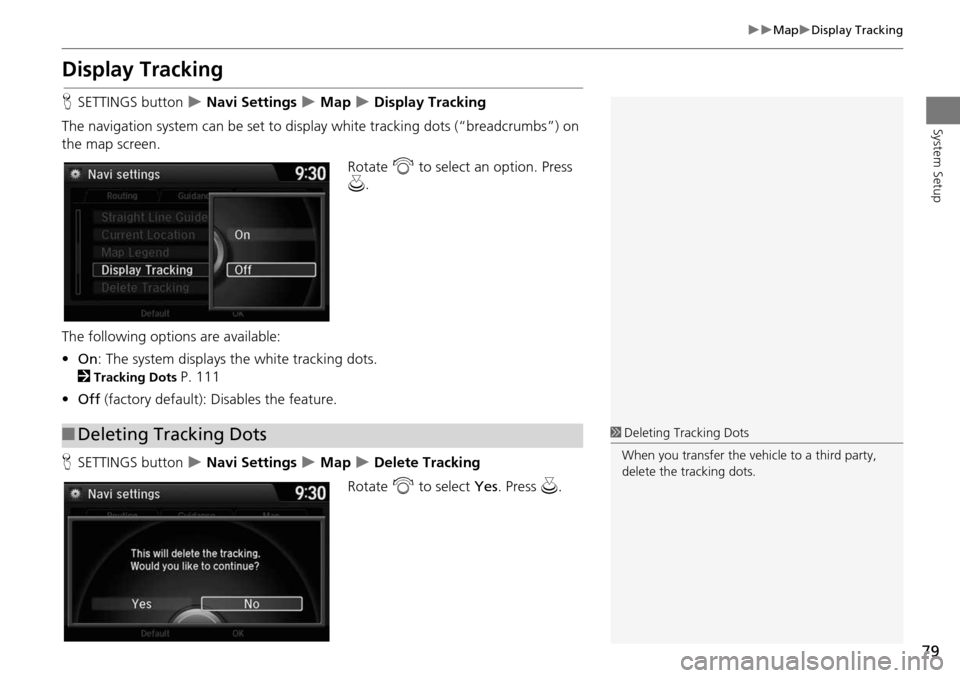
MapDisplay Tracking
System Setup
Display Tracking
HSETTINGS button Navi Settings Map Display Tracking
The navigation system can be set to di splay white tracking dots (“breadcrumbs”) on
the map screen.
Rotate i to select an option. Press
u .
The following options are available:
• On : The system displays the white tracking dots.
2
Tracking Dots P. 111
• Off (factory default): Disables the feature.
H SETTINGS button
Navi Settings Map Delete Tracking
Rotate i to select Yes. Press u.
■Deleting Tracking Dots1 Deleting Tracking Dots
When you transfer the vehicle to a third party,
delete the tracking dots.
Page 101 of 325
100
Entering a DestinationDownload POI
Navigation
Download POI
HMENU button More Search Methods Download POI
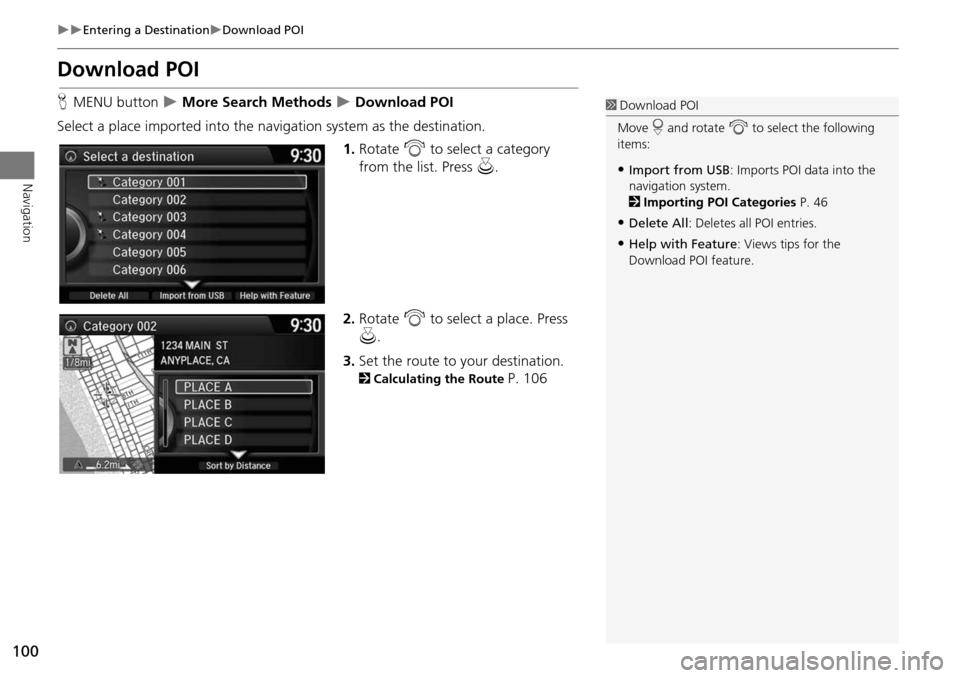
Select a place imported into the navi gation system as the destination.
1.Rotate i to select a category
from the list. Press u.
2. Rotate i to select a place. Press
u .
3. Set the route to your destination.
2 Calculating the Route P. 106
1Download POI
Move r and rotate i to select the following
items:
•Import from USB : Imports POI data into the
navigation system.
2 Importing POI Categories P. 46
•Delete All: Deletes all POI entries.
•Help with Feature : Views tips for the
Download POI feature.
Page 107 of 325
106
Navigation
Calculating the Route
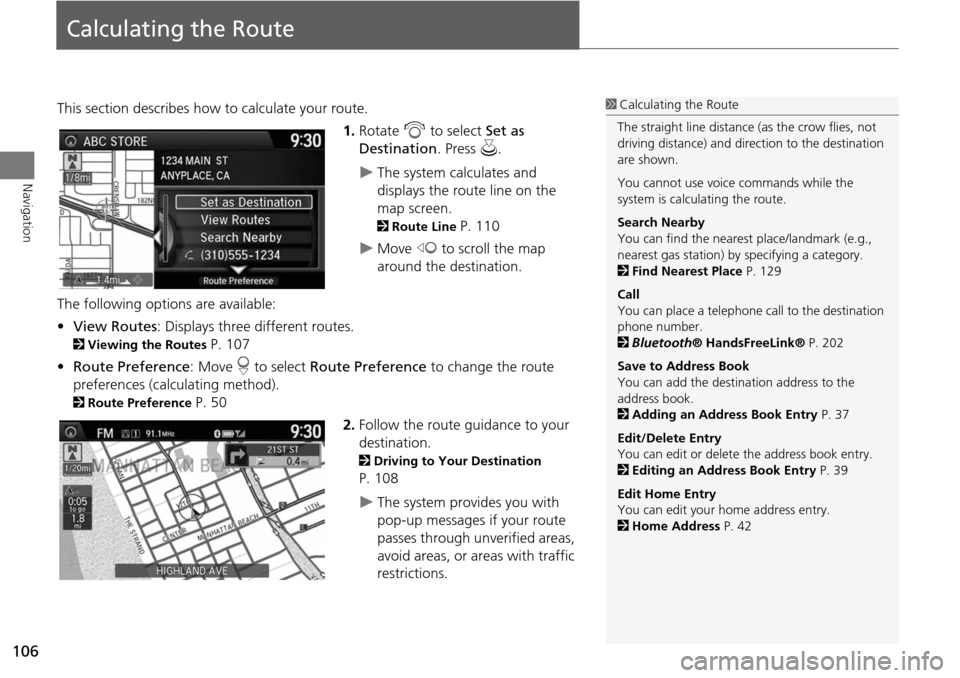
This section describes how to calculate your route.1.Rotate i to select Set as
Destination . Press u.
The system calculates and
displays the route line on the
map screen.
2Route Line P. 110
Move w to scroll the map
around the destination.
The following options are available:
• View Routes : Displays three different routes.
2Viewing the Routes P. 107
• Route Preference : Move r to select Route Preference to change the route
preferences (calculating method).
2 Route Preference P. 50
2.Follow the route guidance to your
destination.
2 Driving to Your Destination
P. 108
The system provides you with
pop-up messages if your route
passes through unverified areas,
avoid areas, or areas with traffic
restrictions.
1Calculating the Route
The straight line distance (as the crow flies, not
driving distance) and dire ction to the destination
are shown.
You cannot use voice commands while the
system is calculating the route.
Search Nearby
You can find the nearest place/landmark (e.g.,
nearest gas station) by specifying a category.
2 Find Nearest Place P. 129
Call
You can place a telephone ca ll to the destination
phone number.
2 Bluetooth ® HandsFreeLink® P. 202
Save to Address Book
You can add the destination address to the
address book.
2 Adding an Address Book Entry P. 37
Edit/Delete Entry
You can edit or delete the address book entry.
2 Editing an Address Book Entry P. 39
Edit Home Entry
You can edit your home address entry.
2 Home Address P. 42