ignition HONDA PRELUDE 2000 (in English) Service Manual
[x] Cancel search | Manufacturer: HONDA, Model Year: 2000, Model line: PRELUDE, Model: HONDA PRELUDE 2000Pages: 293, PDF Size: 3.43 MB
Page 246 of 293
I
f You r Engin e Won' t Star t
Nothin g Happen s o r th e Starte r
Moto r Operate s Ver y Slowl y
When you turn the ignition switch to START (III), you do not hear the
normal noise of the engine trying to start. You may hear a clicking sound
or series of clicks, or nothing at all.
Check these things: Your car has the Immobilizer
System. You should use a
properly-coded master or valet key
to start the engine (see page 71).
A key that is not properly coded will cause the immobilizer systemindicator in the dash panel to blink
rapidly. Check the transmission interlock.
If you have a manual transmission,
the clutch pedal must be pushed all the way to the floor or the
starter will not operate. With an
automatic transmission, it must be
in Park or Neutral. Turn the ignition switch to ON (II).
Turn on the headlights and check
their brightness. If the headlights
are very dim or don't light at all,
the battery is discharged. See
Jum p Startin g on page 244 .
Turn the ignition switch to START
(III). If the headlights do not dim,
check the condition of the fuses. If
the fuses are OK, there is proba-
bly something wrong with the electrical circuit for the ignitionswitch or starter motor. You will
need a qualified technician to
determine the problem. (See
Emergenc y Towin g on page 258.)
If the headlights dim noticeably or
go out when you try to start the engine, either the battery is dis-
charged or the connections are
corroded. Check the condition of the
battery and terminal connections (see page 198). You can then try
jump starting the car from a booster battery (see page 244).
Takin g Car e o f th e Unexpecte d
Page 247 of 293
If You r Engin e Won' t Start , Jum p Startin g
The Starte r Operate s Normall y
In this case, the starter motor's speed sounds normal, or even faster
than normal, when yon turn the
ignition switch to START (III), but
the engine does not run.
Are you using the proper starting procedure? Refer to Startin g th e
Engin e on page 141.
Do you have fuel? Turn the
ignition switch to ON (II) for a
minute and watch the fuel gauge.
The low fuel level warning light may not be working, so you werenot reminded to fill the tank.
There may be an electrical problem, such as no power to the
fuel pump. Check all the fuses
(see page 254).
If you find nothing wrong, you will
need a qualified technician to find
the problem. See Emergenc y
Towin g on page 258 . Jum
p Startin g
If your car's battery has run down,
you may be able to start the engine by using a booster battery. Although
this seems like a simple procedure,
you should take several precautions.
You cannot start a Honda with an automatic transmission by pushing
or pulling it. To jump start your car, follow these
directions closely:
1. Open the hood and check the physical condition of the battery(see page 198). In very cold
weather, check the condition of the electrolyte. If it seems slushyor like ice, do not try jump starting
until it thaws.
If a battery sits in extreme cold, the
electrolyte inside can freeze.
Attempting to jump start with a frozen
battery can cause it to rupture.
2. Turn off all the electrical acces-
sories: heater, A/C, stereo system,
lights, etc.
Put the transmission in Neutral or
Park and set the parking brake.
Takin g Car e o f th e Unexpecte d
A battery can explode if you do
not follow the correct procedure,
seriously injuring anyone nearby.
Keep all sparks, open flames,
and smoking materials away
from the battery.
NOTIC E
Page 251 of 293
Lo
w Oi l Pressur e Indicato r
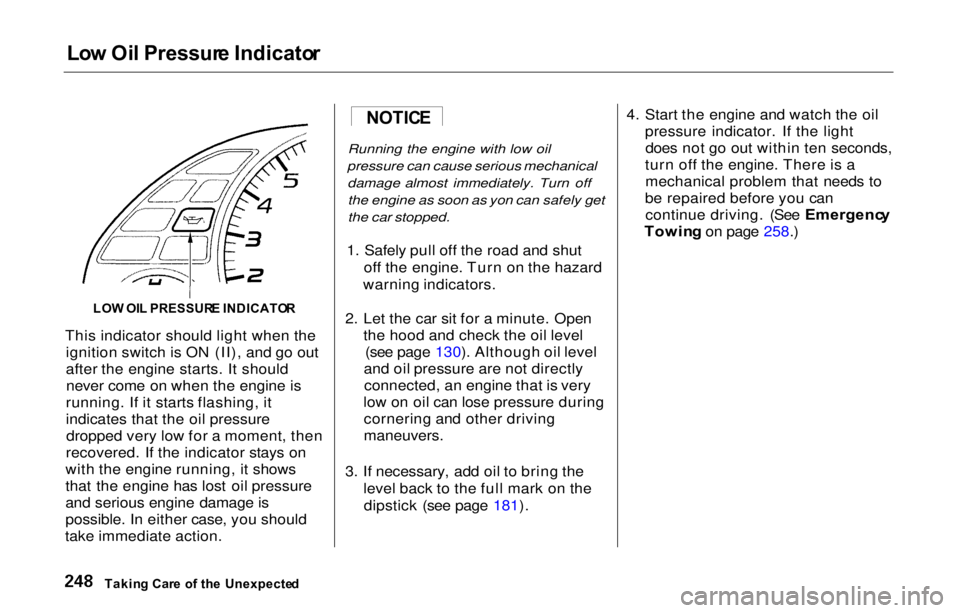
LO W OI L PRESSUR E INDICATO R
This indicator should light when the ignition switch is ON (II), and go out
after the engine starts. It shouldnever come on when the engine is
running. If it starts flashing, it
indicates that the oil pressure dropped very low for a moment, then
recovered. If the indicator stays on
with the engine running, it shows
that the engine has lost oil pressure
and serious engine damage is
possible. In either case, you should
take immediate action.
Running the engine with low oil
pressure can cause serious mechanical damage almost immediately. Turn offthe engine as soon as yon can safely get
the car stopped.
1. Safely pull off the road and shut off the engine. Turn on the hazard
warning indicators.
2. Let the car sit for a minute. Open the hood and check the oil level(see page 130). Although oil level
and oil pressure are not directly connected, an engine that is very
low on oil can lose pressure during cornering and other driving
maneuvers.
3. If necessary, add oil to bring the level back to the full mark on thedipstick (see page 181). 4. Start the engine and watch the oil
pressure indicator. If the lightdoes not go out within ten seconds,
turn off the engine. There is a mechanical problem that needs to
be repaired before you can continue driving. (See Emergenc y
Towin g on page 258.)
Takin g Car e o f th e Unexpecte d NOTIC
E
Page 252 of 293
Chargin
g Syste m Indicato r
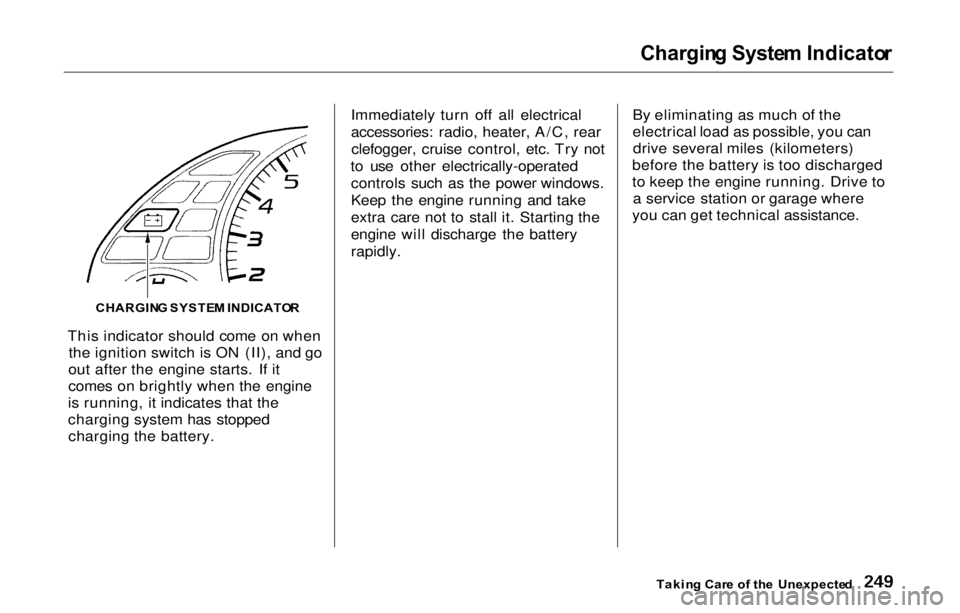
This indicator should come on when the ignition switch is ON (II), and go
out after the engine starts. If it
comes on brightly when the engine
is running, it indicates that the
charging system has stopped charging the battery. Immediately turn off all electrical
accessories: radio, heater, A/C, rear
clefogger, cruise control, etc. Try not
to use other electrically-operated controls such as the power windows.
Keep the engine running and take
extra care not to stall it. Starting the
engine will discharge the battery
rapidly. By eliminating as much of the
electrical load as possible, you can
drive several miles (kilometers)
before the battery is too discharged
to keep the engine running. Drive to a service station or garage where
you can get technical assistance.
Takin g Car e o f th e Unexpecte d
CHARGIN
G SYSTE M INDICATO R
Page 253 of 293
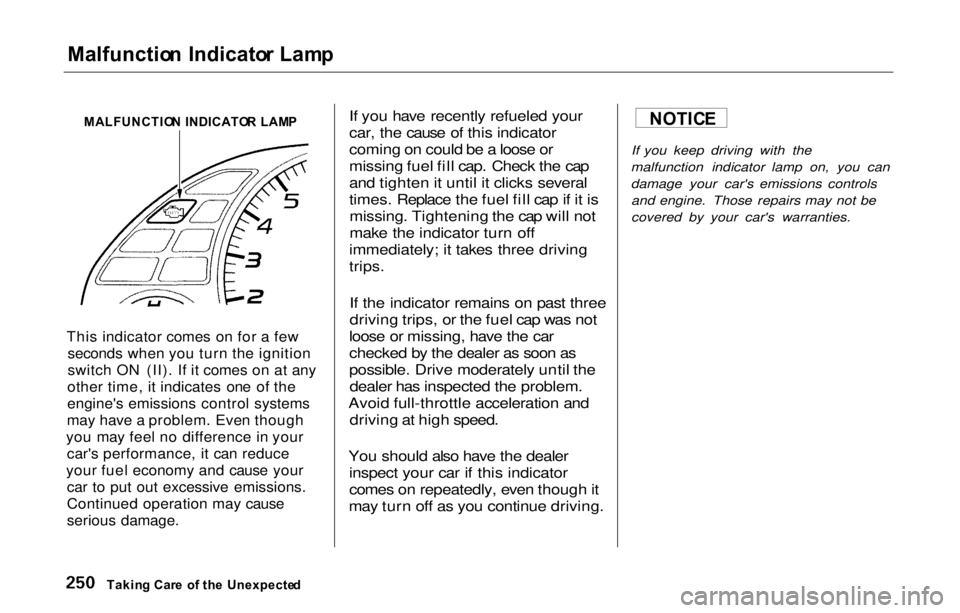
Malfunctio
n Indicato r Lam p
This indicator comes on for a few seconds when you turn the ignition
switch ON (II). If it comes on at any
other time, it indicates one of the
engine's emissions control systems
may have a problem. Even though
you may feel no difference in your car's performance, it can reduce
your fuel economy and cause your car to put out excessive emissions.
Continued operation may cause
serious damage.
If you have recently refueled your
car, the cause of this indicator
coming on could be a loose or
missing fuel fill cap. Check the cap
and tighten it until it clicks several
times. Replace the fuel fill cap if it is
missing. Tightening the cap will not
make the indicator turn off
immediately; it takes three driving
trips.
If the indicator remains on past three
driving trips, or the fuel cap was not
loose or missing, have the car
checked by the dealer as soon as
possible. Drive moderately until the dealer has inspected the problem.
Avoid full-throttle acceleration and driving at high speed.
You should also have the dealer inspect your car if this indicator
comes on repeatedly, even though it
may turn off as you continue driving. If you keep driving with the
malfunction indicator lamp on, you can
damage your car's emissions controls and engine. Those repairs may not be
covered by your car's warranties.
Takin g Car e o f th e Unexpecte d
MALFUNCTIO
N INDICATO R LAM P NOTIC
E
Page 254 of 293
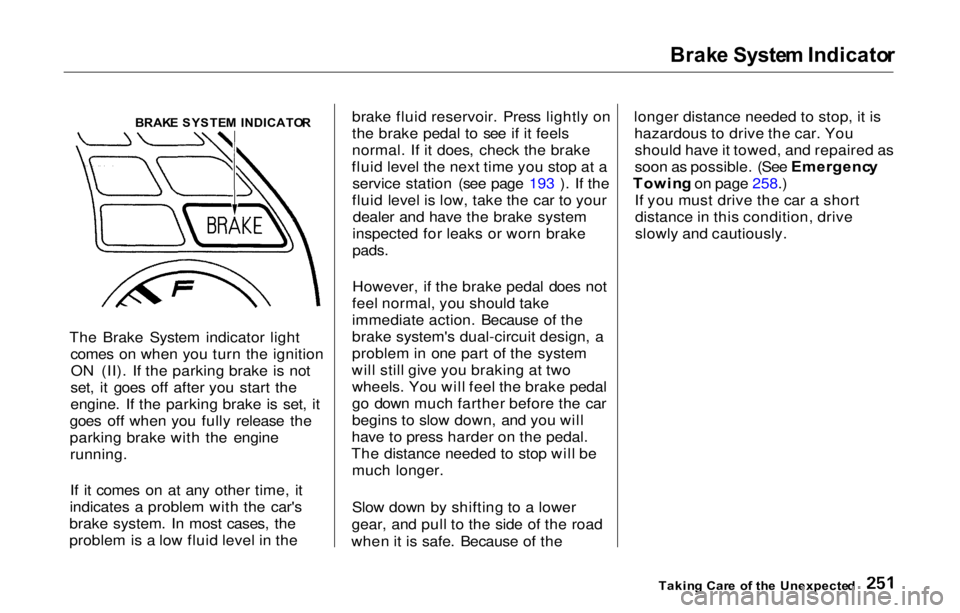
Brak
e Syste m Indicato r
The Brake System indicator light comes on when you turn the ignitionON (II). If the parking brake is not
set, it goes off after you start the
engine. If the parking brake is set, it
goes off when you fully release the
parking brake with the engine running.
If it comes on at any other time, it
indicates a problem with the car's
brake system. In most cases, the
problem is a low fluid level in the brake fluid reservoir. Press lightly on
the brake pedal to see if it feels
normal. If it does, check the brake
fluid level the next time you stop at a service station (see page 193 ). If the
fluid level is low, take the car to your dealer and have the brake system
inspected for leaks or worn brake
pads.
However, if the brake pedal does not
feel normal, you should take
immediate action. Because of the
brake system's dual-circuit design, a
problem in one part of the system
will still give you braking at two wheels. You will feel the brake pedal
go down much farther before the car
begins to slow down, and you will
have to press harder on the pedal.
The distance needed to stop will be much longer.
Slow down by shifting to a lower
gear, and pull to the side of the road
when it is safe. Because of the longer distance needed to stop, it is
hazardous to drive the car. Youshould have it towed, and repaired as
soon as possible. (See Emergenc y
Towin g on page 258.)
If you must drive the car a short distance in this condition, drive
slowly and cautiously.
Takin g Car e o f th e Unexpecte d
BRAK
E SYSTE M INDICATO R
Page 257 of 293
Fuse
s
Checkin g an d Replacin g Fuse s
If something electrical in your car stops working, the first thing you
should check for is a blown fuse.
Determine from the chart on pages 256 and 257 , or the diagram o n the
fuse box lid, which fus
e or fuses
control that component. Check those
fuses first, but check all the fuses before deciding that a blown fuse is
not the cause. Replace any blown
fuses and check the component's
operation.
1. Turn the ignition switch to LOCK (0). Make sure the headlights and
all other accessories are off.
2. Remove the cover from the fuse box.
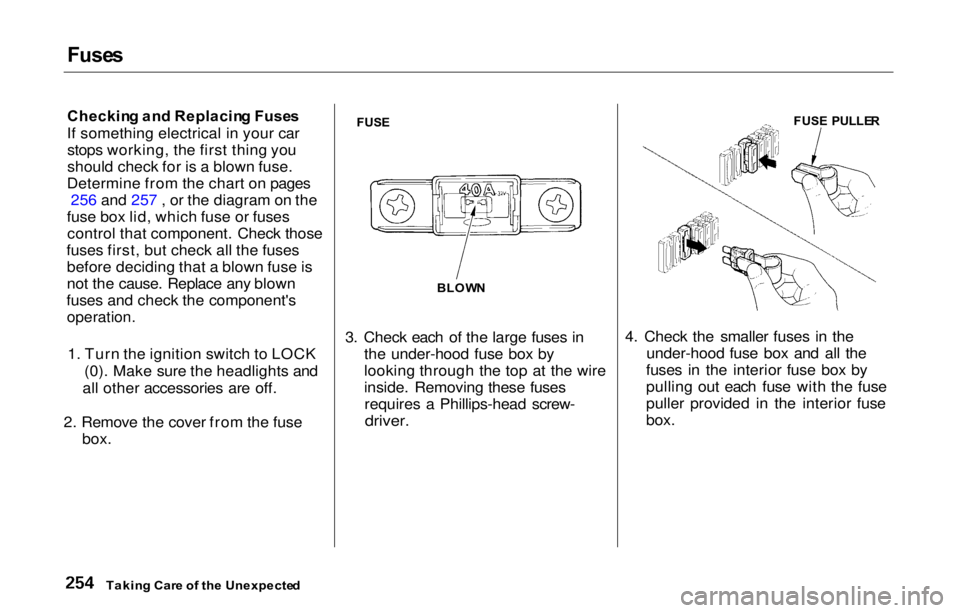
FUS
E
3. Check each of the large fuses in the under-hood fuse box by
looking through the top at the wire
inside. Removing these fusesrequires a Phillips-head screw-
driver.
4. Check the smaller fuses in the
under-hood fuse box and all the
fuses in the interior fuse box by
pulling out each fuse with the fuse
puller provided in the interior fuse
box.
Takin g Car e o f th e Unexpecte d
BLOW
N
FUS
E PULLE R
Page 262 of 293
Emergenc
y Towin g
If you decide to tow your car with all
four wheels on the ground, make sure you use a properly-designed and
attached tow bar. Prepare the car for
towing as described above, and leave the ignition switch in Accessory (I) so the steering wheel docs not lock.
Make sure the radio and any items
plugged into the accessory power socket are turned off so they do not
run down the battery.
The steering system can he damaged if
the steering wheel is locked. Leave the
ignition switch in Accessory (I), and
make sure the steering wheel turns
freely before you begin towing.
Trying to lift or tow your car by the
bumpers will cause serious damage. The bumpers are not designed to
support the car's weight.
Taking Car e o f th e Unexpecte d
NOTIC
E
NOTIC E
Page 264 of 293
Technica
l Informatio n
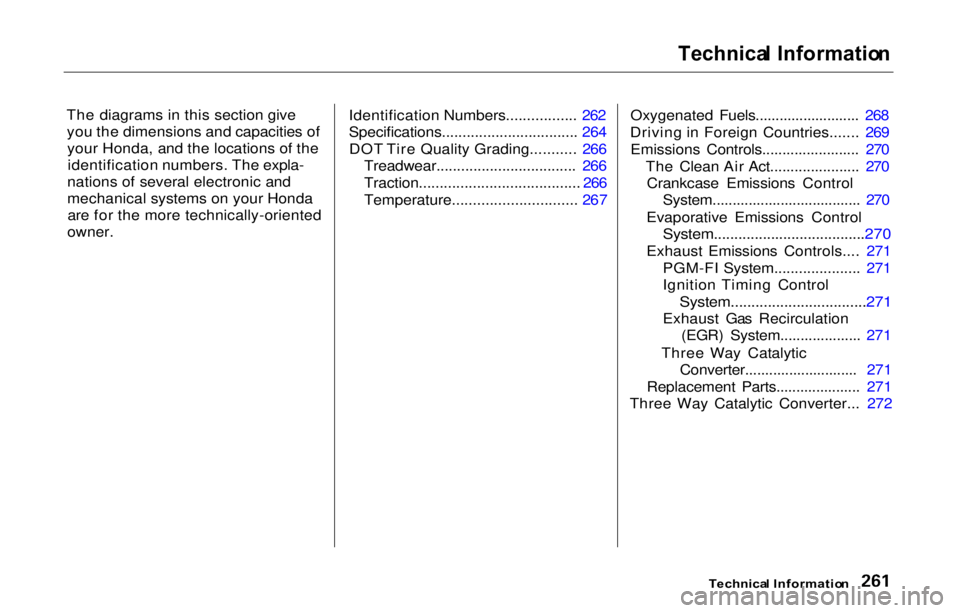
The diagrams in this section give you the dimensions and capacities ofyour Honda, and the locations of theidentification numbers. The expla-
nations of several electronic and
mechanical systems on your Honda are for the more technically-oriented
owner. Identification Numbers................. 262
Specifications................................. 264
DOT Tire Quality Grading........... 266 Treadwear.................................. 266
Traction....................................... 266
Temperature.............................. 26
7
Oxygenated Fuels.......................... 268
Driving i
n Foreign Countries....... 269
Emissions Controls........................ 270 The Clean Air Act...................... 270Crankcase Emissions Control System..................................... 270
Evaporative Emissions Control
System.....................................270
Exhaust Emissions Controls.... 271 PGM-FI System..................... 271
Ignition Timing Control
System.................................271
Exhaust Gas Recirculation (EGR) System.................... 271
Three Way Catalytic Converter............................ 271
Replacement Parts..................... 271
Three Way Catalytic Converter... 272
Technical Informatio n
Page 274 of 293
Emission
s Control s
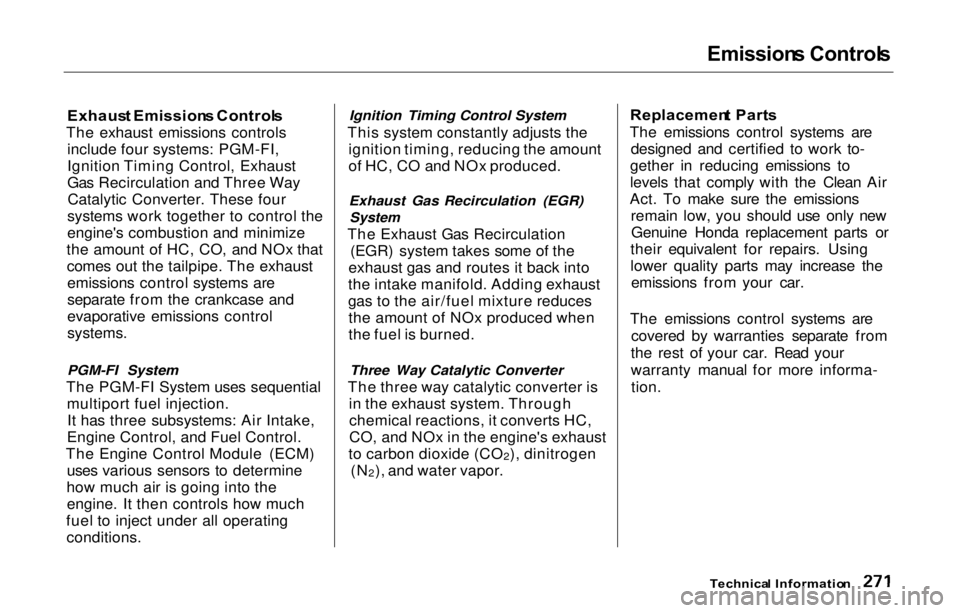
Exhaus t Emission s Control s
The exhaust emissions controls include four systems: PGM-FI,
Ignition Timing Control, Exhaust
Gas Recirculation and Three WayCatalytic Converter. These four
systems work together to control the
engine's combustion and minimize
the amount of HC, CO, and NOx that comes out the tailpipe. The exhaustemissions control systems are
separate from the crankcase and
evaporative emissions control
systems.
PGM-FI System
The PGM-FI System uses sequential multiport fuel injection.It has three subsystems: Air Intake,
Engine Control, and Fuel Control.
The Engine Control Module (ECM) uses various sensors to determine
how much air is going into the engine. It then controls how much
fuel to inject under all operating conditions. Ignition Timing Control System
This system constantly adjusts the ignition timing, reducing the amount
of HC, CO and NOx produced.
Exhaust Gas Recirculation (EGR)
System
The Exhaust Gas Recirculation (EGR) system takes some of the
exhaust gas and routes it back into
the intake manifold. Adding exhaust
gas to the air/fuel mixture reduces the amount of NOx produced when
the fuel is burned.
Three Way Catalytic Converter
The three way catalytic converter is in the exhaust system. Throughchemical reactions, it converts HC,
CO, and NOx in the engine's exhaust
to carbon dioxide (CO 2), dinitrogen
(N 2), and water vapor. Replacemen
t Part s
The emissions control systems are designed and certified to work to-
gether in reducing emissions to
levels that comply with the Clean Air
Act. To make sure the emissions remain low, you should use only newGenuine Honda replacement parts or
their equivalent for repairs. Using
lower quality parts may increase the emissions from your car.
The emissions control systems are covered by warranties separate from
the rest of your car. Read your
warranty manual for more informa- tion.
Technical Informatio n