high HONDA RIDGELINE 2022 Manual Online
[x] Cancel search | Manufacturer: HONDA, Model Year: 2022, Model line: RIDGELINE, Model: HONDA RIDGELINE 2022Pages: 598, PDF Size: 12.42 MB
Page 492 of 598

490
uuBefore Performing Maintenance uParts and Fluids Used in Maintenance Service
Maintenance
Parts and Fluids Used in Maintenance Service
The use of Honda genuine parts and fluids is recommended when maintaining and
servicing your vehicle. Honda genuine parts are manufactured according to the
same high quality standards used in Honda vehicles.1Parts and Fluids Used in Maintenance Service
NOTICE
Do not press the engine cover forcibly. This may
damage the engine cover and component parts.
Page 496 of 598
494
uuMaintenance MinderTMuTo Use Maintenance MinderTM
Maintenance
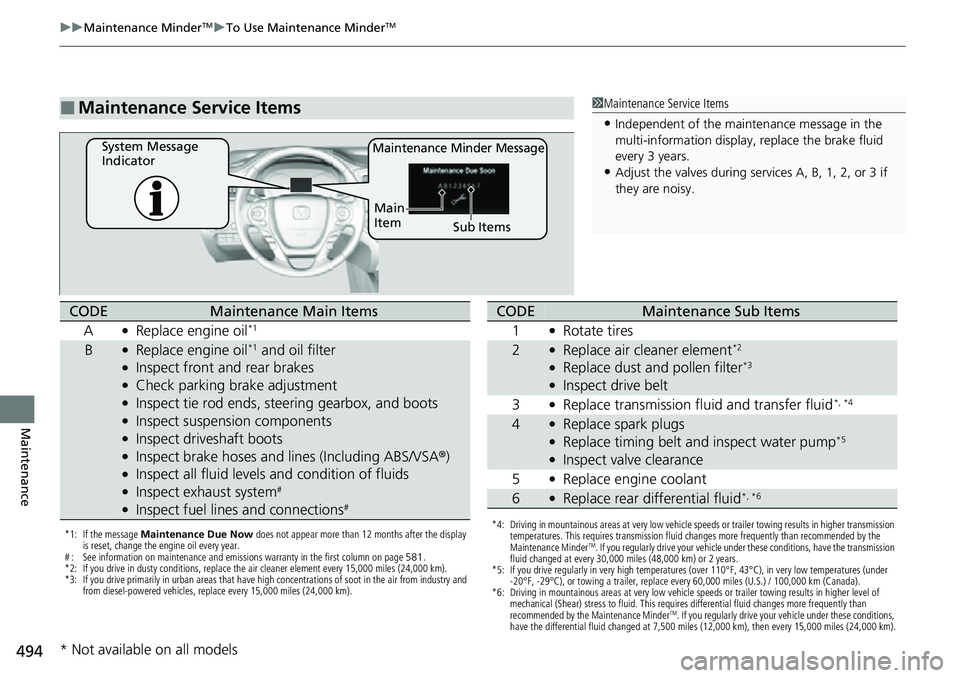
■Maintenance Service Items1Maintenance Service Items
•Independent of the maintenance message in the
multi-information display, replace the brake fluid
every 3 years.
•Adjust the valves during services A, B, 1, 2, or 3 if
they are noisy.
Maintenance Minder MessageSystem Message
Indicator
Sub Items
Main
Item
*1: If the message Maintenance Due Now does not appear more than 12 months after the display
is reset, change the engine oil every year.
# : See information on maintenance and emissions warranty in the first column on page 581.
*2: If you drive in dusty conditions, replace the air cleaner element every 15,000 miles (24,000 km).
*3: If you drive primarily in urban areas that have high concentrations of soot in the air from industry and from diesel-powered vehicles, replace every 15,000 miles (24,000 km).
CODEMaintenance Main Items
A
●Replace engine oil*1
B●Replace engine oil*1 and oil filter●Inspect front and rear brakes●Check parking brake adjustment●Inspect tie rod ends, steering gearbox, and boots●Inspect suspension components●Inspect driveshaft boots●Inspect brake hoses and lines (Including ABS/VSA ®)●Inspect all fluid levels and condition of fluids●Inspect exhaust system#
●Inspect fuel lines and connections#
*4: Driving in mountainous areas at very low vehicle speeds or trailer towing results in higher transmission
temperatures. This requires transmission fluid changes more frequently than recommended by the
Maintenance Minder
TM. If you regularly drive your vehicle under these conditions, have the transmission
fluid changed at every 30,000 miles (48,000 km) or 2 years.
*5: If you drive regularly in very high temperatures (over 110°F, 43°C), in very low temperatures (under
-20°F, -29°C), or towing a trailer, replace every 60,000 miles (U.S.) / 100,000 km (Canada).
*6: Driving in mountainous areas at very low vehicle speeds or trailer towing results in higher level of mechanical (Shear) stress to fluid. This requires differential fluid changes more frequently than
recommended by the Maintenance Minder
TM. If you regularly drive your vehicle under these conditions,
have the differential fluid changed at 7,500 miles (12,000 km), then every 15,000 miles (24,000 km).
CODEMaintenance Sub Items
1
●Rotate tires
2●Replace air cleaner element*2
●Replace dust and pollen filter*3
●Inspect drive belt
3
●Replace transmission fluid and transfer fluid*, *4
4●Replace spark plugs●Replace timing belt and inspect water pump*5
●Inspect valve clearance
5
●Replace engine coolant
6●Replace rear differential fluid*, *6
* Not available on all models
Page 506 of 598

504
uuMaintenance Under the Hood uEngine Coolant
Maintenance
Engine Coolant
This coolant is premixed with 50% antifreeze and 50% water. Do not add any
straight antifreeze or water.
We recommend you check the engine coolant level every time you refuel. Check the
reserve tank first. If it is completely empty, also check the coolant level in the
radiator. Add the engine coolant accordingly.
1. Make sure the engine and radiator are cool.
2. Remove the engine compartment cover.
2 Engine Compartment Cover P. 498
3.Check the amount of coolant in the reserve
tank.
u If the coolant level is below the MIN
mark, add the specified coolant until it
reaches the MAX mark.
4. Inspect the cooling system for leaks.
Specified coolant: Honda Long Life Antifreeze/Coolant Type 2
■Reserve Tank
1Engine Coolant
NOTICE
Genuine Honda engine coolan t is a 50/50 mixture of
antifreeze and water that can withstand freezing at
temperatures as low as a bout -31°F (-35°C). If your
vehicle is consistently subjected to temperatures
below this, the concentration of antifreeze in the
coolant should be increased. Consult a dealer for
details.
If Honda antifreeze /coolant is not available, you may
use another major brand of non-silicate coolant as a
temporary replacement. Check that it is a high quality
coolant recommended for aluminum engines.
Continued use of any non-Honda coolant can result
in corrosion, causing the cooling system to
malfunction or fail. Have the cooling system flushed
and refilled with Honda antifreeze/coolant as soon as
possible.
Do not add rust inhibitors or other additives to your
vehicle’s cooling system. Th ey may not be compatible
with the coolant or with the engine components.
3WARNING
Removing the radiator cap while the
engine is hot can cause the coolant to spray
out, seriously scalding you.
Always let the engine and radiator cool
down before removing the radiator cap.
MAw
MIm
Reserve Tank
Page 508 of 598
506
uuMaintenance Under the Hood uTransmission Fluid
Maintenance
Transmission Fluid
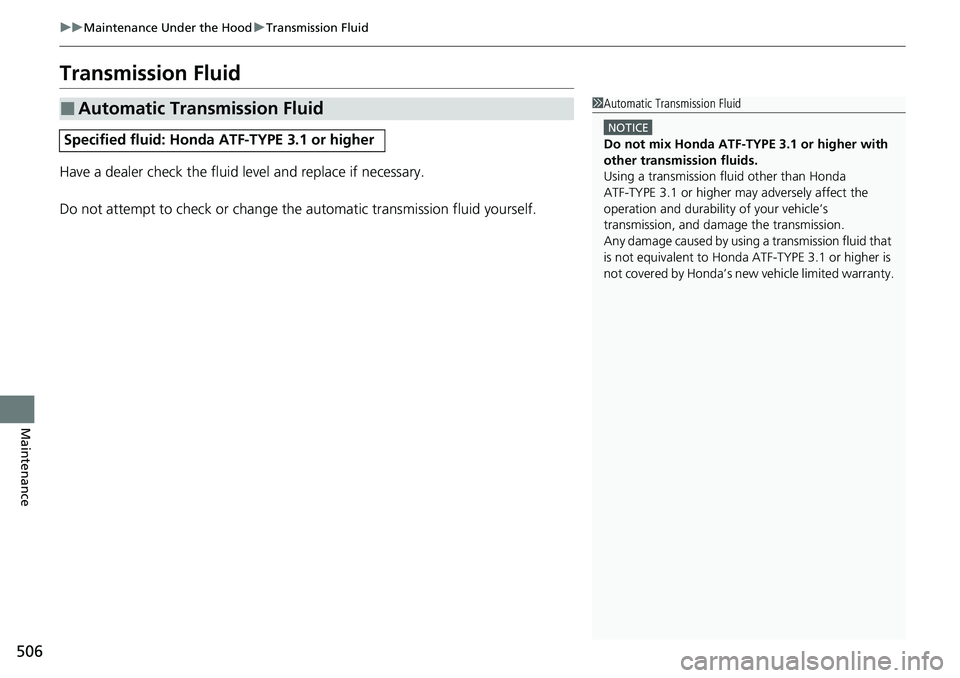
Have a dealer check the fluid level and replace if necessary.
Do not attempt to check or change th e automatic transmission fluid yourself.
■Automatic Transmission Fluid
Specified fluid: Honda ATF-TYPE 3.1 or higher
1Automatic Transmission Fluid
NOTICE
Do not mix Honda ATF-TYPE 3.1 or higher with
other transmission fluids.
Using a transmission fl uid other than Honda
ATF-TYPE 3.1 or higher may adversely affect the
operation and durability of your vehicle’s
transmission, and da mage the transmission.
Any damage caused by using a transmission fluid that
is not equivalent to Honda ATF-TYPE 3.1 or higher is
not covered by Honda’s new vehicle limited warranty.
Page 510 of 598

508
Maintenance
Replacing Light Bulbs
Headlight Bulbs
When replacing, use the following bulbs.1.Remove the engine compartment cover.
2 Engine Compartment Cover P. 498
2. Remove the clips.
3. Remove the air intake duct.
High beam headlight:60 W (HB3 for halogen bulb type)
Low beam headlight:LED
■High Beam Headlights
1Headlight Bulbs
NOTICE
Halogen bulbs get very hot when lit.
Oil, perspiration, or a scratch on the glass can cause
the bulb to overhe at and shatter.
The headlight aim is set by the factory, and does not
need to be adjusted. Howeve r, if you regularly carry
heavy items in the cargo area or tow a trailer, have
the aiming readjusted at a dealer or by a qualified
technician.
When replacing a halogen bu lb, handle it by its base,
and protect the glass from c ontact with your skin or
hard objects. If you touch the glass, clean it with
denatured alcohol and a clean cloth.
ClipsDriver side
Page 512 of 598
510
uuReplacing Light Bulbs uDaytime Running Lights and Parking Light Bulbs
Maintenance
Daytime Running Lights and Parking Light Bulbs
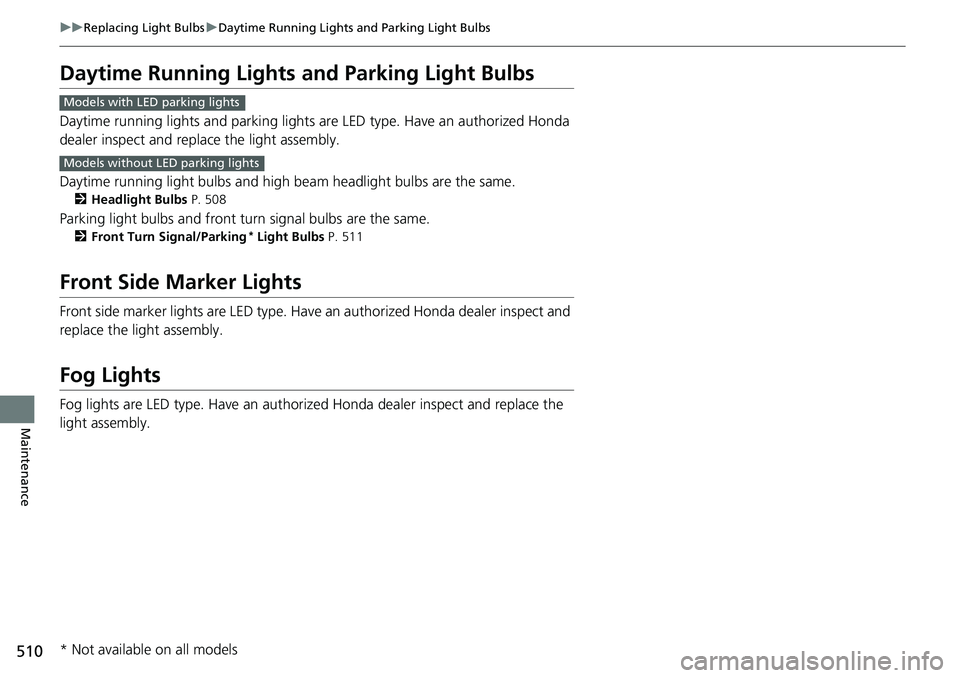
Daytime running lights and parking lights are LED type. Have an authorized Honda
dealer inspect and replace the light assembly.
Daytime running light bulbs and high beam headlight bulbs are the same.
2Headlight Bulbs P. 508
Parking light bulbs and front turn signal bulbs are the same.
2Front Turn Signal/Parking* Light Bulbs P. 511
Front Side Marker Lights
Front side marker lights are LED type. Have an authorized Honda dealer inspect and
replace the light assembly.
Fog Lights
Fog lights are LED type. Have an authoriz ed Honda dealer inspect and replace the
light assembly.
Models with LED parking lights
Models without LED parking lights
* Not available on all models
Page 515 of 598

513
uuReplacing Light Bulbs uRear License Plate Light Bulbs
Maintenance
Rear License Plate Light Bulbs
When replacing, use the following bulbs.
1.Remove the license plat e light assembly by
pulling it towards you, and then pulling the
front edge upward.
2. Turn the socket counter-clockwise and
remove it. Remove the old bulb.
3. Insert a new bulb and turn clockwise.
High-Mount Brake Light
High-mount brake light is LED type. Have an authorized Honda dealer inspect and
replace the light assembly.
Rear License Plate Lights:5W
Bulb
Socket
Page 518 of 598
516
Maintenance
Checking and Maintaining Tires
Checking Tires
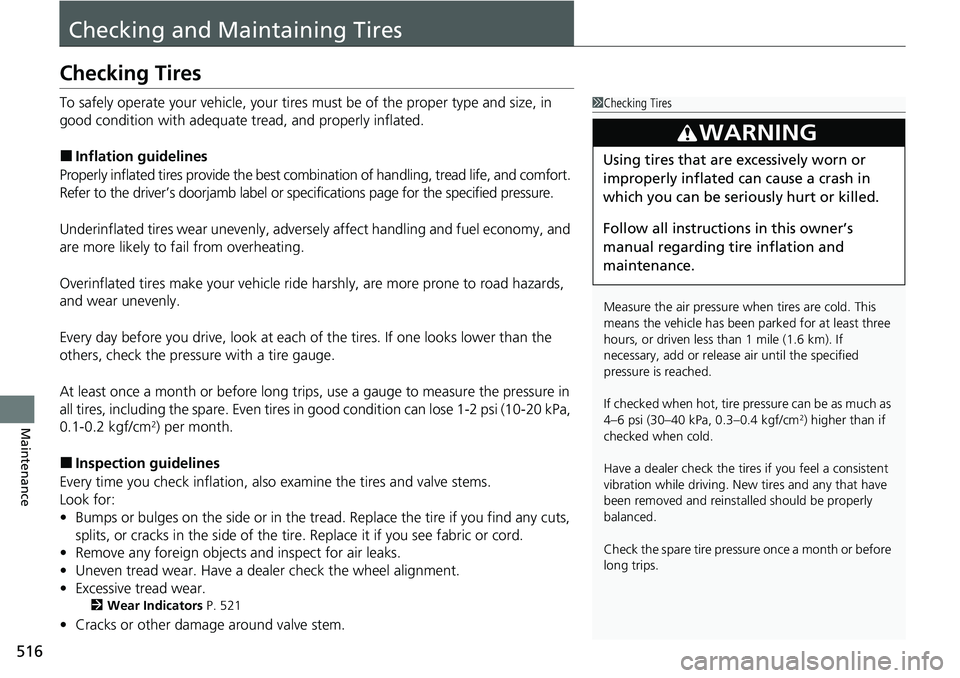
To safely operate your vehicle, your tires must be of the proper type and size, in
good condition with adequate tread, and properly inflated.
■Inflation guidelines
Properly inflated tires provide the best combination of handling, tread life, and comfort.
Refer to the driver’s doorjamb label or spec ifications page for the specified pressure.
Underinflated tires wear unevenly, adversely affect handling and fuel economy, and
are more likely to fail from overheating.
Overinflated tires make your vehicle ride harshly, are more prone to road hazards,
and wear unevenly.
Every day before you drive, look at each of the tires. If one looks lower than the
others, check the pressure with a tire gauge.
At least once a month or before long trips, use a gauge to measure the pressure in
all tires, including the spare. Even tires in good condition can lose 1-2 psi (10-20 kPa,
0.1-0.2 kgf/cm
2) per month.
■Inspection guidelines
Every time you check inflation, also examine the tires and valve stems.
Look for:
• Bumps or bulges on the side or in the tread. Replace the tire if you find any cuts,
splits, or cracks in the si de of the tire. Replace it if you see fabric or cord.
• Remove any foreign objects and inspect for air leaks.
• Uneven tread wear. Have a deal er check the wheel alignment.
• Excessive tread wear.
2 Wear Indicators P. 521
•Cracks or other damage around valve stem.
1Checking Tires
Measure the air pressure when tires are cold. This
means the vehicle has been parked for at least three
hours, or driven less than 1 mile (1.6 km). If
necessary, add or releas e air until the specified
pressure is reached.
If checked when hot, tire pressure can be as much as
4–6 psi (30–40 kPa, 0.3–0.4 kgf/cm
2) higher than if
checked when cold.
Have a dealer check the tires if you feel a consistent
vibration while driving. Ne w tires and any that have
been removed and reinst alled should be properly
balanced.
Check the spare tire pressu re once a month or before
long trips.
3WARNING
Using tires that are excessively worn or
improperly inflated can cause a crash in
which you can be seriously hurt or killed.
Follow all instruction s in this owner’s
manual regarding ti re inflation and
maintenance.
Page 522 of 598
uuChecking and Maintaining Tires uDOT Tire Quality Grading (U.S. Vehicles)
520
Maintenance
The traction grades, from highest to lowest, are AA, A, B, and C.
Those grades represent the tire’s ability to stop on wet pavement
as measured under controlled conditions on specified
government test surfaces of asphalt and concrete. A tire marked
C may have poor traction performance.
The temperature grades are A (the highest), B, and C,
representing the tire’s resistance to the generation of heat and its
ability to dissipate h eat when tested under controlled conditions
on a specified indoor laboratory test wheel. Sustained high
temperature can cause the material of the tire to degenerate and
reduce tire life, and excessive temp erature can lead to sudden tire
failure. The grade C corresponds to a level of performance which
all passenger car tires must meet under the Federal Motor Vehicle
Safety Standard No. 109. Grades B and A represent higher levels
of performance on the laboratory test wheel than the minimum
required by law.
■Traction
■Temperature
1 Traction
Warning: The traction grade
assigned to this tire is based on
straight-ahead braking traction tests,
and does not include acceleration,
cornering, hydroplaning, or peak
traction characteristics.
1Temperature
Warning: The temperature grade for
this tire is establishe d for a tire that is
properly inflated and not
overloaded. Excessive speed,
underinflation, or excessive loading,
either separately or in combination,
can cause heat buildup and possible
tire failure.
Page 527 of 598

525
Maintenance
Battery
Checking the Battery
The condition of the battery is monitored by a
sensor located on the negative terminal of the
battery. If there is a problem with this sensor,
the multi-information display will display a
warning message. If this happens, have your
vehicle inspected by a dealer.
Check the battery termi nals for corrosion
monthly.
To access the battery terminals:
1. Remove the engine compartment cover.
2 Engine Compartment Cover P. 498
2.Remove the clips using a phillips-head scre wdriver, then remove the air intake
duct.
2 High Beam Headlights P. 508
If your vehicle’s battery is disconnected or goes dead:
•The audio system is disabled.
2 Audio System Theft Protection P. 208
•The clock resets.
2 Clock P. 116
1Battery
WARNING: Battery post, terminals,
and related accessories contain lead
and lead compounds.
Wash your hands after handling.
When you find corrosion, cl ean the battery terminals
by applying a baking powder and water solution.
Clean the terminals with a damp towel. Cloth/towel
dry the battery. Coat the terminals with grease to
help prevent future corrosion.
When replacing the battery, the replacement must be
of the same specifications.
Consult a dealer for more information.
3WARNING
The battery gives off explosive hydrogen
gas during normal operation.
A spark or flame can cause the battery to
explode with enough force to kill or
seriously hurt you.
When conducting any battery
maintenance, wear prot ective clothing and
a face shield, or have a skilled technician do
it.
Models without navigation system