parking brake Hyundai Azera 2005 Owner's Manual
[x] Cancel search | Manufacturer: HYUNDAI, Model Year: 2005, Model line: Azera, Model: Hyundai Azera 2005Pages: 297, PDF Size: 13.2 MB
Page 12 of 297
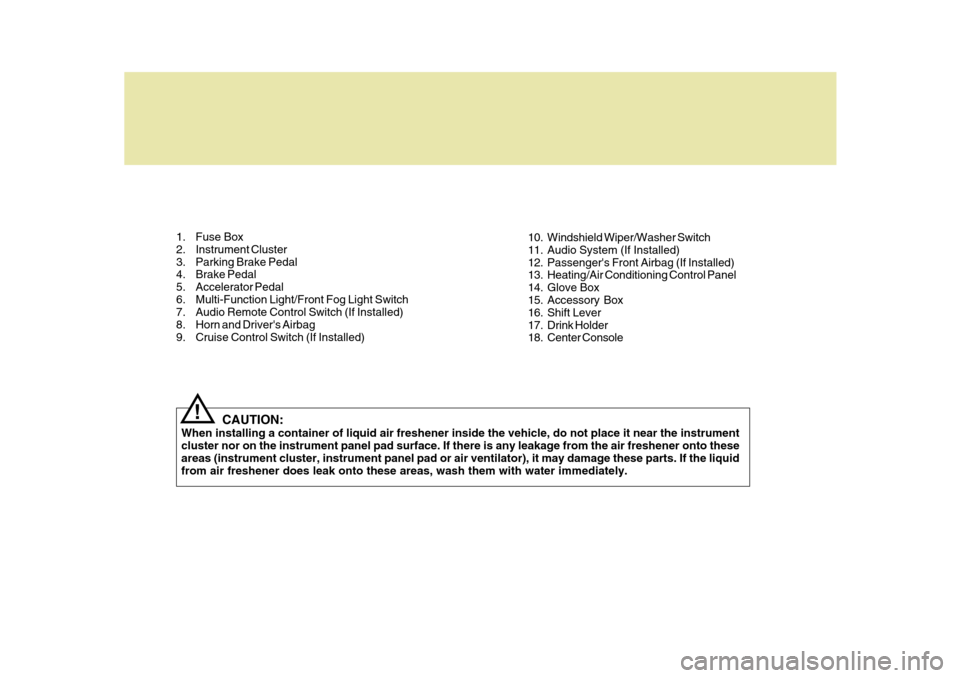
1. Fuse Box
2. Instrument Cluster
3. Parking Brake Pedal
4. Brake Pedal
5. Accelerator Pedal
6. Multi-Function Light/Front Fog Light Switch
7. Audio Remote Control Switch (If Installed)
8. Horn and Driver's Airbag
9. Cruise Control Switch (If Installed)CAUTION:
When installing a container of liquid air freshener inside the vehicle, do not place it near the instrumentcluster nor on the instrument panel pad surface. If there is any leakage from the air freshener onto theseareas (instrument cluster, instrument panel pad or air ventilator), it may damage these parts. If the liquid from air freshener does leak onto these areas, wash them with water immediately.
! 10. Windshield Wiper/Washer Switch
11. Audio System (If Installed)
12. Passenger's Front Airbag (If Installed)
13. Heating/Air Conditioning Control Panel
14. Glove Box
15. Accessory Box
16. Shift Lever
17. Drink Holder
18. Center Console
Page 16 of 297
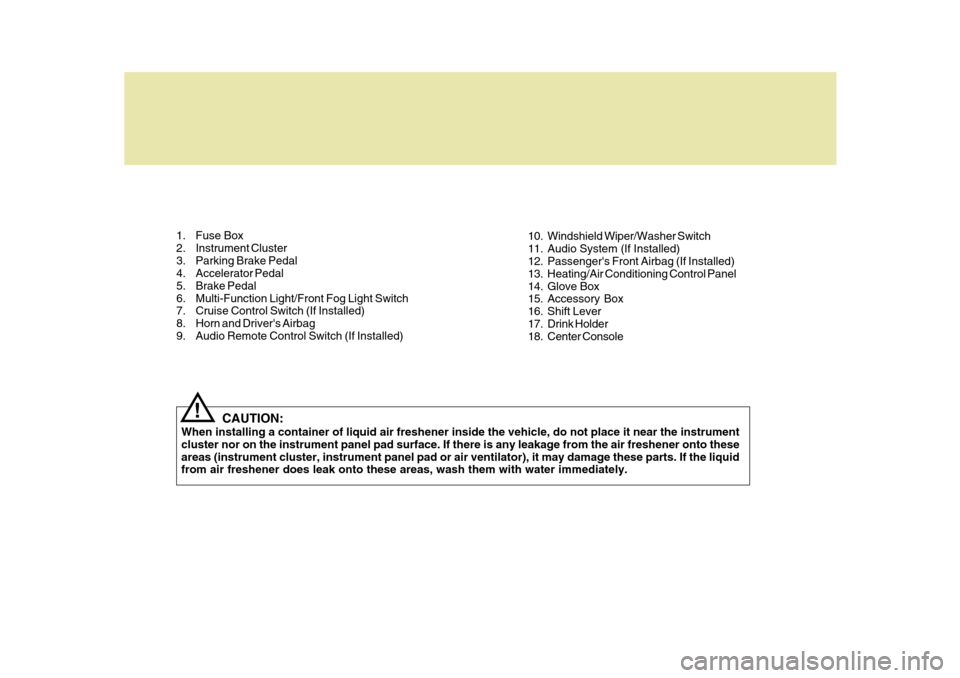
1. Fuse Box
2. Instrument Cluster
3. Parking Brake Pedal
4. Accelerator Pedal
5. Brake Pedal
6. Multi-Function Light/Front Fog Light Switch
7. Cruise Control Switch (If Installed)
8. Horn and Driver's Airbag
9. Audio Remote Control Switch (If Installed)CAUTION:
When installing a container of liquid air freshener inside the vehicle, do not place it near the instrumentcluster nor on the instrument panel pad surface. If there is any leakage from the air freshener onto theseareas (instrument cluster, instrument panel pad or air ventilator), it may damage these parts. If the liquid from air freshener does leak onto these areas, wash them with water immediately.
! 10. Windshield Wiper/Washer Switch
11. Audio System (If Installed)
12. Passenger's Front Airbag (If Installed)
13. Heating/Air Conditioning Control Panel
14. Glove Box
15. Accessory Box
16. Shift Lever
17. Drink Holder
18. Center Console
Page 17 of 297

YOUR VEHICLE AT A GLANCE
B255A01TG-GAT INDICATOR SYMBOLS ON THE INSTRUMENT CLUSTER
High Beam Indicator Light Door Ajar Warning Light
Seat Belt Warning Light
Turn Signal Indicator LightsPassenger's Front Airbag OFF Indicator Light (If Installed)
ABS Service Reminder Indicator (SRI)
Low Oil Pressure Warning Light Parking Brake/Low Brake Fluid Level Warning Light Charging System Warning Light
SRS (Airbag) Service Reminder Indicator (SRI)
Cruise Indicator Light (If Installed)
Malfunction Indicator Light
Electronic Stability Program Indicator Lights (If Installed)
Low Windshield Washer Fluid Level Warning Light
Front Fog Indicator Light
Cruise SET Indicator Light (If Installed)
* More detailed explanations of these items will be found beginning on page 1-62.Low Fuel Level Warning Light
Trunk Lid Open Warning Light Immobilizer Warning Light (If Installed)
Page 76 of 297

1
FEATURES OF YOUR HYUNDAI
59
1. Malfunction Indicator Light (MIL)
2. Low Oil Pressure Warning Light
3. Charging System Warning Light
4. Passenger's Front Airbag OFF Indicator Light (If Installed)
5. SRS (Airbag) Service Reminder Indicator (SRI)
6. Tachometer
7. Turn Signal Indicator Lights
8. High Beam Indicator Light
9. Electronic Stability Program (ESP) Indicator Light (If Installed)
10. Automatic Transaxle Position Indicator Light
11. CRUISE Indicator Light (If Installed)
12. Front Fog Indicator Light 13. Cruise SET Indicator Light (If Installed)
14. Speedometer
15. Low Windshield Washer Fluid Level Warning Light
16. Trunk Lid Open Warning Light
17. Immobilizer Warning Light (If Installed)
18. Coolant Temperature Gauge
19. ABS Service Reminder Indicator (SRI)
20. Door Ajar Warning Light
21. Seat Belt Warning Light (Driver's Side)
22. Odometer/ Trip Computer
23. Parking Brake/Low Brake Fluid Level Warning Light
24. Low Fuel Warning Light
25. Fuel Gauge
Page 78 of 297

1
FEATURES OF YOUR HYUNDAI
61
1. Tachometer
2. High Beam Indicator Light
3. Turn Signal Indicator Lights
4. Speedometer
5. Front Fog Indicator Light
6. Coolant Temperature Gauge
7. Fuel Gauge
8. Charging System Warning Light
9. Passenger's Front Airbag OFF Indicator Light (If Installed)
10. Parking Brake/Low Brake Fluid Level Warning Light
11. Seat Belt Warning Light (Driver's Side)
12. Door Ajar Warning Light
13. SRS (Airbag) Service Reminder Indicator (SRI) 14. Malfunction Indicator Light (MIL)
15. Low Oil Pressure Warning Light
16. Low Windshield Washer Fluid Level Warning Light
17. ABS Service Reminder Indicator (SRI)
18. CRUISE Indicator Light (If Installed)
19. Trunk Lid Open Warning Light
20. Immobilizer Warning Light (If Installed)
21. Cruise SET Indicator Light (If Installed)
22. Automatic Transaxle Position Indicator Light
23. Odometer/Trip Computer/Warning Text
24. Electronic Stability Program (ESP) Indicator Light
(If Installed)
25. Low Fuel Warning Light
Page 80 of 297
1
FEATURES OF YOUR HYUNDAI
63
!
Your Hyundai is equipped with dual- diagonal braking systems. This meansyou still have braking on two wheels even if one of the dual systems should fail. With only one of the dual systemsworking, more than normal pedal travel and greater pedal pressure are re- quired to stop the car. Also, the car willnot stop in as short a distance with only half of the brake system working. If the brakes fail while you are driving, shiftto a lower gear for additional engine braking and stop the car as soon as it is safe to do so.
B260H02A-GAT
Parking Brake/Low Brake
Fluid Level Warning Light
WARNING:
If you suspect brake trouble, haveyour brakes checked by a Hyundai dealer as soon as possible. Driving your car with a problem in either thebrake electrical system or brake hydraulic system is dangerous, and could result in a serious injury or death.Warning Light Operation The parking brake/low brake fluid level warning light should come on when theparking brake is applied and the igni- tion switch is turned to "ON" or "START". After the engine is started,the light should go out when the park- ing brake is released. If the parking brake is not applied, thewarning light should come on when the ignition switch is turned to "ON" or "START", then go out when the enginestarts. If the light comes on at any other time, you should slow the vehicle and bring it to a complete stop in a safelocation off the roadway. The brake fluid level warning light indi- cates that the brake fluid level in thebrake master cylinder is low and hy- draulic brake fluid conforming to DOT 3 or DOT 4 specifications should beadded. After adding fluid, if no other trouble is found, the car should be immediately and carefully driven to aHyundai dealer for inspection. If fur- ther trouble is experienced, the vehicle should not be driven at all but taken toa dealer by a professional towing ser- vice or some other safe method.
Page 85 of 297
1FEATURES OF YOUR HYUNDAI
68
!
B260P01TG-GAT
ABS Service Reminder
Indicator (SRI)
When the key is turned to the "ON" position, the Anti-Lock Brake SystemSRI will come on and then go off in a few seconds. If the ABS SRI remains on, comes on while driving, or does notcome on when the key is turned to the "ON" position, this indicates that there may be a problem with the ABS.If this occurs, have your vehicle checked by your Hyundai dealer as soon as possible. The normal brakingsystem will still be operational, but without the assistance of the anti-lock brake system.
WARNING:
If the both ABS SRI and Parking Brake/Low Brake fluid level warn- ing lights remain "ON" or come on while driving, there may be a prob-lem with E.B.D. (Electronic brake force distribution). If this occurs, avoid sudden stopsand have your vehicle checked by your Hyundai dealer as soon as pos- sible.
CAUTION:
If there is a malfunction of the passenger's front airbag ON/OFF switch, the passenger's front airbagOFF indicator will not illuminate and the passenger's front airbag will inflate in frontal impact crasheseven if the passenger's front airbag ON/OFF switch is set to the "OFF" position.If the passenger's front airbag OFF indicator will not illuminate when the passenger's front airbag ON/OFF switch is set to the "OFF" po- sition, have an authorized Hyundai dealer inspect the passenger's frontairbag ON/OFF switch and the SRS airbag system as soon as possible.
!
B230T02NF-GAT
Passenger's Front Airbag
OFF Indicator Light
(If Installed)
The passenger's front airbag OFF in- dicator illuminates for about 4 seconds after the ignition key is turned to the"ON" position or after the engine is started, and then it will go off in 3 seconds.The passenger's front airbag OFF in- dicator also comes on when the passenger's front airbag ON/OFFswitch is set to "OFF" position and turns off when the passenger's front airbag ON/OFF switch is set to "ON"position.
Page 95 of 297
1FEATURES OF YOUR HYUNDAI
78
B340G01TG
NOTE:
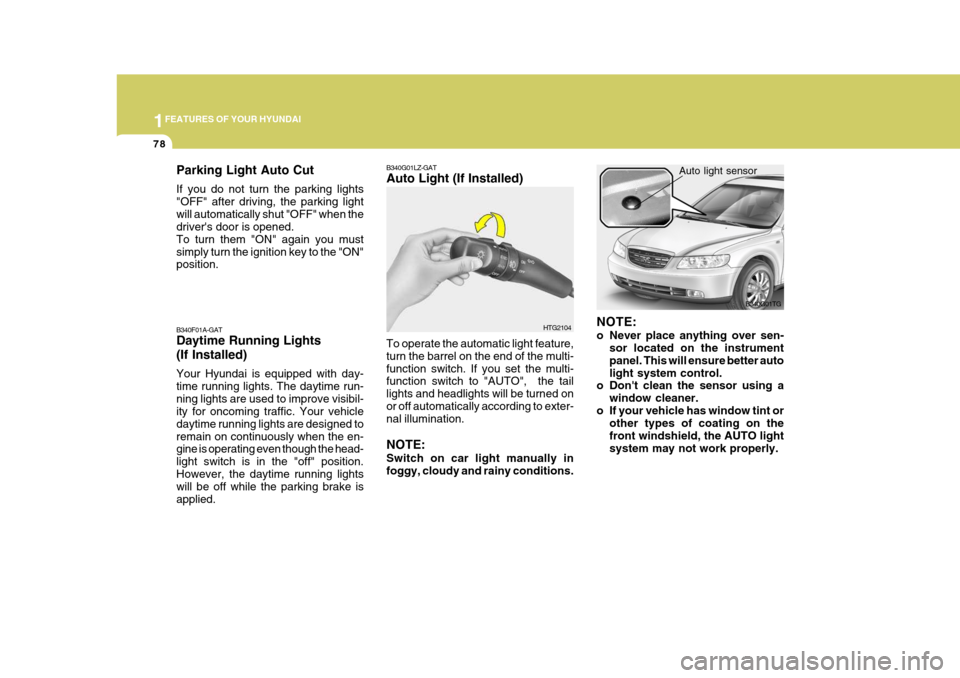
o Never place anything over sen- sor located on the instrument panel. This will ensure better autolight system control.
o Don't clean the sensor using a
window cleaner.
o If your vehicle has window tint or other types of coating on thefront windshield, the AUTO lightsystem may not work properly.
Auto light sensorB340G01LZ-GAT Auto Light (If Installed) To operate the automatic light feature, turn the barrel on the end of the multi-function switch. If you set the multi- function switch to "AUTO", the tail lights and headlights will be turned onor off automatically according to exter- nal illumination. NOTE: Switch on car light manually in foggy, cloudy and rainy conditions. HTG2104
B340F01A-GAT Daytime Running Lights (If Installed) Your Hyundai is equipped with day- time running lights. The daytime run-ning lights are used to improve visibil- ity for oncoming traffic. Your vehicle daytime running lights are designed toremain on continuously when the en- gine is operating even though the head- light switch is in the "off" position.However, the daytime running lights will be off while the parking brake is applied.
Parking Light Auto Cut If you do not turn the parking lights "OFF" after driving, the parking lightwill automatically shut "OFF" when the driver's door is opened. To turn them "ON" again you mustsimply turn the ignition key to the "ON" position.
Page 117 of 297
1FEATURES OF YOUR HYUNDAI
100
B520B02O-GAT Electric type (If Installed) The electric type day/night inside rear- view mirror automatically controls the glare of headlights of the car behindyou.
1. Pressing the button turns the
auto-dimming function OFF which is indicated by the green status indi- cator LED turning off.
2. Pressing the button again turns the auto-dimming function ON whichis indicated by the green status indi- cator LED turning on.
NOTE: The mirror defaults to the "ON" posi- tion each time the vehicle is started. HTG2080B530A01TG-GAT
B530A01TG
PARKING BRAKE
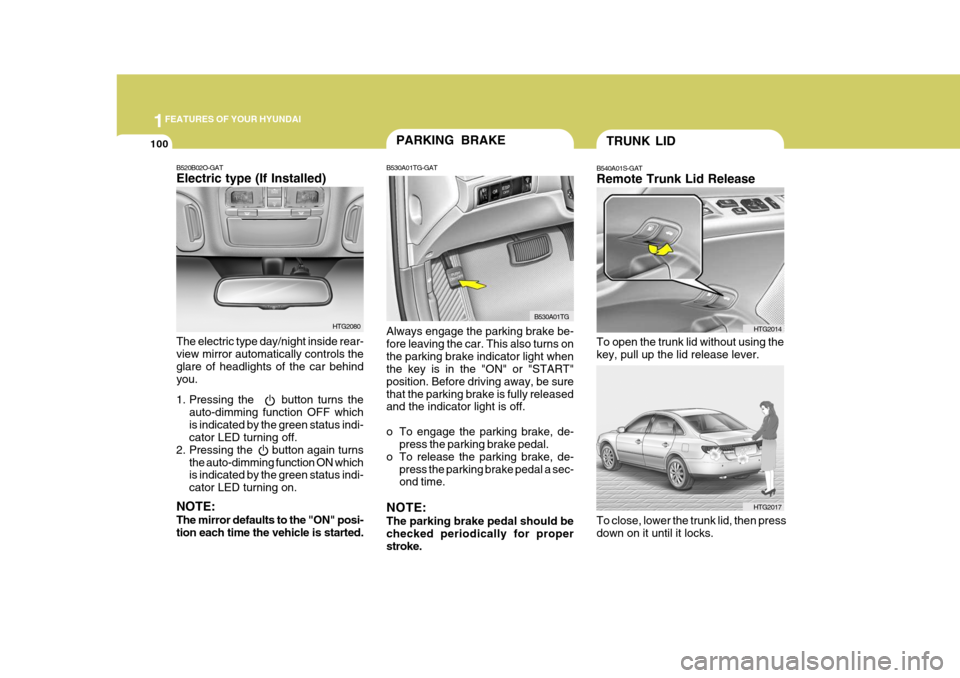
Always engage the parking brake be- fore leaving the car. This also turns onthe parking brake indicator light when the key is in the "ON" or "START" position. Before driving away, be surethat the parking brake is fully released and the indicator light is off.
o To engage the parking brake, de- press the parking brake pedal.
o To release the parking brake, de- press the parking brake pedal a sec- ond time.
NOTE: The parking brake pedal should be checked periodically for proper stroke.
TRUNK LID
B540A01S-GAT Remote Trunk Lid Release To open the trunk lid without using the key, pull up the lid release lever. HTG2014
HTG2017
To close, lower the trunk lid, then press down on it until it locks.
Page 187 of 297
2
DRIVING YOUR HYUNDAI
3BEFORE STARTING THE ENGINE
C020A01A-AAT Before you start the engine, you should always:
1. Look around the vehicle to be sure
there are no flat tires, puddles of oil, water or other indications of pos- sible trouble.
2. After entering the car, check to be sure the parking brake is engaged.
3. Check that all windows and lights are clean.
4. Check that the interior and exterior
mirrors are clean and in position.
5. Check your seat, seatback and headrest to be sure they are in theirproper positions.
6. Lock all the doors.
7. Fasten your seat belt and be sure
that all other occupants have fas- tened theirs.
8. Turn off all lights and accessories
that are not needed. C030A01TG-GAT COMBINATION IGNITION SWITCH
o Place the shift lever in "P" (park) and
depress the brake pedal fully.
o To start the engine, insert the ignition key and turn it to the "START" posi- tion. Release it as soon as the en-gine starts. Do not hold the key in the "START" position for more than 15 seconds.
NOTE: For safety, the engine will not start if the shift lever is not in "P" or "N" position.
9. When you turn the ignition switch to
"ON", check that all appropriatewarning lights are operating and that you have sufficient fuel.
10.Check the operation of warning
lights and all bulbs when key is inthe "ON" position. TO START THE ENGINE