start stop button Hyundai Elantra 2018 Owner's Manual
[x] Cancel search | Manufacturer: HYUNDAI, Model Year: 2018, Model line: Elantra, Model: Hyundai Elantra 2018Pages: 526, PDF Size: 17.2 MB
Page 16 of 526
I
IN
N S
ST
T R
R U
U M
M E
EN
N T
T
P
P A
A N
N E
EL
L
O
O V
VE
ER
R V
V I
IE
E W
W
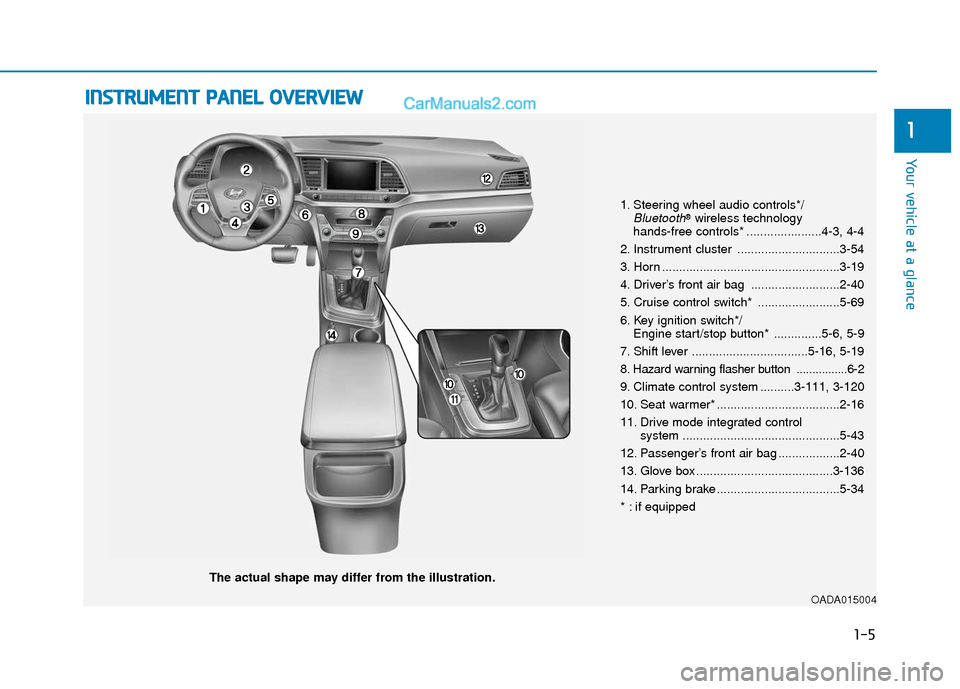
The actual shape may differ from the illustration.
1-5
Your vehicle at a glance
1
1. Steering wheel audio controls*/Bluetooth®wireless technology
hands-free controls* ......................4-3, 4-4
2. Instrument cluster ..............................3-54
3. Horn ....................................................3-19
4. Driver’s front air bag ..........................2-40
5. Cruise control switch* ........................5-69
6. Key ignition switch*/ Engine start/stop button* ..............5-6, 5-9
7. Shift lever ..................................5-16, 5-19
8
. Hazard warning flasher button ................6-2
9. Climate control system ..........3-111, 3-120
10. Seat warmer* ....................................2-16
11. Drive mode integrated control system ..............................................5-43
12. Passenger’s front air bag ..................2-40
13. Glove box ........................................3-136
14. Parking brake ....................................5-34
* : if equipped
OADA015004
Page 76 of 526
2-59
Safety system of your vehicle
2
Additional Safety Precautions
Passengers should not move out of or
change seats while the vehicle is mov-
ing.A passenger who is not wearing a
seat belt during a crash or emergency
stop can be thrown against the inside of
the vehicle, against other occupants, or
be ejected from the vehicle.
Do not use any accessories on seat
belts. Devices claiming to improve occu-
pant comfort or reposition the seat belt
can reduce the protection provided by
the seat belt and increase the chance of
serious injury in a crash
Do not modify the front seats.
Modification of the front seats could inter-
fere with the operation of the supplemen-
tal restraint system sensing components
or side air bags.
Do not place items under the front
seats. Placing items under the front
seats could interfere with the operation of
the supplemental restraint system sens-
ing components and wiring harnesses.
Do not cause impact to the doors.
Impact to the doors when the Engine
Start/Stop button is in the ON position
may cause the air bags to inflate. Modifications to accommodate dis-
abilities.
If you require modification to
your vehicle to accommodate a disability,
contact the HYUNDAI Customer
Connect Center at 1-877-378-8727.
Adding equipment to or modify- ing your air bag equipped vehicle
If you modify your vehicle by changing
your vehicle's frame, bumper system,
front end or side sheet metal or ride
height, this may affect the operation of
your vehicle's air bag system.
(Continued)
If components of the air bag sys-
tem must be discarded, or if the
vehicle must be scrapped, certain
safety precautions must be
observed. Consult an authorized
HYUNDAI dealer for the neces-
sary information. Failure to follow
these precautions could increase
the risk of personal injury.
Page 84 of 526
3-7
Convenient features of your vehicle
3
Information
The door handle button will only operate
when the smart key is within 28~40 inches
(0.7~1 m) from the outside door handle.
Even though you press the outside door
handle button, the doors will not lock and
the chime will sound for three seconds if
any of the following occur:
The Smart Key is in the vehicle.
The Engine Start/Stop button is in ACCor ON position.
Any door except the trunk is open.
Unlocking
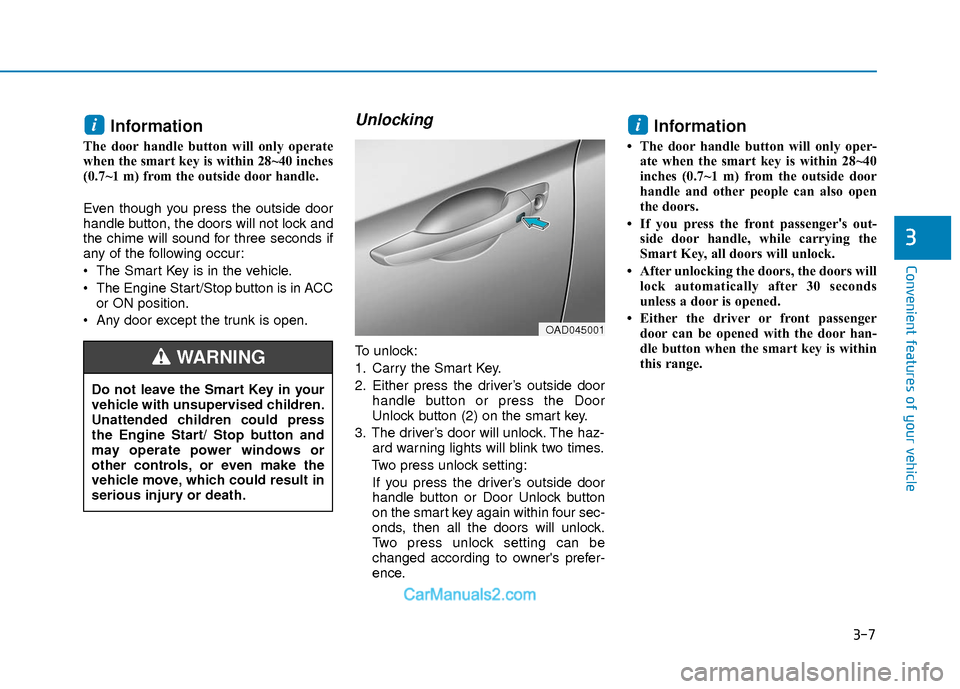
To unlock:
1. Carry the Smart Key.
2. Either press the driver’s outside door handle button or press the Door
Unlock button (2) on the smart key.
3. The driver’s door will unlock. The haz- ard warning lights will blink two times.
Two press unlock setting: If you press the driver’s outside door
handle button or Door Unlock button
on the smart key again within four sec-
onds, then all the doors will unlock.
Two press unlock setting can be
changed according to owner's prefer-
ence.
Information
• The door handle button will only oper- ate when the smart key is within 28~40
inches (0.7~1 m) from the outside door
handle and other people can also open
the doors.
• If you press the front passenger 's out-
side door handle, while carrying the
Smart Key, all doors will unlock.
• After unlocking the doors, the doors will lock automatically after 30 seconds
unless a door is opened.
• Either the driver or front passenger door can be opened with the door han-
dle button when the smart key is within
this range.
ii
Do not leave the Smart Key in your
vehicle with unsupervised children.
Unattended children could press
the Engine Start/ Stop button and
may operate power windows or
other controls, or even make the
vehicle move, which could result in
serious injury or death.
WARNING
OAD045001
Page 85 of 526
3-8
Convenient features of your vehicle
Trunk opening
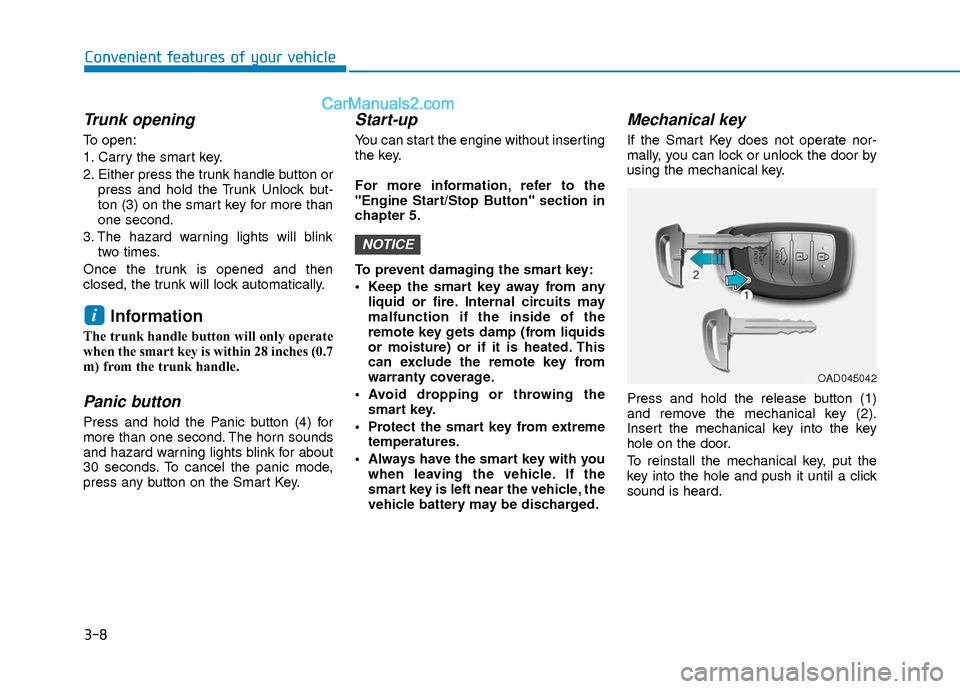
To open:
1. Carry the smart key.
2. Either press the trunk handle button orpress and hold the Trunk Unlock but-
ton (3) on the smart key for more than
one second.
3. The hazard warning lights will blink two times.
Once the trunk is opened and then
closed, the trunk will lock automatically.
Information
The trunk handle button will only operate
when the smart key is within 28 inches (0.7
m) from the trunk handle.
Panic button
Press and hold the Panic button (4) for
more than one second. The horn sounds
and hazard warning lights blink for about
30 seconds. To cancel the panic mode,
press any button on the Smart Key.
Start-up
You can start the engine without inserting
the key.
For more information, refer to the
"Engine Start/Stop Button" section in
chapter 5.
To prevent damaging the smart key:
Keep the smart key away from any liquid or fire. Internal circuits may
malfunction if the inside of the
remote key gets damp (from liquids
or moisture) or if it is heated. This
can exclude the remote key from
warranty coverage.
Avoid dropping or throwing the smart key.
Protect the smart key from extreme temperatures.
Always have the smart key with you when leaving the vehicle. If the
smart key is left near the vehicle, the
vehicle battery may be discharged.
Mechanical key
If the Smart Key does not operate nor-
mally, you can lock or unlock the door by
using the mechanical key.
Press and hold the release button (1)
and remove the mechanical key (2).
Insert the mechanical key into the key
hole on the door.
To reinstall the mechanical key, put the
key into the hole and push it until a click
sound is heard.
NOTICE
i
OAD045042
Page 107 of 526
3-30
Convenient features of your vehicle
To adjust the Zone setting:
1. Determine the desired Zone Numberbased upon your current location on
the Zone Map.
2. Press and hold the button for more than 3 but less than 6 seconds, the
current Zone Number will appear on
the display.
3. Pressing and holding the button again will cause the numbers to incre-
ment (Note: they will repeat …13, 14,
15, 1, 2, …). Releasing the button
when the desired Zone Number
appears on the display will set the new
Zone.
4. Within about 5 seconds the compass will start displaying a compass head-
ing again.
There are some conditions that can
cause changes to the vehicle magnets,
such as installing a ski rack or a CB
antenna. Body repair work on the vehicle
can also cause changes to the vehicle’s
magnetic field. In these situations, the
compass will need to be re-calibrated to
quickly correct these changes. If you need to recalibrate the compass:
1. Press and hold the button for more
than 6 seconds. When the compass
memory is cleared a "C" will appear in
the display.
2. Drive the vehicle in 2 complete circles at less than 5 mph (8 km/h).
Integrated HomeLink®Wireless
Control System
The HomeLink®Wireless Control System
can replace up to three hand-held radio-
frequency (RF) transmitters with a single
built-in device. This innovative feature will
learn the radio frequency codes of most
current transmitters to operate devices
such as gate operators, garage door
openers, entry door locks, security sys-
tems, even home lighting. Both standard
and rolling code-equipped transmitters
can be programmed by following the out-
lined procedures.
Additional HomeLink
®information can be
found at: www.homelink.com or by calling
1-800-355-3515.
Retain the original transmitter of the RF
device you are programming for use in
other vehicles as well as for future
HomeLink
®programming. It is also sug-
gested that upon the sale of the vehicle,
the programmed HomeLink
®buttons be
erased for security purposes.
Before programming HomeLink®to
a garage door opener or gate oper-
ator, make sure people and objects
are out of the way of the device to
prevent potential harm or damage.
Do not use the HomeLink
®with any
garage door opener that lacks the
safety stop and reverse features
required by U.S. federal safety stan-
dards (this includes any garage
door opener model manufactured
before April 1, 1982). A garage door
that cannot detect an object - sig-
naling the door to stop and reverse
- does not meet current U.S. federal
safety standards. Using a garage
door opener without these features
increases the risk of serious injury
or death.
WARNING
Page 134 of 526
3-57
Convenient features of your vehicle
3
Tachometer
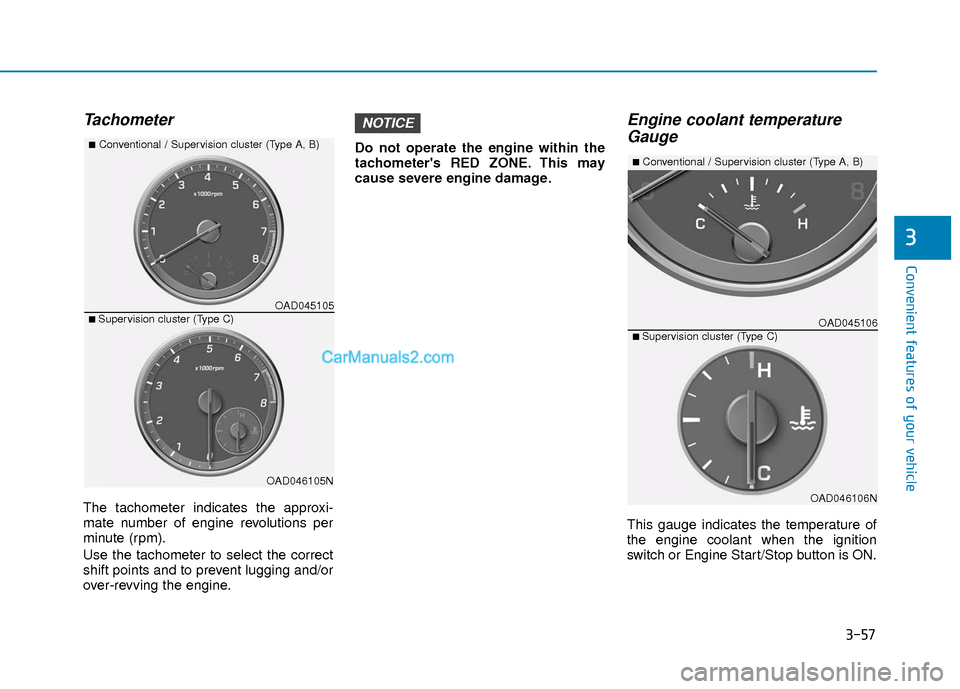
The tachometer indicates the approxi-
mate number of engine revolutions per
minute (rpm).
Use the tachometer to select the correct
shift points and to prevent lugging and/or
over-revving the engine.Do not operate the engine within the
tachometer's RED ZONE. This may
cause severe engine damage.
Engine coolant temperature
Gauge
This gauge indicates the temperature of
the engine coolant when the ignition
switch or Engine Start/Stop button is ON.
NOTICE
OAD045105
■Conventional / Supervision cluster (Type A, B)
■ Supervision cluster (Type C)
OAD046105N
OAD045106
■Conventional / Supervision cluster (Type A, B)
■ Supervision cluster (Type C)
OAD046106N
Page 138 of 526
3-61
Convenient features of your vehicle
3
Icy road warning light
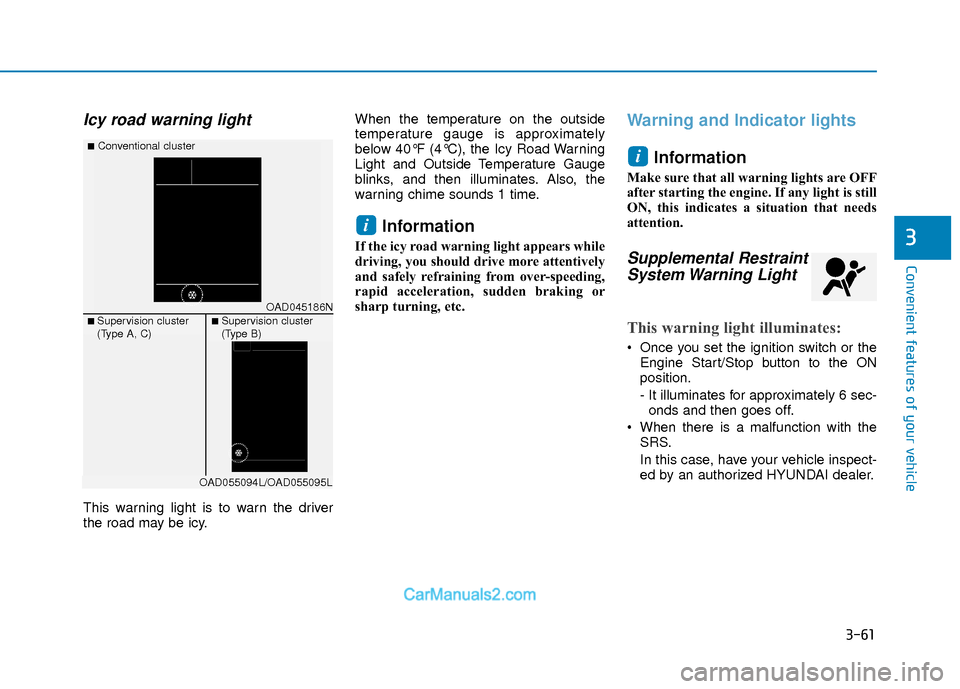
This warning light is to warn the driver
the road may be icy.When the temperature on the outside
temperature gauge is approximately
below 40°F (4°C), the Icy Road Warning
Light and Outside Temperature Gauge
blinks, and then illuminates. Also, the
warning chime sounds 1 time.
Information
If the icy road warning light appears while
driving, you should drive more attentively
and safely refraining from over-speeding,
rapid acceleration, sudden braking or
sharp turning, etc.
Warning and Indicator lights
Information
Make sure that all warning lights are OFF
after starting the engine. If any light is still
ON, this indicates a situation that needs
attention.
Supplemental RestraintSystem Warning Light
This warning light illuminates:
Once you set the ignition switch or the
Engine Start/Stop button to the ON
position.
- It illuminates for approximately 6 sec-onds and then goes off.
When there is a malfunction with the SRS.
In this case, have your vehicle inspect-
ed by an authorized HYUNDAI dealer.
i
i
OAD045186N
■Conventional cluster
■ Supervision cluster
(Type A, C)■ Supervision cluster
(Type B)
OAD055094L/OAD055095L
Page 139 of 526
3-62
Convenient features of your vehicle
Parking Brake & Brake Fluid
Warning Light
Driving the vehicle with a warning
light ON is dangerous. If the
Parking Brake & Brake Fluid
Warning Light illuminates with the
parking brake released, it indicates
that the brake fluid level is low.
In this case, have your vehicle
inspected by an authorized
HYUNDAI dealer.
WARNING
Seat Belt Warning Light
This warning light informs the driver that
the seat belt is not fastened.
For more information, refer to the
"Seat Belts" in chapter 2.
Parking Brake & BrakeFluid Warning Light
This warning light illuminates:
Once you set the ignition switch or the
Engine Start/Stop button to the ON
position.
- It illuminates for approximately 3 sec-onds.
- It remains on if the parking brake is applied.
When the parking brake is applied.
When the brake fluid level in the reser- voir is low.
- If the warning light illuminates withthe parking brake released, it indi-
cates the brake fluid level in reservoir
is low.
If the brake fluid level in the reser-
voir is low:
1. Drive carefully to the nearest safe location and stop your vehicle.
2. With the engine stopped, check the brake fluid level immediately and add
fluid as required (For more informa-
tion, refer to "Brake Fluid" in chap-
ter 7). After adding brake fluid, check
all brake components for fluid leaks. If
a brake fluid leak is found, or if the
warning light remains on, or if the
brakes do not operate properly, do not
drive the vehicle. Have the vehicle
inspected by an authorized HYUNDAI
dealer.
Dual-diagonal braking system
Your vehicle is equipped with dual-diago-
nal braking systems. This means you still
have braking on two wheels even if one
of the dual systems should fail.
With only one of the dual systems work-
ing, more than normal pedal travel and
greater pedal pressure is required to stop
the vehicle. Also, the vehicle will not stop in as short
a distance with only a portion of the
brake system working.
If the brakes fail while you are driving,
shift to a lower gear for additional engine
braking and stop the vehicle as soon as
it is safe to do so.
Page 140 of 526
3-63
Convenient features of your vehicle
3
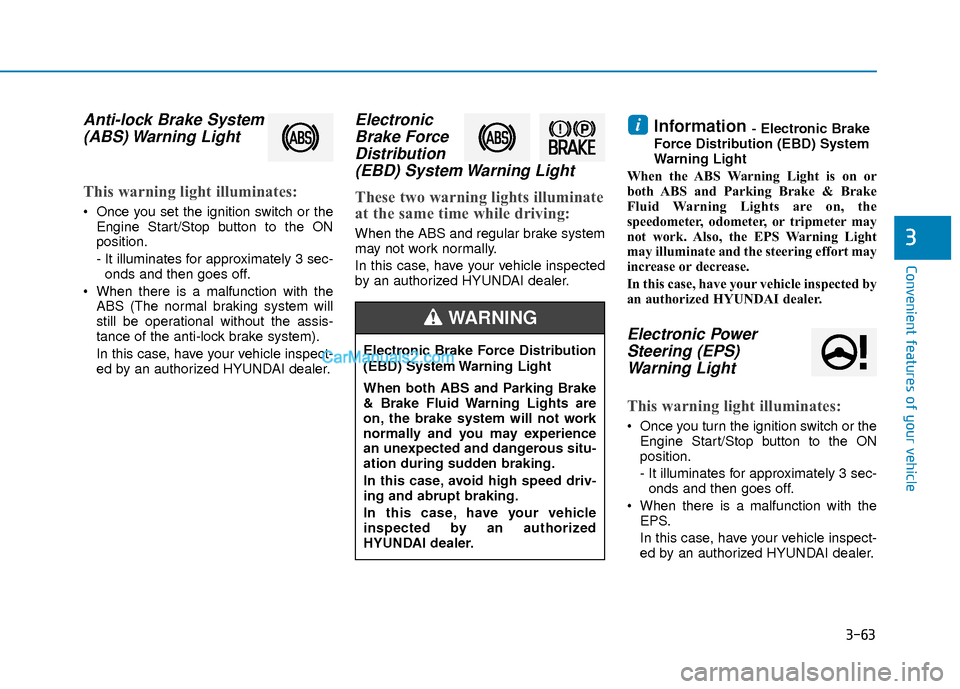
Anti-lock Brake System(ABS) Warning Light
This warning light illuminates:
Once you set the ignition switch or the
Engine Start/Stop button to the ON
position.
- It illuminates for approximately 3 sec-onds and then goes off.
When there is a malfunction with the ABS (The normal braking system will
still be operational without the assis-
tance of the anti-lock brake system).
In this case, have your vehicle inspect-
ed by an authorized HYUNDAI dealer.
ElectronicBrake ForceDistribution(EBD) System Warning Light
These two warning lights illuminate
at the same time while driving:
When the ABS and regular brake system
may not work normally.
In this case, have your vehicle inspected
by an authorized HYUNDAI dealer.
Information - Electronic Brake
Force Distribution (EBD) System
Warning Light
When the ABS Warning Light is on or
both ABS and Parking Brake & Brake
Fluid Warning Lights are on, the
speedometer, odometer, or tripmeter may
not work. Also, the EPS Warning Light
may illuminate and the steering effort may
increase or decrease.
In this case, have your vehicle inspected by
an authorized HYUNDAI dealer.
Electronic Power Steering (EPS)Warning Light
This warning light illuminates:
Once you turn the ignition switch or the
Engine Start/Stop button to the ON
position.
- It illuminates for approximately 3 sec-onds and then goes off.
When there is a malfunction with the EPS.
In this case, have your vehicle inspect-
ed by an authorized HYUNDAI dealer.
i
Electronic Brake Force Distribution
(EBD) System Warning Light
When both ABS and Parking Brake
& Brake Fluid Warning Lights are
on, the brake system will not work
normally and you may experience
an unexpected and dangerous situ-
ation during sudden braking.
In this case, avoid high speed driv-
ing and abrupt braking.
In this case, have your vehicle
inspected by an authorized
HYUNDAI dealer.
WARNING
Page 141 of 526
3-64
Convenient features of your vehicle
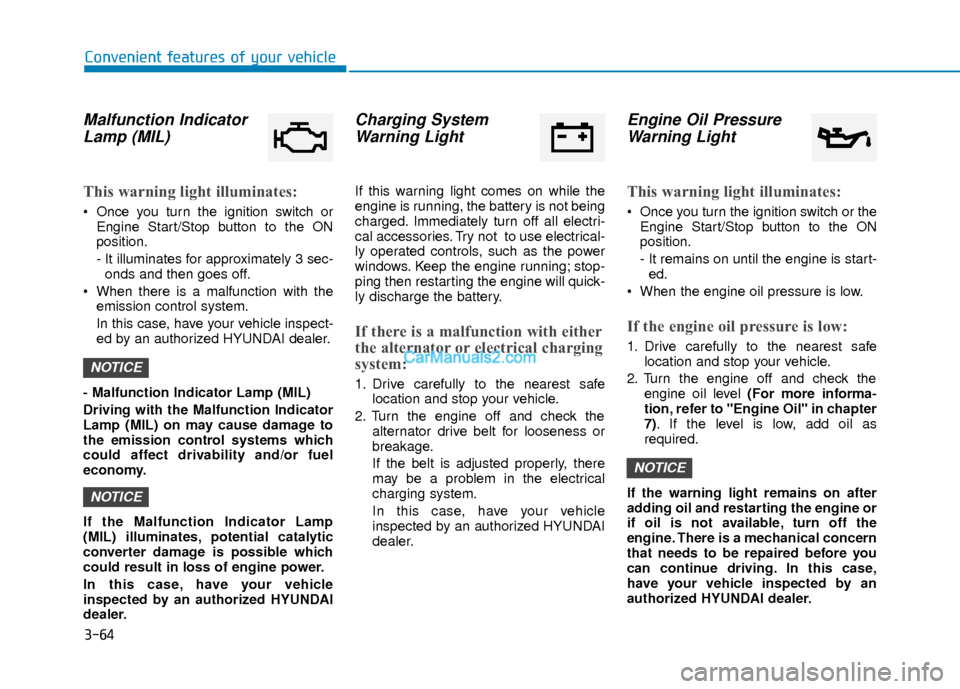
Malfunction IndicatorLamp (MIL)
This warning light illuminates:
Once you turn the ignition switch or
Engine Start/Stop button to the ON
position.
- It illuminates for approximately 3 sec-onds and then goes off.
When there is a malfunction with the emission control system.
In this case, have your vehicle inspect-
ed by an authorized HYUNDAI dealer.
- Malfunction Indicator Lamp (MIL)
Driving with the Malfunction Indicator
Lamp (MIL) on may cause damage to
the emission control systems which
could affect drivability and/or fuel
economy.
If the Malfunction Indicator Lamp
(MIL) illuminates, potential catalytic
converter damage is possible which
could result in loss of engine power.
In this case, have your vehicle
inspected by an authorized HYUNDAI
dealer.
Charging System Warning Light
If this warning light comes on while the
engine is running, the battery is not being
charged. Immediately turn off all electri-
cal accessories. Try not to use electrical-
ly operated controls, such as the power
windows. Keep the engine running; stop-
ping then restarting the engine will quick-
ly discharge the battery.
If there is a malfunction with either
the alternator or electrical charging
system:
1. Drive carefully to the nearest safe
location and stop your vehicle.
2. Turn the engine off and check the alternator drive belt for looseness or
breakage.
If the belt is adjusted properly, there
may be a problem in the electrical
charging system.
In this case, have your vehicle
inspected by an authorized HYUNDAI
dealer.
Engine Oil PressureWarning Light
This warning light illuminates:
Once you turn the ignition switch or the
Engine Start/Stop button to the ON
position.
- It remains on until the engine is start-ed.
When the engine oil pressure is low.
If the engine oil pressure is low:
1. Drive carefully to the nearest safe location and stop your vehicle.
2. Turn the engine off and check the engine oil level (For more informa-
tion, refer to "Engine Oil" in chapter
7). If the level is low, add oil as
required.
If the warning light remains on after
adding oil and restarting the engine or
if oil is not available, turn off the
engine. There is a mechanical concern
that needs to be repaired before you
can continue driving. In this case,
have your vehicle inspected by an
authorized HYUNDAI dealer.
NOTICE
NOTICE
NOTICE