HYUNDAI ELANTRA GT 2019 Owners Manual
Manufacturer: HYUNDAI, Model Year: 2019, Model line: ELANTRA GT, Model: HYUNDAI ELANTRA GT 2019Pages: 486, PDF Size: 78.59 MB
Page 131 of 486
3-46
Convenient features of your vehicle
Information
Make sure to refuel your vehicle
according to the "Fuel Requirements"
suggested in the Introduction chapter.
Do not spill fuel on the exterior surfaces of the vehicle. Any type of fuel spilled on painted sur-
faces may damage the paint.
If the fuel filler cap requires replacement, use only a genuine
HYUNDAI cap or the equivalent
specified for your vehicle. Anincorrect fuel filler cap canresult in a serious malfunctionof the fuel system or emission
control system.
NOTICE
i(Continued)
Once refueling has begun,
contact between your bare
hand and the vehicle shouldbe maintained until the filling
is complete.
Use only approved portable
plastic fuel containers designed
to carry and store gasoline.
When refueling, always move
the shift lever to the P (Park)
position (for automatic trans-mission/
dual clutch transmis-
sion) or first gear or R (Reverse,
for manual transmission), set
the parking brake, and place the
ignition switch to the LOCK/
OFF position. Sparks produced
by electrical components relat-ed to the engine can ignite fuel
vapors causing a fire.
Do not use matches or a lighter and do not smoke or
leave a lit cigarette in your
vehicle while at a gas station,
especially during refueling.
(Continued)
(Continued)
Do not over-fill or top-off your
vehicle tank, which can cause
gasoline spillage.
If a fire breaks out during refu-
eling, leave the vicinity of the
vehicle, and immediately con-
tact the manager of the gasstation and then contact the
local fire department. Follow
any safety instructions they
provide.
If pressurized fuel sprays out,
it can cover your clothes or
skin and thus subject you to
the risk of fire and burns.
Always remove the fuel cap
carefully and slowly. If the cap
is venting fuel or if you hear a
hissing sound, wait until the
condition stops before com-
pletely removing the cap.
Always check that the fuel cap
is installed securely to pre-
vent fuel spillage in the eventof an accident.
Page 132 of 486
3-47
Convenient features of your vehicle
3
IINN SSTT RR UU MM EENN TT CC LLUU SSTT EERR
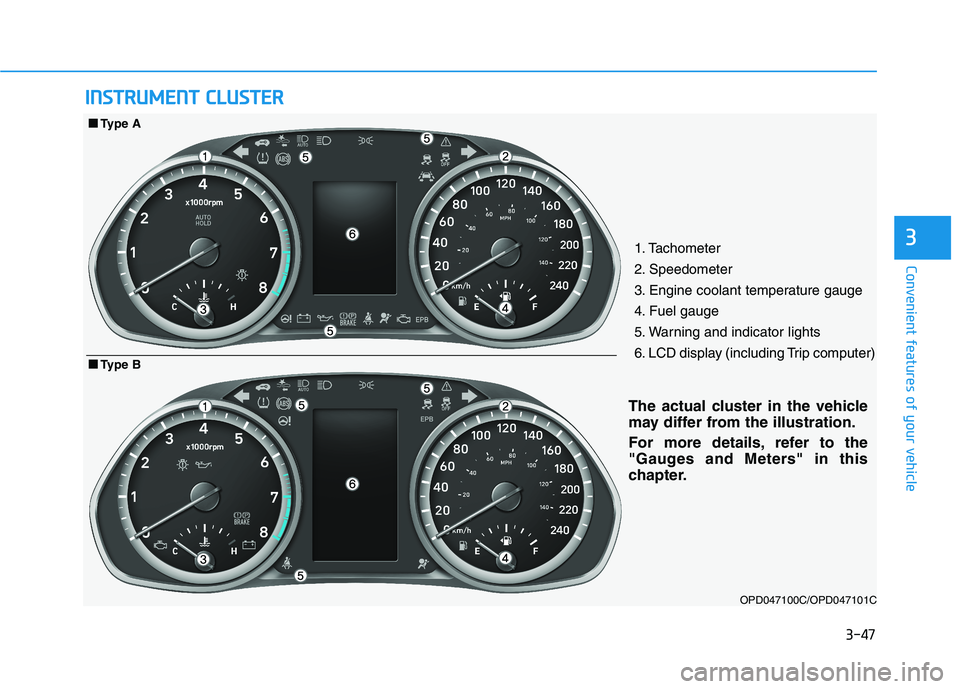
1. Tachometer
2. Speedometer
3. Engine coolant temperature gauge
4. Fuel gauge
5. Warning and indicator lights
6. LCD display (including Trip computer)
OPD047100C/OPD047101C
■■Type B
■■Type A
The actual cluster in the vehicle
may differ from the illustration.
For more details, refer to the
"Gauges and Meters" in this
chapter.
Page 133 of 486
3-48
Convenient features of your vehicle
Instrument Cluster Control
Adjusting instrument clusterillumination
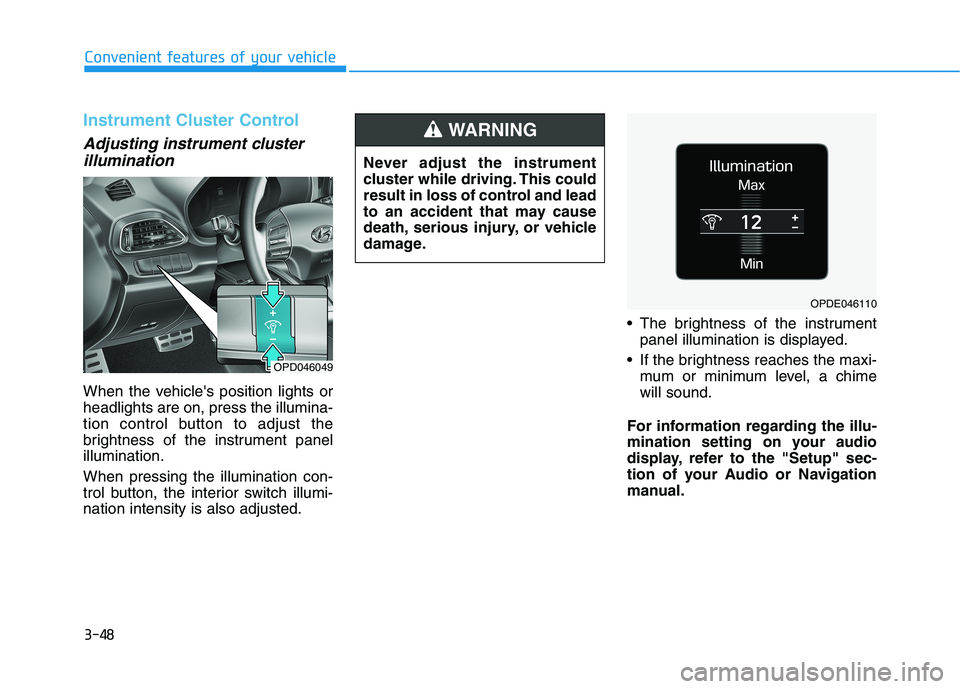
When the vehicle's position lights or headlights are on, press the illumina-
tion control button to adjust the
brightness of the instrument panelillumination. When pressing the illumination con-
trol button, the interior switch illumi-nation intensity is also adjusted. The brightness of the instrument
panel illumination is displayed.
If the brightness reaches the maxi- mum or minimum level, a chimewill sound.
For information regarding the illu-
mination setting on your audio
display, refer to the "Setup" sec-
tion of your Audio or Navigation
manual.
Never adjust the instrument
cluster while driving. This could
result in loss of control and lead
to an accident that may cause
death, serious injury, or vehicle
damage.
WARNING
OPD046049
OPDE046110
Page 134 of 486
3-49
Convenient features of your vehicle
3
Gauges and Meters
Speedometer
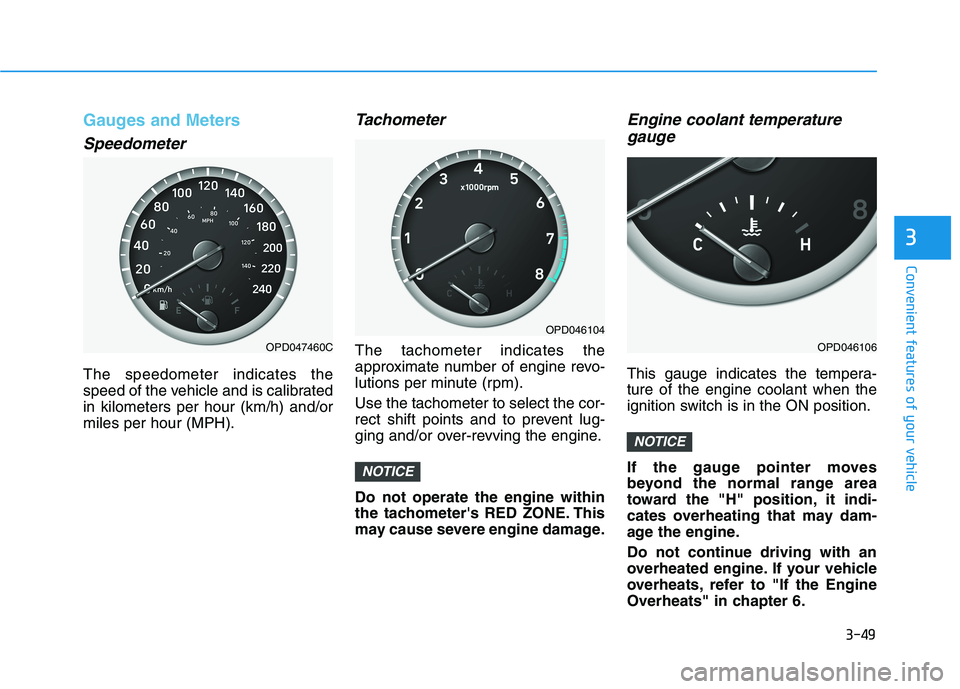
The speedometer indicates the
speed of the vehicle and is calibratedin kilometers per hour (km/h) and/ormiles per hour (MPH).
Tachometer
The tachometer indicates the
approximate number of engine revo-
lutions per minute (rpm). Use the tachometer to select the cor-
rect shift points and to prevent lug-
ging and/or over-revving the engine. Do not operate the engine within
the tachometer's RED ZONE. This
may cause severe engine damage.
Engine coolant temperaturegauge
This gauge indicates the tempera-ture of the engine coolant when the
ignition switch is in the ON position.
If the gauge pointer moves
beyond the normal range area
toward the "H" position, it indi-
cates overheating that may dam-
age the engine.
Do not continue driving with an
overheated engine. If your vehicle
overheats, refer to "If the Engine
Overheats" in chapter 6.
NOTICE
NOTICE
OPD047460C
OPD046104
OPD046106
Page 135 of 486
3-50
Convenient features of your vehicle
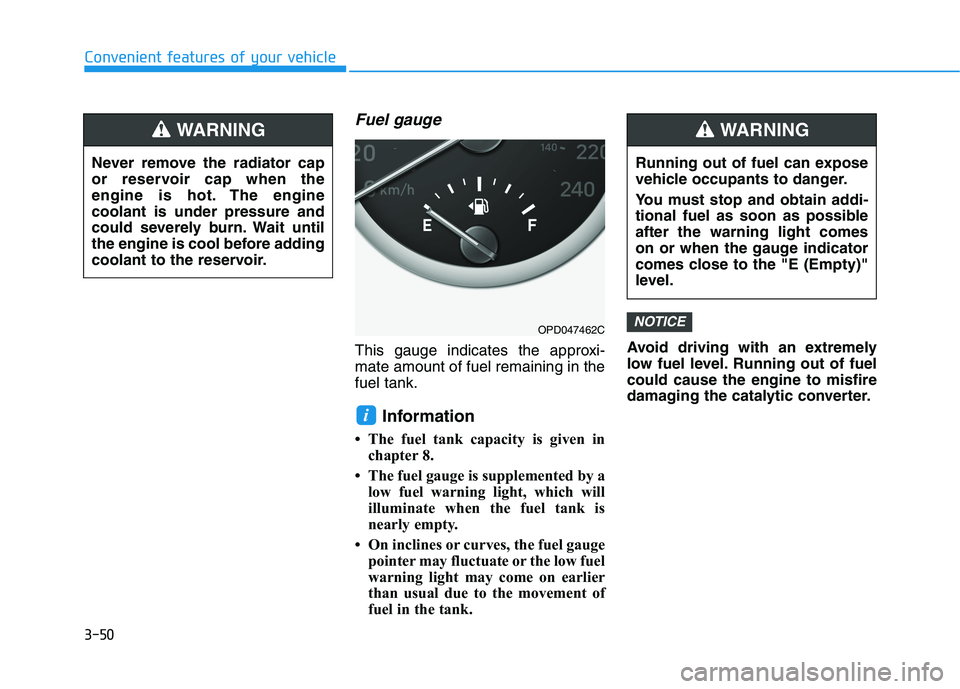
Fuel gauge
This gauge indicates the approxi- mate amount of fuel remaining in thefuel tank.Information
The fuel tank capacity is given in chapter 8.
The fuel gauge is supplemented by a low fuel warning light, which will
illuminate when the fuel tank is
nearly empty.
On inclines or curves, the fuel gauge pointer may fluctuate or the low fuel
warning light may come on earlier
than usual due to the movement of
fuel in the tank. Avoid driving with an extremely
low fuel level. Running out of fuelcould cause the engine to misfire
damaging the catalytic converter.
NOTICE
i
Never remove the radiator cap
or reservoir cap when the
engine is hot. The enginecoolant is under pressure and
could severely burn. Wait until
the engine is cool before adding
coolant to the reservoir.
WARNING
OPD047462C
Running out of fuel can expose
vehicle occupants to danger.
You must stop and obtain addi-
tional fuel as soon as possibleafter the warning light comes
on or when the gauge indicator
comes close to the "E (Empty)"
level.
WARNING
Page 136 of 486
3-51
Convenient features of your vehicle
3
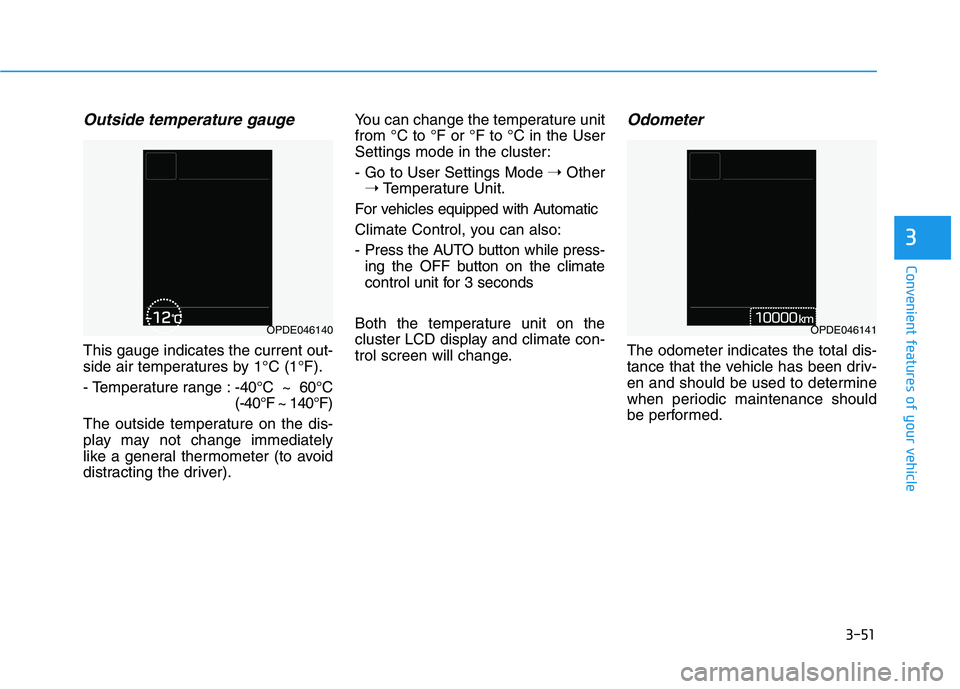
Outside temperature gauge
This gauge indicates the current out-
side air temperatures by 1°C (1°F).
- Temperature range :-40°C ~ 60°C (-40°F ~ 140°F)
The outside temperature on the dis-
play may not change immediately
like a general thermometer (to avoid
distracting the driver). You can change the temperature unitfrom °C to °F or °F to °C in the User
Settings mode in the cluster:
- Go to User Settings Mode
➝Other
➝ Temperature Unit.
For vehicles equipped with Automatic
Climate Control, you can also:
- Press the AUTO button while press- ing the OFF button on the climate
control unit for 3 seconds
Both the temperature unit on the
cluster LCD display and climate con-
trol screen will change.
Odometer
The odometer indicates the total dis-
tance that the vehicle has been driv-
en and should be used to determine
when periodic maintenance should
be performed.
OPDE046140OPDE046141
Page 137 of 486
3-52
Convenient features of your vehicle
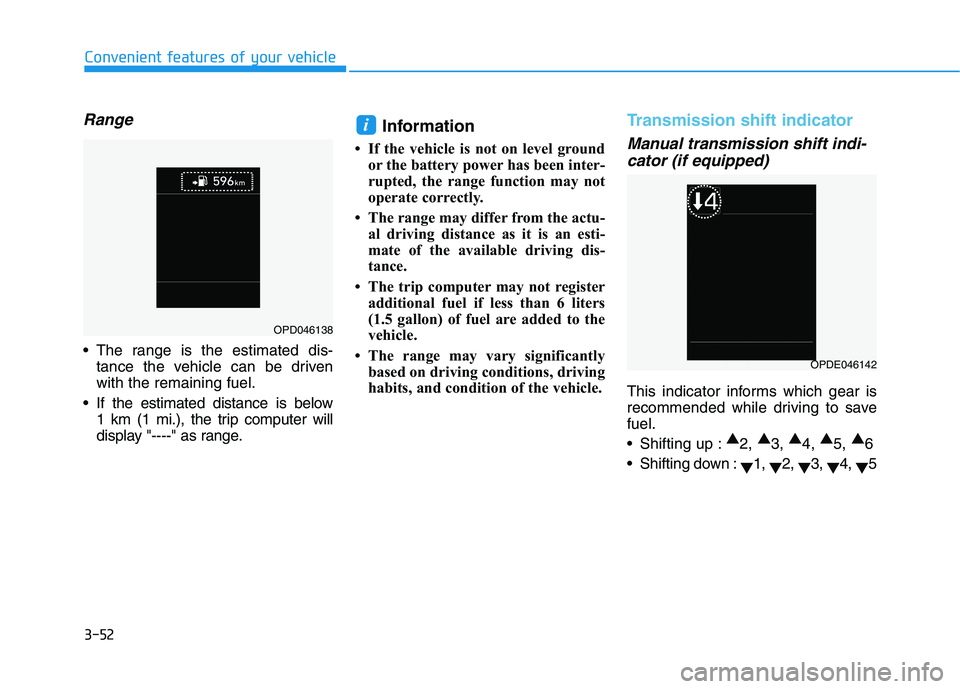
Range
The range is the estimated dis-tance the vehicle can be driven with the remaining fuel.
If the estimated distance is below 1 km (1 mi.), the trip computer will
display "----" as range. Information
If the vehicle is not on level ground or the battery power has been inter-
rupted, the range function may not
operate correctly.
The range may differ from the actu- al driving distance as it is an esti-
mate of the available driving dis-
tance.
The trip computer may not register additional fuel if less than 6 liters
(1.5 gallon) of fuel are added to the
vehicle.
The range may vary significantly based on driving conditions, driving
habits, and condition of the vehicle.
Transmission shift indicator
Manual transmission shift indi-
cator (if equipped)
This indicator informs which gear is
recommended while driving to savefuel.
Shifting up : ▲
2, ▲
3, ▲
4, ▲
5, ▲
6
Shifting down : ▼1,
▼2,
▼3,
▼4,
▼5
i
OPD046138
OPDE046142
Page 138 of 486
3-53
Convenient features of your vehicle
3
For example: Indicates that shifting up to the3 rd
gear is recommended (cur-
rently the shift lever is in the 2 nd
or 1 st
gear).
: Indicates that shifting down to the 3 rd
gear is recommended
(currently the shift lever is in the 4 th
, 5 th
, or 6 th
gear).
When the system is not working
properly, the indicator is not dis-
played.Automatic transmission/ Dual clutch transmission shift
indicator (if equipped)
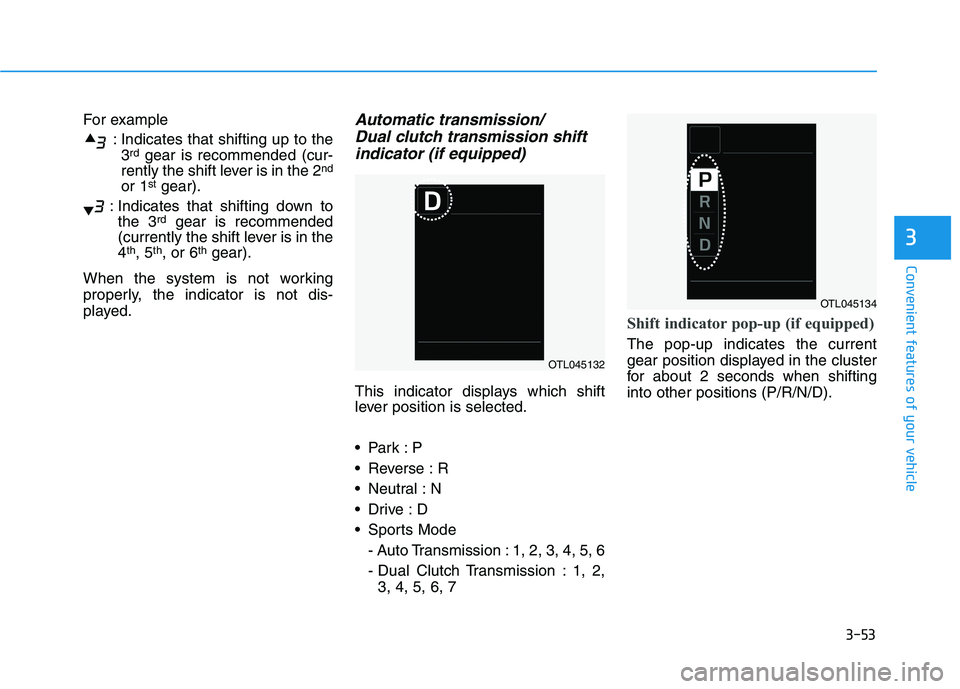
This indicator displays which shift
lever position is selected.
Reverse : R
Neutral : N
Sports Mode
- Auto Transmission : 1, 2, 3, 4, 5, 6
- Dual Clutch Transmission : 1, 2,3, 4, 5, 6, 7
Shift indicator pop-up (if equipped)
The pop-up indicates the current
gear position displayed in the cluster
for about 2 seconds when shiftinginto other positions (P/R/N/D).
OTL045132
OTL045134
Page 139 of 486
3-54
Convenient features of your vehicle
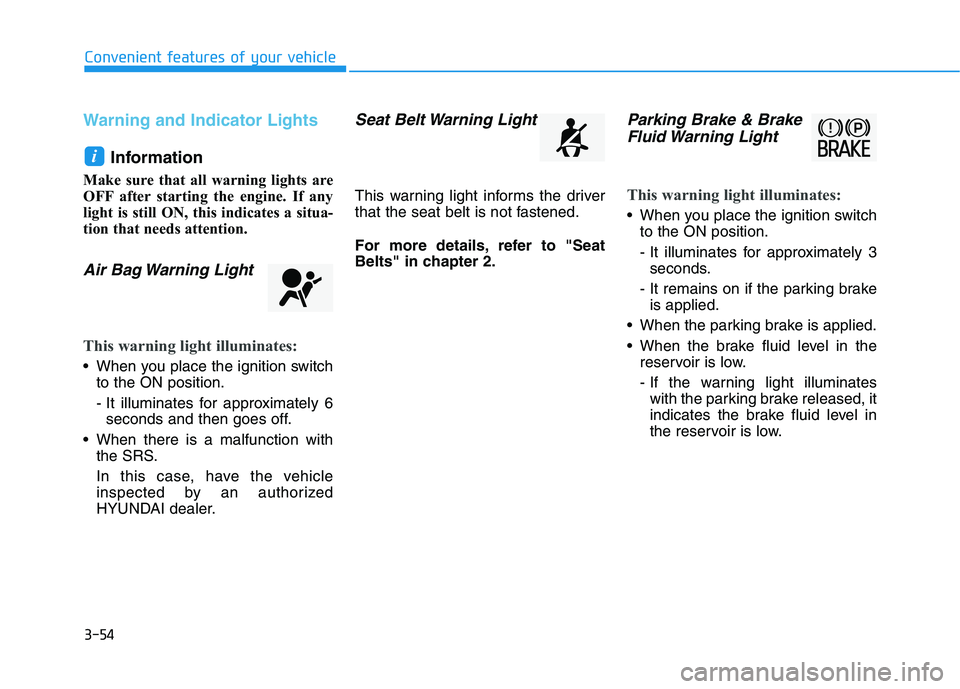
Warning and Indicator Lights
Information
Make sure that all warning lights are
OFF after starting the engine. If any
light is still ON, this indicates a situa-
tion that needs attention.
Air Bag Warning Light
This warning light illuminates:
When you place the ignition switch to the ON position.
- It illuminates for approximately 6seconds and then goes off.
When there is a malfunction with the SRS.
In this case, have the vehicle
inspected by an authorized
HYUNDAI dealer.
Seat Belt Warning Light
This warning light informs the driver
that the seat belt is not fastened.
For more details, refer to "Seat
Belts" in chapter 2.
Parking Brake & Brake
Fluid Warning Light
This warning light illuminates:
When you place the ignition switch to the ON position.
- It illuminates for approximately 3seconds.
- It remains on if the parking brake is applied.
When the parking brake is applied.
When the brake fluid level in the reservoir is low.
- If the warning light illuminateswith the parking brake released, it
indicates the brake fluid level in
the reservoir is low.
i
Page 140 of 486
3-55
Convenient features of your vehicle
3
If the brake fluid level in the reser-
voir is low:
1. Drive carefully to the nearest safelocation and stop your vehicle.
2. With the engine stopped, check the brake fluid level immediately and add fluid as required (For more
details, refer to "Brake Fluid" in
chapter 7) . After adding brake
fluid, check all brake components
for fluid leaks. If a brake fluid leak is
found, or if the warning light
remains on, or if the brakes do not
operate properly, do not drive the
vehicle. Have the vehicle inspected
by an authorized HYUNDAI dealer.
Dual-diagonal braking system
Your vehicle is equipped with dual-
diagonal braking systems. This
means you still have braking on two
wheels even if one of the dual sys-
tems should fail. With only one of the dual systems
working, more than normal pedal
travel and greater pedal pressure is
required to stop the vehicle. Also, the vehicle will not stop in as
short a distance with only a portion
of the brake system working.
If the brakes fail while you are driv-
ing, shift to a lower gear for addition-
al engine braking and stop the vehi-
cle as soon as it is safe to do so.
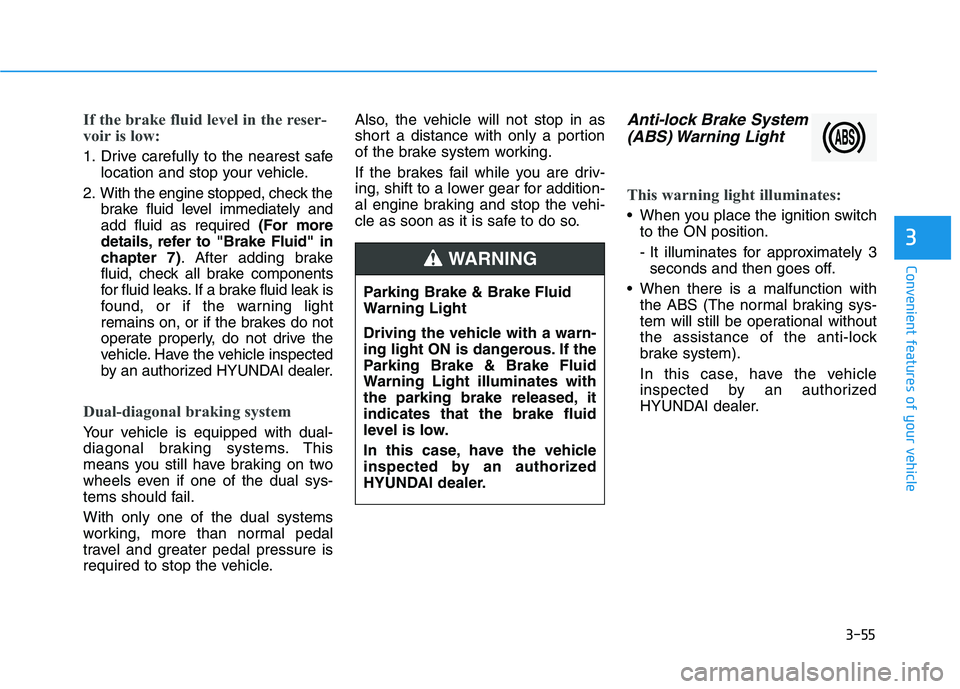
Anti-lock Brake System
(ABS) Warning Light
This warning light illuminates:
When you place the ignition switch to the ON position.
- It illuminates for approximately 3seconds and then goes off.
When there is a malfunction with the ABS (The normal braking sys-
tem will still be operational without
the assistance of the anti-lock
brake system).
In this case, have the vehicle
inspected by an authorized
HYUNDAI dealer.
Parking Brake & Brake Fluid
Warning Light
Driving the vehicle with a warn-
ing light ON is dangerous. If the
Parking Brake & Brake Fluid
Warning Light illuminates with
the parking brake released, itindicates that the brake fluid
level is low.
In this case, have the vehicle
inspected by an authorized
HYUNDAI dealer.
WARNING