ESP Hyundai Equus 2016 Owner's Manual
[x] Cancel search | Manufacturer: HYUNDAI, Model Year: 2016, Model line: Equus, Model: Hyundai Equus 2016Pages: 477, PDF Size: 16.25 MB
Page 11 of 477
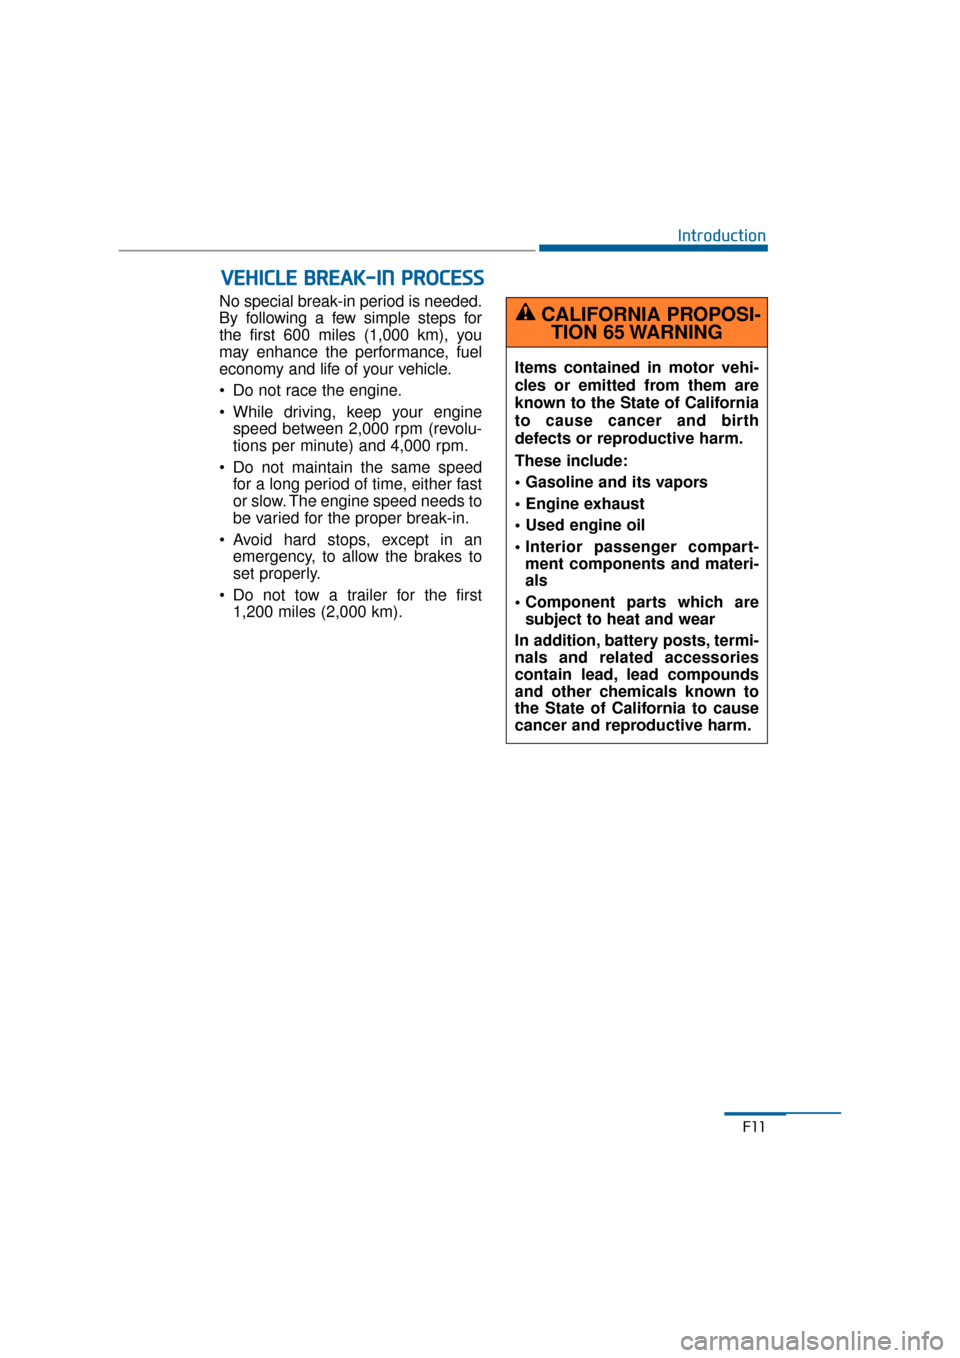
No special break-in period is needed.
By following a few simple steps for
the first 600 miles (1,000 km), you
may enhance the performance, fuel
economy and life of your vehicle.
Do not race the engine.
While driving, keep your enginespeed between 2,000 rpm (revolu-
tions per minute) and 4,000 rpm.
Do not maintain the same speed for a long period of time, either fast
or slow. The engine speed needs to
be varied for the proper break-in.
Avoid hard stops, except in an emergency, to allow the brakes to
set properly.
Do not tow a trailer for the first 1,200 miles (2,000 km).
V VE
EH
H I
IC
C L
LE
E
B
B R
RE
EA
A K
K-
-I
IN
N
P
P R
R O
O C
CE
E S
SS
S
F11
Introduction
Items contained in motor vehi-
cles or emitted from them are
known to the State of California
to cause cancer and birth
defects or reproductive harm.
These include:
ment components and materi-
als
subject to heat and wear
In addition, battery posts, termi-
nals and related accessories
contain lead, lead compounds
and other chemicals known to
the State of California to cause
cancer and reproductive harm.
CALIFORNIA PROPOSI- TION 65 WARNING
Page 19 of 477
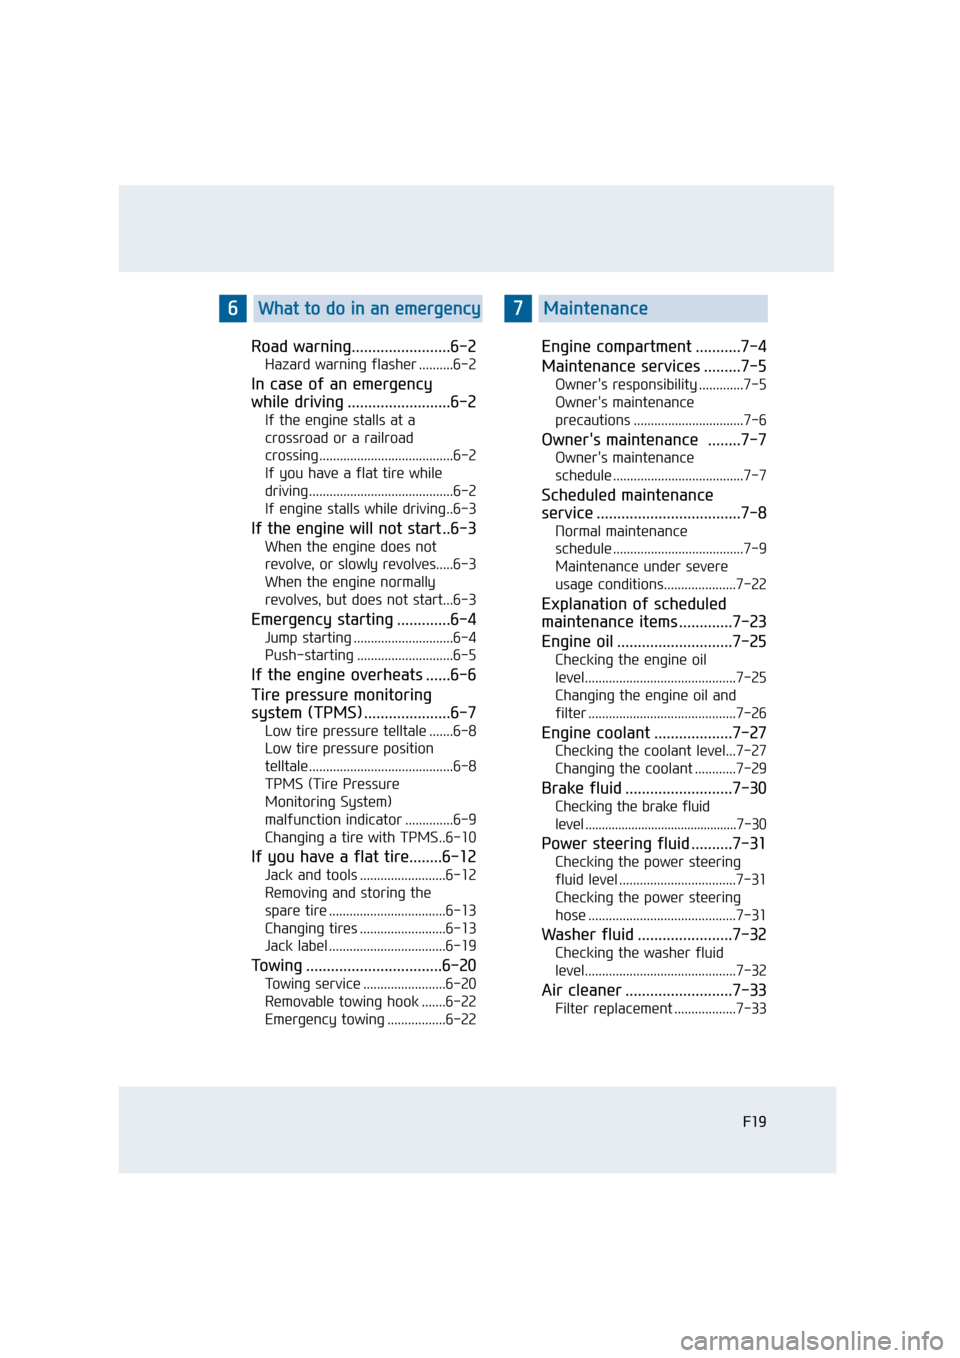
Road warning........................6-2
Hazard warning flasher ..........6-2
In case of an emergency
while driving .........................6-2
If the engine stalls at a
crossroad or a railroad
crossing.......................................6-2
If you have a flat tire while
driving..........................................6-2
If engine stalls while driving..6-3
If the engine will not start ..6-3
When the engine does not
revolve, or slowly revolves.....6-3
When the engine normally
revolves, but does not start...6-3
Emergency starting .............6-4
Jump starting .............................6-4
Push-starting ............................6-5
If the engine overheats ......6-6
Tire pressure monitoring
system (TPMS) .....................6-7
Low tire pressure telltale .......6-8
Low tire pressure position
telltale..........................................6-8
TPMS (Tire Pressure
Monitoring System)
malfunction indicator ..............6-9
Changing a tire with TPMS..6-10
If you have a flat tire........6-12
Jack and tools .........................6-12
Removing and storing the
spare tire ..................................6-13
Changing tires .........................6-13
Jack label ..................................6-19
Towing .................................6-20
Towing service ........................6-20
Removable towing hook .......6-22
Emergency towing .................6-22
Engine compartment ...........7-4
Maintenance services .........7-5
Owner's responsibility .............7-5
Owner's maintenance
precautions ................................7-6
Owner's maintenance ........7-7
Owner's maintenance
schedule ......................................7-7
Scheduled maintenance
service ...................................7-8
Normal maintenance
schedule ......................................7-9
Maintenance under severe
usage conditions.....................7-22
Explanation of scheduled
maintenance items .............7-23
Engine oil ............................7-25
Checking the engine oil
level............................................7-25
Changing the engine oil and
filter ...........................................7-26
Engine coolant ...................7-27
Checking the coolant level...7-27
Changing the coolant ............7-29
Brake fluid ..........................7-30
Checking the brake fluid
level ..............................................7-30
Power steering fluid ..........7-31
Checking the power steering
fluid level ..................................7-31
Checking the power steering
hose ...........................................7-31
Washer fluid .......................7-32
Checking the washer fluid
level............................................7-32
Air cleaner ..........................7-33
Filter replacement ..................7-33
F19
6What to do in an emergency7Maintenance
Page 30 of 477
2-3
Safety system of your vehicle02
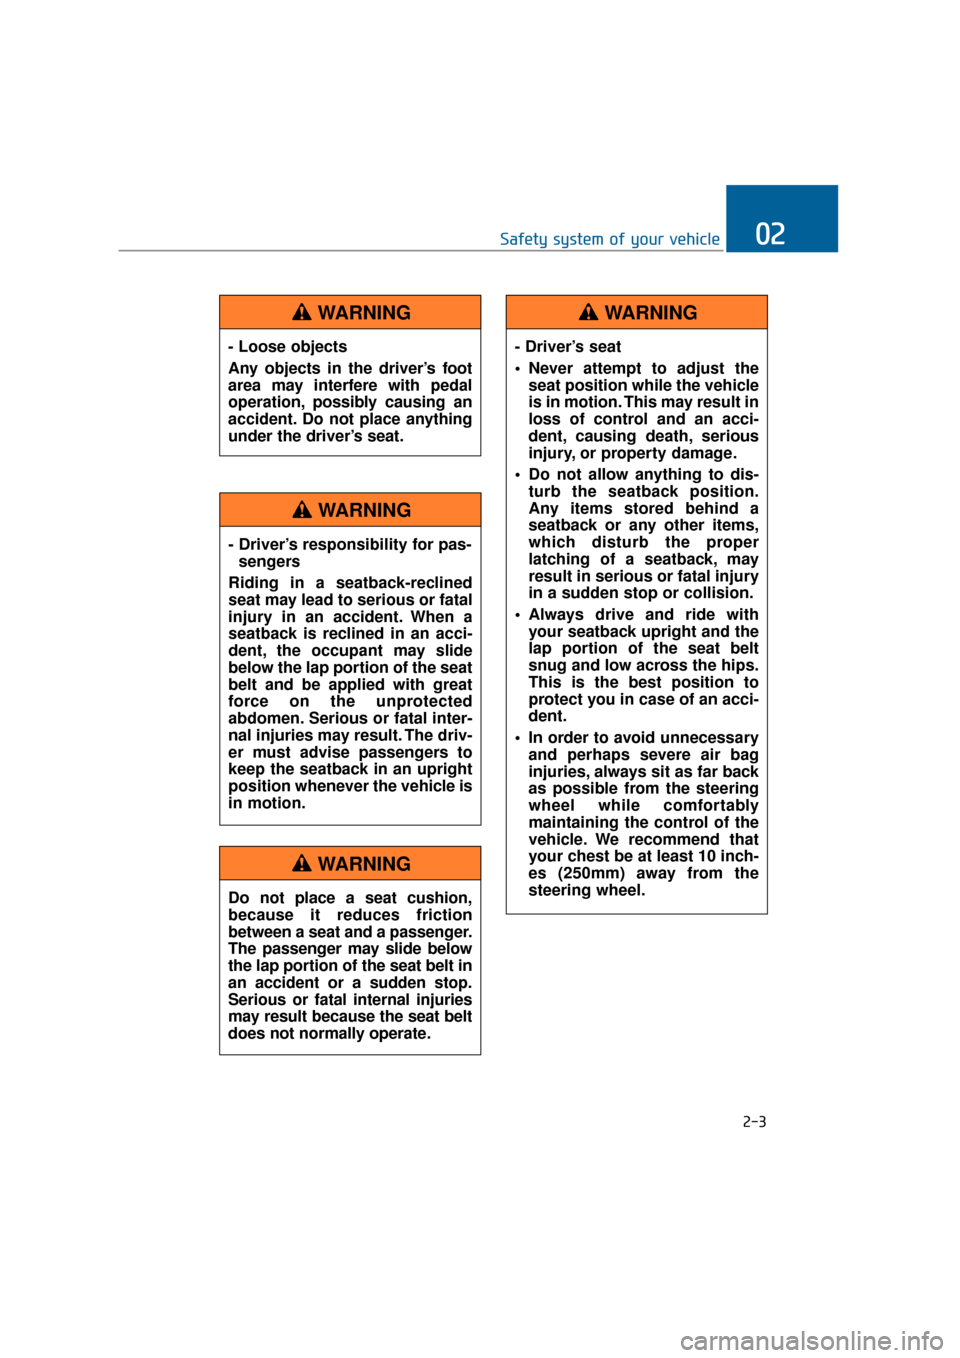
- Loose objects
Any objects in the driver’s foot
area may interfere with pedal
operation, possibly causing an
accident. Do not place anything
under the driver’s seat.
WARNING
- Driver’s responsibility for pas-sengers
Riding in a seatback-reclined
seat may lead to serious or fatal
injury in an accident. When a
seatback is reclined in an acci-
dent, the occupant may slide
below the lap portion of the seat
belt and be applied with great
force on the unprotected
abdomen. Serious or fatal inter-
nal injuries may result. The driv-
er must advise passengers to
keep the seatback in an upright
position whenever the vehicle is
in motion.
WARNING
Do not place a seat cushion,
because it reduces friction
between a seat and a passenger.
The passenger may slide below
the lap portion of the seat belt in
an accident or a sudden stop.
Serious or fatal internal injuries
may result because the seat belt
does not normally operate.
WARNING
- Driver’s seat
Never attempt to adjust the seat position while the vehicle
is in motion. This may result in
loss of control and an acci-
dent, causing death, serious
injury, or property damage.
Do not allow anything to dis- turb the seatback position.
Any items stored behind a
seatback or any other items,
which disturb the proper
latching of a seatback, may
result in serious or fatal injury
in a sudden stop or collision.
Always drive and ride with your seatback upright and the
lap portion of the seat belt
snug and low across the hips.
This is the best position to
protect you in case of an acci-
dent.
In order to avoid unnecessary and perhaps severe air bag
injuries, always sit as far back
as possible from the steering
wheel while comfortably
maintaining the control of the
vehicle. We recommend that
your chest be at least 10 inch-
es (250mm) away from the
steering wheel.
WARNING
Page 63 of 477
Setting the automatic lockingmode of a passenger seat belt
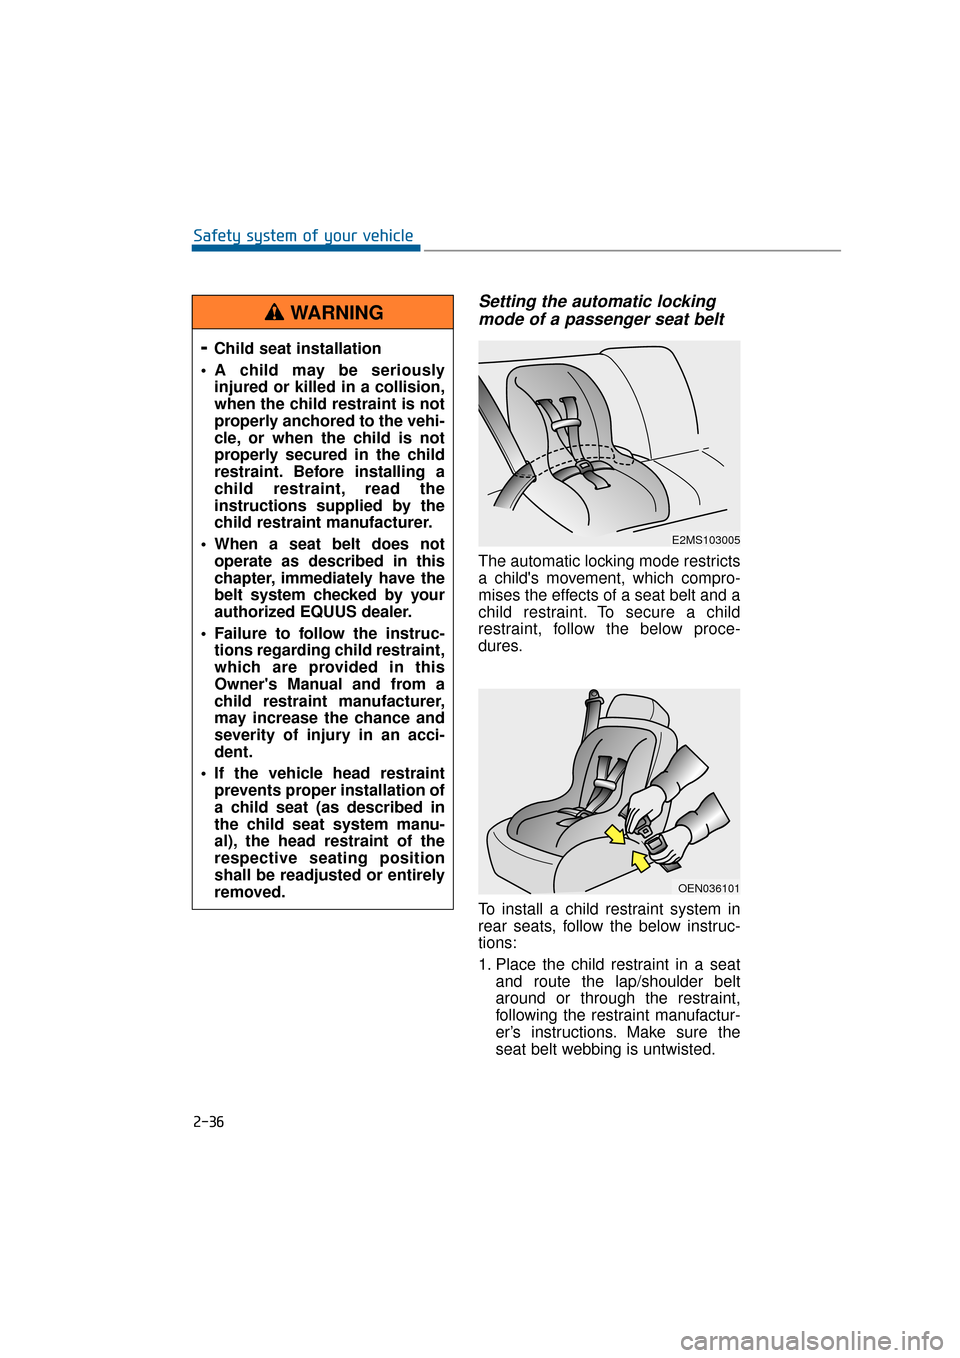
The automatic locking mode restricts
a child's movement, which compro-
mises the effects of a seat belt and a
child restraint. To secure a child
restraint, follow the below proce-
dures.
To install a child restraint system in
rear seats, follow the below instruc-
tions:
1. Place the child restraint in a seat
and route the lap/shoulder belt
around or through the restraint,
following the restraint manufactur-
er’s instructions. Make sure the
seat belt webbing is untwisted.
2-36
Safety system of your vehicle
- Child seat installation
A child may be seriously injured or killed in a collision,
when the child restraint is not
properly anchored to the vehi-
cle, or when the child is not
properly secured in the child
restraint. Before installing a
child restraint, read the
instructions supplied by the
child restraint manufacturer.
When a seat belt does not operate as described in this
chapter, immediately have the
belt system checked by your
authorized EQUUS dealer.
Failure to follow the instruc- tions regarding child restraint,
which are provided in this
Owner's Manual and from a
child restraint manufacturer,
may increase the chance and
severity of injury in an acci-
dent.
If the vehicle head restraint prevents proper installation of
a child seat (as described in
the child seat system manu-
al), the head restraint of the
respective seating position
shall be readjusted or entirely
removed.
WARNING
E2MS103005
OEN036101
Page 70 of 477
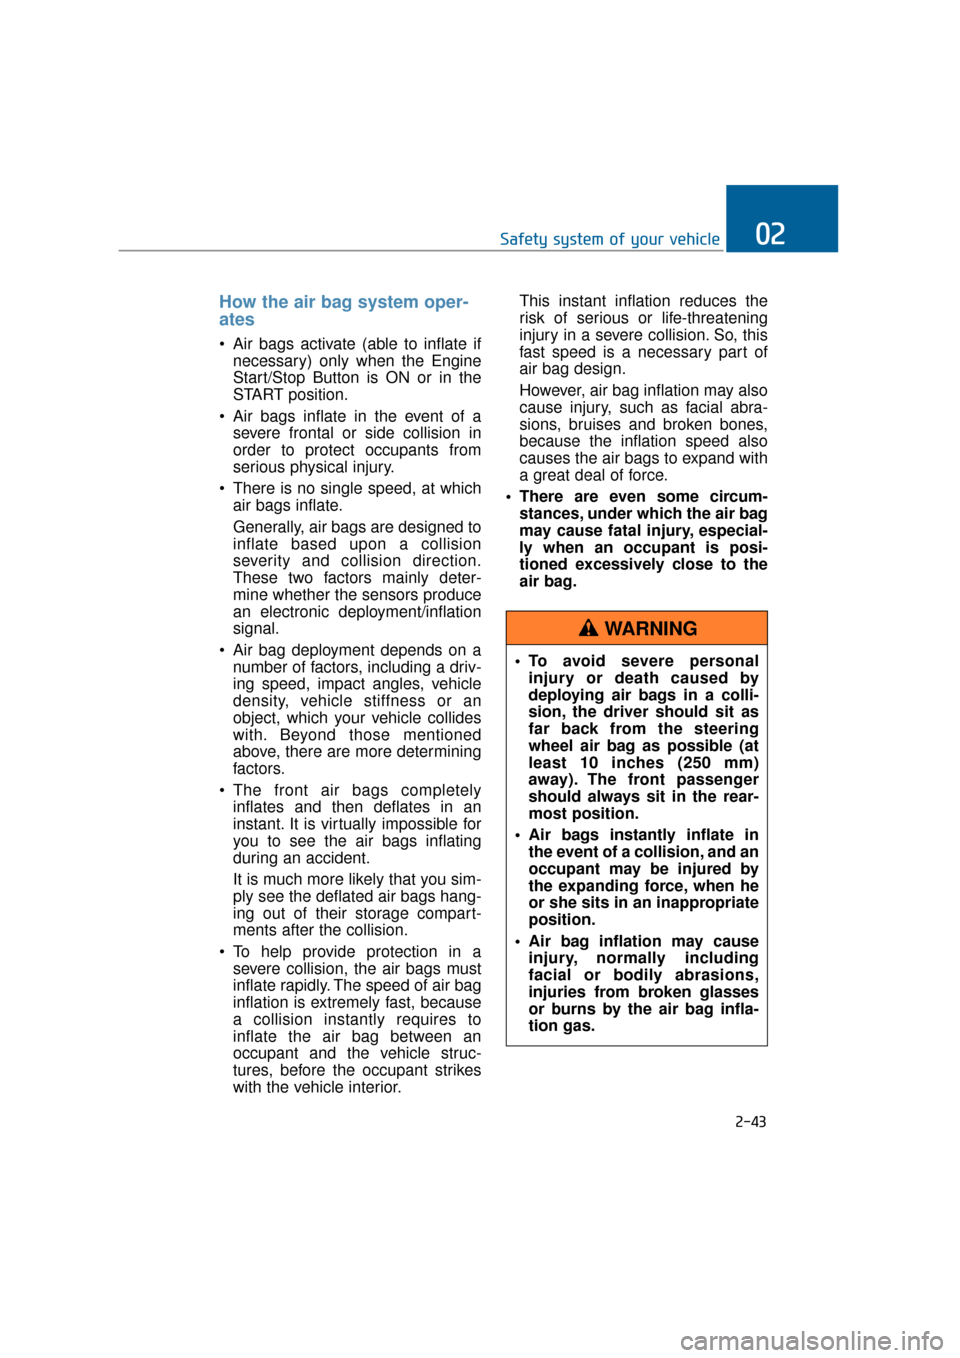
How the air bag system oper-
ates
Air bags activate (able to inflate ifnecessary) only when the Engine
Start/Stop Button is ON or in the
START position.
Air bags inflate in the event of a severe frontal or side collision in
order to protect occupants from
serious physical injury.
There is no single speed, at which air bags inflate.
Generally, air bags are designed to
inflate based upon a collision
severity and collision direction.
These two factors mainly deter-
mine whether the sensors produce
an electronic deployment/inflation
signal.
Air bag deployment depends on a number of factors, including a driv-
ing speed, impact angles, vehicle
density, vehicle stiffness or an
object, which your vehicle collides
with. Beyond those mentioned
above, there are more determining
factors.
The front air bags completely inflates and then deflates in an
instant. It is virtually impossible for
you to see the air bags inflating
during an accident.
It is much more likely that you sim-
ply see the deflated air bags hang-
ing out of their storage compart-
ments after the collision.
To help provide protection in a severe collision, the air bags must
inflate rapidly. The speed of air bag
inflation is extremely fast, because
a collision instantly requires to
inflate the air bag between an
occupant and the vehicle struc-
tures, before the occupant strikes
with the vehicle interior. This instant inflation reduces the
risk of serious or life-threatening
injury in a severe collision. So, this
fast speed is a necessary part of
air bag design.
However, air bag inflation may also
cause injury, such as facial abra-
sions, bruises and broken bones,
because the inflation speed also
causes the air bags to expand with
a great deal of force.
There are even some circum- stances, under which the air bag
may cause fatal injury, especial-
ly when an occupant is posi-
tioned excessively close to the
air bag.
2-43
Safety system of your vehicle02
To avoid severe personalinjury or death caused by
deploying air bags in a colli-
sion, the driver should sit as
far back from the steering
wheel air bag as possible (at
least 10 inches (250 mm)
away). The front passenger
should always sit in the rear-
most position.
Air bags instantly inflate in the event of a collision, and an
occupant may be injured by
the expanding force, when he
or she sits in an inappropriate
position.
Air bag inflation may cause injury, normally including
facial or bodily abrasions,
injuries from broken glasses
or burns by the air bag infla-
tion gas.
WARNING
Page 105 of 477
Loss of a Smart Key
Three Smart Keys can be registered
at maximum to a single vehicle,
including a Card-type Smart Key.
When you happen to lose your Smart
Key, you should immediately take the
vehicle and the remaining keys to
your authorized EQUUS dealer, or
tow the vehicle, if necessary.
Smart key precautions
The Smart Key will not operate,when any of the followings occurs:
- The Smart Key is close to radio transmitters such as a radio sta-
tion or an airport which may
interfere with normal operation
of the Smart Key.
- The Smart Key is near to a mobile two-way radio system or
a mobile phone.
- Another vehicle’s Smart Key is being operated close to your
vehicle.
When the Smart Key does not nor- mally operate, use the mechanical
key to lock/unlock a door and con-
tact an authorized EQUUS dealer.
When the Smart Key is in close proximity to a mobile phone, the
signal may be blocked by the nor-
mal signals of your mobile phone.
This is especially important when
the phone is active, such as mak-
ing/receiving calls, text messag-
ing, or sending/receiving emails.
Avoid placing the Smart Key and
your mobile phone in the same
pants or the jacket pocket. Always
try to maintain an adequate dis-
tance between the two devices.
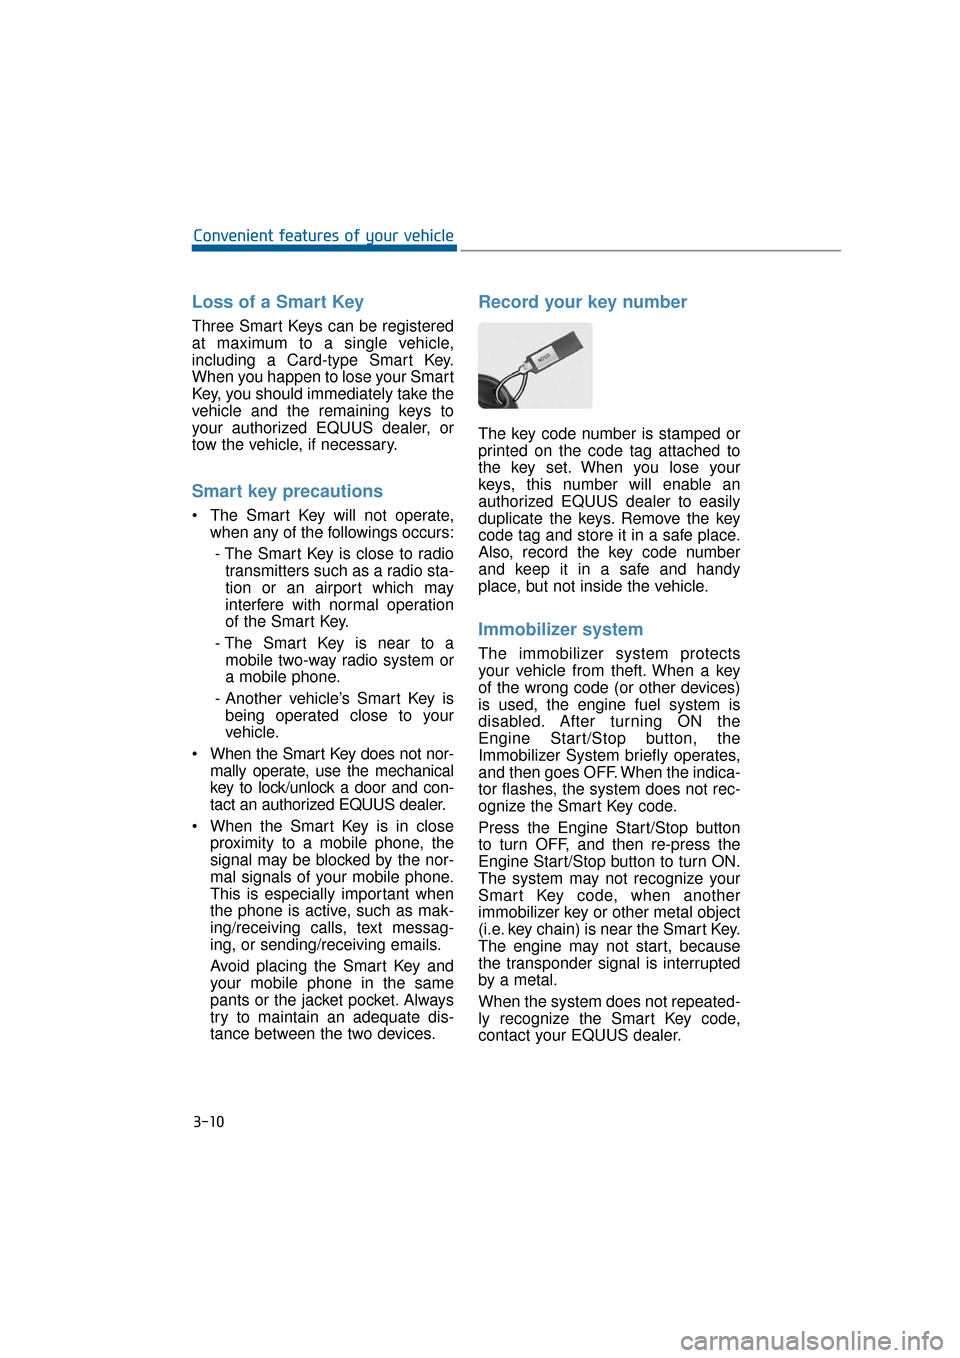
Record your key number
The key code number is stamped or
printed on the code tag attached to
the key set. When you lose your
keys, this number will enable an
authorized EQUUS dealer to easily
duplicate the keys. Remove the key
code tag and store it in a safe place.
Also, record the key code number
and keep it in a safe and handy
place, but not inside the vehicle.
Immobilizer system
The immobilizer system protects
your vehicle from theft. When a key
of the wrong code (or other devices)
is used, the engine fuel system is
disabled. After turning ON the
Engine Start/Stop button, the
Immobilizer System briefly operates,
and then goes OFF. When the indica-
tor flashes, the system does not rec-
ognize the Smart Key code.
Press the Engine Start/Stop button
to turn OFF, and then re-press the
Engine Start/Stop button to turn ON.
The system may not recognize your
Smart Key code, when another
immobilizer key or other metal object
(i.e. key chain) is near the Smart Key.
The engine may not start, because
the transponder signal is interrupted
by a metal.
When the system does not repeated-
ly recognize the Smart Key code,
contact your EQUUS dealer.
3-10
Convenient features of your vehicle
Page 106 of 477
Do not attempt to modify this system
or add other devices. Other electric
problems may result, making your
vehicle inoperable.
Information
ALWAYS take the Smart Key with
you, when leaving the vehicle.
This device complies with Part 15
of the FCC rules.
Operation is subject to the following
two conditions:
1. This device may not cause harmfulinterference, and
2. This device must accept any inter- ference received, including inter-
ference that may cause undesired
operation.
Information
Changes or modifications not express-
ly approved by the party responsible
for compliance could void the user's
authority to operate the device.
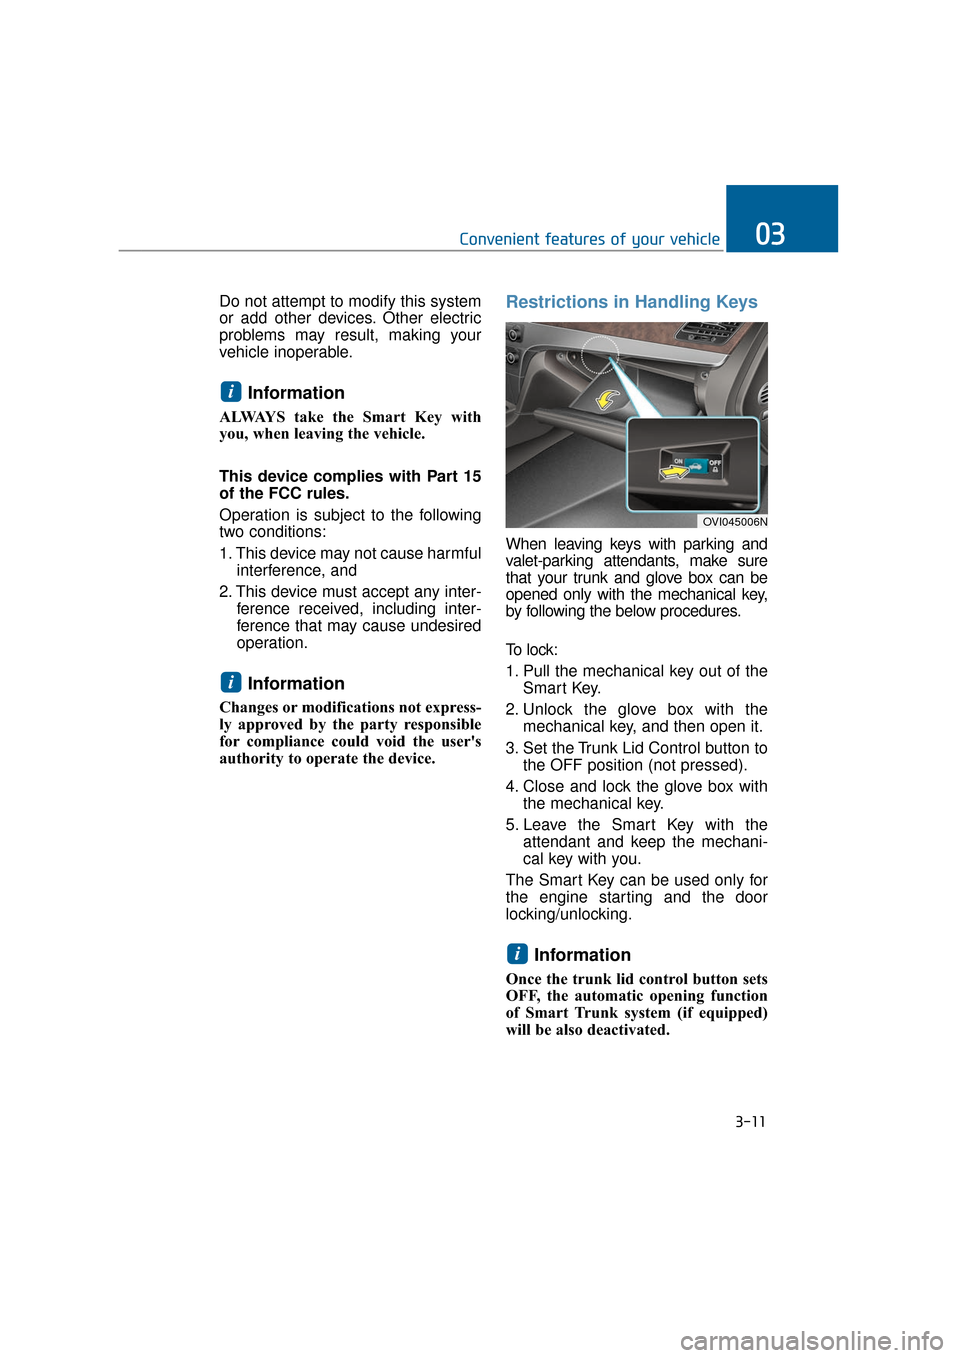
Restrictions in Handling Keys
When leaving keys with parking and
valet-parking attendants, make sure
that your trunk and glove box can be
opened only with the mechanical key,
by following the below procedures.
To lock:
1. Pull the mechanical key out of theSmart Key.
2. Unlock the glove box with the mechanical key, and then open it.
3. Set the Trunk Lid Control button to the OFF position (not pressed).
4. Close and lock the glove box with the mechanical key.
5. Leave the Smart Key with the attendant and keep the mechani-
cal key with you.
The Smart Key can be used only for
the engine starting and the door
locking/unlocking.
Information
Once the trunk lid control button sets
OFF, the automatic opening function
of Smart Trunk system (if equipped)
will be also deactivated.
i
i
i
3-11
Convenient features of your vehicle03
OVI045006N
Page 130 of 477
3-35
Convenient features of your vehicle03
(Continued)
Do not get back into a vehiclewhile refueling. You may build
up static electricity by touch-
ing, rubbing or sliding against
any item or fabric capable of
producing static electricity.
Static electricity discharge
may ignite fuel vapors, caus-
ing a fire. When you must re-
enter the vehicle, you should
eliminate potentially danger-
ous static electricity once
again by touching a metal part
of the vehicle with your bare
hand, keeping a safe distance
away from the fuel filler neck,
nozzle, or other gas source.
When using an approved portable fuel container, make
sure to place the container on
the ground, before refueling.
Static electricity discharged
from the container may ignite
fuel vapors, causing a fire.
Once refueling has begun,
contact between your bare
hand and the vehicle should
be maintained until the filling
is complete.
Use only approved portable plastic fuel containers
designed to carry and store
gasoline.
When refueling, always set the shift lever in P (Park), set the
parking brake, and turn OFF
the Engine Start/Stop button.
Sparks produced by electrical
components related to the
engine may ignite fuel vapors,
causing a fire.
(Continued)(Continued)
Do not use matches or alighter and do not smoke or
leave a lit cigarette in your
vehicle while at a gas station,
especially during refueling.
Do not overfill or "top-off" your vehicle tank, which may
cause gasoline spillage.
When a fire breaks out during refueling, stay away from the
vehicle, and immediately noti-
fy it to the gas station manag-
er, and call the local fire
department. Follow any safety
instructions they provide.
When pressurized fuel sprays out, it may cover your clothes
or skin. This puts you at risk
of fire and burns. Always care-
fully and slowly open the fuel
cap. When the fuel vents out
from the tank, or when you
hear a hissing sound, wait
until those stop before com-
pletely opening the cap.
Always check that the fuel cap is securely closed to prevent
fuel spillage in the event of an
accident.
Page 138 of 477
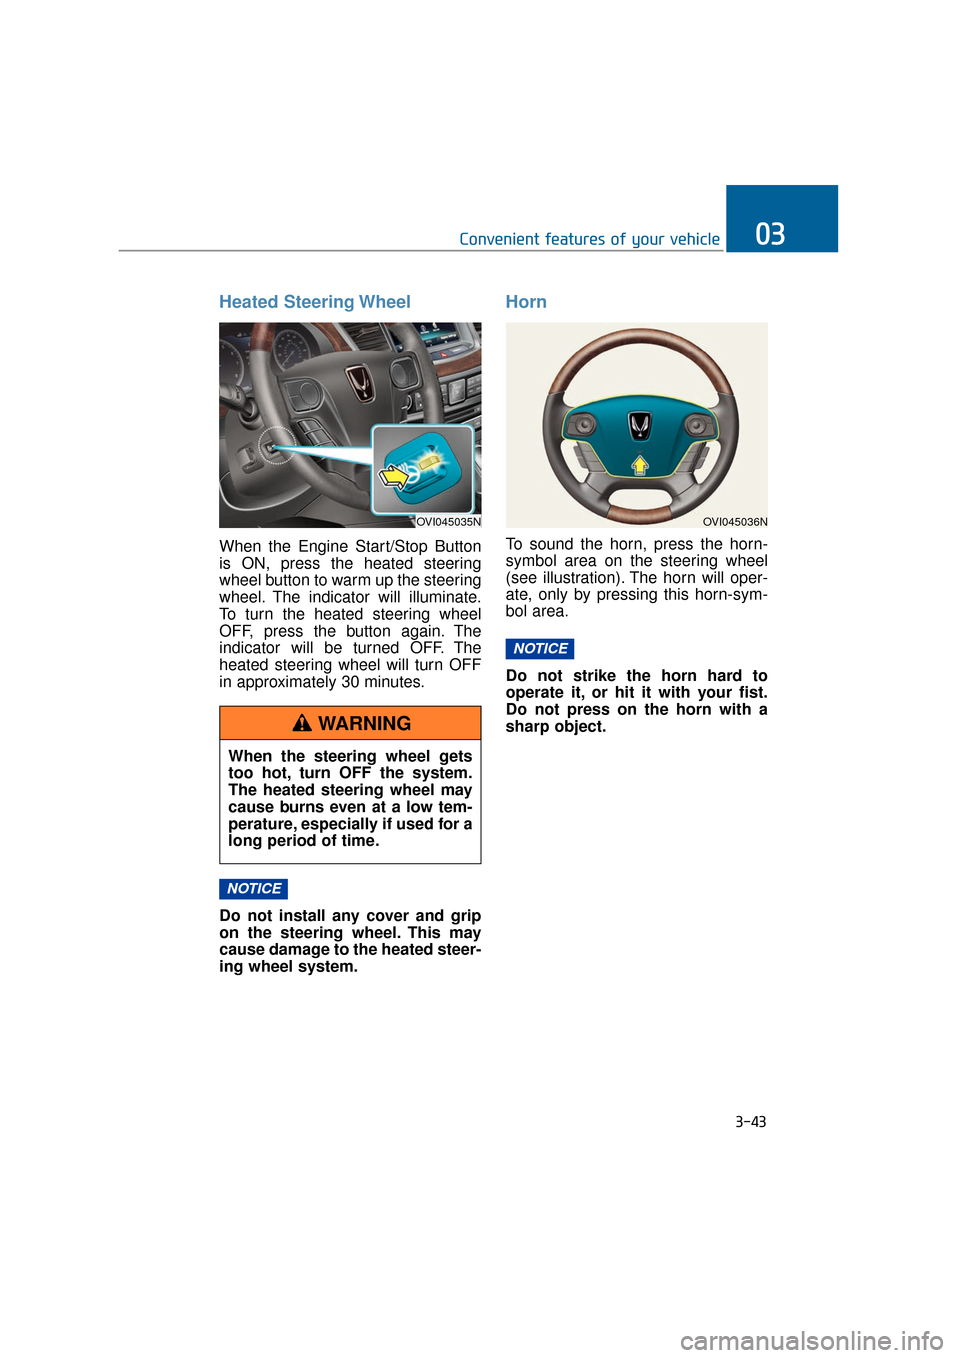
Heated Steering Wheel
When the Engine Start/Stop Button
is ON, press the heated steering
wheel button to warm up the steering
wheel. The indicator will illuminate.
To turn the heated steering wheel
OFF, press the button again. The
indicator will be turned OFF. The
heated steering wheel will turn OFF
in approximately 30 minutes.
Do not install any cover and grip
on the steering wheel. This may
cause damage to the heated steer-
ing wheel system.
Horn
To sound the horn, press the horn-
symbol area on the steering wheel
(see illustration). The horn will oper-
ate, only by pressing this horn-sym-
bol area.
Do not strike the horn hard to
operate it, or hit it with your fist.
Do not press on the horn with a
sharp object.
NOTICE
NOTICE
3-43
Convenient features of your vehicle03
OVI045035N
When the steering wheel gets
too hot, turn OFF the system.
The heated steering wheel may
cause burns even at a low tem-
perature, especially if used for a
long period of time.
WARNING
OVI045036N
Page 145 of 477
Gate operator & Canadian
programming
During programming, your handheld
transmitter may automatically stop
transmitting. Continue to press the
Integrated HomeLink
®Wireless
Control System button (refer to the
steps 2 to 3 in the Programming part)
while you press and re-press
("cycle") your handheld transmitter
every two seconds until the frequen-
cy signal is learned. The indicator
light will flash slowly and then rapidly
after a few seconds when success-
fully trained.
Operating HomeLink
®
To operate, simply press and release
the programmed HomeLink®button.
Activation will now occur for the
trained devices (i.e. garage door
opener, gate operator, security sys-
tem entry door lock, home/office
lighting, etc.). For convenience, the
hand-held transmitter of the device
may also be used at any time. Reprogramming a single
HomeLink
®button
To program a device to HomeLink
®
using a HomeLink®button previous-
ly trained, follow these steps:
1. Press and hold the desired HomeLink
®button. DO NOT
release the button.
2. The indicator light will begin to flash after 20 seconds. Without
releasing the HomeLink
®button,
proceed to the "Programming"
step 2.
For more questions or comments,
contact HomeLink
®at www.home-
link.comor 1-800-355-3515.
Erasing HomeLink
®buttons
An individual programming cannot
be erased respectively. However, all
three programming can be erased at
the same time by following below
steps;
1. Press and hold the two outer HomeLink
®buttons until the indi-
cator light begins to flash after 10
seconds.
2. Release both buttons. Do not hold for longer than 20 seconds.
The Integrated HomeLink
®Wireless
Control System is now in the training
(learning) mode and can be pro-
grammed at any time by following the
appropriate steps as in the
"Programming".
FCC ID: NZLTLMHL4
IC: 4112A-TLMHL4
3-50
Convenient features of your vehicle