front shield Hyundai Equus 2016 Owner's Manual
[x] Cancel search | Manufacturer: HYUNDAI, Model Year: 2016, Model line: Equus, Model: Hyundai Equus 2016Pages: 477, PDF Size: 16.25 MB
Page 16 of 477
F16
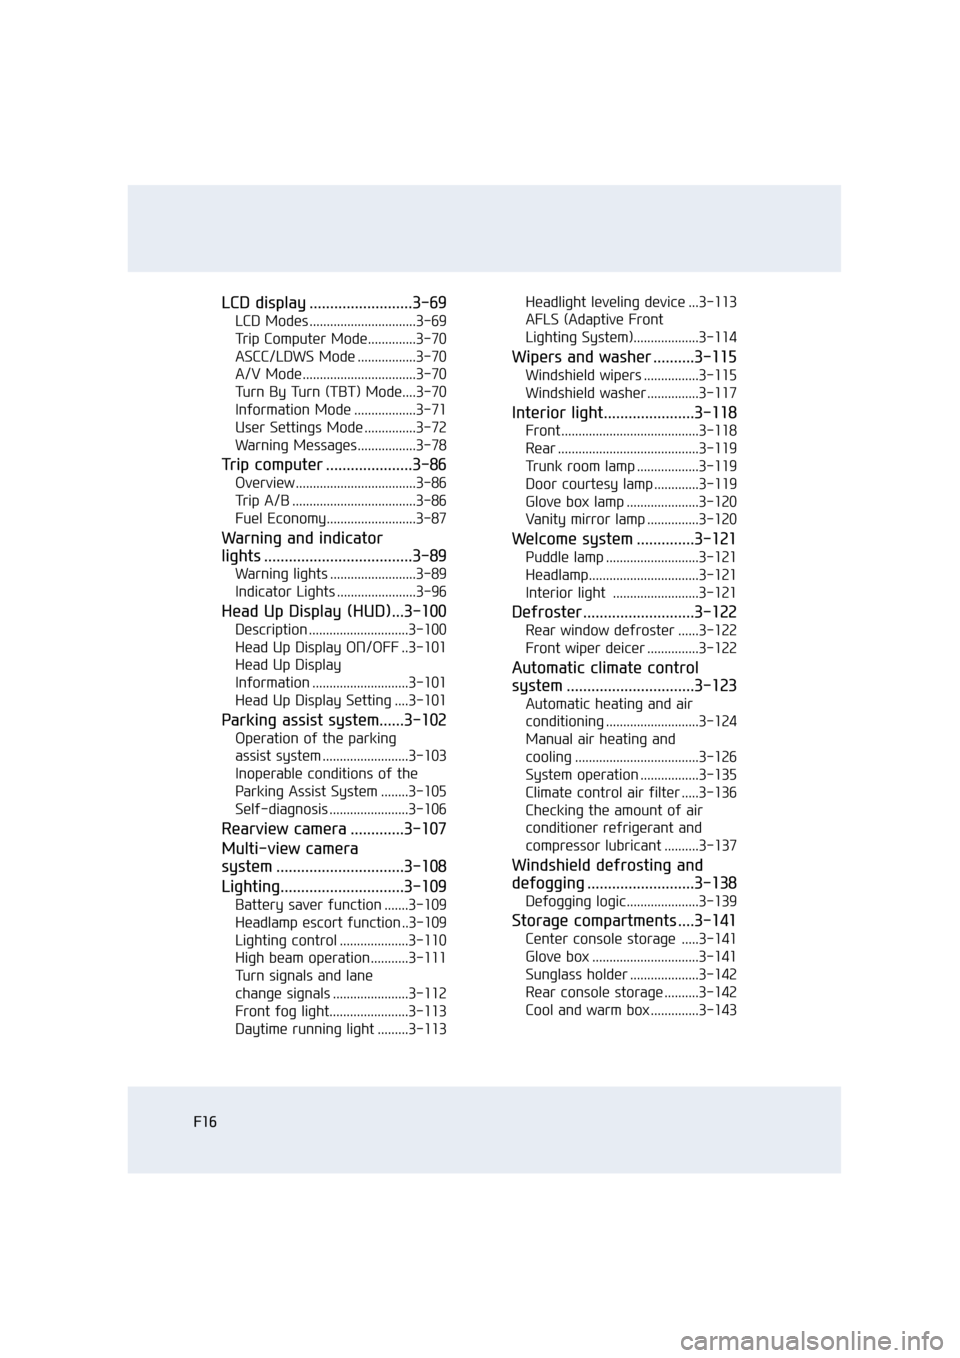
LCD display .........................3-69
LCD Modes ...............................3-69
Trip Computer Mode..............3-70
ASCC/LDWS Mode .................3-70
A/V Mode.................................3-70
Turn By Turn (TBT) Mode....3-70
Information Mode ..................3-71
User Settings Mode ...............3-72
Warning Messages.................3-78
Trip computer .....................3-86
Overview ...................................3-86
Trip A/B ....................................3-86
Fuel Economy..........................3-87
Warning and indicator
lights ....................................3-89
Warning lights .........................3-89
Indicator Lights .......................3-96
Head Up Display (HUD)...3-100
Description .............................3-100
Head Up Display ON/OFF ..3-101
Head Up Display
Information ............................3-101
Head Up Display Setting ....3-101
Parking assist system......3-102
Operation of the parking
assist system .........................3-103
Inoperable conditions of the
Parking Assist System ........3-105
Self-diagnosis .......................3-106
Rearview camera .............3-107
Multi-view camera
system ...............................3-108
Lighting..............................3-109
Battery saver function .......3-109
Headlamp escort function ..3-109
Lighting control ....................3-110
High beam operation...........3-111
Turn signals and lane
change signals ......................3-112
Front fog light.......................3-113
Daytime running light .........3-113 Headlight leveling device ...3-113
AFLS (Adaptive Front
Lighting System)...................3-114
Wipers and washer ..........3-115
Windshield wipers ................3-115
Windshield washer ...............3-117
Interior light......................3-118
Front........................................3-118
Rear .........................................3-119
Trunk room lamp ..................3-119
Door courtesy lamp .............3-119
Glove box lamp .....................3-120
Vanity mirror lamp ...............3-120
Welcome system ..............3-121
Puddle lamp ...........................3-121
Headlamp................................3-121
Interior light .........................3-121
Defroster ...........................3-122
Rear window defroster ......3-122
Front wiper deicer ...............3-122
Automatic climate control
system ...............................3-123
Automatic heating and air
conditioning ...........................3-124
Manual air heating and
cooling ....................................3-126
System operation .................3-135
Climate control air filter .....3-136
Checking the amount of air
conditioner refrigerant and
compressor lubricant ..........3-137
Windshield defrosting and
defogging ..........................3-138
Defogging logic.....................3-139
Storage compartments ....3-141
Center console storage .....3-141
Glove box ...............................3-141
Sunglass holder ....................3-142
Rear console storage ..........3-142
Cool and warm box ..............3-143
Page 22 of 477
Your vehicle at a glance
Exterior overview (front) .....................................1-2
: Towing hook, Hood, Front windshield wiper blades, Sunroof, Outside rearview mirror, Door locks,
Tires and wheels, Headlamps, Front fog light
Exterior overview (rear) .......................................1-3
: Glass antenna and Defroster, High mounted stop light, Trunk, Rear combination light, Rearview camera,
Parking assist system, Towing hook, Fuel filler lid,
Door locks, Window
Interior overview ....................................................1-4
: Inside door handle, Driver's seat control, Driver position memory system button, Power window switch,
Outside rearview mirror control, Fuel-filler lid opener,
Trunk lid release switch or power trunk main control
switch, Seats, Steering wheel, etc...
Instrument panel overview ...................................1-5
: Instrument cluster, Lighting control lever, Wiper and washer control lever, Engine Start/Stop Button,
Climate control system, Vehicle height control but-
ton, etc...
Engine compartment .............................................1-6
: Engine coolant reservoir, Air cleaner, Engine oil fillercap, Windshield washer fluid reservoir, Fuse box,
Jump start connector, etc...
Page 23 of 477
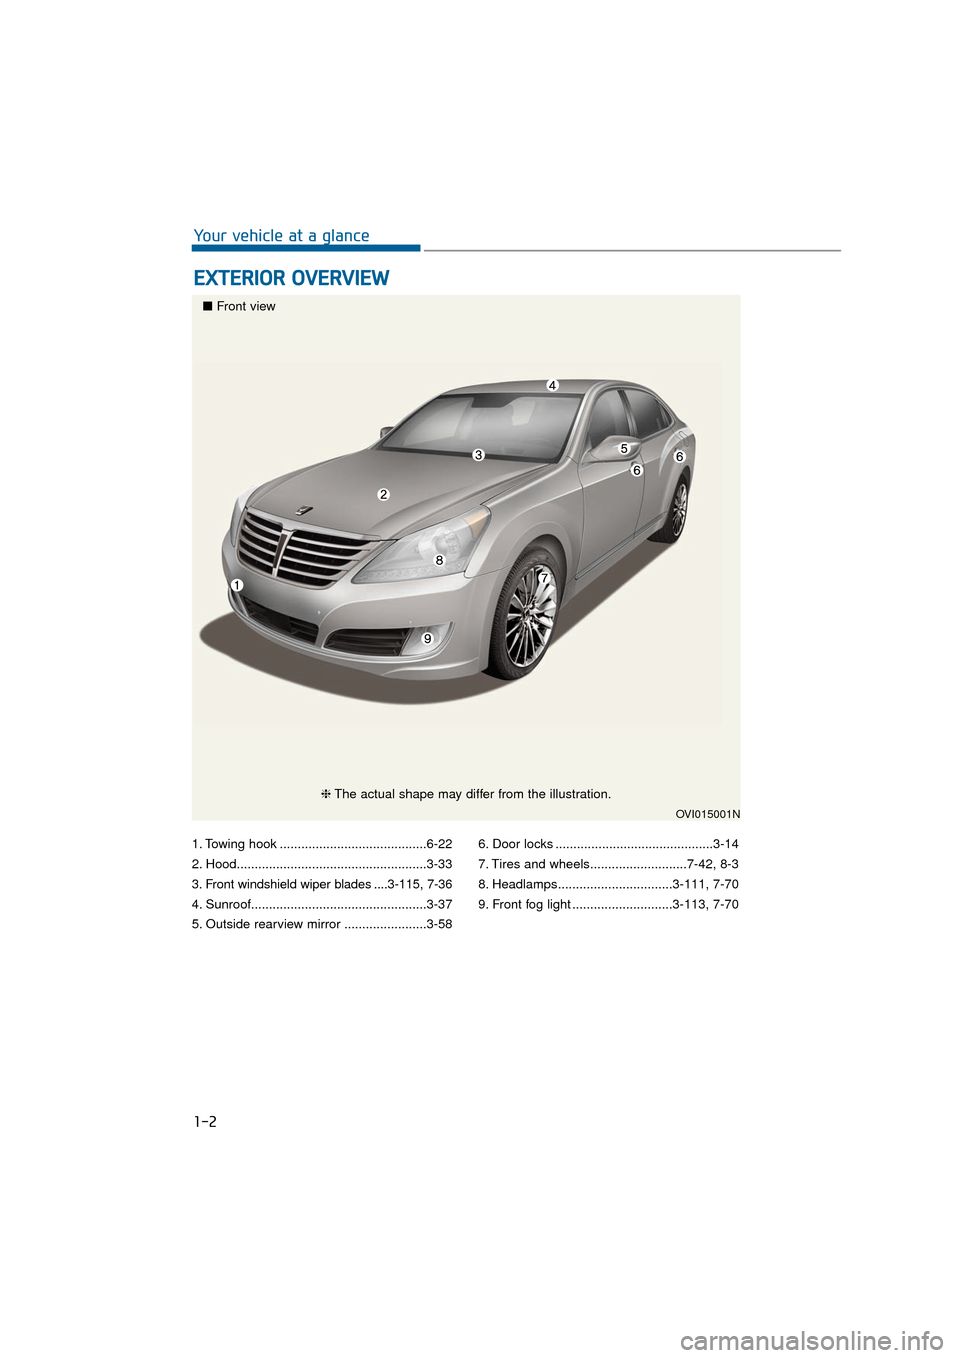
1. Towing hook .........................................6-22
2. Hood.....................................................3-33
3. Front windshield wiper blades ....3-115, 7-36
4. Sunroof.................................................3-37
5. Outside rearview mirror .......................3-586. Door locks ............................................3-14
7. Tires and wheels...........................7-42, 8-3
8. Headlamps................................3-111, 7-70
9. Front fog light ............................3-113, 7-70
E E
X
X T
TE
ER
R I
IO
O R
R
O
O V
VE
ER
R V
V I
IE
E W
W
1-2
Your vehicle at a glance
OVI015001N
■ Front view
❈The actual shape may differ from the illustration.
Page 99 of 477
Rearview camera................................................3-107
Multi-view camera system ...............................3-108
Lighting................................................................3-109
Battery saver function ................................................3-109
Headlamp escort function ..........................................3-109
Lighting control .............................................................3-110
High beam operation....................................................3-111
Turn signals and lane change signals......................3-112
Front fog light ...............................................................3-113
Daytime running light .................................................3-113
Headlight leveling device ...........................................3-113
AFLS (Adaptive Front Lighting System) ..................3-114
Wipers and washer ............................................3-115
Windshield wipers ........................................................3-115
Windshield washer........................................................3-117
Interior light........................................................3-118
Front........................................................................\
.........3-118
Rear ........................................................................\
..........3-119
Trunk room lamp ...........................................................3-119
Door courtesy lamp ......................................................3-119
Glove box lamp ..............................................................3-120
Vanity mirror lamp ........................................................3-120
Welcome system ................................................3-121
Puddle lamp ....................................................................3-12\
1
Headlamp................................................................\
.........3-121
Interior light ..................................................................3-121
Defroster .............................................................3-122
Rear window defroster ...............................................3-122
Front wiper deicer ........................................................3-122
Convenient features ofyour vehicle
Page 195 of 477
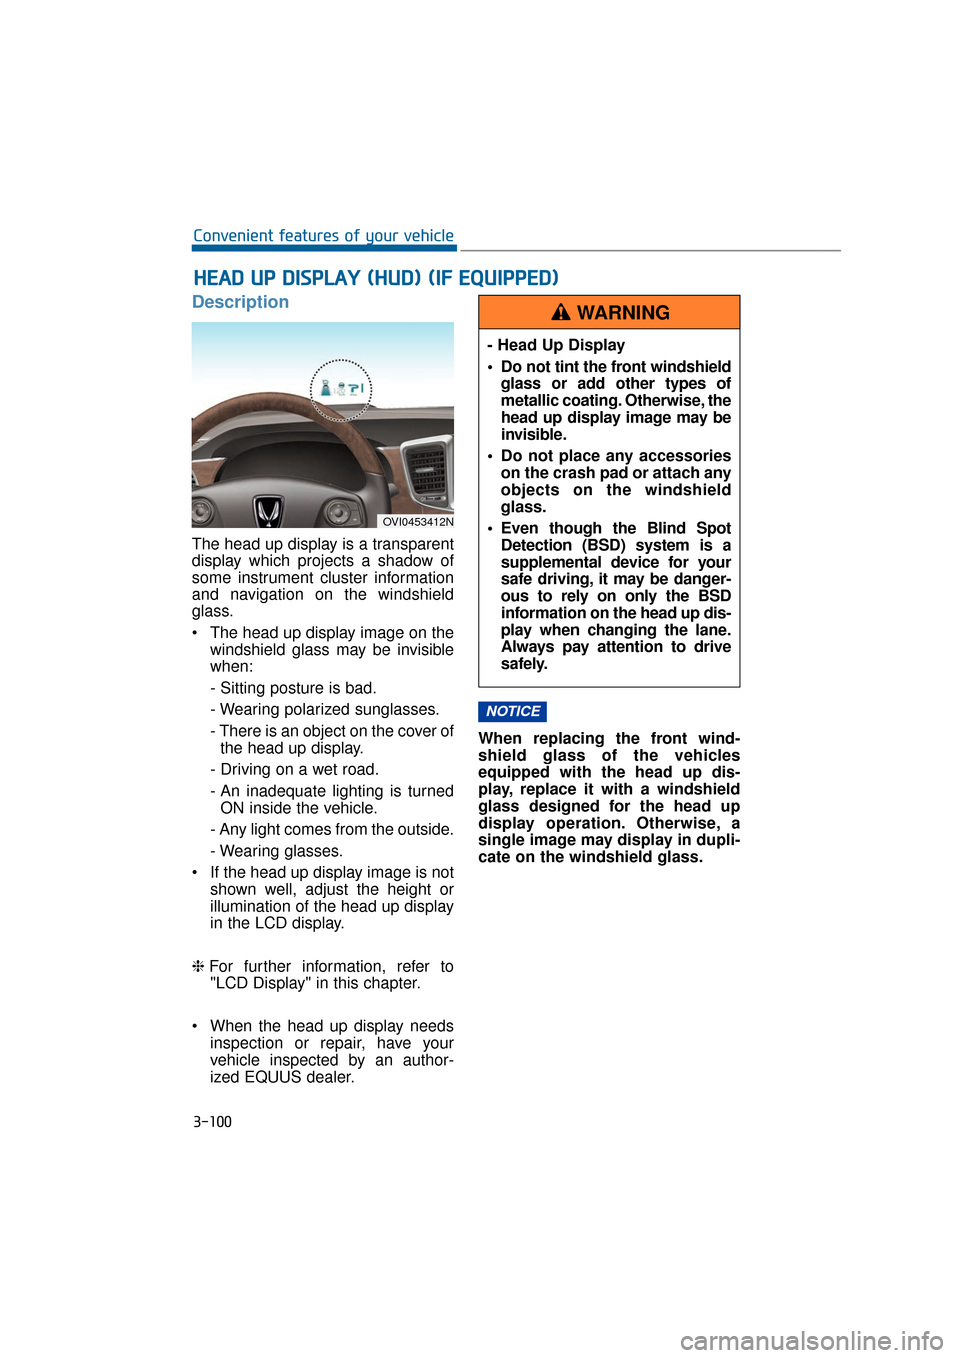
Description
The head up display is a transparent
display which projects a shadow of
some instrument cluster information
and navigation on the windshield
glass.
The head up display image on thewindshield glass may be invisible
when:
- Sitting posture is bad.
- Wearing polarized sunglasses.
- There is an object on the cover ofthe head up display.
- Driving on a wet road.
- An inadequate lighting is turned ON inside the vehicle.
- Any light comes from the outside.
- Wearing glasses.
If the head up display image is not shown well, adjust the height or
illumination of the head up display
in the LCD display.
❈ For further information, refer to
"LCD Display" in this chapter.
When the head up display needs inspection or repair, have your
vehicle inspected by an author-
ized EQUUS dealer. When replacing the front wind-
shield glass of the vehicles
equipped with the head up dis-
play, replace it with a windshield
glass designed for the head up
display operation. Otherwise, a
single image may display in dupli-
cate on the windshield glass.
NOTICE
H H
E
EA
A D
D
U
U P
P
D
D I
IS
S P
P L
LA
A Y
Y
(
( H
H U
U D
D)
)
(
( I
IF
F
E
E Q
Q U
UI
IP
P P
PE
ED
D )
)
3-100
Convenient features of your vehicle
OVI0453412N
- Head Up Display
Do not tint the front windshield
glass or add other types of
metallic coating. Otherwise, the
head up display image may be
invisible.
Do not place any accessories on the crash pad or attach any
objects on the windshield
glass.
Even though the Blind Spot Detection (BSD) system is a
supplemental device for your
safe driving, it may be danger-
ous to rely on only the BSD
information on the head up dis-
play when changing the lane.
Always pay attention to drive
safely.
WARNING
Page 205 of 477
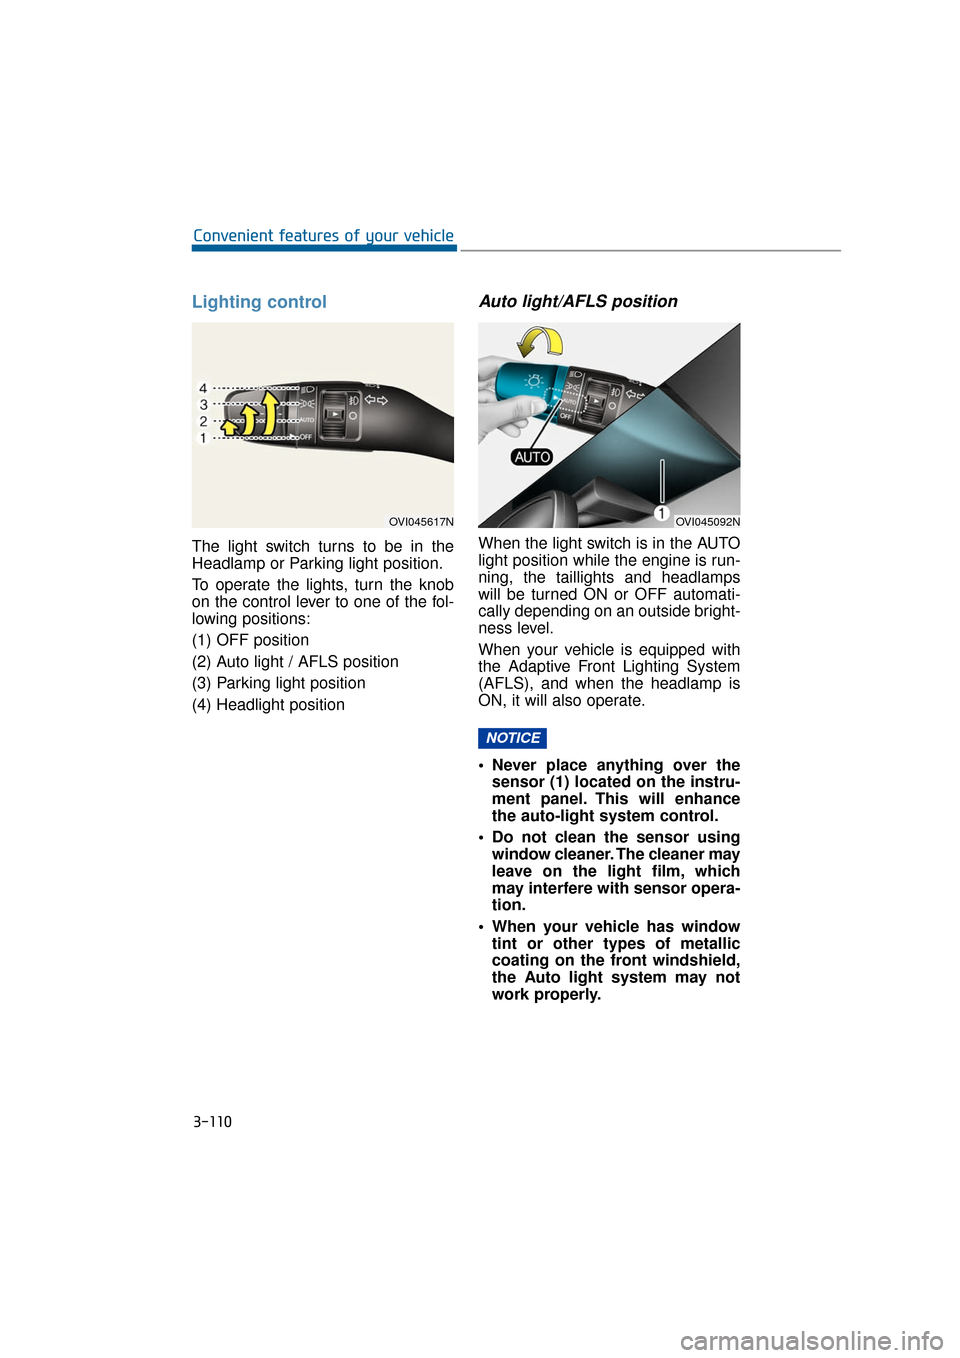
Lighting control
The light switch turns to be in the
Headlamp or Parking light position.
To operate the lights, turn the knob
on the control lever to one of the fol-
lowing positions:
(1) OFF position
(2) Auto light / AFLS position
(3) Parking light position
(4) Headlight position
Auto light/AFLS position
When the light switch is in the AUTO
light position while the engine is run-
ning, the taillights and headlamps
will be turned ON or OFF automati-
cally depending on an outside bright-
ness level.
When your vehicle is equipped with
the Adaptive Front Lighting System
(AFLS), and when the headlamp is
ON, it will also operate.
Never place anything over thesensor (1) located on the instru-
ment panel. This will enhance
the auto-light system control.
Do not clean the sensor using window cleaner. The cleaner may
leave on the light film, which
may interfere with sensor opera-
tion.
When your vehicle has window tint or other types of metallic
coating on the front windshield,
the Auto light system may not
work properly.
NOTICE
3-110
Convenient features of your vehicle
OVI045092NOVI045617N
Page 212 of 477
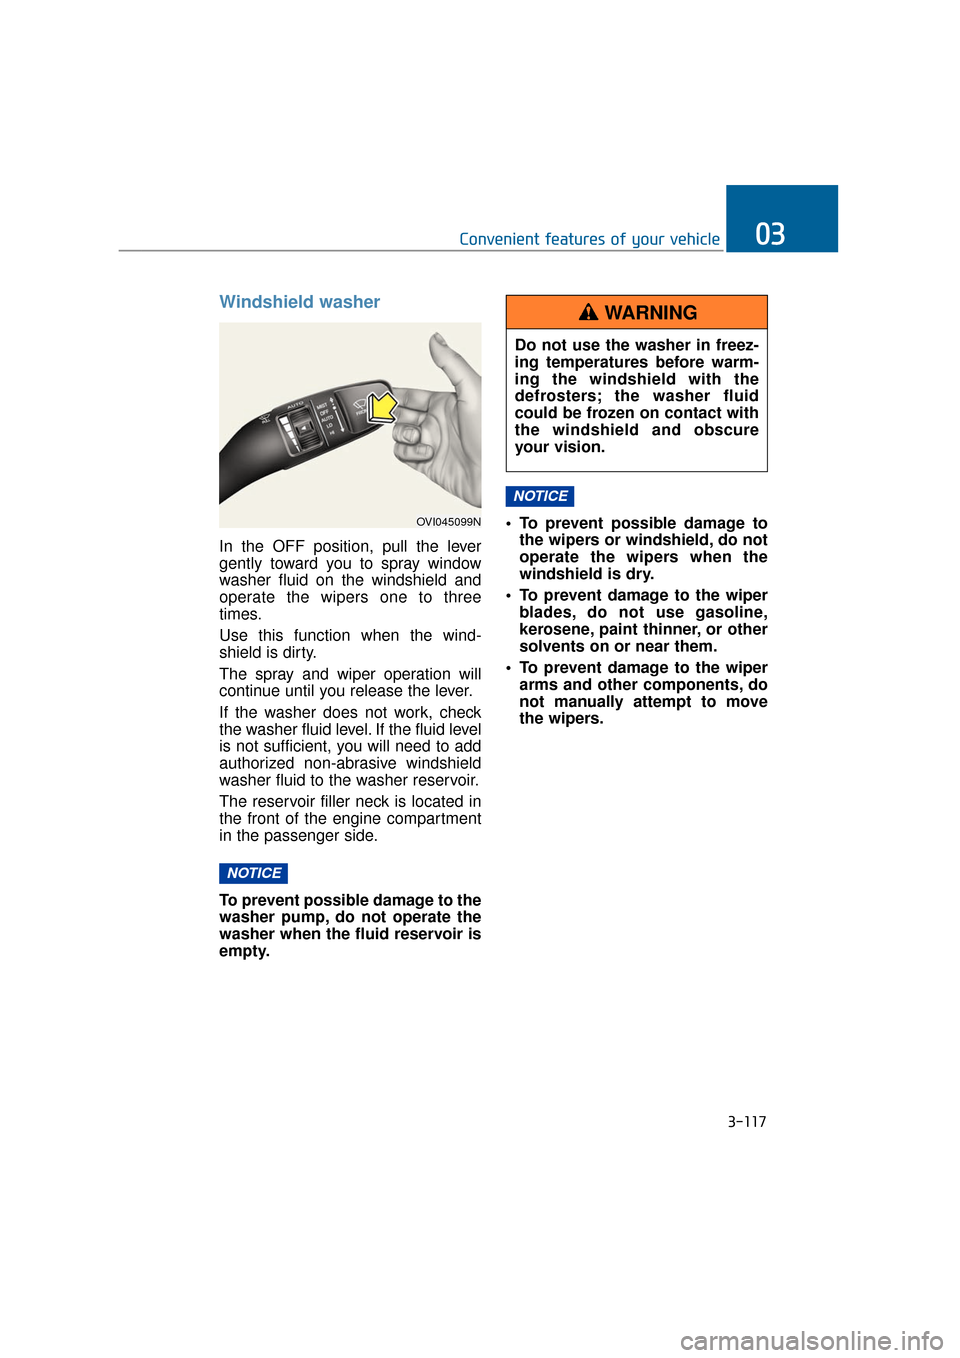
Windshield washer
In the OFF position, pull the lever
gently toward you to spray window
washer fluid on the windshield and
operate the wipers one to three
times.
Use this function when the wind-
shield is dirty.
The spray and wiper operation will
continue until you release the lever.
If the washer does not work, check
the washer fluid level. If the fluid level
is not sufficient, you will need to add
authorized non-abrasive windshield
washer fluid to the washer reservoir.
The reservoir filler neck is located in
the front of the engine compartment
in the passenger side.
To prevent possible damage to the
washer pump, do not operate the
washer when the fluid reservoir is
empty. To prevent possible damage to
the wipers or windshield, do not
operate the wipers when the
windshield is dry.
To prevent damage to the wiper blades, do not use gasoline,
kerosene, paint thinner, or other
solvents on or near them.
To prevent damage to the wiper arms and other components, do
not manually attempt to move
the wipers.
NOTICE
NOTICE
3-117
Convenient features of your vehicle03
OVI045099N
Do not use the washer in freez-
ing temperatures before warm-
ing the windshield with the
defrosters; the washer fluid
could be frozen on contact with
the windshield and obscure
your vision.
WARNING
Page 217 of 477
To prevent damage to the conduc-
tors located under the rear win-
dow surface, never use sharp
instruments or window cleaners
containing abrasives to clean the
window.
Information
If you want to defrost and defog the
front windshield, refer to “Windshield
defrosting and defogging” in this chap-
ter.
Rear window defroster
The defroster heats the window to
remove frost, fog and thin ice from
the rear window, while the engine is
running.
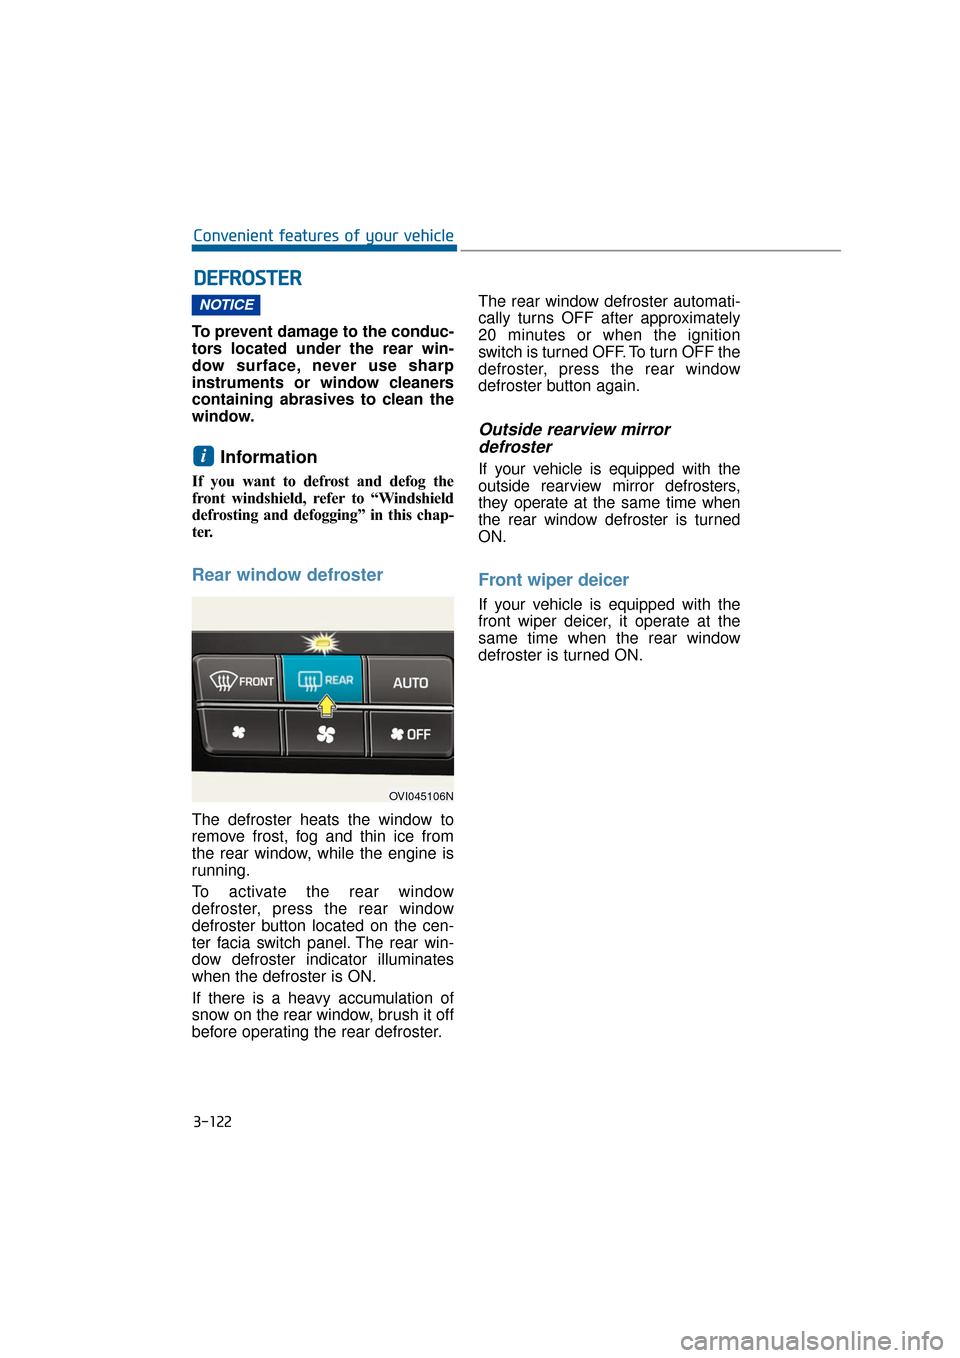
To activate the rear window
defroster, press the rear window
defroster button located on the cen-
ter facia switch panel. The rear win-
dow defroster indicator illuminates
when the defroster is ON.
If there is a heavy accumulation of
snow on the rear window, brush it off
before operating the rear defroster.The rear window defroster automati-
cally turns OFF after approximately
20 minutes or when the ignition
switch is turned OFF. To turn OFF the
defroster, press the rear window
defroster button again.
Outside rearview mirror
defroster
If your vehicle is equipped with the
outside rearview mirror defrosters,
they operate at the same time when
the rear window defroster is turned
ON.
Front wiper deicer
If your vehicle is equipped with the
front wiper deicer, it operate at the
same time when the rear window
defroster is turned ON.
i
NOTICE
D D E
EF
FR
R O
O S
ST
T E
ER
R
3-122
Convenient features of your vehicle
OVI045106N
Page 218 of 477
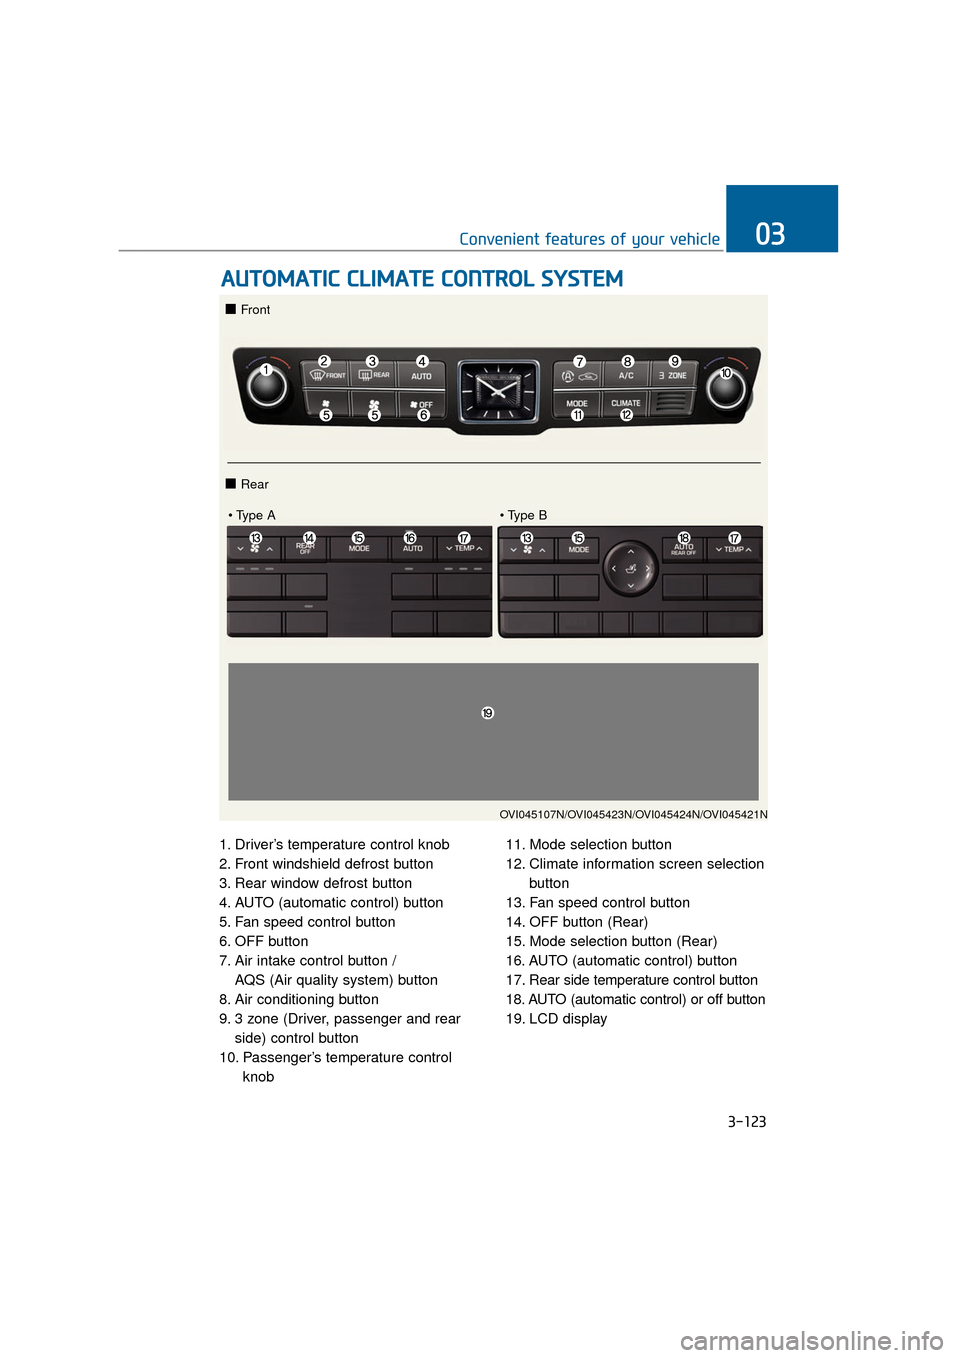
1. Driver’s temperature control knob
2. Front windshield defrost button
3. Rear window defrost button
4. AUTO (automatic control) button
5. Fan speed control button
6. OFF button
7. Air intake control button / AQS (Air quality system) button
8. Air conditioning button
9. 3 zone (Driver, passenger and rear side) control button
10. Passenger’s temperature control knob 11. Mode selection button
12. Climate information screen selection
button
13. Fan speed control button
14. OFF button (Rear)
15. Mode selection button (Rear)
16. AUTO (automatic control) button
17. Rear side temperature control button
18. AUTO (automatic control) or off button
19. LCD display
A A U
U T
TO
O M
M A
AT
TI
IC
C
C
C L
LI
IM
M A
AT
TE
E
C
C O
O N
NT
TR
R O
O L
L
S
S Y
Y S
ST
T E
EM
M
3-123
Convenient features of your vehicle03
OVI045107N/OVI045423N/OVI045424N/OVI045421N
■ Front
■ Rear
Page 220 of 477
3-125
Convenient features of your vehicle03
Information
• To turn the automatic operation OFF,select any button among the follow-
ings and press:
- Mode selection button
- Front windshield defrost button(Press the button one more time to
deselect the front windshield
defroster function. The 'AUTO'
sign will illuminate on the infor-
mation display once again.)
- Fan speed control button
The selected function will be con-
trolled manually while other func-
tions operate automatically.
• For your convenience and improved climate control effects, use the
AUTO button and set the tempera-
ture at 73°F (23°C).
Information
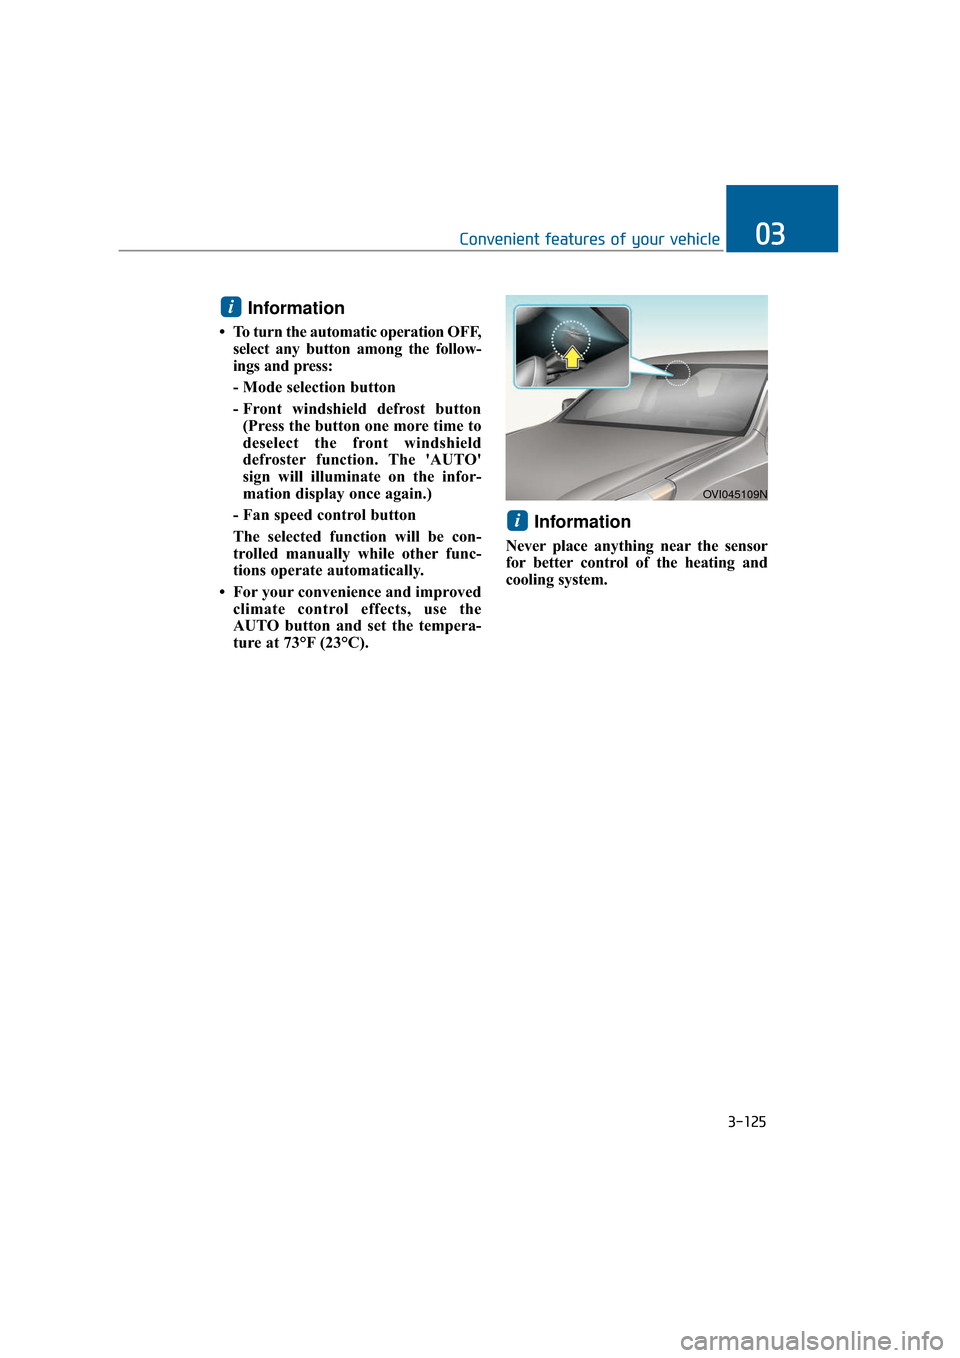
Never place anything near the sensor
for better control of the heating and
cooling system.
i
i
OVI045109N