fuse Hyundai Genesis Coupe 2013 Owner's Manual
[x] Cancel search | Manufacturer: HYUNDAI, Model Year: 2013, Model line: Genesis Coupe, Model: Hyundai Genesis Coupe 2013Pages: 414, PDF Size: 38.89 MB
Page 12 of 414
Your vehicle at a glance
6
2
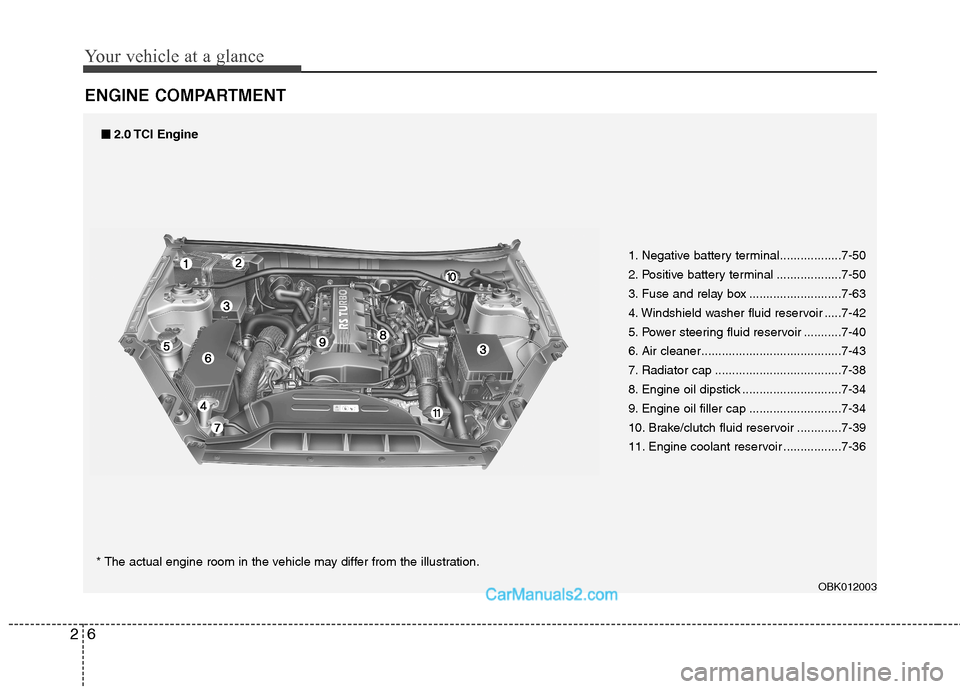
ENGINE COMPARTMENT
1. Negative battery terminal..................7-50
2. Positive battery terminal ...................7-50
3. Fuse and relay box ...........................7-63
4. Windshield washer fluid reservoir .....7-42
5. Power steering fluid reservoir ...........7-40
6. Air cleaner.........................................7-43
7. Radiator cap .....................................7-38
8. Engine oil dipstick .............................7-34
9. Engine oil filler cap ...........................7-34
10. Brake/clutch fluid reservoir .............7-39
11. Engine coolant reservoir .................7-36
OBK012003
■■2.0 TCI Engine
* The actual engine room in the vehicle may differ from the illustration.
Page 13 of 414
27
Your vehicle at a glance
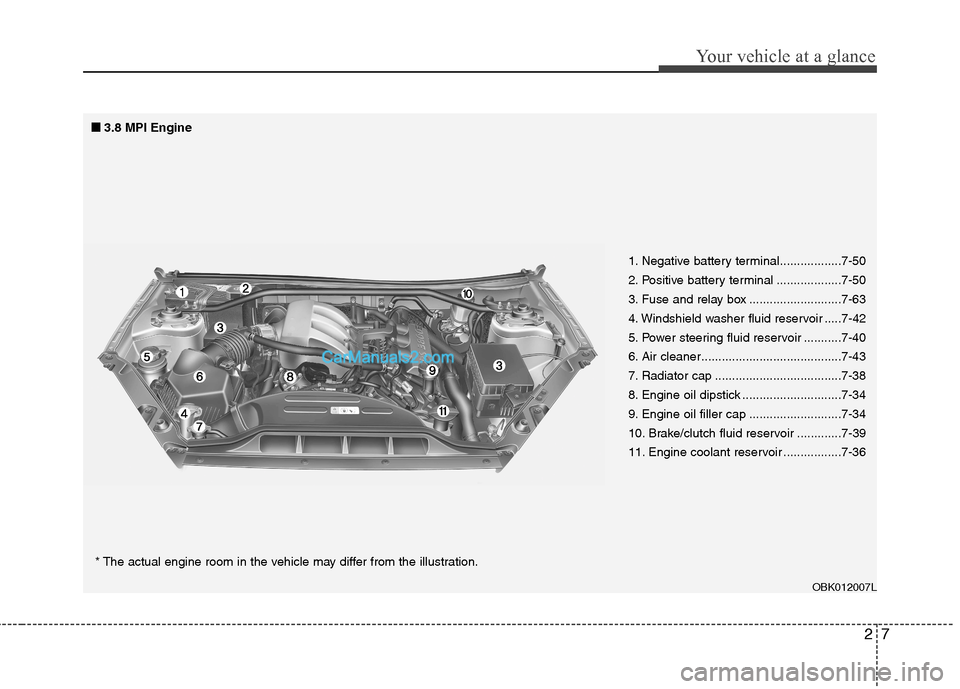
1. Negative battery terminal..................7-50
2. Positive battery terminal ...................7-50
3. Fuse and relay box ...........................7-63
4. Windshield washer fluid reservoir .....7-42
5. Power steering fluid reservoir ...........7-40
6. Air cleaner.........................................7-43
7. Radiator cap .....................................7-38
8. Engine oil dipstick .............................7-34
9. Engine oil filler cap ...........................7-34
10. Brake/clutch fluid reservoir .............7-39
11. Engine coolant reservoir .................7-36
■
■
3.8 MPI Engine
* The actual engine room in the vehicle may differ from the illustration.
OBK012007L
Page 14 of 414
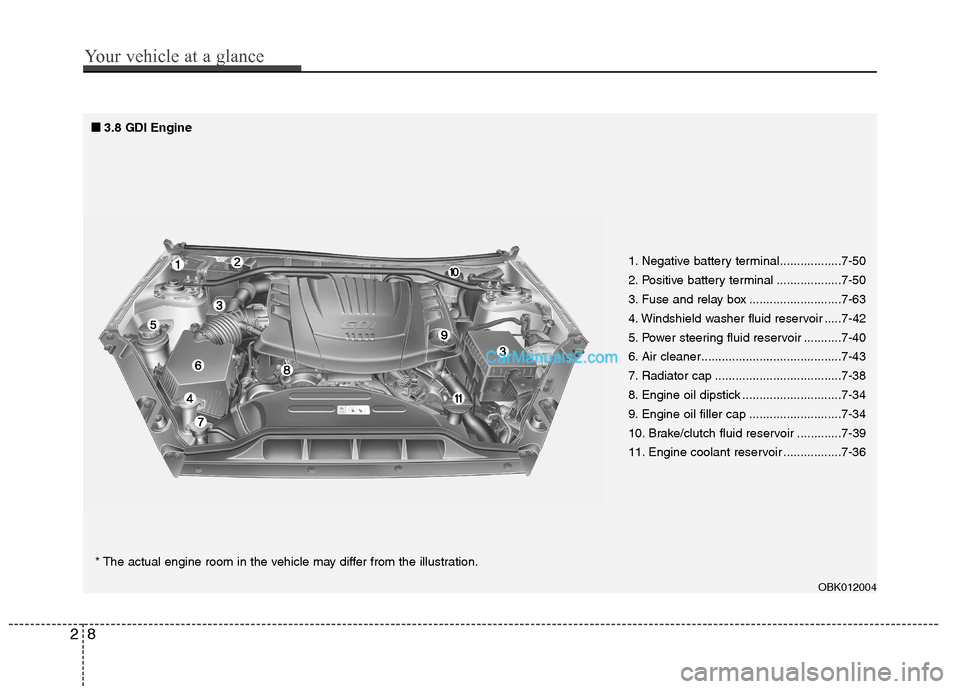
1. Negative battery terminal..................7-50
2. Positive battery terminal ...................7-50
3. Fuse and relay box ...........................7-63
4. Windshield washer fluid reservoir .....7-42
5. Power steering fluid reservoir ...........7-40
6. Air cleaner.........................................7-43
7. Radiator cap .....................................7-38
8. Engine oil dipstick .............................7-34
9. Engine oil filler cap ...........................7-34
10. Brake/clutch fluid reservoir .............7-39
11. Engine coolant reservoir .................7-36
■
■
3.8 GDI Engine
* The actual engine room in the vehicle may differ from the illustration.
OBK012004
28
Your vehicle at a glance
Page 53 of 414
339
Safety features of your vehicle
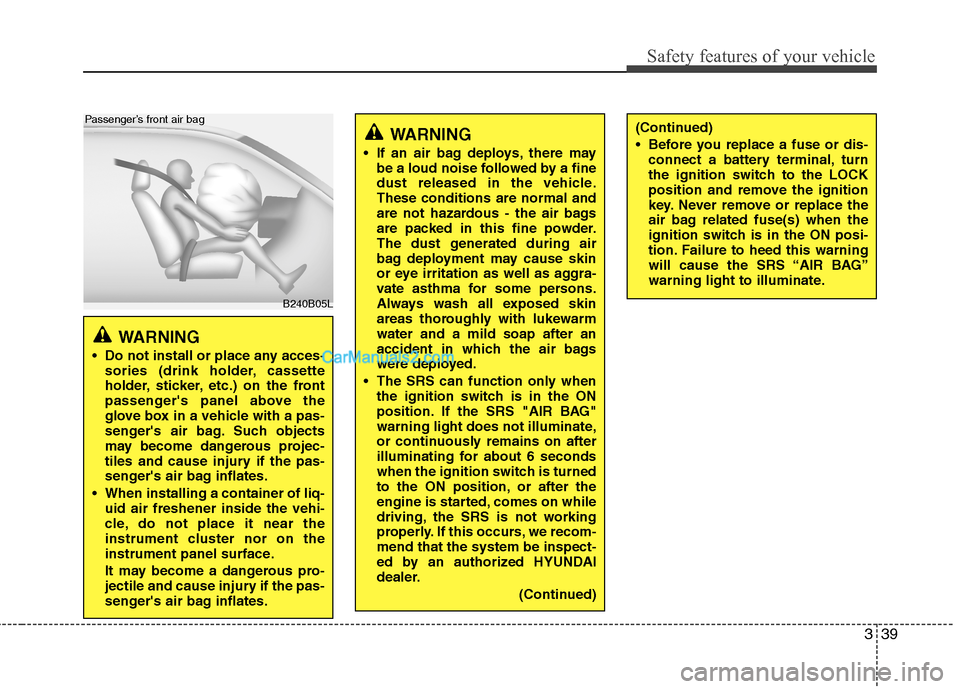
WARNING
Do not install or place any acces- sories (drink holder, cassette
holder, sticker, etc.) on the front
passenger's panel above the
glove box in a vehicle with a pas-
senger's air bag. Such objects
may become dangerous projec-
tiles and cause injury if the pas-
senger's air bag inflates.
When installing a container of liq- uid air freshener inside the vehi-
cle, do not place it near the
instrument cluster nor on the
instrument panel surface.
It may become a dangerous pro-
jectile and cause injury if the pas-
senger's air bag inflates.
B240B05L
Passenger’s front air bag
WARNING
If an air bag deploys, there may be a loud noise followed by a fine
dust released in the vehicle.These conditions are normal and
are not hazardous - the air bags
are packed in this fine powder.
The dust generated during air
bag deployment may cause skin
or eye irritation as well as aggra-
vate asthma for some persons.
Always wash all exposed skin
areas thoroughly with lukewarmwater and a mild soap after an
accident in which the air bags
were deployed.
The SRS can function only when the ignition switch is in the ON
position. If the SRS "AIR BAG"
warning light does not illuminate,
or continuously remains on after
illuminating for about 6 seconds
when the ignition switch is turned
to the ON position, or after the
engine is started, comes on while
driving, the SRS is not working
properly. If this occurs, we recom-mend that the system be inspect-
ed by an authorized HYUNDAI
dealer.
(Continued)(Continued)
Before you replace a fuse or dis-connect a battery terminal, turn
the ignition switch to the LOCK
position and remove the ignition
key. Never remove or replace the
air bag related fuse(s) when the
ignition switch is in the ON posi-
tion. Failure to heed this warning
will cause the SRS “AIR BAG”
warning light to illuminate.
Page 89 of 414
423
Features of your vehicle
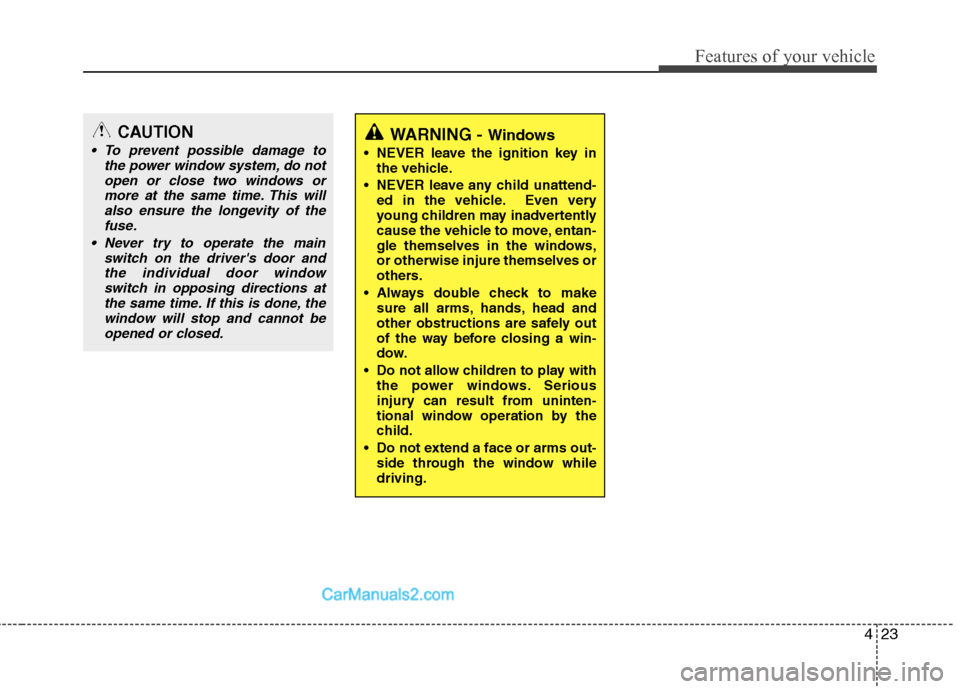
CAUTION
To prevent possible damage tothe power window system, do not
open or close two windows ormore at the same time. This willalso ensure the longevity of the fuse.
Never try to operate the main switch on the driver's door andthe individual door window switch in opposing directions at
the same time. If this is done, thewindow will stop and cannot beopened or closed.WARNING - Windows
NEVER leave the ignition key in the vehicle.
NEVER leave any child unattend- ed in the vehicle. Even very
young children may inadvertently
cause the vehicle to move, entan-
gle themselves in the windows,or otherwise injure themselves or
others.
Always double check to make sure all arms, hands, head and
other obstructions are safely out
of the way before closing a win-
dow.
Do not allow children to play with the power windows. Serious
injury can result from uninten-
tional window operation by the
child.
Do not extend a face or arms out- side through the window whiledriving.
Page 98 of 414
Features of your vehicle
32
4
Resetting the sunroof
Whenever the vehicle battery is discon-
nected or discharged, you must reset
your sunroof system as follows:
1. Turn the ignition switch to the ON
position.
2. Close the sunroof completely.
3. Release the sunroof control lever.
4. Release the control button.
5. Pull and hold the sunroof control lever downward until the sunroof is operat-
ed as follows;
TILT DOWN �SLIDE OPEN �
SLIDE CLOSE
Then, release the lever.
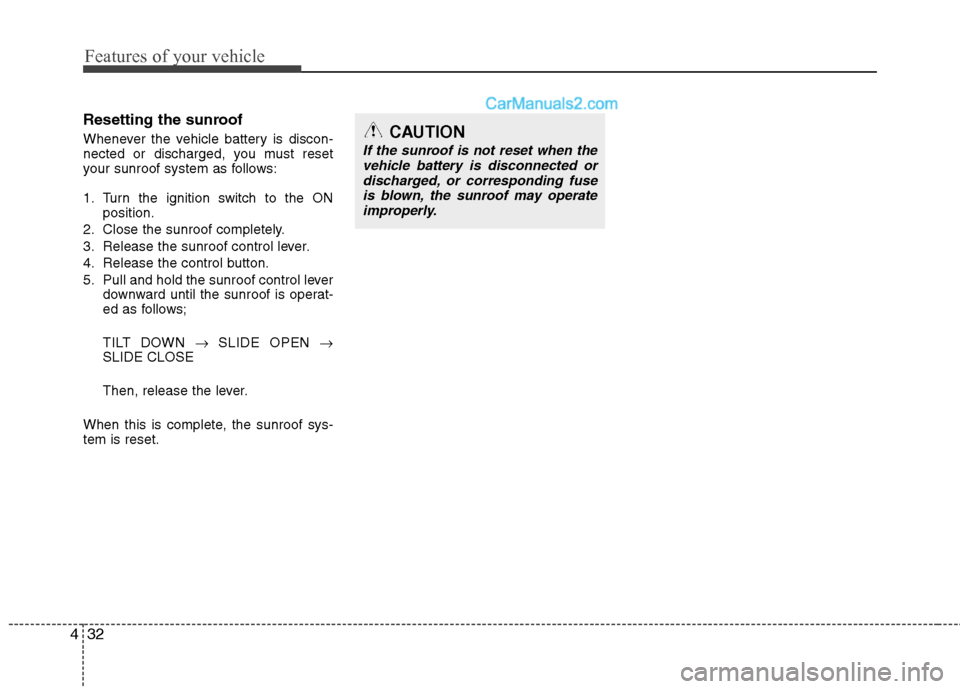
When this is complete, the sunroof sys- tem is reset.CAUTION
If the sunroof is not reset when the vehicle battery is disconnected or
discharged, or corresponding fuseis blown, the sunroof may operateimproperly.
Page 120 of 414
Features of your vehicle
54
4
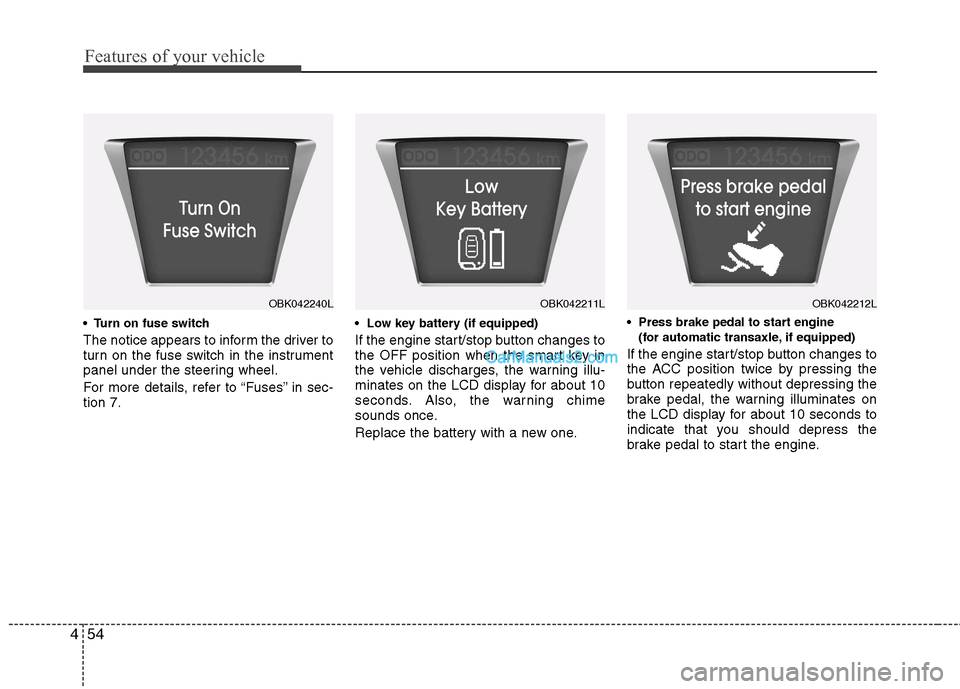
The notice appears to inform the driver to
turn on the fuse switch in the instrument
panel under the steering wheel.
For more details, refer to “Fuses” in sec- tion 7.
If the engine start/stop button changes to
the OFF position when the smart key in
the vehicle discharges, the warning illu-
minates on the LCD display for about 10
seconds. Also, the warning chime
sounds once.
Replace the battery with a new one.
(for automatic transaxle, if equipped)
If the engine start/stop button changes to
the ACC position twice by pressing the
button repeatedly without depressing the
brake pedal, the warning illuminates on
the LCD display for about 10 seconds to
indicate that you should depress the
brake pedal to start the engine.
OBK042240LOBK042211LOBK042212L
Page 122 of 414
Features of your vehicle
56
4
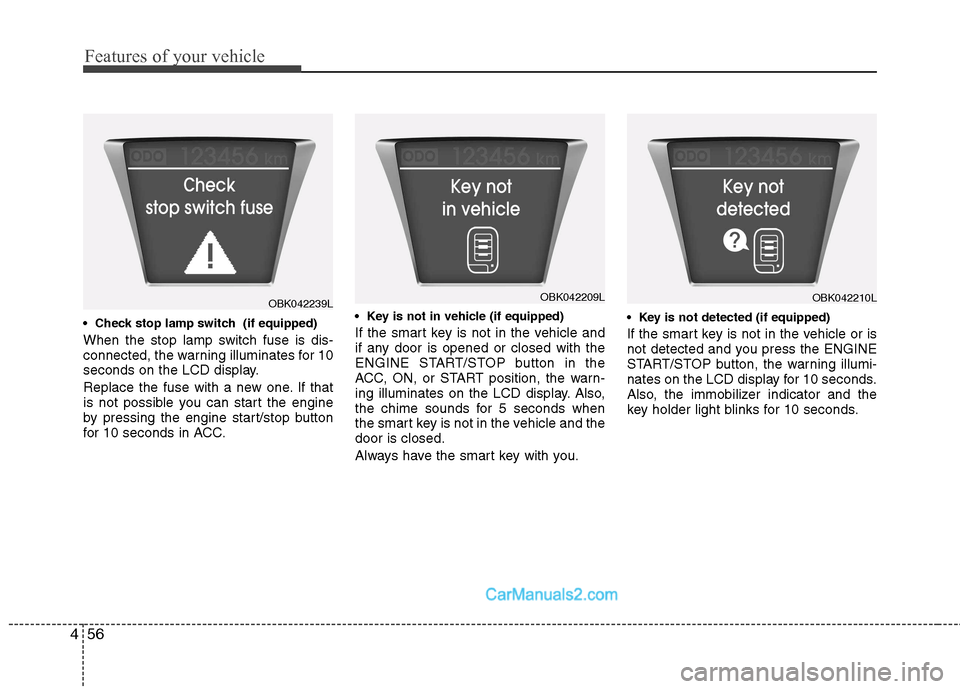
When the stop lamp switch fuse is dis-
connected, the warning illuminates for 10
seconds on the LCD display.
Replace the fuse with a new one. If that
is not possible you can start the engine
by pressing the engine start/stop button
for 10 seconds in ACC.
If the smart key is not in the vehicle and
if any door is opened or closed with the
ENGINE START/STOP button in the
ACC, ON, or START position, the warn-
ing illuminates on the LCD display. Also,
the chime sounds for 5 seconds when
the smart key is not in the vehicle and thedoor is closed.
Always have the smart key with you.
If the smart key is not in the vehicle or is
not detected and you press the ENGINE
START/STOP button, the warning illumi-
nates on the LCD display for 10 seconds.
Also, the immobilizer indicator and the
key holder light blinks for 10 seconds.
OBK042239LOBK042209LOBK042210L
Page 192 of 414
![Hyundai Genesis Coupe 2013 Owners Manual Features of your vehicle
126
4
Digital clock
Whenever the battery terminals or relat-
ed fuses are disconnected, you must
reset the time.
Setup the clock
With audio off
1. Press the [SETUP] or [Clo Hyundai Genesis Coupe 2013 Owners Manual Features of your vehicle
126
4
Digital clock
Whenever the battery terminals or relat-
ed fuses are disconnected, you must
reset the time.
Setup the clock
With audio off
1. Press the [SETUP] or [Clo](/img/35/14690/w960_14690-191.png)
Features of your vehicle
126
4
Digital clock
Whenever the battery terminals or relat-
ed fuses are disconnected, you must
reset the time.
Setup the clock
With audio off
1. Press the [SETUP] or [Clock] button(1)
until the clock of the display blinks.
2. Set the clock by turning the knob(2) and press it.
With audio on
1. Press the [SETUP] or [Clock] button (1).
2. Select the clock menu by turning the knob (2).
3. Set the clock by turning the knob(2) and press it.
WARNING
Do not adjust the clock while driv-
ing. You may lose your steering
control and cause an accident that
results in severe personal injury ordeath.
OBK042111
WARNING
Do not put a finger or a foreign ele-
ment (pin, etc.) into a power outlet
and do not touch with a wet hand.
You may get an electric shock.
Page 308 of 414
7
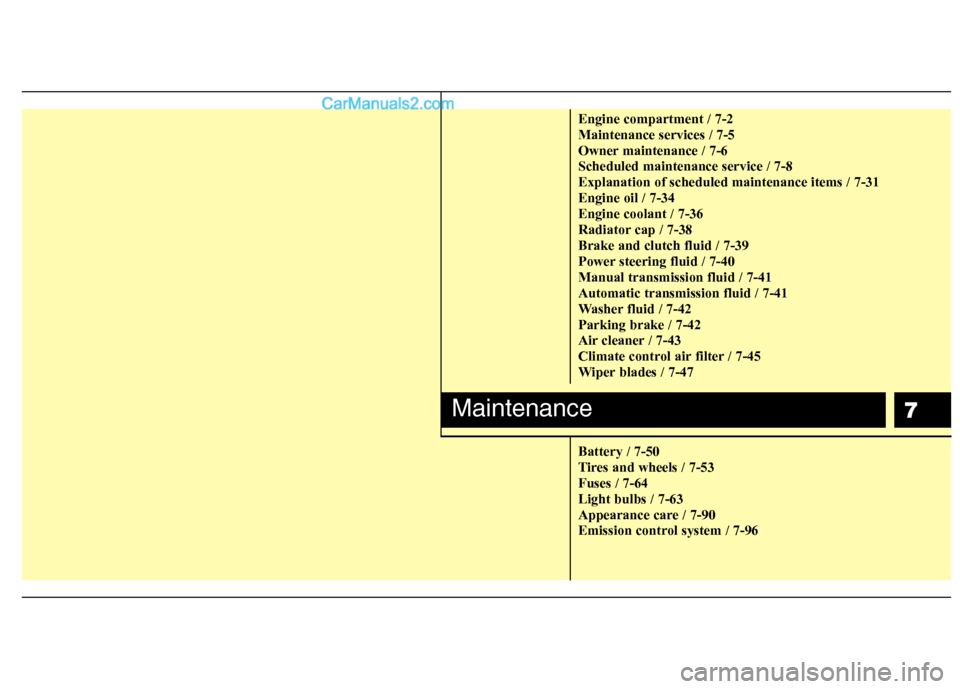
Engine compartment / 7-2 Maintenance services / 7-5
Owner maintenance / 7-6Scheduled maintenance service / 7-8Explanation of scheduled maintenance items / 7-31Engine oil / 7-34Engine coolant / 7-36
Radiator cap / 7-38Brake and clutch fluid / 7-39
Power steering fluid / 7-40Manual transmission fluid / 7-41Automatic transmission fluid / 7-41
Washer fluid / 7-42Parking brake / 7-42
Air cleaner / 7-43
Climate control air filter / 7-45
Wiper blades / 7-47 Battery / 7-50
Tires and wheels / 7-53Fuses / 7-64Light bulbs / 7-63
Appearance care / 7-90
Emission control system / 7-96
Maintenance