light Hyundai Grandeur 2002 Owner's Manual
[x] Cancel search | Manufacturer: HYUNDAI, Model Year: 2002, Model line: Grandeur, Model: Hyundai Grandeur 2002Pages: 230, PDF Size: 3.82 MB
Page 10 of 230
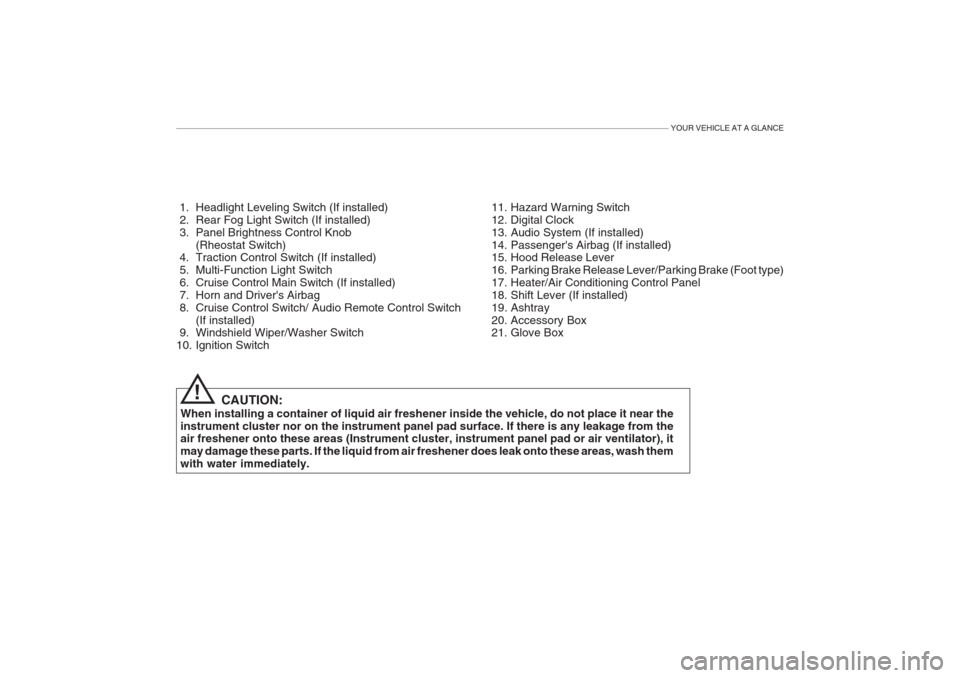
YOUR VEHICLE AT A GLANCE
1. Headlight Leveling Switch (If installed)
2. Rear Fog Light Switch (If installed)
3. Panel Brightness Control Knob(Rheostat Switch)
4. Traction Control Switch (If installed)
5. Multi-Function Light Switch
6. Cruise Control Main Switch (If installed)
7. Horn and Driver's Airbag
8. Cruise Control Switch/ Audio Remote Control Switch
(If installed)
9. Windshield Wiper/Washer Switch
10. Ignition Switch
CAUTION:
When installing a container of liquid air freshener inside the vehicle, do not place it near theinstrument cluster nor on the instrument panel pad surface. If there is any leakage from the air freshener onto these areas (Instrument cluster, instrument panel pad or air ventilator), it may damage these parts. If the liquid from air freshener does leak onto these areas, wash themwith water immediately. 11. Hazard Warning Switch
12. Digital Clock
13. Audio System (If installed)
14. Passenger's Airbag (If installed)
15. Hood Release Lever
16. Parking Brake Release Lever/Parking Brake (Foot type)
17. Heater/Air Conditioning Control Panel
18. Shift Lever (If installed)
19. Ashtray
20. Accessory Box
21. Glove Box
!
Page 12 of 230
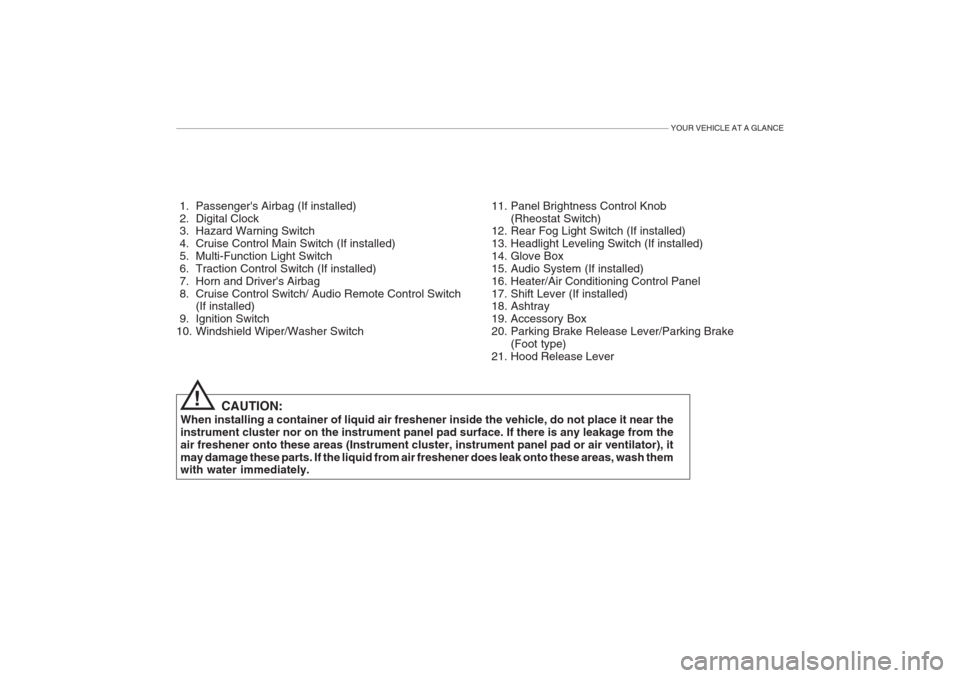
YOUR VEHICLE AT A GLANCE
1. Passenger's Airbag (If installed)
2. Digital Clock
3. Hazard Warning Switch
4. Cruise Control Main Switch (If installed)
5. Multi-Function Light Switch
6. Traction Control Switch (If installed)
7. Horn and Driver's Airbag
8. Cruise Control Switch/ Audio Remote Control Switch(If installed)
9. Ignition Switch
10. Windshield Wiper/Washer Switch 11. Panel Brightness Control Knob
(Rheostat Switch)
12. Rear Fog Light Switch (If installed)
13. Headlight Leveling Switch (If installed)
14. Glove Box
15. Audio System (If installed)
16. Heater/Air Conditioning Control Panel
17. Shift Lever (If installed)
18. Ashtray
19. Accessory Box
20. Parking Brake Release Lever/Parking Brake
(Foot type)
21. Hood Release Lever
CAUTION:
When installing a container of liquid air freshener inside the vehicle, do not place it near theinstrument cluster nor on the instrument panel pad surface. If there is any leakage from theair freshener onto these areas (Instrument cluster, instrument panel pad or air ventilator), itmay damage these parts. If the liquid from air freshener does leak onto these areas, wash them with water immediately.
!
Page 13 of 230
YOUR VEHICLE AT A GLANCE
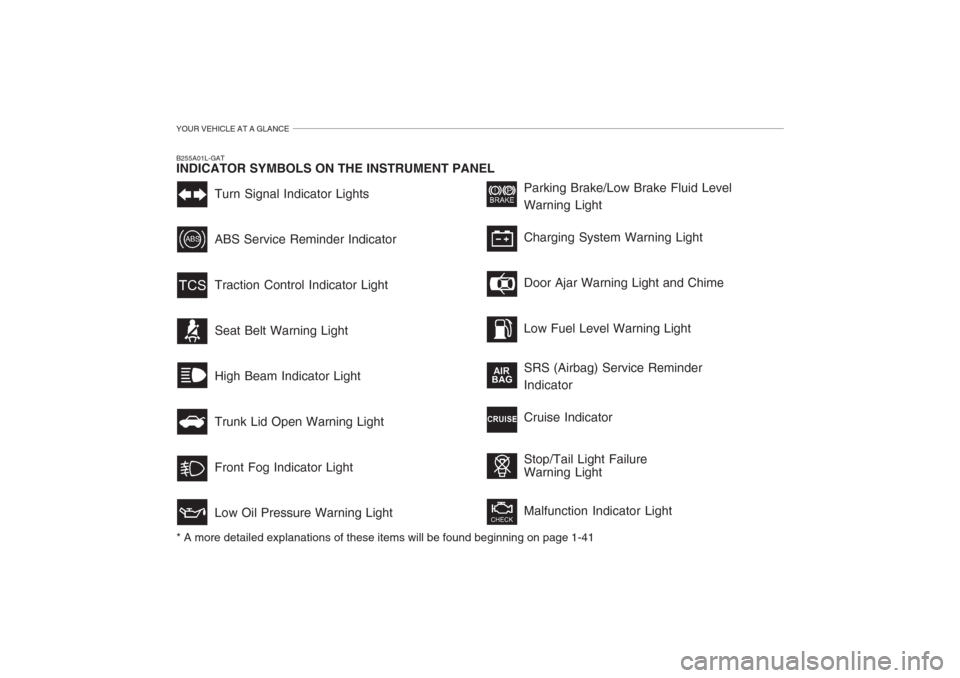
Turn Signal Indicator Lights ABS Service Reminder Indicator Traction Control Indicator LightSeat Belt Warning Light High Beam Indicator Light Trunk Lid Open Warning LightFront Fog Indicator Light Low Oil Pressure Warning LightParking Brake/Low Brake Fluid Level Warning Light Charging System Warning Light Door Ajar Warning Light and Chime Low Fuel Level Warning Light SRS (Airbag) Service Reminder Indicator Cruise Indicator Stop/Tail Light Failure Warning Light Malfunction Indicator Light
B255A01L-GAT INDICATOR SYMBOLS ON THE INSTRUMENT PANEL * A more detailed explanations of these items will be found beginning on page 1-41
Page 14 of 230
1. FEATURES OF YOUR HYUNDAI
Fuel Recommendations .................................................................. 1-2
Breaking In Your New Hyundai ...................................................... 1-3
Key (Immobilizer System) ............................................................... 1-4
Door Locks (Theft-Alarm System) .................................................. 1-6
Power Windows ............................................................................1-10
Seat (Power Seat) ........................................................................ 1-11
I.M.S (Integrated Memory System) ............................................... 1-15
Seat Belt ....................................................................................... 1-18
Child Restraint System ................................................................. 1-23
Supplemental Restraint (AIRBAG) System .................................. 1-31
Instrument Cluster and Indicator Lights ........................................ 1-39
Warning Light and Indicator ......................................................... 1-41
Multi-function Light Switch ............................................................ 1-48
Windshield Wiper/Washer Switch .................................................1-50
Trip Computer ............................................................................... 1-53
Sunroof ......................................................................................... 1-57
Mirror ............................................................................................. 1-62
Hood Release ............................................................................... 1-68
Cruise Control ............................................................................... 1-72
Audio Rmote Control Switch ......................................................... 1-75
Heating and Cooling Control ........................................................ 1-76
Stereo Sound System ................................................................... 1-91
Audio Syste m ................................................................................ 1-93
Antenna ...................................................................................... 1-115
1
Page 18 of 230
FEATURES OF YOUR HYUNDAI 1- 5
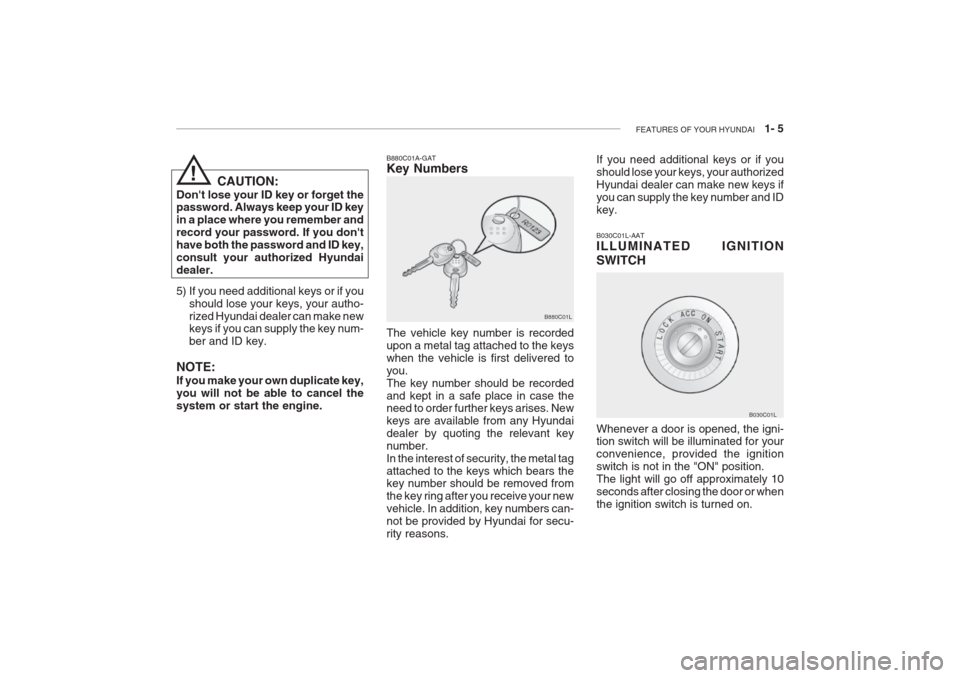
B880C01A-GAT Key Numbers The vehicle key number is recorded upon a metal tag attached to the keyswhen the vehicle is first delivered toyou.The key number should be recordedand kept in a safe place in case the need to order further keys arises. New keys are available from any Hyundaidealer by quoting the relevant keynumber.In the interest of security, the metal tagattached to the keys which bears the key number should be removed from
the key ring after you receive your newvehicle. In addition, key numbers can-not be provided by Hyundai for secu-rity reasons. B880C01L
CAUTION:
Don't lose your ID key or forget the password. Always keep your ID key in a place where you remember andrecord your password. If you don'thave both the password and ID key,consult your authorized Hyundaidealer.
!
5) If you need additional keys or if you should lose your keys, your autho- rized Hyundai dealer can make new keys if you can supply the key num- ber and ID key.
NOTE: If you make your own duplicate key, you will not be able to cancel thesystem or start the engine. If you need additional keys or if youshould lose your keys, your authorizedHyundai dealer can make new keys ifyou can supply the key number and IDkey.
B030C01L-AAT ILLUMINATED IGNITION SWITCH Whenever a door is opened, the igni- tion switch will be illuminated for your convenience, provided the ignitionswitch is not in the "ON" position.The light will go off approximately 10seconds after closing the door or whenthe ignition switch is turned on.
B030C01L
Page 21 of 230
1- 8 FEATURES OF YOUR HYUNDAI
B070A01S-AAT THEFT-ALARM SYSTEM (If installed) This system is designed to provide protection from unauthorized entry intothe car. This system is operated inthree stages: the first is the "Armed"stage, the second is the "Alarm" stage, and the third is the "Disarmed" stage. If triggered, the system provides anaudible alarm siren. B070B03Y-AAT Armed Stage Park the car and stop the engine. Arm the system as described below.
1) Remove the ignition key from the
ignition switch.
2) Make sure that the engine hood and
trunk lid are locked.
3) Lock the doors using the transmitter
of the keyless entry system.
o When pushing the rear portion of
the switch, all vehicle doors will unlock.
!
After completion of the steps above, the turn signal light will blink once toindicate that the system is armed. NOTE:
1) If any door, trunk lid or engine
hood remains open, the system will not be armed.
2) If this happens, rearm the system
as described above.
CAUTION:
Do not arm the system until allpassengers have left the car. If thesystem is armed while apassenger(s) remains in the car, the alarm may be activated when the remaining passenger(s) leavesthe car.HXGS123
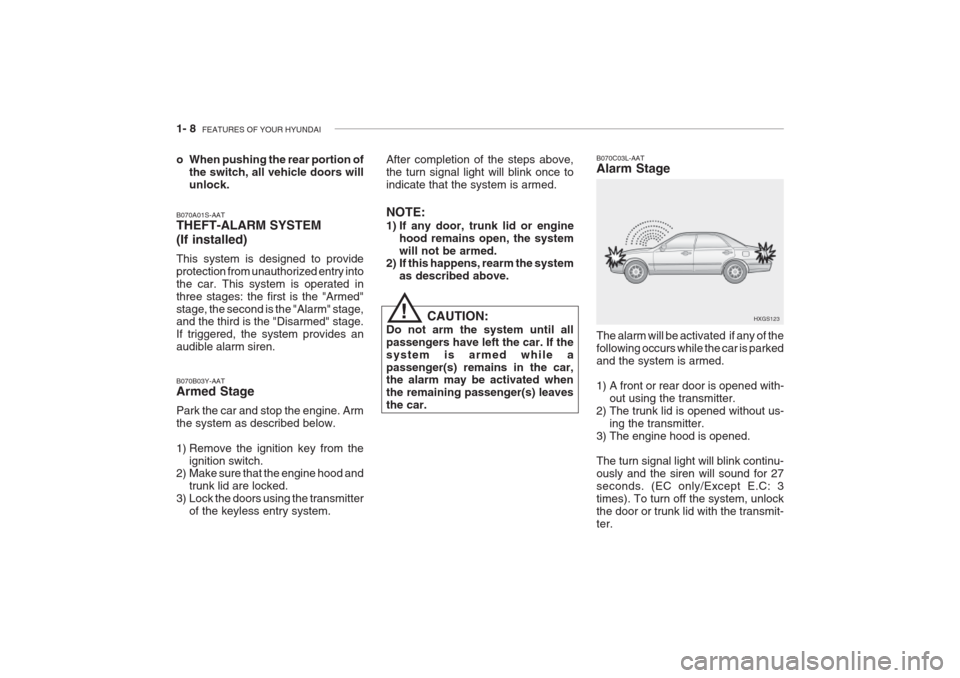
B070C03L-AAT Alarm Stage The alarm will be activated if any of the following occurs while the car is parkedand the system is armed.
1) A front or rear door is opened with-
out using the transmitter.
2) The trunk lid is opened without us-
ing the transmitter.
3) The engine hood is opened.The turn signal light will blink continu- ously and the siren will sound for 27seconds. (EC only/Except E.C: 3times). To turn off the system, unlockthe door or trunk lid with the transmit-ter.
Page 22 of 230
FEATURES OF YOUR HYUNDAI 1- 9
HXG117
UNLOCK
LOCK
TRUNKCAUTION:
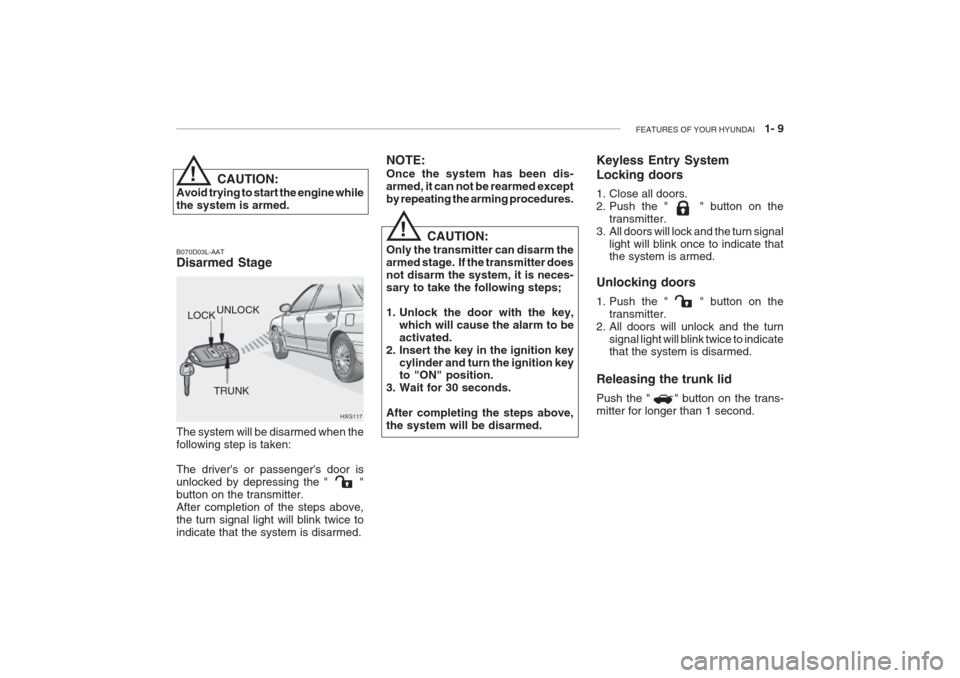
Avoid trying to start the engine while the system is armed. B070D03L-AAT Disarmed Stage The system will be disarmed when the following step is taken: The driver's or passenger's door is unlocked by depressing the " "button on the transmitter.After completion of the steps above,the turn signal light will blink twice toindicate that the system is disarmed. NOTE: Once the system has been dis- armed, it can not be rearmed exceptby repeating the arming procedures.
Keyless Entry System Locking doors
1. Close all doors.
2. Push the " " button on the
transmitter.
3. All doors will lock and the turn signal light will blink once to indicate that the system is armed.
Unlocking doors
1. Push the " " button on the transmitter.
2. All doors will unlock and the turn
signal light will blink twice to indicate that the system is disarmed.
Releasing the trunk lid Push the " " button on the trans- mitter for longer than 1 second.
!
CAUTION:
Only the transmitter can disarm the armed stage. If the transmitter doesnot disarm the system, it is neces-sary to take the following steps;
1. Unlock the door with the key, which will cause the alarm to be activated.
2. Insert the key in the ignition key cylinder and turn the ignition key to "ON" position.
3. Wait for 30 seconds. After completing the steps above, the system will be disarmed.
!
Page 23 of 230
1- 10 FEATURES OF YOUR HYUNDAI
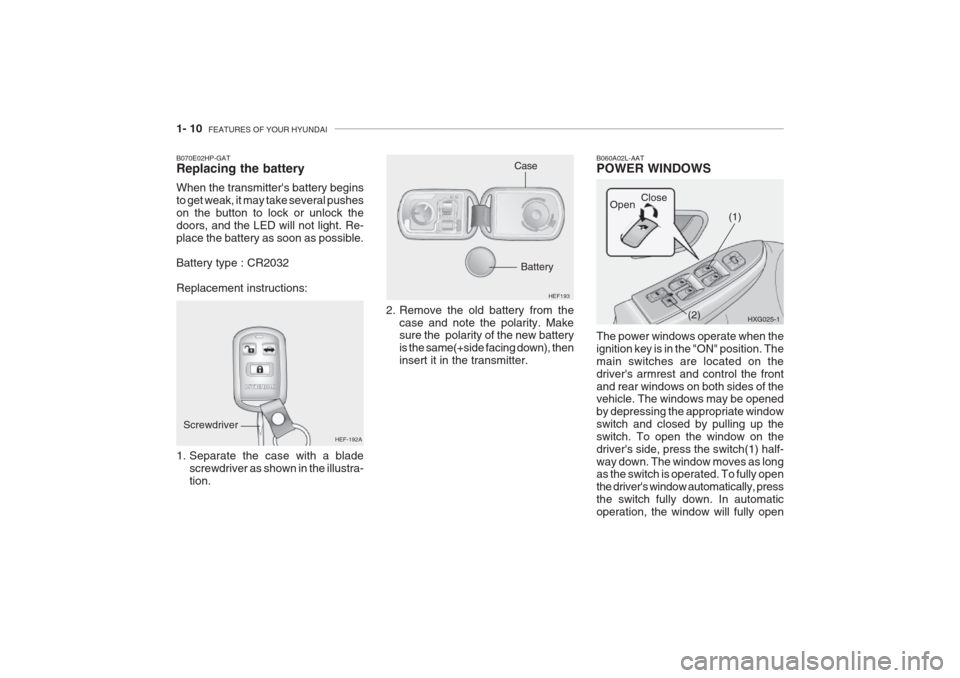
2. Remove the old battery from the
case and note the polarity. Make sure the polarity of the new battery is the same(+side facing down), theninsert it in the transmitter. HEF193
Battery
1. Separate the case with a blade screwdriver as shown in the illustra- tion. HEF-192A
Screwdriver Case
B070E02HP-GAT Replacing the battery When the transmitter's battery begins to get weak, it may take several pusheson the button to lock or unlock thedoors, and the LED will not light. Re-place the battery as soon as possible. Battery type : CR2032 Replacement instructions:B060A02L-AAT POWER WINDOWS
Open Close
The power windows operate when the ignition key is in the "ON" position. Themain switches are located on thedriver's armrest and control the frontand rear windows on both sides of the vehicle. The windows may be opened by depressing the appropriate windowswitch and closed by pulling up theswitch. To open the window on thedriver's side, press the switch(1) half-way down. The window moves as long as the switch is operated. To fully open the driver's window automatically, pressthe switch fully down. In automaticoperation, the window will fully open HXG025-1
(1)
(2)
Page 43 of 230
1- 30 FEATURES OF YOUR HYUNDAI
o Although it is harmless, the fine
dust may cause skin irritation and should not be breathed forprolonged periods. Wash yourhands and face thoroughly after an accident in which the pre- tensioner seat belts were acti-vated.
CAUTION:
o Because the sensor that activates the SRS airbag is connected withpre-tensioner seat belt, the SRSairbag warning light on theinstrument panel will blink for approximately 6 seconds after the ignition key has been turnedto the "ON" position, and then itshould turn off.
o If pre-tensioner seat belt is not working properly, this warning light will illuminate even if there is no malfunction of the SRSairbag. If the SRS airbag warninglight does not illuminate whenthe ignition key is turned to "ON"or if it remains illuminated after blinking for approximately 6 sec- onds, or if it illuminates while the
!
AIR
BAG
!
NOTE:
o Both the driver's and front
passenger's pre-tensioner seat belts will be activated in certainfrontal collisions. The pre-tensioner seat belts can be acti-vated alone or, where the frontal collision is severe enough, to- gether with the airbags.
o When the pre-tensioner seat belts
are activated, a loud noise maybe heard and fine dust, whichmay appear to be smoke, may be visible in the passenger compart- ment. These are normal operat-ing conditions and are not haz-ardous. WARNING:
To obtain maximum benefit from a pre-tensioner seat belt:
1. The seat belt must be worn cor- rectly.
2. The seat belt must be adjusted to the correct position.B180B02S
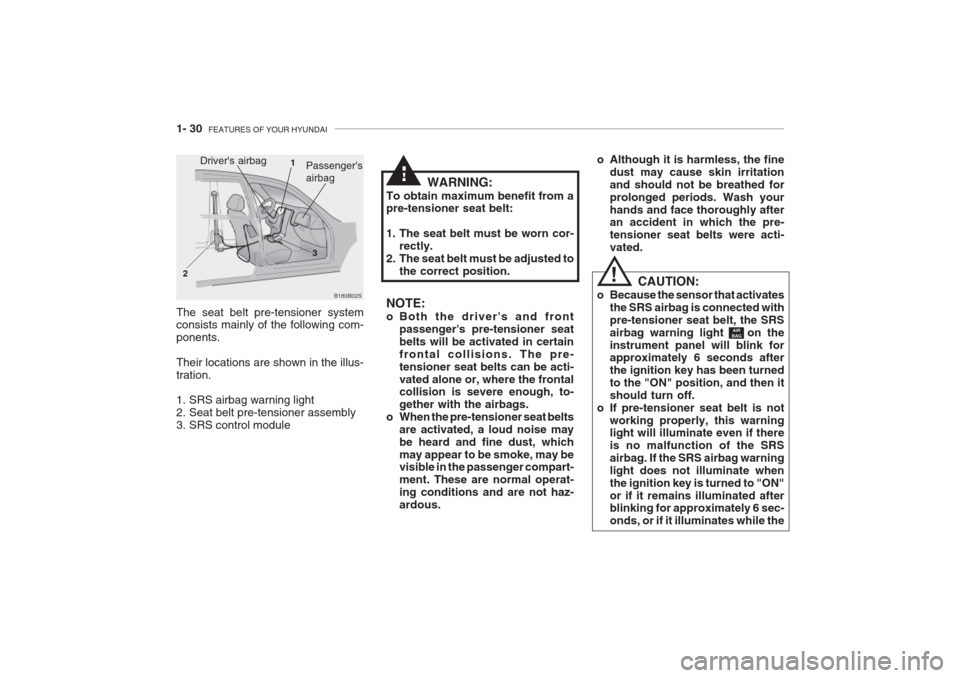
Driver's airbag1
2 3Passenger's airbag
The seat belt pre-tensioner systemconsists mainly of the following com- ponents. Their locations are shown in the illus- tration.
1. SRS airbag warning light
2. Seat belt pre-tensioner assembly
3. SRS control module
Page 45 of 230
1- 32 FEATURES OF YOUR HYUNDAI
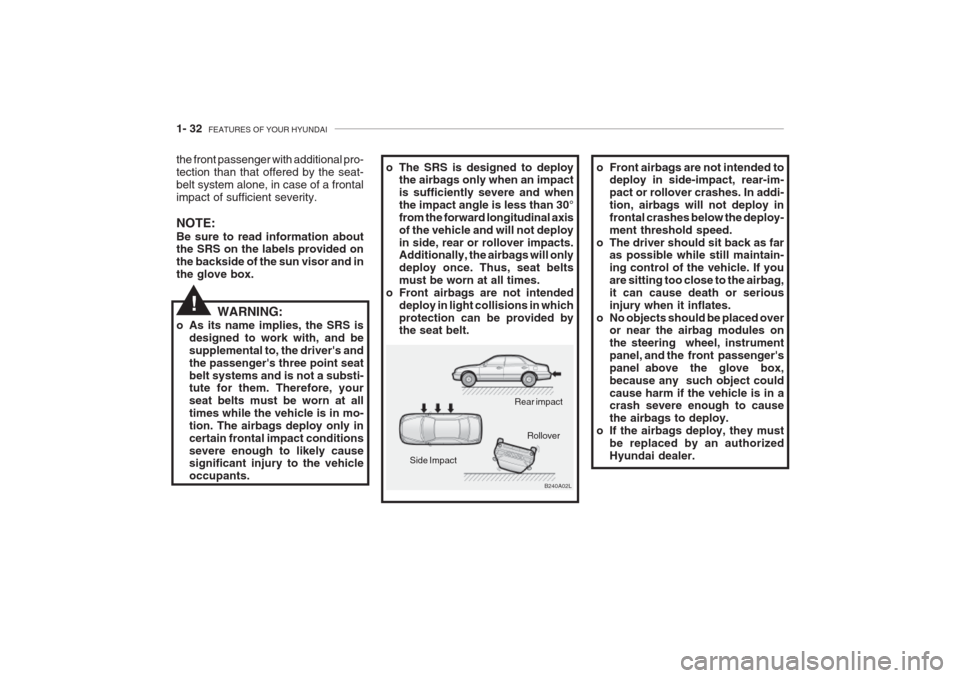
o Front airbags are not intended to
deploy in side-impact, rear-im- pact or rollover crashes. In addi-tion, airbags will not deploy infrontal crashes below the deploy-ment threshold speed.
o The driver should sit back as far as possible while still maintain-ing control of the vehicle. If youare sitting too close to the airbag,it can cause death or seriousinjury when it inflates.
o No objects should be placed over or near the airbag modules onthe steering wheel, instrumentpanel, and the front passenger'spanel above the glove box,because any such object couldcause harm if the vehicle is in a crash severe enough to cause the airbags to deploy.
o If the airbags deploy, they must
be replaced by an authorizedHyundai dealer.o The SRS is designed to deploythe airbags only when an impact is sufficiently severe and whenthe impact angle is less than 30°from the forward longitudinal axisof the vehicle and will not deployin side, rear or rollover impacts. Additionally, the airbags will only deploy once. Thus, seat beltsmust be worn at all times.
o Front airbags are not intended deploy in light collisions in whichprotection can be provided by the seat belt.
B240A02L
Rear impact
Side Impact Rollover
the front passenger with additional pro- tection than that offered by the seat-belt system alone, in case of a frontalimpact of sufficient severity. NOTE: Be sure to read information about the SRS on the labels provided on the backside of the sun visor and inthe glove box.
!WARNING:
o As its name implies, the SRS is designed to work with, and be supplemental to, the driver's andthe passenger's three point seatbelt systems and is not a substi- tute for them. Therefore, your seat belts must be worn at alltimes while the vehicle is in mo-tion. The airbags deploy only incertain frontal impact conditionssevere enough to likely cause significant injury to the vehicle occupants.