set clock HYUNDAI I30 2023 Owners Manual
[x] Cancel search | Manufacturer: HYUNDAI, Model Year: 2023, Model line: I30, Model: HYUNDAI I30 2023Pages: 533, PDF Size: 59.13 MB
Page 122 of 533

3-39
Convenient features of your vehicle
3
Closing the fuel filler door
1. To install the fuel tank cap, turn it
clockwise until it “clicks” one time.
2. Close the fuel filler door until it is
latched securely.
Petrol is highly flammable and
explosive. Failure to follow
these guidelines may result in
SERIOUS INJURY or DEATH:
Read and follow all warnings
posted at the service station.
Before refuelling, note the
location of the Emergency
Petrol Shut-Off, if available, at
the service station.
Before touching the fuel noz-
zle, you should eliminate the
potential build-up of static
electricity by touching a metal
part of the vehicle, a safe dis-
tance away from the fuel filler
neck, nozzle, or other fuel
source, with your bare hand.
(Continued)
WARNING
(Continued)
When refuelling, always move
the shift lever to the P (Park)
position (for automatic trans-
mission/
dual clutch transmis-
sion) or first gear or R
(Reverse, for manual transmis-
sion), set the parking brake,
and place the ignition switch
to the LOCK/OFF position.
Sparks produced by electrical
components related to the
engine can ignite fuel
vapours
causing a fire.
When using an approved
portable fuel container, be
sure to place the container on
the ground prior to refuelling.
Static electricity discharge
from the container can ignite
fuel vapours causing a fire.
Once refuelling has begun,
contact between your bare
hand and the vehicle should
be maintained until the filling
is complete.
(Continued)
(Continued)
Do not use mobile phones
whilst refuelling. Electric cur-
rent and/or electronic interfer-
ence from mobile phones can
potentially ignite fuel vapours
and cause a fire.
Do not get back into a vehicle
once you have begun refu-
elling. You can generate a
build-up of static electricity by
touching, rubbing or sliding
against any item or fabric
capable of producing static
electricity. Static electricity
discharge can ignite fuel
vapours causing a fire. If you
must re-enter the vehicle, you
should once again eliminate
potentially dangerous static
electricity discharge by touch-
ing a metal part of the vehicle,
away from the fuel filler neck,
nozzle or other fuel source,
with your bare hand.
(Continued)
Page 222 of 533

3-139
Convenient features of your vehicle
3
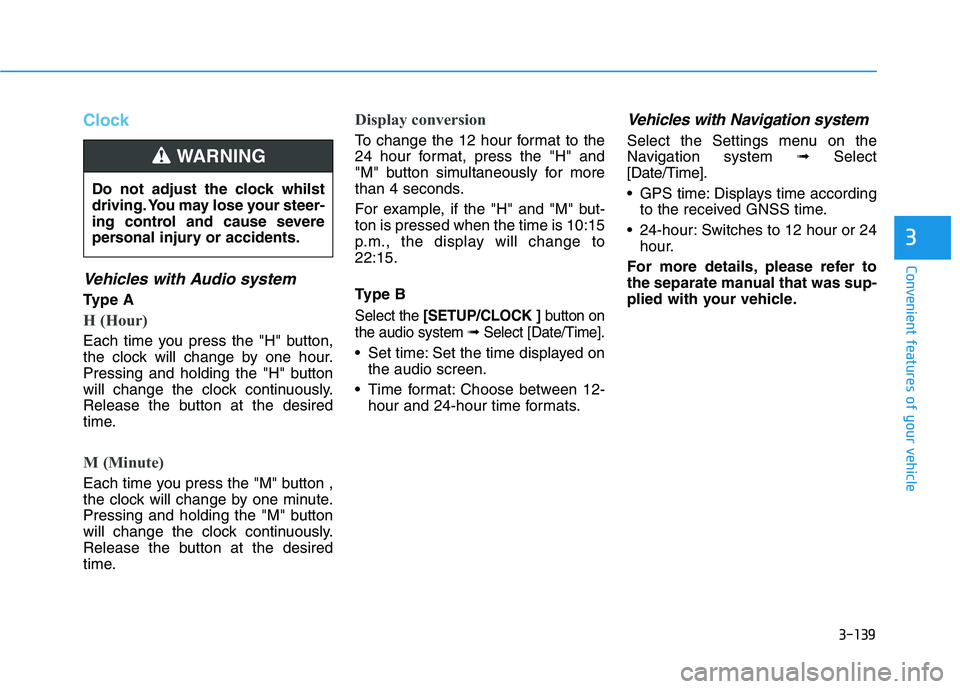
Clock
Vehicles with Audio system
Ty p e A
H (Hour)
Each time you press the "H" button,
the clock will change by one hour.
Pressing and holding the "H" button
will change the clock continuously.
Release the button at the desired
time.
M (Minute)
Each time you press the "M" button ,
the clock will change by one minute.
Pressing and holding the "M" button
will change the clock continuously.
Release the button at the desired
time.
Display conversion
To change the 12 hour format to the
24 hour format, press the "H" and
"M" button simultaneously for more
than 4 seconds.
For example, if the "H" and "M" but-
ton is pressed when the time is 10:15
p.m., the display will change to
22:15.
Type B
Select the [SETUP/CLOCK ]button on
the audio system ➟Select [Date/Time].
Set time: Set the time displayed on
the audio screen.
Time format: Choose between 12-
hour and 24-hour time formats.
Vehicles with Navigation system
Select the Settings menu on the
Navigation system➟Select
[Date/Time].
GPS time: Displays time according
to the received GNSS time.
24-hour: Switches to 12 hour or 24
hour.
For more details, please refer to
the separate manual that was sup-
plied with your vehicle. Do not adjust the clock whilst
driving. You may lose your steer-
ing control and cause severe
personal injury or accidents.
WARNING
Page 265 of 533
![HYUNDAI I30 2023 Owners Manual 4-40
Multimedia System
Date/Time
Press the [SETUP]button on the
audio system ➟Select [Date/Time].
Set Time: Set the time displayed on
the audio screen.
Time Format: Choose between 12-
hour and 24- HYUNDAI I30 2023 Owners Manual 4-40
Multimedia System
Date/Time
Press the [SETUP]button on the
audio system ➟Select [Date/Time].
Set Time: Set the time displayed on
the audio screen.
Time Format: Choose between 12-
hour and 24-](/img/35/56144/w960_56144-264.png)
4-40
Multimedia System
Date/Time
Press the [SETUP]button on the
audio system ➟Select [Date/Time].
Set Time: Set the time displayed on
the audio screen.
Time Format: Choose between 12-
hour and 24-hour time formats.
Set Date: Set the date displayed on
the audio screen.
Bluetooth (if equipped)
Press the [SETUP]button on the
audio system ➟Select [Bluetooth].
Connections: Control pairing, dele-
tion, connection and disconnection
of Bluetooth
®devices.
Auto Connection Priority: Set the
connection priority of Bluetooth
®
devices when the vehicle is start-
ed.
Download Contacts: Contacts can
be downloaded from connected
Bluetooth
®devices.
Information
• When paired devices are deleted,
the call history and contacts of the
device saved to the audio system are
deleted.
• For Bluetooth
®connections with
low connection priority, some time
may be required for the connection
to be established.
• Contacts can be downloaded only
from the currently connected
Bluetooth
®device.
• If no Bluetooth
®device is connected,
the Download Contacts button is
disabled.
System
Press the [SETUP]button on the
audio system ➟Select [System].
Memory Information: View My
Music memory usage.
Language: Change the user language.
Default: Reset the audio system.
Information
The system resets to the default val-
ues, and all saved data and settings
are lost.
Screen Saver
Set the information displayed when
the audio system is switched off or
the screen is turned off.
Press the [SETUP]button on the
audio system ➟Select [Screen
Saver].
Analog: An analog clock is dis-
played.
Digital: A digital clock is displayed.
None: No information is displayed.
Display Off
To prevent glare, the screen can be
turned off with the audio system in
operation.
Press the [SETUP]button on the
audio system ➟Select [Display Off].
Information
Use ‘Screen Saver’ to set the informa-
tion to be displayed when the screen is
turned off.
i
i
i
Page 413 of 533

6-7
What to do in an emergency
6
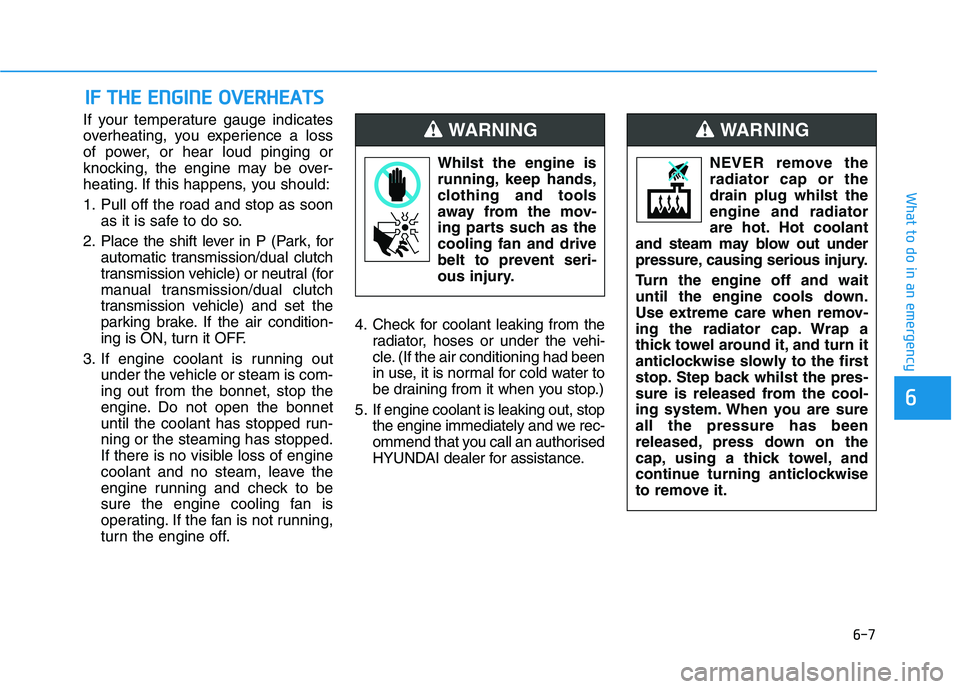
If your temperature gauge indicates
overheating, you experience a loss
of power, or hear loud pinging or
knocking, the engine may be over-
heating. If this happens, you should:
1. Pull off the road and stop as soon
as it is safe to do so.
2. Place the shift lever in P (Park, for
automatic transmission/dual clutch
transmission vehicle) or neutral (for
manual transmission/dual clutch
transmission vehicle) and set the
parking brake. If the air condition-
ing is ON, turn it OFF.
3. If engine coolant is running out
under the vehicle or steam is com-
ing out from the bonnet, stop the
engine. Do not open the bonnet
until the coolant has stopped run-
ning or the steaming has stopped.
If there is no visible loss of engine
coolant and no steam, leave the
engine running and check to be
sure the engine cooling fan is
operating. If the fan is not running,
turn the engine off.4. Check for coolant leaking from the
radiator, hoses or under the vehi-
cle. (If the air conditioning had been
in use, it is normal for cold water to
be draining from it when you stop.)
5. If engine coolant is leaking out, stop
the engine immediately and we rec-
ommend that you call an authorised
HYUNDAI dealer for assistance.
I IF
F
T
TH
HE
E
E
EN
NG
GI
IN
NE
E
O
OV
VE
ER
RH
HE
EA
AT
TS
S
Whilst the engine is
running, keep hands,
clothing and tools
away from the mov-
ing parts such as the
cooling fan and drive
belt to prevent seri-
ous injury.
WARNING
NEVER remove the
radiator cap or the
drain plug whilst the
engine and radiator
are hot. Hot coolant
and steam may blow out under
pressure, causing serious injury.
Turn the engine off and wait
until the engine cools down.
Use extreme care when remov-
ing the radiator cap. Wrap a
thick towel around it, and turn it
anticlockwise slowly to the first
stop. Step back whilst the pres-
sure is released from the cool-
ing system. When you are sure
all the pressure has been
released, press down on the
cap, using a thick towel, and
continue turning anticlockwise
to remove it.
WARNING
Page 477 of 533

7-46
Maintenance
By jump starting
After a jump start from a good bat-
tery, drive the vehicle for 20-30 min-
utes before it is shutoff. The vehicle
may not restart if you shut it off
before the battery had a chance to
adequately recharge. See “Jump
Starting” in chapter 6 for more infor-
mation on jump starting procedures.
Information
An inappropriately disposed
battery can be harmful to
the environment and human
health. Dispose of the bat-
tery according to your local
law(s) or regulation.
Reset items
The following items may need to be
reset after the battery has been dis-
charged or the battery has been dis-
connected.
Auto up/down window
Sunroof
Trip computer
Climate control system
Clock
Audio system
i
Page 492 of 533

7-61
7
Maintenance
Fuse switch
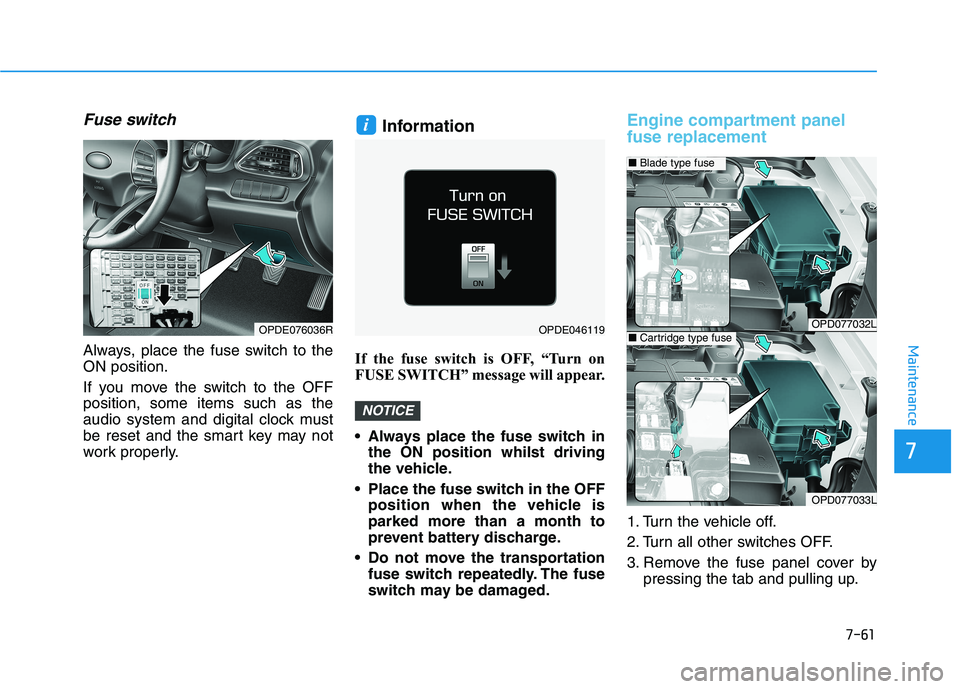
Always, place the fuse switch to the
ON position.
If you move the switch to the OFF
position, some items such as the
audio system and digital clock must
be reset and the smart key may not
work properly.
Information
If the fuse switch is OFF, “Turn on
FUSE SWITCH” message will appear.
Always place the fuse switch in
the ON position whilst driving
the vehicle.
Place the fuse switch in the OFF
position when the vehicle is
parked more than a month to
prevent battery discharge.
Do not move the transportation
fuse switch repeatedly. The fuse
switch may be damaged.
Engine compartment panel
fuse replacement
1. Turn the vehicle off.
2. Turn all other switches OFF.
3. Remove the fuse panel cover by
pressing the tab and pulling up.
NOTICE
i
OPDE076036ROPDE046119OPD077032L
OPD077033L
■Blade type fuse
■Cartridge type fuse