warning lights Hyundai Santa Fe 2016 - RHD (UK, Australia) User Guide
[x] Cancel search | Manufacturer: HYUNDAI, Model Year: 2016, Model line: Santa Fe, Model: Hyundai Santa Fe 2016Pages: 699, PDF Size: 15.65 MB
Page 151 of 699
453
Features of your vehicle
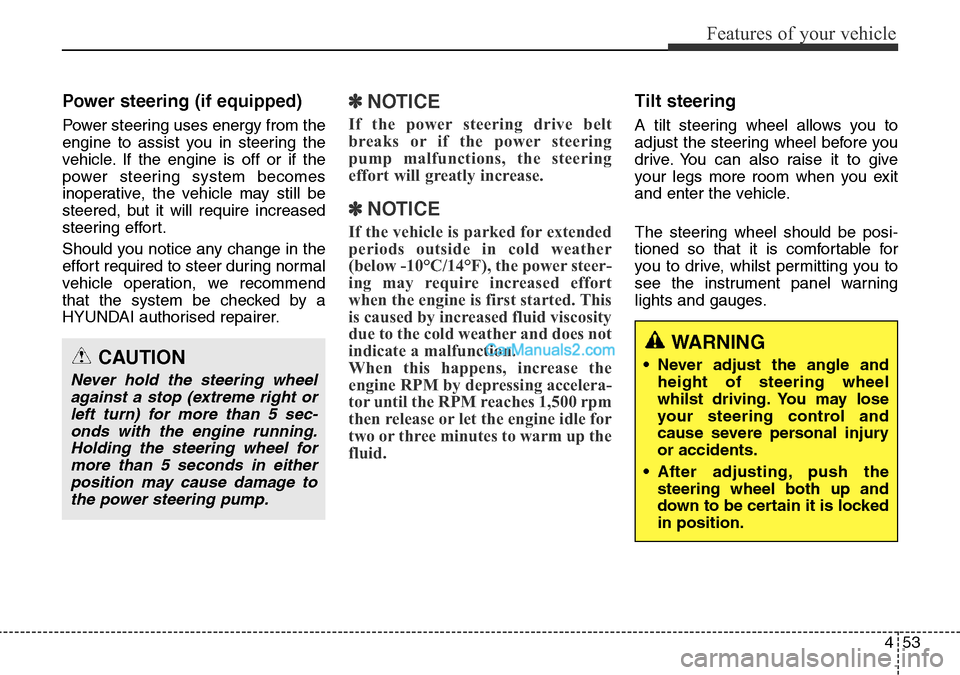
Power steering (if equipped)
Power steering uses energy from the
engine to assist you in steering the
vehicle. If the engine is off or if the
power steering system becomes
inoperative, the vehicle may still be
steered, but it will require increased
steering effort.
Should you notice any change in the
effort required to steer during normal
vehicle operation, we recommend
that the system be checked by a
HYUNDAI authorised repairer.
✽NOTICE
If the power steering drive belt
breaks or if the power steering
pump malfunctions, the steering
effort will greatly increase.
✽NOTICE
If the vehicle is parked for extended
periods outside in cold weather
(below -10°C/14°F), the power steer-
ing may require increased effort
when the engine is first started. This
is caused by increased fluid viscosity
due to the cold weather and does not
indicate a malfunction.
When this happens, increase the
engine RPM by depressing accelera-
tor until the RPM reaches 1,500 rpm
then release or let the engine idle for
two or three minutes to warm up the
fluid.
Tilt steering
A tilt steering wheel allows you to
adjust the steering wheel before you
drive. You can also raise it to give
your legs more room when you exit
and enter the vehicle.
The steering wheel should be posi-
tioned so that it is comfortable for
you to drive, whilst permitting you to
see the instrument panel warning
lights and gauges.
CAUTION
Never hold the steering wheel
against a stop (extreme right or
left turn) for more than 5 sec-
onds with the engine running.
Holding the steering wheel for
more than 5 seconds in either
position may cause damage to
the power steering pump.
WARNING
• Never adjust the angle and
height of steering wheel
whilst driving. You may lose
your steering control and
cause severe personal injury
or accidents.
• After adjusting, push the
steering wheel both up and
down to be certain it is locked
in position.
Page 156 of 699
Features of your vehicle
58 4
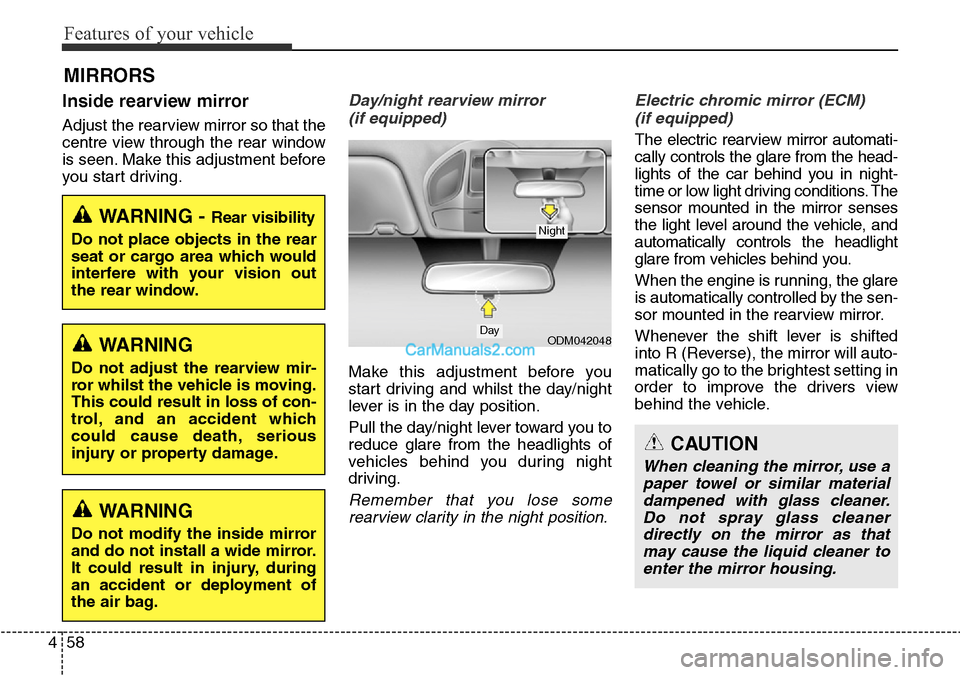
Inside rearview mirror
Adjust the rearview mirror so that the
centre view through the rear window
is seen. Make this adjustment before
you start driving.
Day/night rearview mirror
(if equipped)
Make this adjustment before you
start driving and whilst the day/night
lever is in the day position.
Pull the day/night lever toward you to
reduce glare from the headlights of
vehicles behind you during night
driving.
Remember that you lose some
rearview clarity in the night position.Electric chromic mirror (ECM)
(if equipped)
The electric rearview mirror automati-
cally controls the glare from the head-
lights of the car behind you in night-
time or low light driving conditions. The
sensor mounted in the mirror senses
the light level around the vehicle, and
automatically controls the headlight
glare from vehicles behind you.
When the engine is running, the glare
is automatically controlled by the sen-
sor mounted in the rearview mirror.
Whenever the shift lever is shifted
into R (Reverse), the mirror will auto-
matically go to the brightest setting in
order to improve the drivers view
behind the vehicle.
MIRRORS
WARNING - Rear visibility
Do not place objects in the rear
seat or cargo area which would
interfere with your vision out
the rear window.
ODM042048
CAUTION
When cleaning the mirror, use a
paper towel or similar material
dampened with glass cleaner.
Do not spray glass cleaner
directly on the mirror as that
may cause the liquid cleaner to
enter the mirror housing.
Day
Night
WARNING
Do not adjust the rearview mir-
ror whilst the vehicle is moving.
This could result in loss of con-
trol, and an accident which
could cause death, serious
injury or property damage.
WARNING
Do not modify the inside mirror
and do not install a wide mirror.
It could result in injury, during
an accident or deployment of
the air bag.
Page 164 of 699
Features of your vehicle
66 4
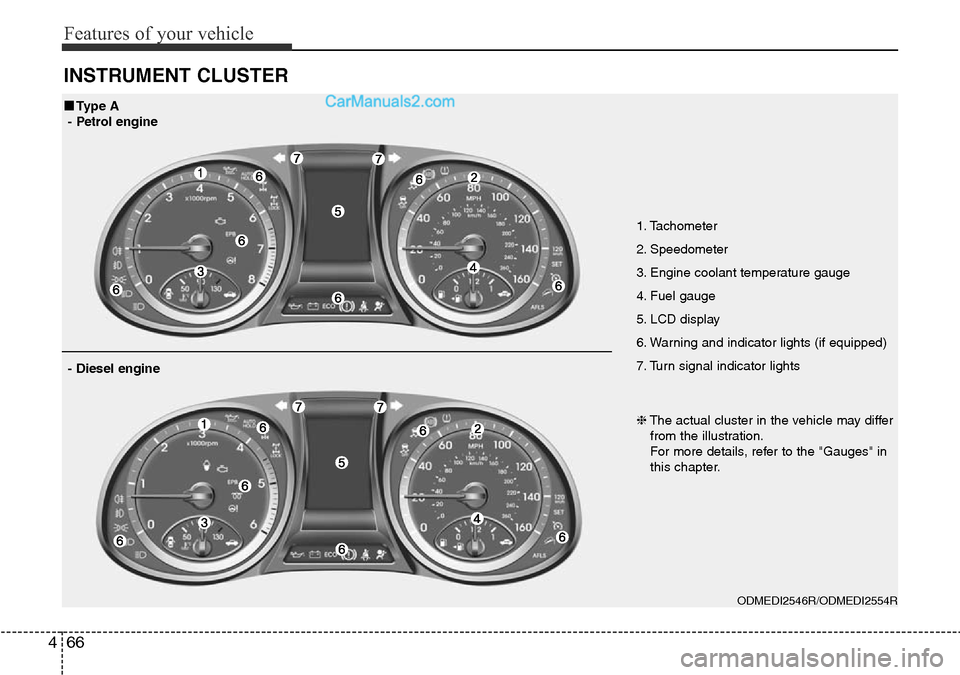
INSTRUMENT CLUSTER
1. Tachometer
2. Speedometer
3. Engine coolant temperature gauge
4. Fuel gauge
5. LCD display
6. Warning and indicator lights (if equipped)
7. Turn signal indicator lights
ODMEDI2546R/ODMEDI2554R
■Type A
- Petrol engine
❈The actual cluster in the vehicle may differ
from the illustration.
For more details, refer to the "Gauges" in
this chapter.
- Diesel engine
Page 165 of 699
467
Features of your vehicle
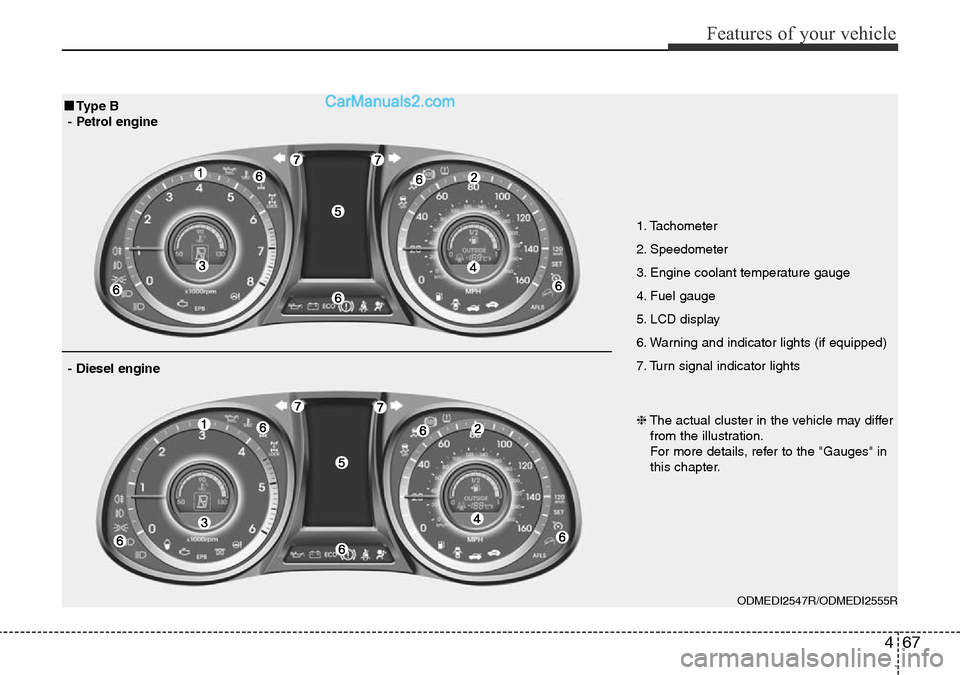
1. Tachometer
2. Speedometer
3. Engine coolant temperature gauge
4. Fuel gauge
5. LCD display
6. Warning and indicator lights (if equipped)
7. Turn signal indicator lights
ODMEDI2547R/ODMEDI2555R
■Type B
- Petrol engine
❈The actual cluster in the vehicle may differ
from the illustration.
For more details, refer to the "Gauges" in
this chapter.
- Diesel engine
Page 166 of 699
Features of your vehicle
68 4
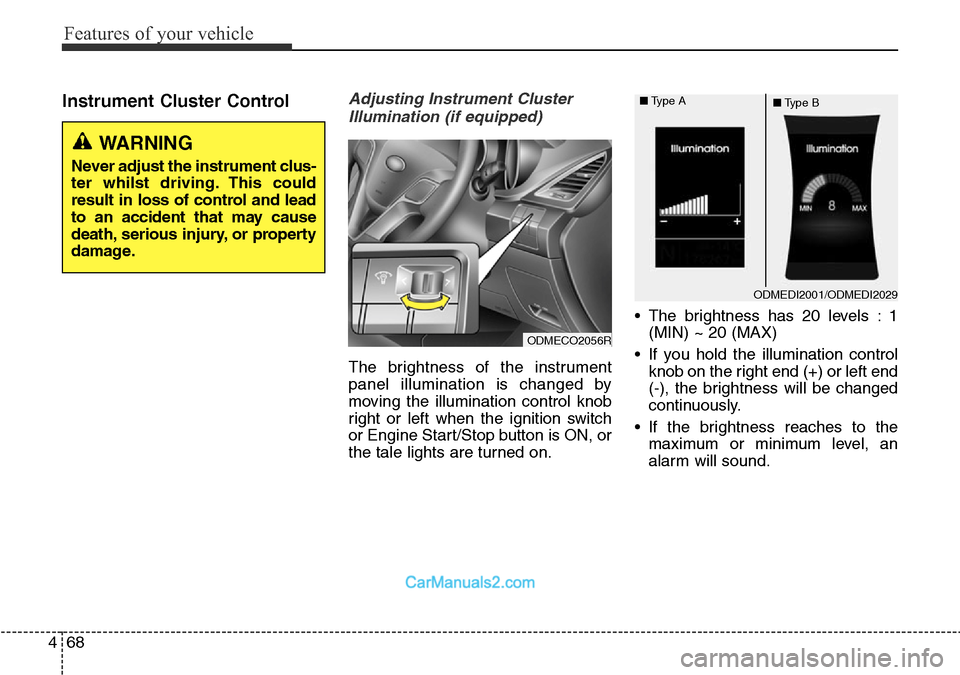
Instrument Cluster ControlAdjusting Instrument Cluster
Illumination (if equipped)
The brightness of the instrument
panel illumination is changed by
moving the illumination control knob
right or left when the ignition switch
or Engine Start/Stop button is ON, or
the tale lights are turned on.• The brightness has 20 levels : 1
(MIN) ~ 20 (MAX)
• If you hold the illumination control
knob on the right end (+) or left end
(-), the brightness will be changed
continuously.
• If the brightness reaches to the
maximum or minimum level, an
alarm will sound.
ODMEDI2001/ODMEDI2029 ■Type A
■Type B
ODMECO2056R
WARNING
Never adjust the instrument clus-
ter whilst driving. This could
result in loss of control and lead
to an accident that may cause
death, serious injury, or property
damage.
Page 191 of 699
493
Features of your vehicle
Warning lights
✽NOTICE - Warning lights
Make sure that all warning lights
are OFF after starting the engine. If
any light is still ON, this indicates a
situation that needs attention.
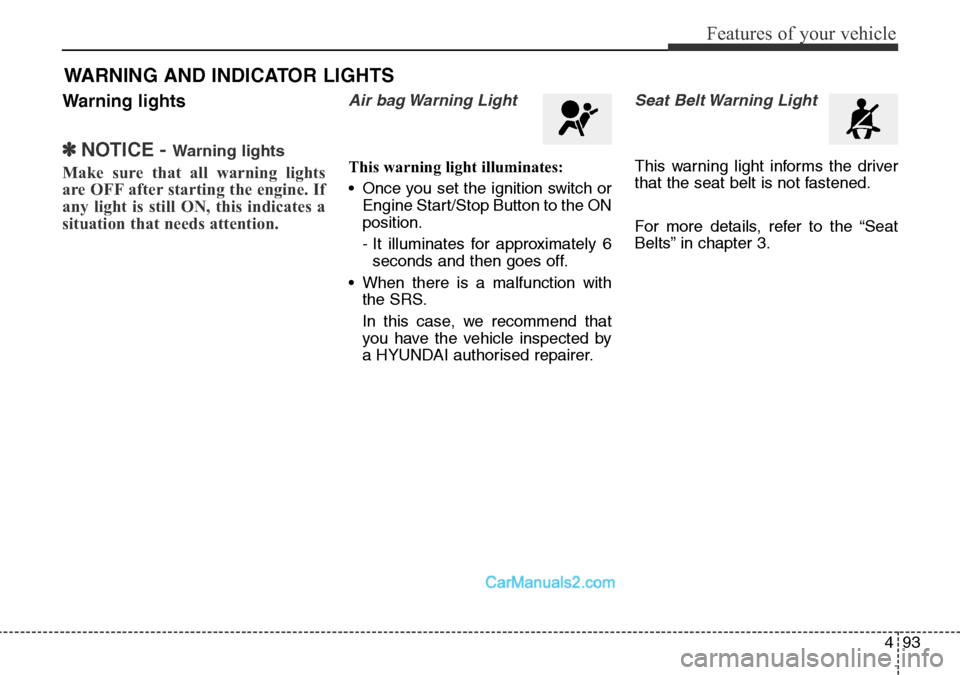
Air bag Warning Light
This warning light illuminates:
• Once you set the ignition switch or
Engine Start/Stop Button to the ON
position.
- It illuminates for approximately 6
seconds and then goes off.
• When there is a malfunction with
the SRS.
In this case, we recommend that
you have the vehicle inspected by
a HYUNDAI authorised repairer.
Seat Belt Warning Light
This warning light informs the driver
that the seat belt is not fastened.
For more details, refer to the “Seat
Belts” in chapter 3.
WARNING AND INDICATOR LIGHTS
Page 193 of 699
495
Features of your vehicle
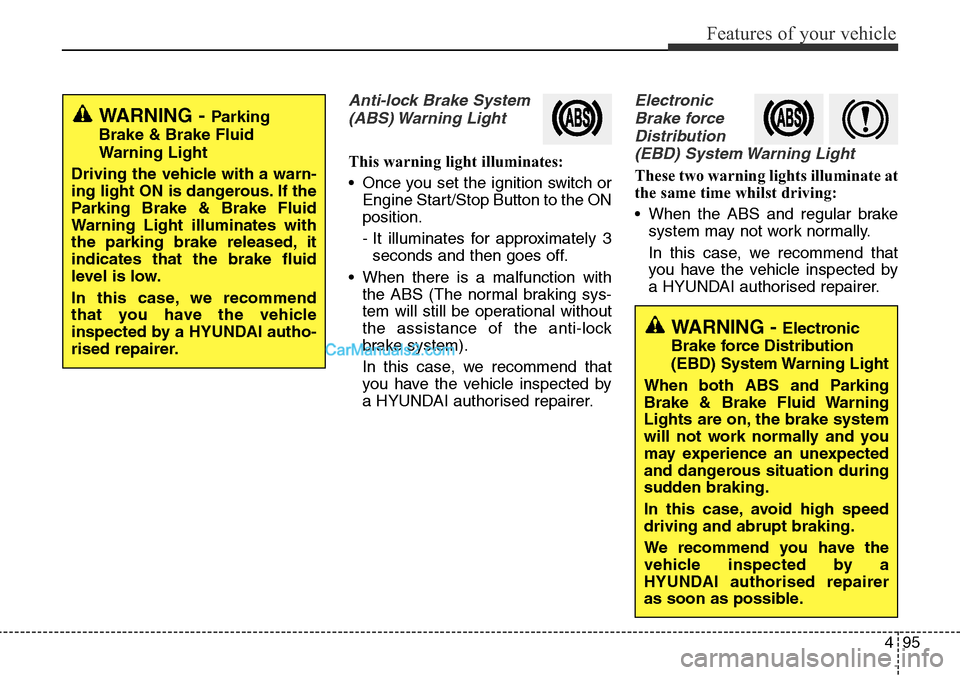
Anti-lock Brake System
(ABS) Warning Light
This warning light illuminates:
• Once you set the ignition switch or
Engine Start/Stop Button to the ON
position.
- It illuminates for approximately 3
seconds and then goes off.
• When there is a malfunction with
the ABS (The normal braking sys-
tem will still be operational without
the assistance of the anti-lock
brake system).
In this case, we recommend that
you have the vehicle inspected by
a HYUNDAI authorised repairer.
Electronic
Brake force
Distribution
(EBD) System Warning Light
These two warning lights illuminate at
the same time whilst driving:
• When the ABS and regular brake
system may not work normally.
In this case, we recommend that
you have the vehicle inspected by
a HYUNDAI authorised repairer.
WARNING - Parking
Brake & Brake Fluid
Warning Light
Driving the vehicle with a warn-
ing light ON is dangerous. If the
Parking Brake & Brake Fluid
Warning Light illuminates with
the parking brake released, it
indicates that the brake fluid
level is low.
In this case, we recommend
that you have the vehicle
inspected by a HYUNDAI autho-
rised repairer.
WARNING - Electronic
Brake force Distribution
(EBD) System Warning Light
When both ABS and Parking
Brake & Brake Fluid Warning
Lights are on, the brake system
will not work normally and you
may experience an unexpected
and dangerous situation during
sudden braking.
In this case, avoid high speed
driving and abrupt braking.
We recommend you have the
vehicle inspected by a
HYUNDAI authorised repairer
as soon as possible.
Page 194 of 699
Features of your vehicle
96 4
✽NOTICE- Electronic Brake
force Distribution
(EBD) System
Warning Light
When the ABS Warning Light is on
or both ABS and Parking Brake &
Brake Fluid Warning Lights are on,
the speedometer, odometer, or trip-
meter may not work. Also, the EPS
Warning Light may illuminate and
the steering effort may increase or
decrease.
In this case, we recommend you
have the vehicle inspected by a
HYUNDAI authorised repairer as
soon as possible.
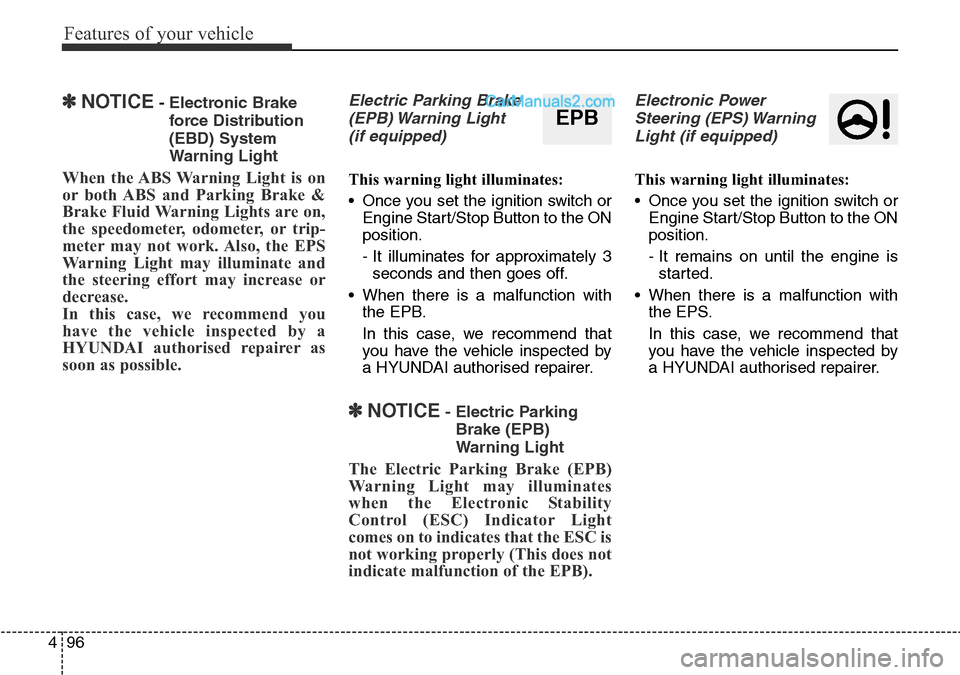
Electric Parking Brake
(EPB) Warning Light
(if equipped)
This warning light illuminates:
• Once you set the ignition switch or
Engine Start/Stop Button to the ON
position.
- It illuminates for approximately 3
seconds and then goes off.
• When there is a malfunction with
the EPB.
In this case, we recommend that
you have the vehicle inspected by
a HYUNDAI authorised repairer.
✽NOTICE- Electric Parking
Brake (EPB)
Warning Light
The Electric Parking Brake (EPB)
Warning Light may illuminates
when the Electronic Stability
Control (ESC) Indicator Light
comes on to indicates that the ESC is
not working properly (This does not
indicate malfunction of the EPB).
Electronic Power
Steering (EPS) Warning
Light (if equipped)
This warning light illuminates:
• Once you set the ignition switch or
Engine Start/Stop Button to the ON
position.
- It remains on until the engine is
started.
• When there is a malfunction with
the EPS.
In this case, we recommend that
you have the vehicle inspected by
a HYUNDAI authorised repairer.
EPB
Page 230 of 699
Features of your vehicle
132 4
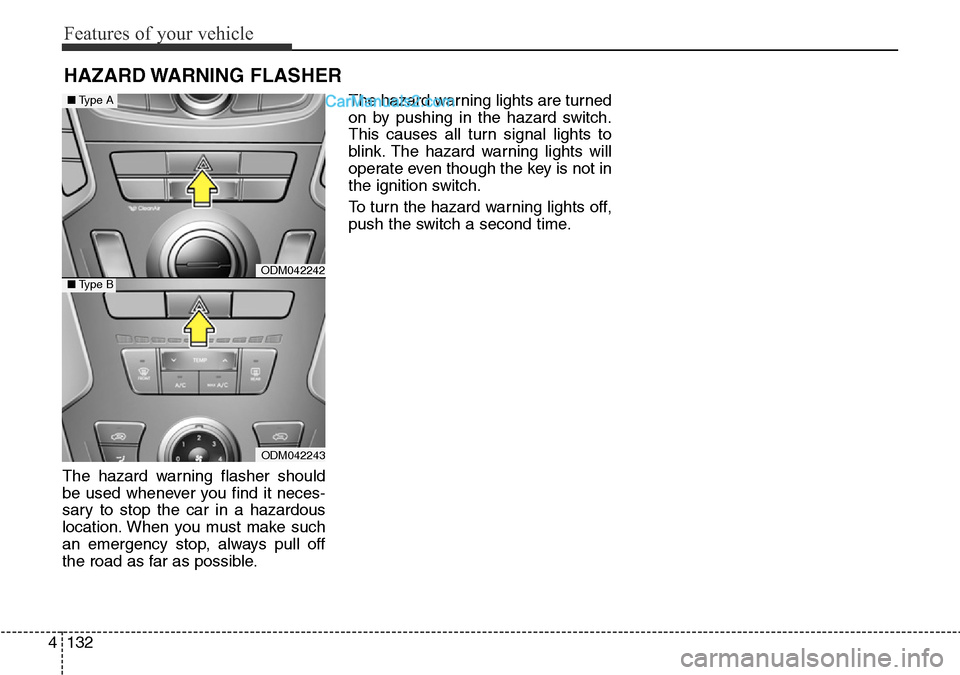
The hazard warning flasher should
be used whenever you find it neces-
sary to stop the car in a hazardous
location. When you must make such
an emergency stop, always pull off
the road as far as possible.The hazard warning lights are turned
on by pushing in the hazard switch.
This causes all turn signal lights to
blink. The hazard warning lights will
operate even though the key is not in
the ignition switch.
To turn the hazard warning lights off,
push the switch a second time.
HAZARD WARNING FLASHER
ODM042242
ODM042243
■Type A
■Type B
Page 236 of 699
Features of your vehicle
138 4
✽NOTICE
• The high-beam indicator will light
when the headlight high beams are
switched on.
• To prevent the battery from being
discharged, do not leave the lights
on for a prolonged time whilst the
engine is not running.
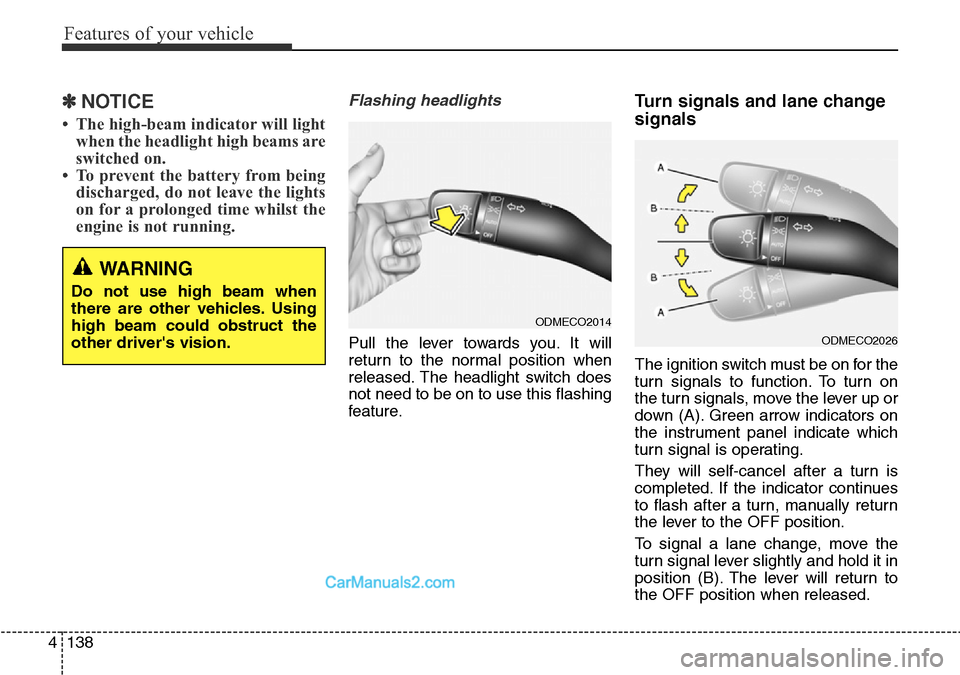
Flashing headlights
Pull the lever towards you. It will
return to the normal position when
released. The headlight switch does
not need to be on to use this flashing
feature.
Turn signals and lane change
signals
The ignition switch must be on for the
turn signals to function. To turn on
the turn signals, move the lever up or
down (A). Green arrow indicators on
the instrument panel indicate which
turn signal is operating.
They will self-cancel after a turn is
completed. If the indicator continues
to flash after a turn, manually return
the lever to the OFF position.
To signal a lane change, move the
turn signal lever slightly and hold it in
position (B). The lever will return to
the OFF position when released.
ODMECO2026
ODMECO2014
WARNING
Do not use high beam when
there are other vehicles. Using
high beam could obstruct the
other driver's vision.