remove seats Hyundai Santa Fe 2016 Owner's Manual - RHD (UK, Australia)
[x] Cancel search | Manufacturer: HYUNDAI, Model Year: 2016, Model line: Santa Fe, Model: Hyundai Santa Fe 2016Pages: 699, PDF Size: 15.65 MB
Page 29 of 699
39
Safety features of your vehicle
Easy access function
(if equipped)
The system will move the driver's
seat automatically as follows:
• Without smart key system
- It will move the driver’s seat rear-
ward when the ignition key is
removed and front driver’s door is
opened.
- It will move the driver’s seat for-
ward when the ignition key is
inserted.
• With smart key system
- It will move the driver’s seat rear-
ward when the engine start/stop
button is changed to the OFF
position and front driver’s door is
opened.
- It will move the driver’s seat for-
ward when the engine start/stop
button is changed to the ACC or
START position.
You can activate or deactivate this
feature. Refer to "User settings" in
section 4.
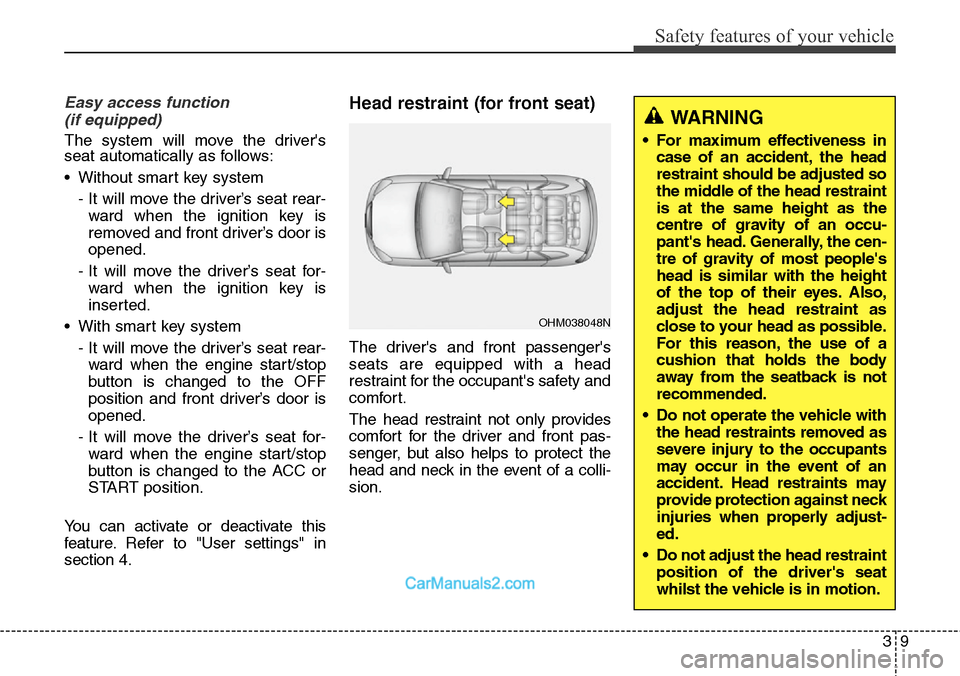
Head restraint (for front seat)
The driver's and front passenger's
seats are equipped with a head
restraint for the occupant's safety and
comfort.
The head restraint not only provides
comfort for the driver and front pas-
senger, but also helps to protect the
head and neck in the event of a colli-
sion.
OHM038048N
WARNING
• For maximum effectiveness in
case of an accident, the head
restraint should be adjusted so
the middle of the head restraint
is at the same height as the
centre of gravity of an occu-
pant's head. Generally, the cen-
tre of gravity of most people's
head is similar with the height
of the top of their eyes. Also,
adjust the head restraint as
close to your head as possible.
For this reason, the use of a
cushion that holds the body
away from the seatback is not
recommended.
• Do not operate the vehicle with
the head restraints removed as
severe injury to the occupants
may occur in the event of an
accident. Head restraints may
provide protection against neck
injuries when properly adjust-
ed.
• Do not adjust the head restraint
position of the driver's seat
whilst the vehicle is in motion.
Page 41 of 699
321
Safety features of your vehicle
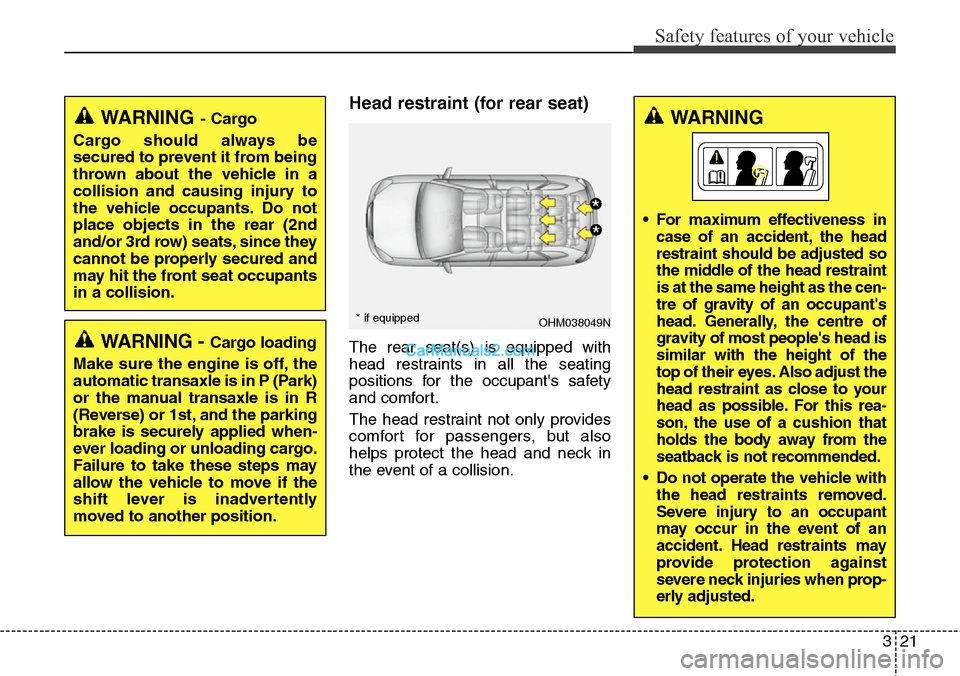
Head restraint (for rear seat)
The rear seat(s) is equipped with
head restraints in all the seating
positions for the occupant's safety
and comfort.
The head restraint not only provides
comfort for passengers, but also
helps protect the head and neck in
the event of a collision.
WARNING- Cargo
Cargo should always be
secured to prevent it from being
thrown about the vehicle in a
collision and causing injury to
the vehicle occupants. Do not
place objects in the rear (2nd
and/or 3rd row) seats, since they
cannot be properly secured and
may hit the front seat occupants
in a collision.
WARNING - Cargo loading
Make sure the engine is off, the
automatic transaxle is in P (Park)
or the manual transaxle is in R
(Reverse) or 1st, and the parking
brake is securely applied when-
ever loading or unloading cargo.
Failure to take these steps may
allow the vehicle to move if the
shift lever is inadvertently
moved to another position.
OHM038049N
*
*
* if equipped
WARNING
• For maximum effectiveness in
case of an accident, the head
restraint should be adjusted so
the middle of the head restraint
is at the same height as the cen-
tre of gravity of an occupant's
head. Generally, the centre of
gravity of most people's head is
similar with the height of the
top of their eyes. Also adjust the
head restraint as close to your
head as possible. For this rea-
son, the use of a cushion that
holds the body away from the
seatback is not recommended.
• Do not operate the vehicle with
the head restraints removed.
Severe injury to an occupant
may occur in the event of an
accident. Head restraints may
provide protection against
severe neck injuries when prop-
erly adjusted.
Page 42 of 699
Safety features of your vehicle
22 3
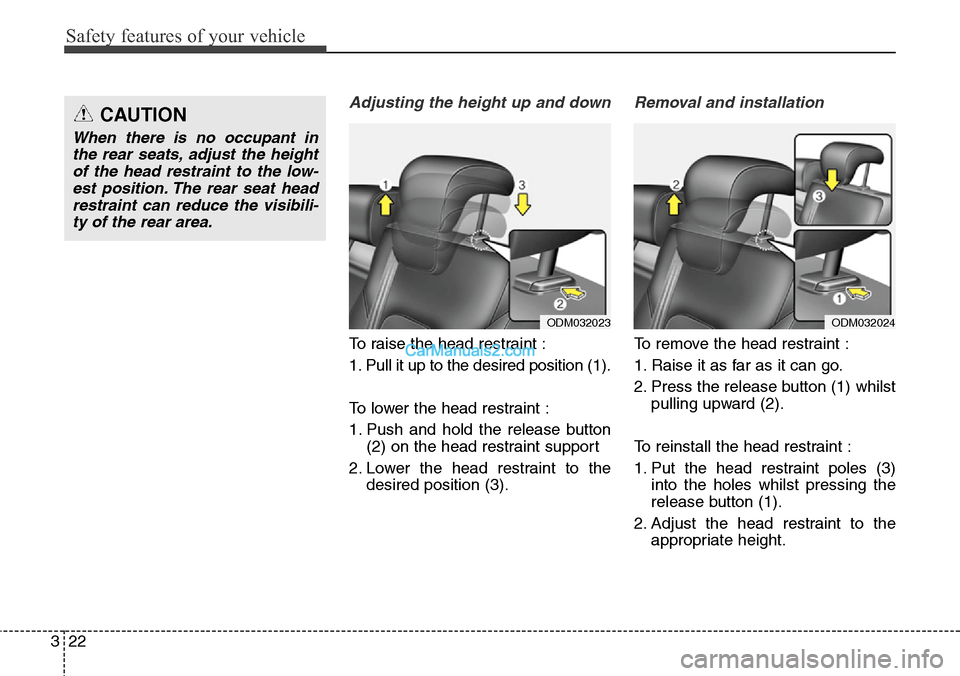
Adjusting the height up and down
To raise the head restraint :
1. Pull it up to the desired position (1).
To lower the head restraint :
1. Push and hold the release button
(2) on the head restraint support
2. Lower the head restraint to the
desired position (3).
Removal and installation
To remove the head restraint :
1. Raise it as far as it can go.
2. Press the release button (1) whilst
pulling upward (2).
To reinstall the head restraint :
1. Put the head restraint poles (3)
into the holes whilst pressing the
release button (1).
2. Adjust the head restraint to the
appropriate height.
ODM032023ODM032024
CAUTION
When there is no occupant in
the rear seats, adjust the height
of the head restraint to the low-
est position. The rear seat head
restraint can reduce the visibili-
ty of the rear area.
Page 61 of 699
341
Safety features of your vehicle
Installing a child restraint system
by lap/shoulder belt
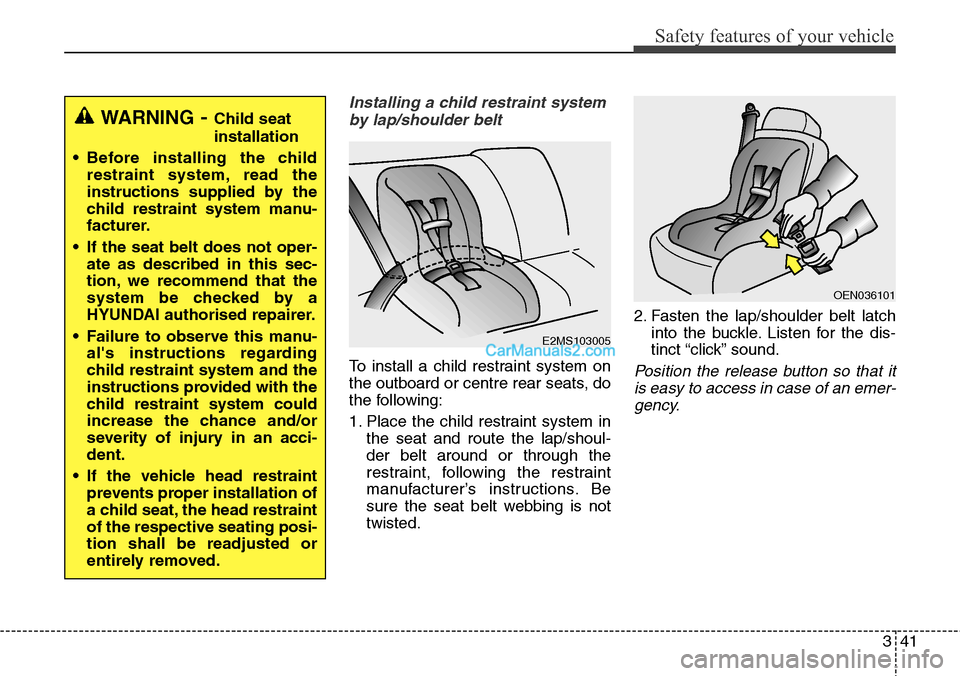
To install a child restraint system on
the outboard or centre rear seats, do
the following:
1. Place the child restraint system in
the seat and route the lap/shoul-
der belt around or through the
restraint, following the restraint
manufacturer’s instructions. Be
sure the seat belt webbing is not
twisted.2. Fasten the lap/shoulder belt latch
into the buckle. Listen for the dis-
tinct “click” sound.Position the release button so that it
is easy to access in case of an emer-
gency.
E2MS103005
OEN036101
WARNING- Child seat
installation
• Before installing the child
restraint system, read the
instructions supplied by the
child restraint system manu-
facturer.
• If the seat belt does not oper-
ate as described in this sec-
tion, we recommend that the
system be checked by a
HYUNDAI authorised repairer.
• Failure to observe this manu-
al's instructions regarding
child restraint system and the
instructions provided with the
child restraint system could
increase the chance and/or
severity of injury in an acci-
dent.
• If the vehicle head restraint
prevents proper installation of
a child seat, the head restraint
of the respective seating posi-
tion shall be readjusted or
entirely removed.
Page 683 of 699
Maintenance
86 7
Cleaning the upholstery and inte-
rior trim
Vinyl
Remove dust and loose dirt from
vinyl with a whisk broom or vacuum
cleaner. Clean vinyl surfaces with a
vinyl cleaner.
Fabric
Remove dust and loose dirt from fab-
ric with a whisk broom or vacuum
cleaner. Clean with a mild soap solu-
tion recommended for upholstery or
carpets. Remove fresh spots imme-
diately with a fabric spot cleaner. If
fresh spots do not receive immediate
attention, the fabric can be stained
and its colour can be affected. Also,
its fire-resistant properties can be
reduced if the material is not proper-
ly maintained.
Cleaning the lap/shoulder belt
webbing
Clean the belt webbing with any mild
soap solution recommended for
cleaning upholstery or carpet. Follow
the instructions provided with the
soap. Do not bleach or re-dye the
webbing because this may weaken
it.
Cleaning the interior window
glass
If the interior glass surfaces of the
vehicle become fogged (that is, cov-
ered with an oily, greasy or waxy
film), they should be cleaned with
glass cleaner. Follow the directions
on the glass cleaner container.
CAUTION
Using anything but recommend-
ed cleaners and procedures
may affect the fabric’s appear-
ance and fire-resistant proper-
ties.
CAUTION
Do not scrape or scratch the
inside of the rear window. This
may result in damage to the rear
window defroster grid.
CAUTION
When cleaning leather products
(steering wheel, seats etc.), use
neutral detergents or low alco-
hol content solutions. If you use
high alcohol content solutions
or acid/alkaline detergents, the
colour of the leather may fade or
the surface may get stripped off.