drive Hyundai Santa Fe 2017 Manual Online
[x] Cancel search | Manufacturer: HYUNDAI, Model Year: 2017, Model line: Santa Fe, Model: Hyundai Santa Fe 2017Pages: 569, PDF Size: 16.88 MB
Page 223 of 569
Features of your vehicle
120
4
Battery saver function
• The purpose of this feature is to
prevent the battery from being dis-
charged. The system automatically
turns off the parking lights when
the driver removes the ignition key
(smart key : turns off the engine)
and opens the driver-side door.
With this feature, the parking lights will be turned off automatically if
the driver parks on the side of the
road at night.
If necessary, to keep the lights on
when the ignition key is removed
(smart key : turns off the engine),
perform the following:
1) Open the driver-side door.
2) Turn the parking lights OFF and ON again using the light switch
on the steering column.
Headlamp delay (if equipped)
If you turn the ignition switch to the
ACC or OFF position with the head-
lights ON, the headlights remain on
for about 5 minutes. However, if the
driver’s door is opened and closed,
the headlights are turned off after 15
seconds.
The headlights can be turned off by
pressing the lock button on the trans-
mitter (or smart key) twice or turning
the light switch to the OFF or Auto
position.
However, if you turn the light switch
to the Auto position when it is dark
outside, the headlights will not be
turned off.
You can activate or deactivate this
feature. Refer to "User Settings" in
this section.
LIGHTING
CAUTION
If the driver gets out of the vehi-cle through other doors (otherthan the driver's door), the bat-tery saver function does notoperate and the headlamp delaydoes not turn off automatically.This will cause the battery to bedischarged. In this case, makesure to turn off the lamp beforegetting out of the vehicle.
Page 226 of 569
4123
Features of your vehicle
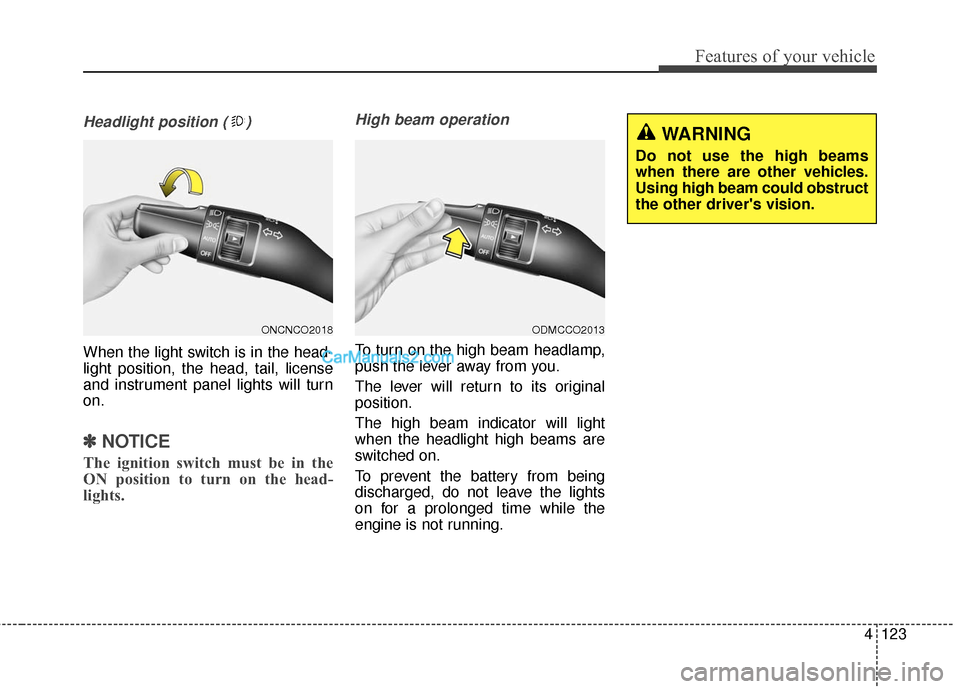
Headlight position ( )
When the light switch is in the head-
light position, the head, tail, license
and instrument panel lights will turn
on.
✽ ✽NOTICE
The ignition switch must be in the
ON position to turn on the head-
lights.
High beam operation
To turn on the high beam headlamp,
push the lever away from you.
The lever will return to its original
position.
The high beam indicator will light
when the headlight high beams are
switched on.
To prevent the battery from being
discharged, do not leave the lights
on for a prolonged time while the
engine is not running.
ODMCCO2013ONCNCO2018
WARNING
Do not use the high beams
when there are other vehicles.
Using high beam could obstruct
the other driver's vision.
Page 232 of 569
4129
Features of your vehicle
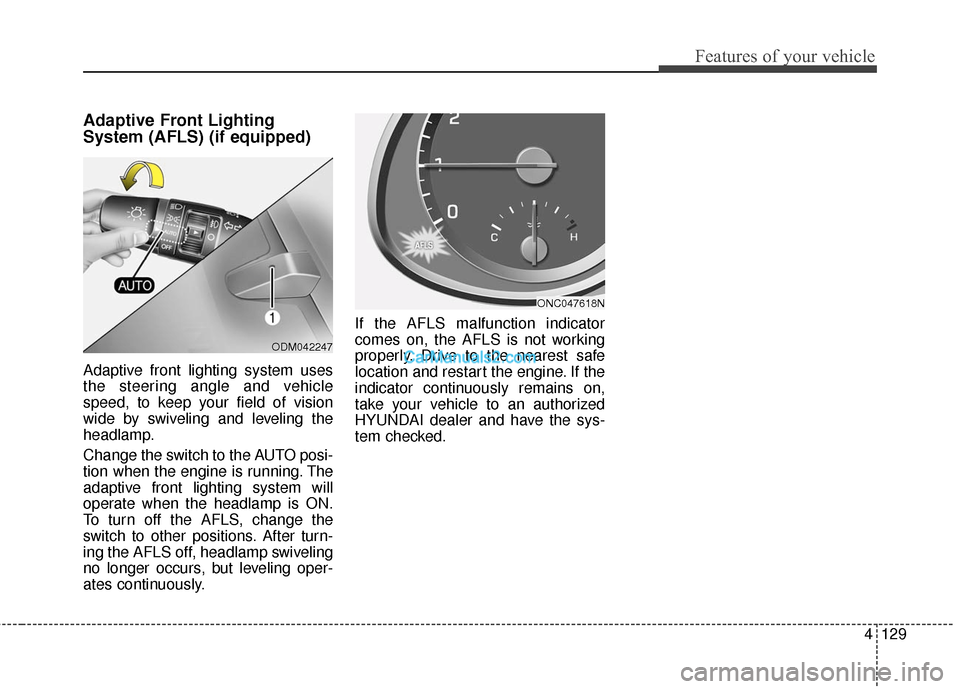
Adaptive Front Lighting
System (AFLS) (if equipped)
Adaptive front lighting system uses
the steering angle and vehicle
speed, to keep your field of vision
wide by swiveling and leveling the
headlamp.
Change the switch to the AUTO posi-
tion when the engine is running. The
adaptive front lighting system will
operate when the headlamp is ON.
To turn off the AFLS, change the
switch to other positions. After turn-
ing the AFLS off, headlamp swiveling
no longer occurs, but leveling oper-
ates continuously.If the AFLS malfunction indicator
comes on, the AFLS is not working
properly. Drive to the nearest safe
location and restart the engine. If the
indicator continuously remains on,
take your vehicle to an authorized
HYUNDAI dealer and have the sys-
tem checked.
ODM042247
ONC047618N
Page 251 of 569
Features of your vehicle
148
4
✽
✽
NOTICE
• Replace the filter according to the
Maintenance Schedule.
If the vehicle is being driven in
severe conditions such as dusty,
rough roads, more frequent cli-
mate control air filter inspections
and changes are required.
• When the air flow rate suddenly decreases, the system should be
checked at an authorized
HYUNDAI dealer.
Checking the amount of air
conditioner refrigerant and
compressor lubricant
When the amount of refrigerant is
low, the performance of the air con-
ditioning is reduced. Overfilling also
has a negative influence on the air
conditioning system.
Therefore, if abnormal operation is
found, have the system inspected by
an authorized HYUNDAI dealer.
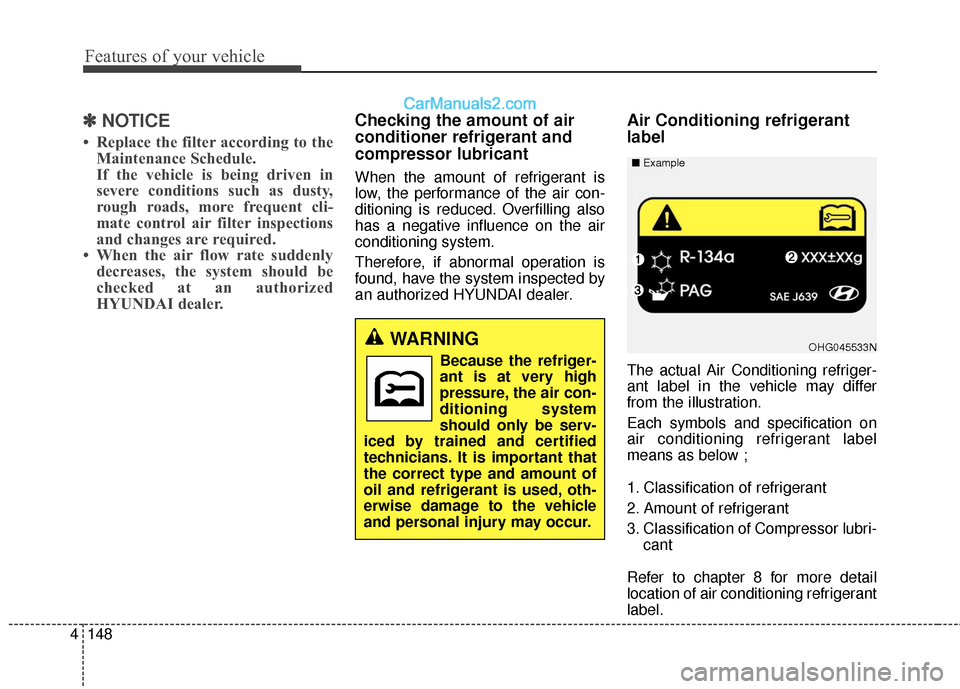
Air Conditioning refrigerant
label
The actual Air Conditioning refriger-
ant label in the vehicle may differ
from the illustration.
Each symbols and specification on
air conditioning refrigerant label
means as below ;
1. Classification of refrigerant
2. Amount of refrigerant
3. Classification of Compressor lubri-
cant
Refer to chapter 8 for more detail
location of air conditioning refrigerant
label.
WARNING
Because the refriger-
ant is at very high
pressure, the air con-
ditioning system
should only be serv-
iced by trained and certified
technicians. It is important that
the correct type and amount of
oil and refrigerant is used, oth-
erwise damage to the vehicle
and personal injury may occur.OHG045533N
■
Example
Page 252 of 569
4149
Features of your vehicle
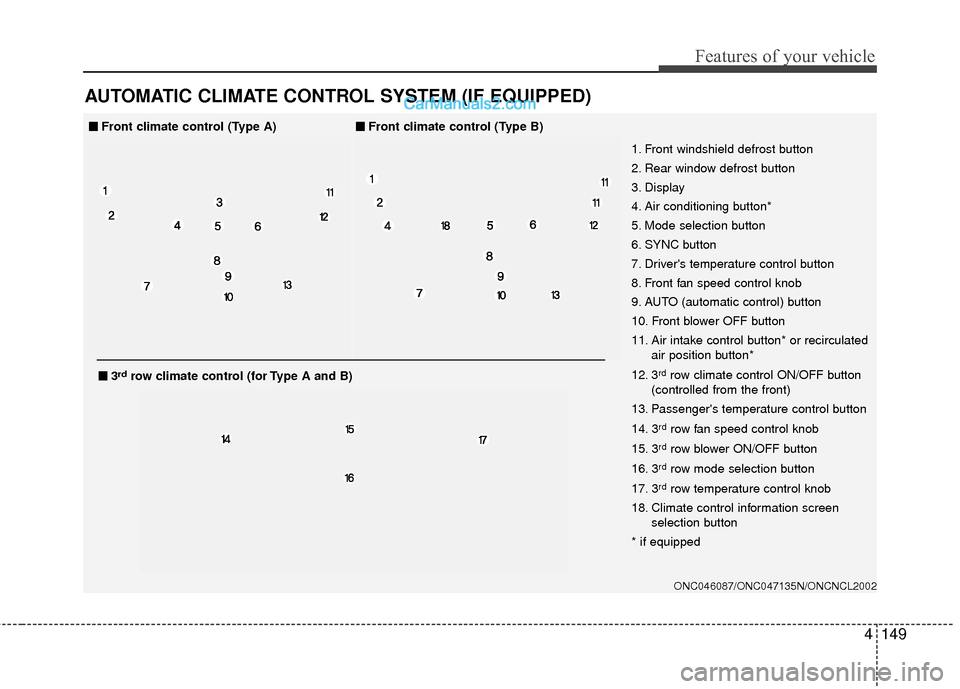
AUTOMATIC CLIMATE CONTROL SYSTEM (IF EQUIPPED)
ONC046087/ONC047135N/ONCNCL2002
1. Front windshield defrost button
2. Rear window defrost button
3. Display
4. Air conditioning button*
5. Mode selection button
6. SYNC button
7. Driver's temperature control button
8. Front fan speed control knob
9. AUTO (automatic control) button
10. Front blower OFF button
11. Air intake control button* or recirculatedair position button*
12. 3
rdrow climate control ON/OFF button
(controlled from the front)
13. Passenger's temperature control button
14. 3
rdrow fan speed control knob
15. 3
rdrow blower ON/OFF button
16. 3
rdrow mode selection button
17. 3
rdrow temperature control knob
18. Climate control information screen selection button
* if equipped
■
■ Front climate control (Type A)■
■Front climate control (Type B)
■
■3rdrow climate control (for Type A and B)
Page 253 of 569
Features of your vehicle
150
4
ONC047087N/ONC047088N
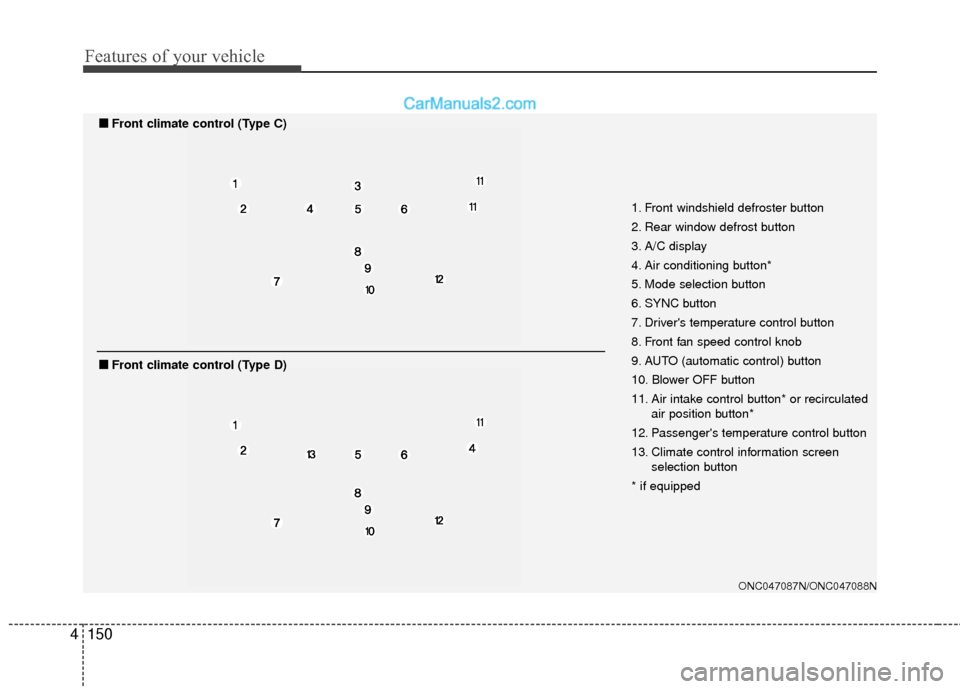
1. Front windshield defroster button
2. Rear window defrost button
3. A/C display
4. Air conditioning button*
5. Mode selection button
6. SYNC button
7. Driver's temperature control button
8. Front fan speed control knob
9. AUTO (automatic control) button
10. Blower OFF button
11. Air intake control button* or recirculated
air position button*
12. Passenger's temperature control button
13. Climate control information screen selection button
* if equipped
■
■ Front climate control (Type C)
■
■Front climate control (Type D)
Page 254 of 569
4151
Features of your vehicle
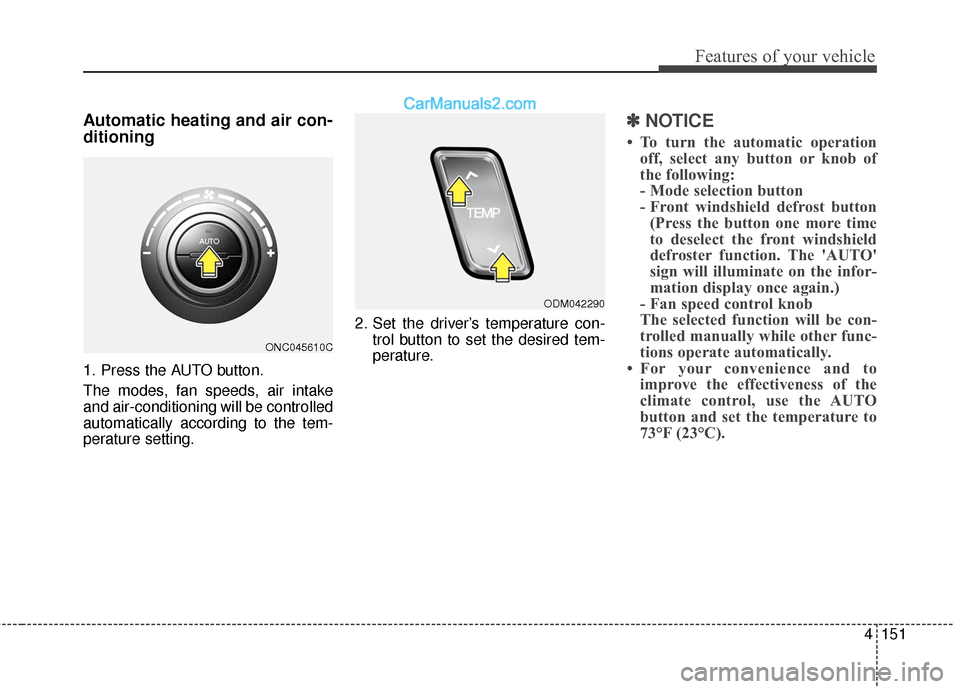
Automatic heating and air con-
ditioning
1. Press the AUTO button.
The modes, fan speeds, air intake
and air-conditioning will be controlled
automatically according to the tem-
perature setting.2. Set the driver’s temperature con-
trol button to set the desired tem-
perature.
✽ ✽NOTICE
• To turn the automatic operation
off, select any button or knob of
the following:
- Mode selection button
- Front windshield defrost button(Press the button one more time
to deselect the front windshield
defroster function. The 'AUTO'
sign will illuminate on the infor-
mation display once again.)
- Fan speed control knob
The selected function will be con-
trolled manually while other func-
tions operate automatically.
• For your convenience and to improve the effectiveness of the
climate control, use the AUTO
button and set the temperature to
73°F (23°C).
ONC045610C
ODM042290
Page 257 of 569
Features of your vehicle
154
4
Temperature control
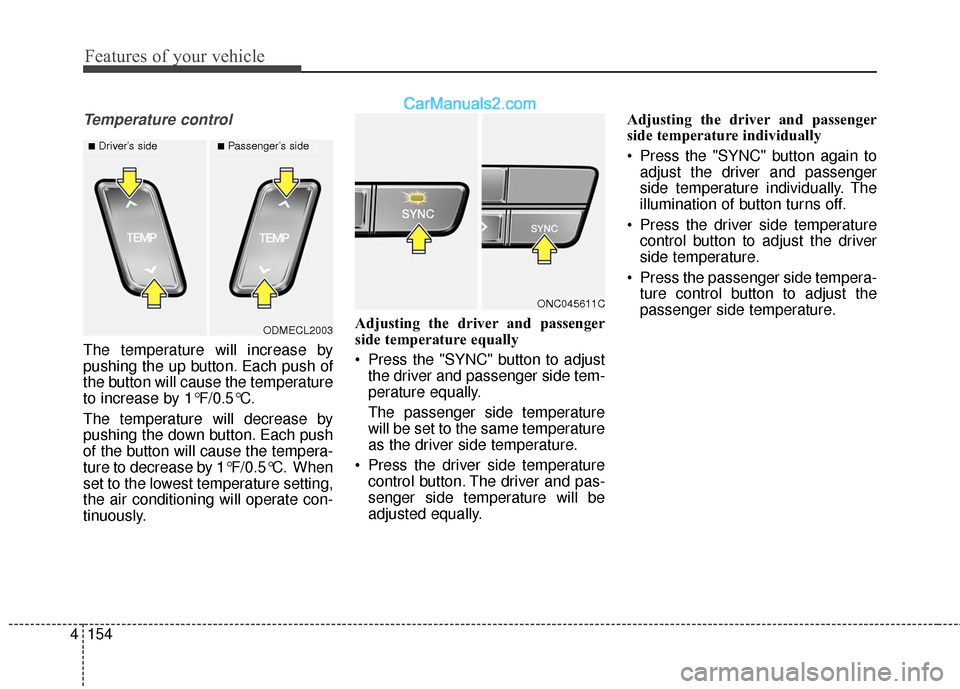
The temperature will increase by
pushing the up button. Each push of
the button will cause the temperature
to increase by 1°F/0.5°C.
The temperature will decrease by
pushing the down button. Each push
of the button will cause the tempera-
ture to decrease by 1°F/0.5°C. When
set to the lowest temperature setting,
the air conditioning will operate con-
tinuously. Adjusting the driver and passenger
side temperature equally
Press the "SYNC" button to adjust
the driver and passenger side tem-
perature equally.
The passenger side temperature
will be set to the same temperature
as the driver side temperature.
Press the driver side temperature control button. The driver and pas-
senger side temperature will be
adjusted equally. Adjusting the driver and passenger
side temperature individually
Press the "SYNC" button again to
adjust the driver and passenger
side temperature individually. The
illumination of button turns off.
Press the driver side temperature control button to adjust the driver
side temperature.
Press the passenger side tempera- ture control button to adjust the
passenger side temperature.
ODMECL2003
■Driver’s side■Passenger’s side
ONC045611C
Page 264 of 569
4161
Features of your vehicle
Auto defogging system (if equipped)
Auto defogging reduces the probabil-
ity of fogging up the inside of the
windshield by automatically sensing
the moisture of inside the windshield.
The auto defogging system operates
when the heater or air conditioning is
on. This indicator illuminates
when the auto defogging
system senses the mois-
ture of inside the wind-
shield and operates.
If more moisture is in the vehicle, the
automated steps operate as follows:
If auto defogging does not defog the
window at step 1, outside air posi-
tion, step 2, blowing air toward the
windshield occurs.
Step 1 : Outside air position
Step 2 : Blowing air toward the wind- shield
Step 3 : Increasing air flow toward the windshield
Step 4 : Operating the air condition- ing
Step 5 : Maxim izing the air condi-
tioning
The auto defogging system is auto-
matically activated when the condi-
tions are met. However, if you would
like to cancel the auto defogging sys-
tem, press the front defroster button
4 times within 2 seconds while press-
ing the AUTO button. The indicator of the front defroster
button will blink 3 times to notify you
that the system is cancelled. To use
the auto defogging system again, fol-
low the procedures mentioned
above.
If the battery has been disconnected
or discharged, it resets to the auto
defogging status.
✽ ✽
NOTICE
When the air conditioning is turned
on and the outside air position is
selected by the auto defogging sys-
tem, if you try to turn off the air con-
ditioning and select the recirculated
air position, the indicator will blink
3 times and the air conditioning will
not be turned off and recirculated
air position will not be selected.
CAUTION
Do not remove the sensor cover
located on the upper end of thedriver side windshield glass.Damage to system parts couldoccur and may not be coveredby your vehicle warranty.
ONCNCO2038
Page 266 of 569
4163
Features of your vehicle
Multi box (if equipped)
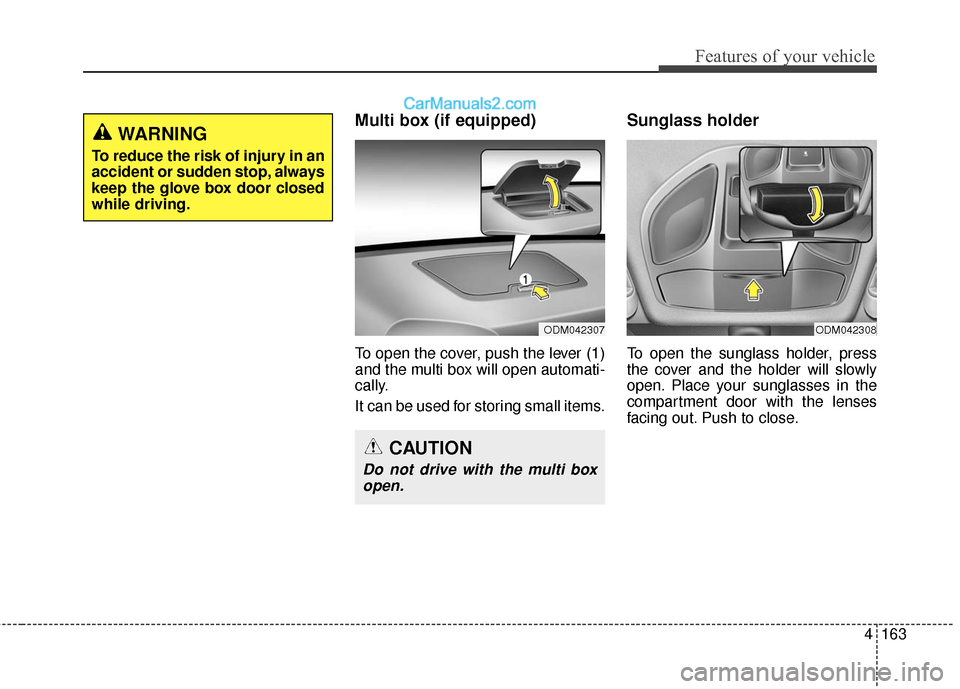
To open the cover, push the lever (1)
and the multi box will open automati-
cally.
It can be used for storing small items.
Sunglass holder
To open the sunglass holder, press
the cover and the holder will slowly
open. Place your sunglasses in the
compartment door with the lenses
facing out. Push to close.
CAUTION
Do not drive with the multi boxopen.
ODM042307ODM042308
WARNING
To reduce the risk of injury in an
accident or sudden stop, always
keep the glove box door closed
while driving.