interior lights Hyundai Sonata
[x] Cancel search | Manufacturer: HYUNDAI, Model Year: , Model line: , Model:Pages: 285, PDF Size: 9.38 MB
Page 22 of 285
1
FEATURES OF YOUR HYUNDAI
9
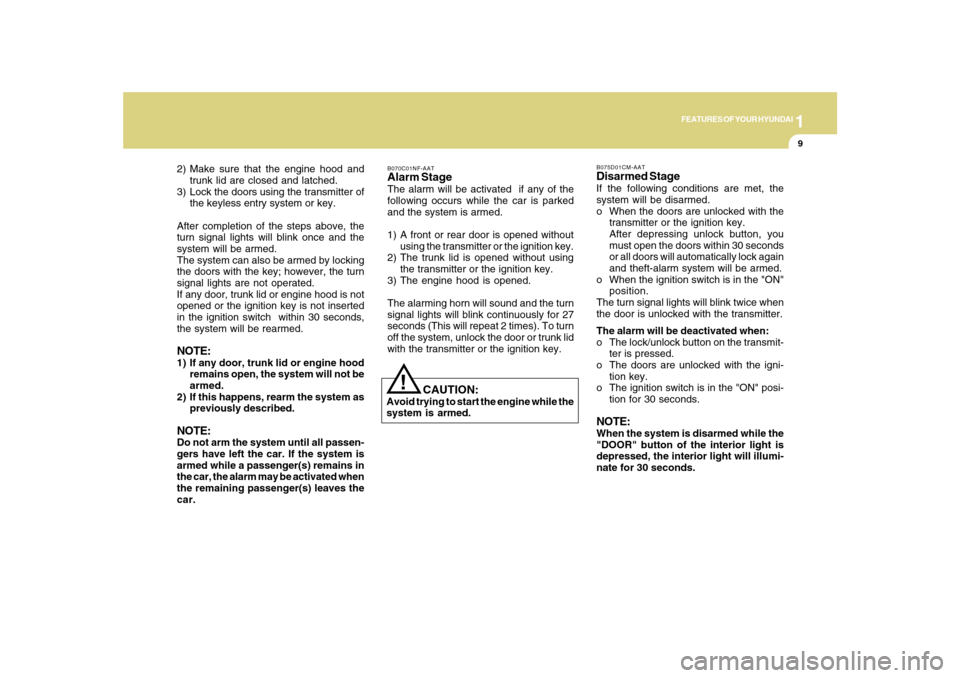
2) Make sure that the engine hood and
trunk lid are closed and latched.
3) Lock the doors using the transmitter of
the keyless entry system or key.
After completion of the steps above, the
turn signal lights will blink once and the
system will be armed.
The system can also be armed by locking
the doors with the key; however, the turn
signal lights are not operated.
If any door, trunk lid or engine hood is not
opened or the ignition key is not inserted
in the ignition switch within 30 seconds,
the system will be rearmed.NOTE:1) If any door, trunk lid or engine hood
remains open, the system will not be
armed.
2) If this happens, rearm the system as
previously described.NOTE:Do not arm the system until all passen-
gers have left the car. If the system is
armed while a passenger(s) remains in
the car, the alarm may be activated when
the remaining passenger(s) leaves the
car.
B075D01CM-AATDisarmed StageIf the following conditions are met, the
system will be disarmed.
o When the doors are unlocked with the
transmitter or the ignition key.
After depressing unlock button, you
must open the doors within 30 seconds
or all doors will automatically lock again
and theft-alarm system will be armed.
o When the ignition switch is in the "ON"
position.
The turn signal lights will blink twice when
the door is unlocked with the transmitter.
The alarm will be deactivated when:
o The lock/unlock button on the transmit-
ter is pressed.
o The doors are unlocked with the igni-
tion key.
o The ignition switch is in the "ON" posi-
tion for 30 seconds.NOTE:When the system is disarmed while the
"DOOR" button of the interior light is
depressed, the interior light will illumi-
nate for 30 seconds.
B070C01NF-AATAlarm StageThe alarm will be activated if any of the
following occurs while the car is parked
and the system is armed.
1) A front or rear door is opened without
using the transmitter or the ignition key.
2) The trunk lid is opened without using
the transmitter or the ignition key.
3) The engine hood is opened.
The alarming horn will sound and the turn
signal lights will blink continuously for 27
seconds (This will repeat 2 times). To turn
off the system, unlock the door or trunk lid
with the transmitter or the ignition key.
CAUTION:
Avoid trying to start the engine while the
system is armed.
!
Page 156 of 285
2
DRIVING YOUR HYUNDAI
3
!
BEFORE STARTING
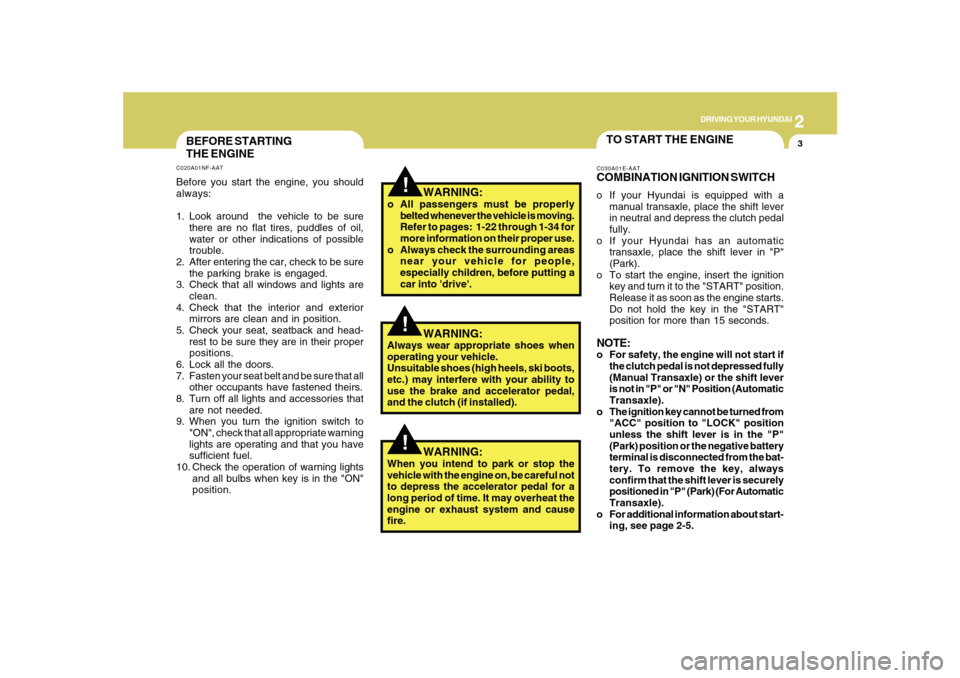
THE ENGINEC020A01NF-AATBefore you start the engine, you should
always:
1. Look around the vehicle to be sure
there are no flat tires, puddles of oil,
water or other indications of possible
trouble.
2. After entering the car, check to be sure
the parking brake is engaged.
3. Check that all windows and lights are
clean.
4. Check that the interior and exterior
mirrors are clean and in position.
5. Check your seat, seatback and head-
rest to be sure they are in their proper
positions.
6. Lock all the doors.
7. Fasten your seat belt and be sure that all
other occupants have fastened theirs.
8. Turn off all lights and accessories that
are not needed.
9. When you turn the ignition switch to
"ON", check that all appropriate warning
lights are operating and that you have
sufficient fuel.
10. Check the operation of warning lights
and all bulbs when key is in the "ON"
position.
TO START THE ENGINEC030A01E-AATCOMBINATION IGNITION SWITCHo If your Hyundai is equipped with a
manual transaxle, place the shift lever
in neutral and depress the clutch pedal
fully.
o If your Hyundai has an automatic
transaxle, place the shift lever in "P"
(Park).
o To start the engine, insert the ignition
key and turn it to the "START" position.
Release it as soon as the engine starts.
Do not hold the key in the "START"
position for more than 15 seconds.NOTE:o For safety, the engine will not start if
the clutch pedal is not depressed fully
(Manual Transaxle) or the shift lever
is not in "P" or "N" Position (Automatic
Transaxle).
o The ignition key cannot be turned from
"ACC" position to "LOCK" position
unless the shift lever is in the "P"
(Park) position or the negative battery
terminal is disconnected from the bat-
tery. To remove the key, always
confirm that the shift lever is securely
positioned in "P" (Park) (For Automatic
Transaxle).
o For additional information about start-
ing, see page 2-5.
WARNING:
o All passengers must be properly
belted whenever the vehicle is moving.
Refer to pages: 1-22 through 1-34 for
more information on their proper use.
o Always check the surrounding areas
near your vehicle for people,
especially children, before putting a
car into 'drive'.
!
WARNING:
Always wear appropriate shoes when
operating your vehicle.
Unsuitable shoes (high heels, ski boots,
etc.) may interfere with your ability to
use the brake and accelerator pedal,
and the clutch (if installed).
!
WARNING:
When you intend to park or stop the
vehicle with the engine on, be careful not
to depress the accelerator pedal for a
long period of time. It may overheat the
engine or exhaust system and cause
fire.
Page 218 of 285
6
DO-IT-YOURSELF MAINTENANCE
4
G020C01A-AATVehicle InteriorThe following should be checked each
time when the vehicle is driven:
o Lights operation
o Windshield wiper operation
o Horn operation
o Defroster, heating system operation
(and air conditioning, if installed)
o Steering operation and condition
o Mirror condition and operation
o Turn signal operation
o Accelerator pedal operation
o Brake operation, including parking
brake
o Manual transaxle operation, including
clutch operation
o Automatic transaxle operation,
including "Park" mechanism operation
o Seat control condition and operation
o Seat belt condition and operation
o Sun visor operation
If you notice anything that does not operate
correctly or appears to be functioning
correctly, inspect it carefully and seek
assistance from your Hyundai dealer if
service is needed.
G020B01A-AATVehicle ExteriorThe following should be checked monthly:
o Overall appearance and condition
o Wheel condition and wheel nut torque
o Exhaust system condition
o Light condition and operation
o Windshield glass condition
o Wiper blade condition
o Paint condition and body corrosion
o Fluid leaks
o Door and hood lock condition
o Tire pressure and condition
(including spare tire)GENERAL CHECKSG020A01NF-AATEngine CompartmentThe following should be checked regu-
larly:
o Engine oil level and condition
o Transaxle fluid level and condition
o Brake fluid level
o Engine coolant level
o Windshield washer fluid level
o Accessory drive belt condition
o Engine coolant hose condition
o Fluid leaks (on or below components)
o Power steering fluid level
o Battery condition
o Air filter condition
o Engine vibration
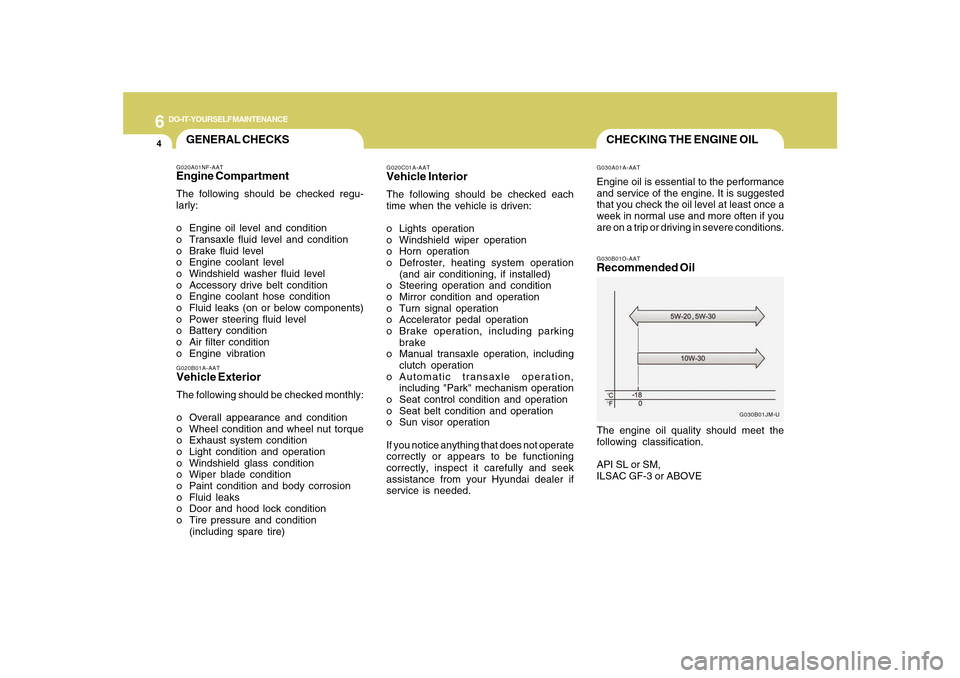
CHECKING THE ENGINE OILG030B01O-AATRecommended OilThe engine oil quality should meet the
following classification.
API SL or SM,
ILSAC GF-3 or ABOVE
G030B01JM-U G030A01A-AAT
Engine oil is essential to the performance
and service of the engine. It is suggested
that you check the oil level at least once a
week in normal use and more often if you
are on a trip or driving in severe conditions.
Page 254 of 285
6
DO-IT-YOURSELF MAINTENANCE
40
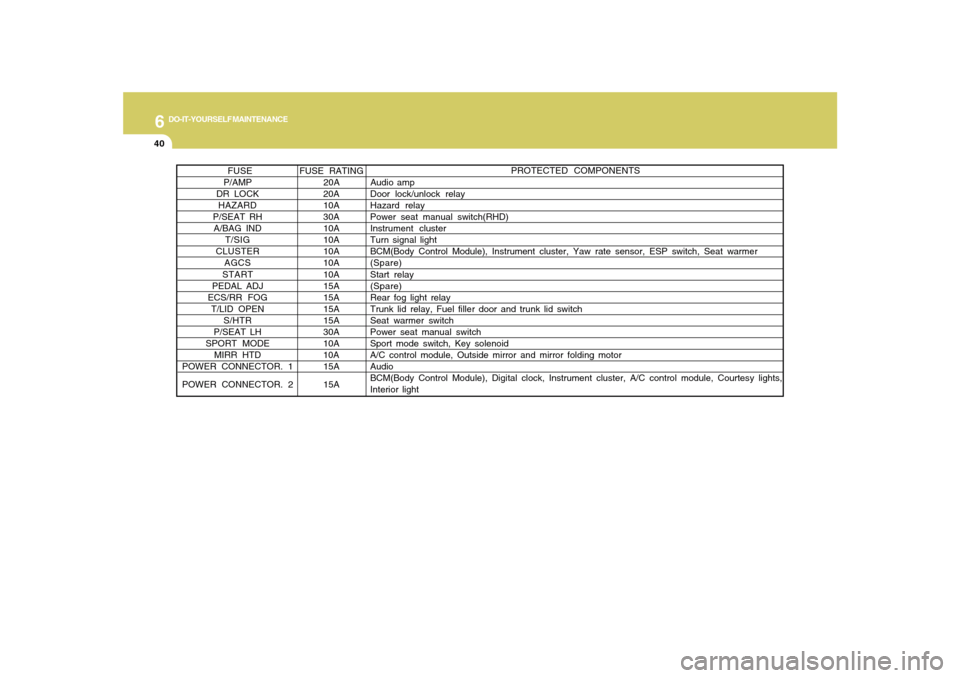
PROTECTED COMPONENTS
FUSE RATING FUSE
P/AMP 20A Audio amp
DR LOCK 20A Door lock/unlock relay
HAZARD 10AHazard relay
P/SEAT RH 30A Power seat manual switch(RHD)
A/BAG IND 10A Instrument cluster
T/SIG 10A Turn signal light
CLUSTER 10ABCM(Body Control Module), Instrument cluster, Yaw rate sensor, ESP switch, Seat warmer
AGCS 10A (Spare)
START 10A Start relay
PEDAL ADJ 15A(Spare)
ECS/RR FOG 15A Rear fog light relay
T/LID OPEN 15A Trunk lid relay, Fuel filler door and trunk lid switch
S/HTR 15A Seat warmer switch
P/SEAT LH 30A Power seat manual switch
SPORT MODE 10A Sport mode switch, Key solenoid
MIRR HTD 10A A/C control module, Outside mirror and mirror folding motor
POWER CONNECTOR. 115A Audio
POWER CONNECTOR. 2 15ABCM(Body Control Module), Digital clock, Instrument cluster, A/C control module, Courtesy lights,
Interior light
Page 283 of 285
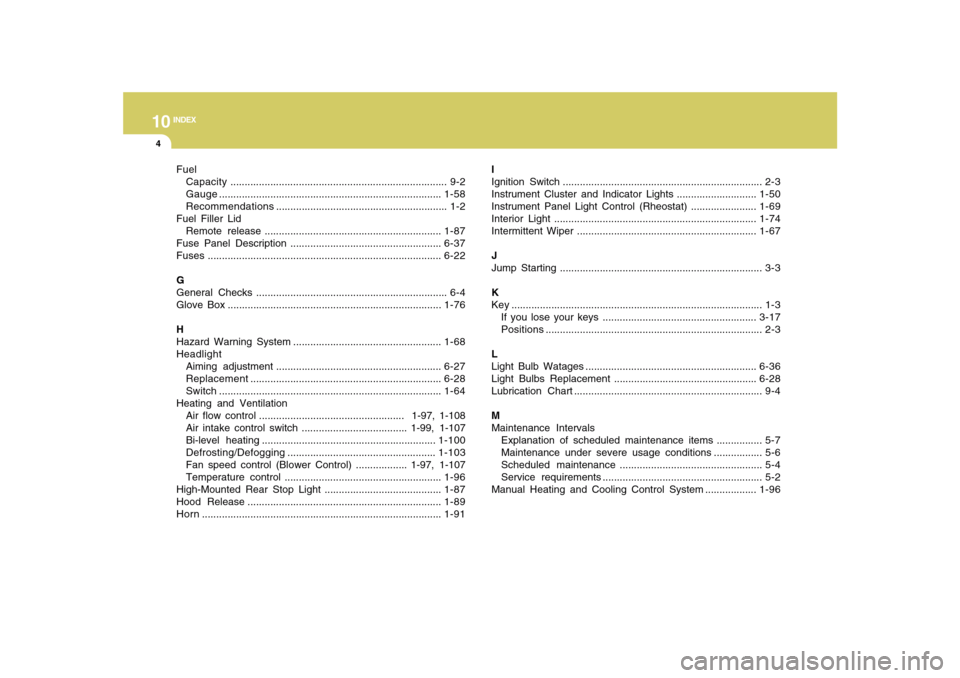
10
INDEX
4
Fuel
Capacity............................................................................ 9-2
Gauge..............................................................................1-58
Recommendations............................................................ 1-2
Fuel Filler Lid
Remote release ..............................................................1-87
Fuse Panel Description .....................................................6-37
Fuses..................................................................................6-22
G
General Checks ................................................................... 6-4
Glove Box ...........................................................................1-76
H
Hazard Warning System ....................................................1-68
Headlight
Aiming adjustment ..........................................................6-27
Replacement...................................................................6-28
Switch..............................................................................1-64
Heating and Ventilation
Air flow control ................................................... 1-97, 1-108
Air intake control switch ..................................... 1-99, 1-107
Bi-level heating .............................................................1-100
Defrosting/Defogging....................................................1-103
Fan speed control (Blower Control) .................. 1-97, 1-107
Temperature control .......................................................1-96
High-Mounted Rear Stop Light .........................................1-87
Hood Release ....................................................................1-89
Horn....................................................................................1-91I
Ignition Switch ...................................................................... 2-3
Instrument Cluster and Indicator Lights ............................1-50
Instrument Panel Light Control (Rheostat) .......................1-69
Interior Light .......................................................................1-74
Intermittent Wiper ...............................................................1-67
J
Jump Starting ....................................................................... 3-3
K
Key ........................................................................................ 1-3
If you lose your keys ......................................................3-17
Positions............................................................................ 2-3
L
Light Bulb Watages ............................................................6-36
Light Bulbs Replacement ..................................................6-28
Lubrication Chart .................................................................. 9-4
M
Maintenance Intervals
Explanation of scheduled maintenance items ................ 5-7
Maintenance under severe usage conditions ................. 5-6
Scheduled maintenance.................................................. 5-4
Service requirements ........................................................ 5-2
Manual Heating and Cooling Control System ..................1-96