headlights Hyundai Sonata
[x] Cancel search | Manufacturer: HYUNDAI, Model Year: , Model line: , Model:Pages: 340, PDF Size: 18.45 MB
Page 87 of 340
429
Features of your vehicle
D140100AUN-EA
Inside rearview mirror
Adjust the rearview mirror to centre on
the view through the rear window. Make
this adjustment before you start driving.D140101AUN
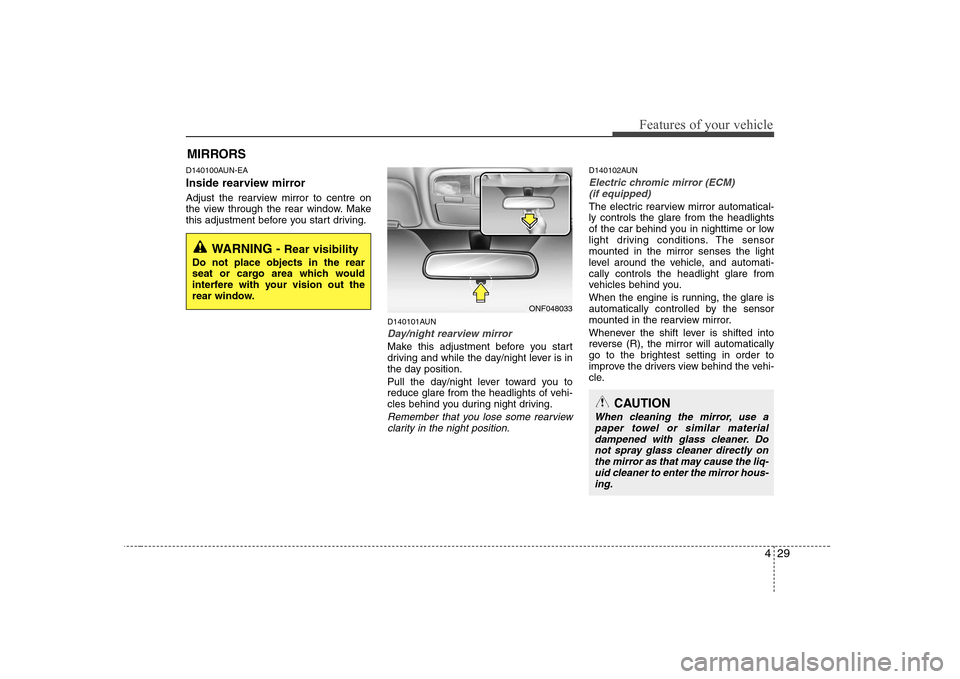
Day/night rearview mirror
Make this adjustment before you start
driving and while the day/night lever is in
the day position.
Pull the day/night lever toward you to
reduce glare from the headlights of vehi-
cles behind you during night driving.
Remember that you lose some rearviewclarity in the night position.
D140102AUN
Electric chromic mirror (ECM) (if equipped)
The electric rearview mirror automatical- ly controls the glare from the headlights
of the car behind you in nighttime or low
light driving conditions. The sensormounted in the mirror senses the light
level around the vehicle, and automati-cally controls the headlight glare from
vehicles behind you.
When the engine is running, the glare is
automatically controlled by the sensor
mounted in the rearview mirror.
Whenever the shift lever is shifted into
reverse (R), the mirror will automatically
go to the brightest setting in order to
improve the drivers view behind the vehi-
cle.
MIRRORS
WARNING -
Rear visibility
Do not place objects in the rear
seat or cargo area which would
interfere with your vision out the
rear window.
ONF048033
CAUTION
When cleaning the mirror, use a paper towel or similar material dampened with glass cleaner. Do
not spray glass cleaner directly on the mirror as that may cause the liq-uid cleaner to enter the mirror hous-ing.
Page 111 of 340
453
Features of your vehicle
D190402AUN
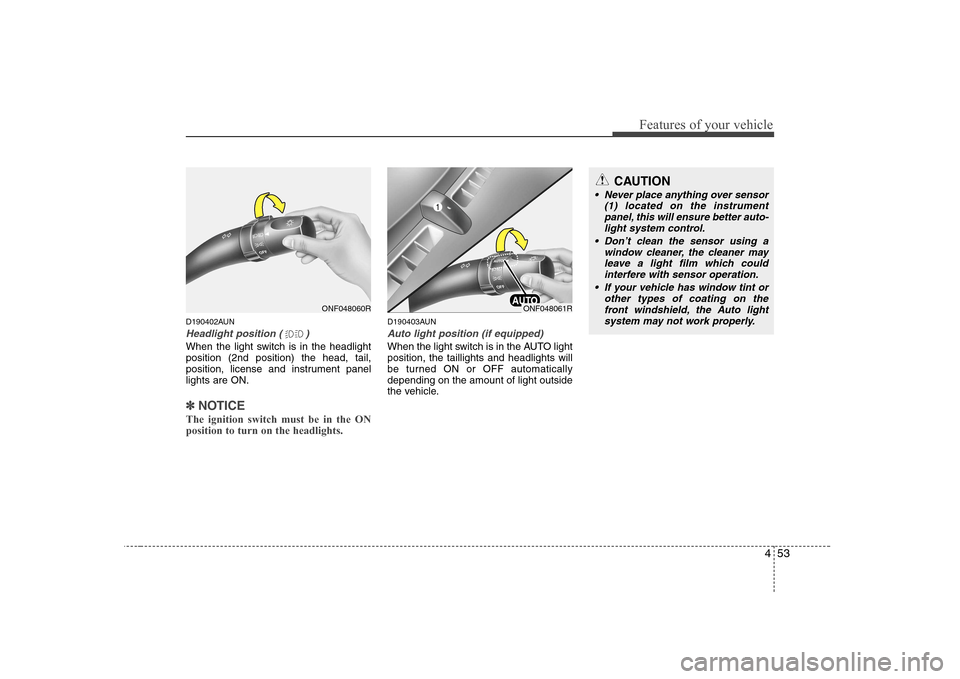
Headlight position ( )
When the light switch is in the headlight position (2nd position) the head, tail,
position, license and instrument panellights are ON.
✽✽NOTICE
The ignition switch must be in the ON position to turn on the headlights.
D190403AUN
Auto light position (if equipped)
When the light switch is in the AUTO light position, the taillights and headlights will
be turned ON or OFF automaticallydepending on the amount of light outside
the vehicle.
ONF048061R
CAUTION
Never place anything over sensor (1) located on the instrumentpanel, this will ensure better auto-light system control.
Don’t clean the sensor using a window cleaner, the cleaner mayleave a light film which could interfere with sensor operation.
If your vehicle has window tint or other types of coating on the
front windshield, the Auto lightsystem may not work properly.
ONF048060R
Page 112 of 340
Features of your vehicle
54
4
D190500AUN High - beam operation
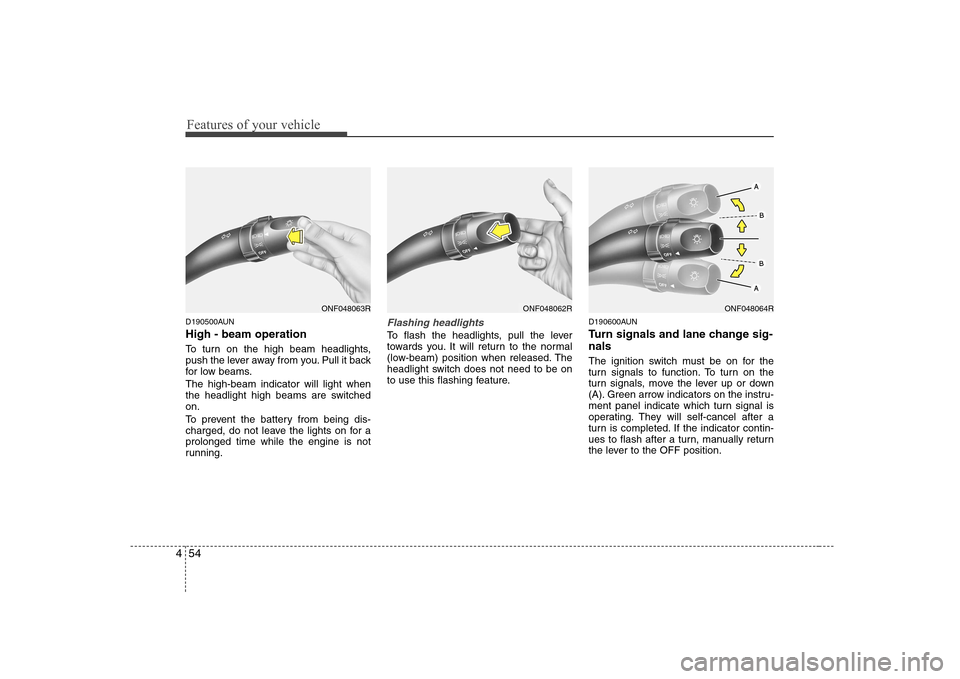
To turn on the high beam headlights,
push the lever away from you. Pull it back
for low beams. The high-beam indicator will light when
the headlight high beams are switchedon.
To prevent the battery from being dis-
charged, do not leave the lights on for aprolonged time while the engine is not
running.Flashing headlights
To flash the headlights, pull the lever
towards you. It will return to the normal
(low-beam) position when released. The
headlight switch does not need to be on
to use this flashing feature. D190600AUN
Turn signals and lane change sig- nals
The ignition switch must be on for the
turn signals to function. To turn on the
turn signals, move the lever up or down
(A). Green arrow indicators on the instru-
ment panel indicate which turn signal is
operating. They will self-cancel after a
turn is completed. If the indicator contin-
ues to flash after a turn, manually return
the lever to the OFF position.
ONF048063RONF048062RONF048064R
Page 116 of 340
Features of your vehicle
58
4
In the DOOR position, the light comes on
when any door is opened regardless of
the ignition switch position.
When doors are unlocked by the trans-
mitter, the light comes on for approxi-
mately 30 seconds as long as any door is
not open. The light goes out gradually
after approximately 30 seconds if the
door is closed. However, if the ignition
switch is ON or all doors are locked, the
light will turn off immediately.
If a door is opened, the light stays on for
about 20 minutes. However, if a door is
opened with the ignition switch in the ON
position, the light stays on continuously. D210300ANF-EA
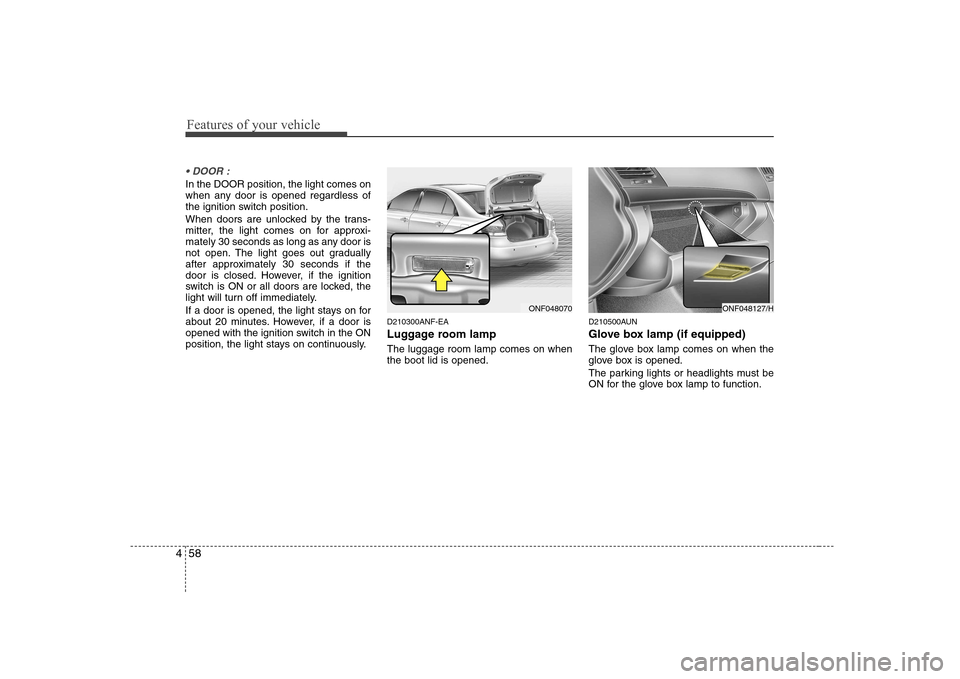
Luggage room lamp The luggage room lamp comes on when the boot lid is opened.D210500AUN
Glove box lamp (if equipped)
The glove box lamp comes on when the
glove box is opened.
The parking lights or headlights must be
ON for the glove box lamp to function.
ONF048070ONF048127/H
Page 212 of 340
535
Driving your vehicle
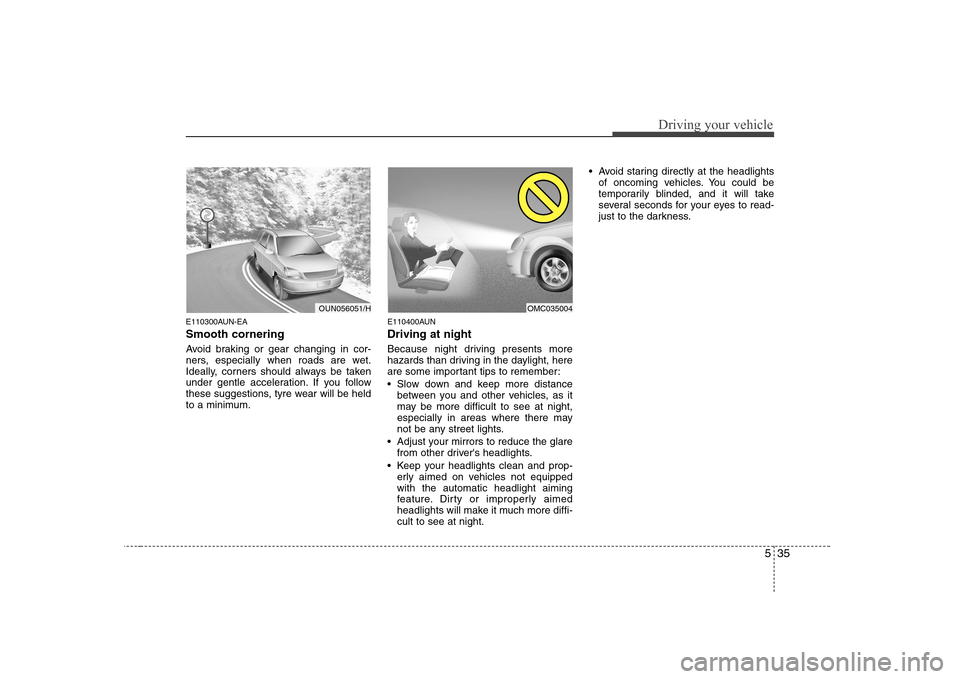
E110300AUN-EA Smooth cornering
Avoid braking or gear changing in cor-
ners, especially when roads are wet.
Ideally, corners should always be taken
under gentle acceleration. If you follow
these suggestions, tyre wear will be held
to a minimum.E110400AUN Driving at night
Because night driving presents more
hazards than driving in the daylight, here
are some important tips to remember:
Slow down and keep more distance
between you and other vehicles, as it
may be more difficult to see at night,
especially in areas where there may
not be any street lights.
Adjust your mirrors to reduce the glare from other driver's headlights.
Keep your headlights clean and prop- erly aimed on vehicles not equippedwith the automatic headlight aiming
feature. Dirty or improperly aimed
headlights will make it much more diffi-cult to see at night. Avoid staring directly at the headlights
of oncoming vehicles. You could be
temporarily blinded, and it will take
several seconds for your eyes to read-
just to the darkness.
OUN056051/HOMC035004
Page 213 of 340
Driving your vehicle
36
5
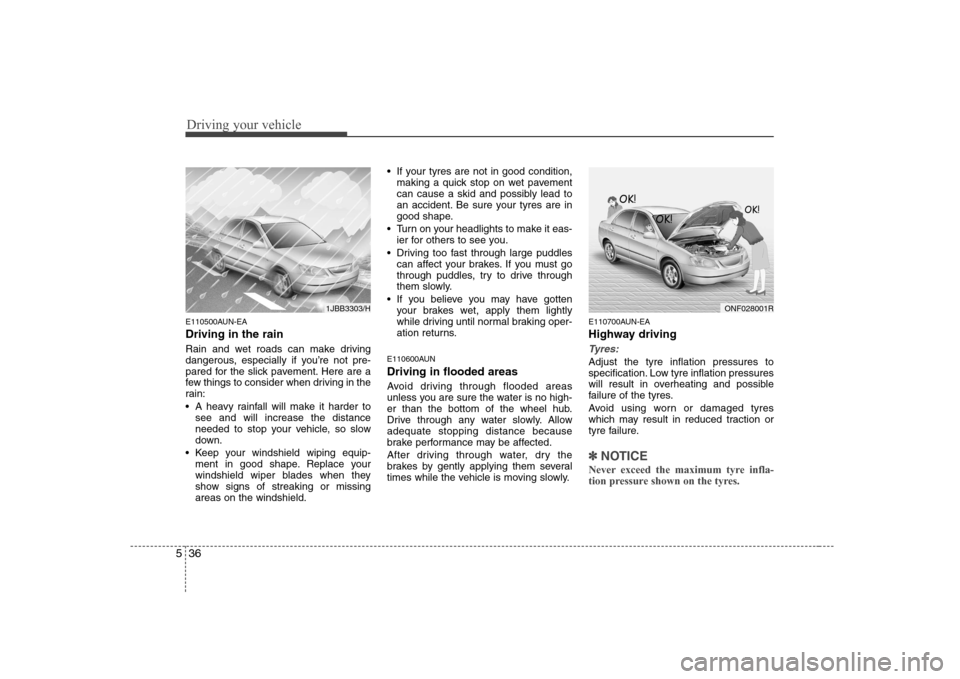
E110500AUN-EA Driving in the rain
Rain and wet roads can make driving
dangerous, especially if you’re not pre-
pared for the slick pavement. Here are a
few things to consider when driving in the
rain:
A heavy rainfall will make it harder to
see and will increase the distance
needed to stop your vehicle, so slow
down.
Keep your windshield wiping equip- ment in good shape. Replace your
windshield wiper blades when they
show signs of streaking or missingareas on the windshield. If your tyres are not in good condition,
making a quick stop on wet pavement
can cause a skid and possibly lead to
an accident. Be sure your tyres are in
good shape.
Turn on your headlights to make it eas- ier for others to see you.
Driving too fast through large puddles can affect your brakes. If you must go
through puddles, try to drive through
them slowly.
If you believe you may have gotten your brakes wet, apply them lightly
while driving until normal braking oper-
ation returns.
E110600AUN Driving in flooded areas
Avoid driving through flooded areas
unless you are sure the water is no high-
er than the bottom of the wheel hub.
Drive through any water slowly. Allowadequate stopping distance because
brake performance may be affected.
After driving through water, dry the
brakes by gently applying them several
times while the vehicle is moving slowly. E110700AUN-EA
Highway driving
Tyres:
Adjust the tyre inflation pressures to
specification. Low tyre inflation pressures
will result in overheating and possible
failure of the tyres.
Avoid using worn or damaged tyres
which may result in reduced traction or
tyre failure.
✽✽
NOTICE
Never exceed the maximum tyre infla-
tion pressure shown on the tyres.
1JBB3303/HONF028001R
Page 284 of 340
741
Maintenance
G190200AUN
Battery recharging
Your vehicle has a maintenance-free,
calcium-based battery.
If the battery becomes discharged in ashort time (because, for example, the
headlights or interior lights were left on
while the vehicle was not in use),
recharge it by slow charging (trickle)
for 10 hours.
If the battery gradually discharges because of high electric load while the
vehicle is being used, recharge it at 20-
30A for two hours.(Continued)
When lifting a plastic-cased bat- tery, excessive pressure on the
case may cause battery acid to
leak, resulting in personal injury.
Lift with a battery carrier or with
your hands on opposite corners.
Never attempt to recharge the battery when the battery cablesare connected.
The electrical ignition system works with high voltage. Never
touch these components with theengine running or the ignition
switched on.
Failure to follow the above warn-
ings can result in serious bodily
injury or death.WARNING - Recharging
battery
When recharging the battery,
observe the following precautions:
The battery must be removed from the vehicle and placed in an area with good ventilation.
Do not allow cigarettes, sparks, or flame near the battery.
Watch the battery during charg- ing, and stop or reduce the charg-
ing rate if the battery cells begin
gassing (boiling) violently or if
the temperature of the electrolyte
of any cell exceeds 49°C (120°F).
Wear eye protection when check- ing the battery during charging.
(Continued)
Page 297 of 340
Maintenance
54
7
G210100AUN-EA
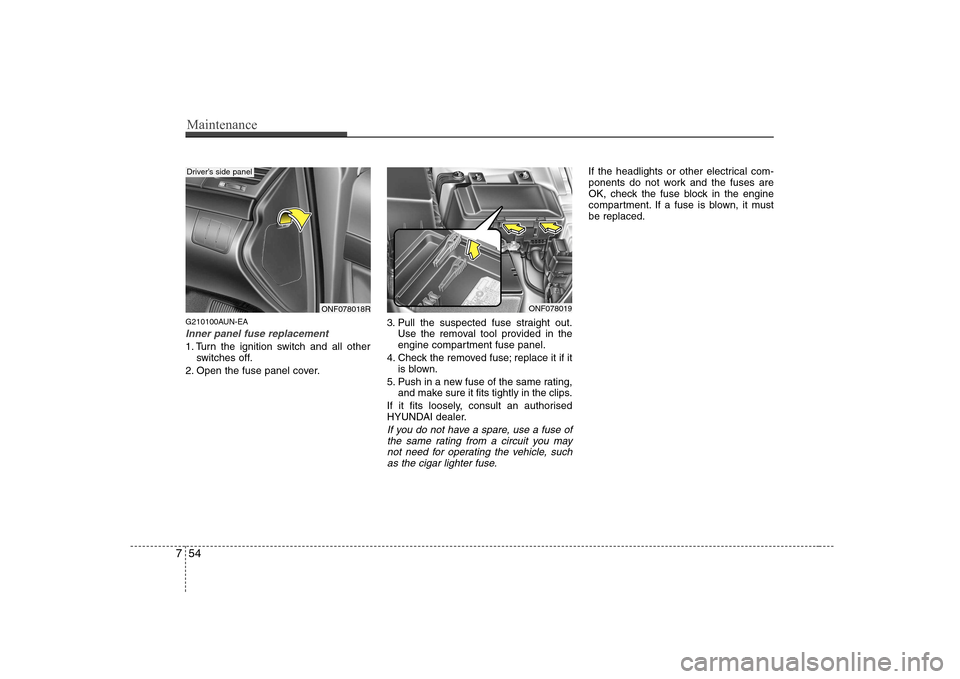
Inner panel fuse replacement
1. Turn the ignition switch and all other
switches off.
2. Open the fuse panel cover. 3. Pull the suspected fuse straight out.
Use the removal tool provided in the
engine compartment fuse panel.
4. Check the removed fuse; replace it if it is blown.
5. Push in a new fuse of the same rating, and make sure it fits tightly in the clips.
If it fits loosely, consult an authorised
HYUNDAI dealer.
If you do not have a spare, use a fuse of the same rating from a circuit you may not need for operating the vehicle, suchas the cigar lighter fuse.
If the headlights or other electrical com-
ponents do not work and the fuses are
OK, check the fuse block in the engine
compartment. If a fuse is blown, it mustbe replaced.
ONF078018R
Driver’s side panel
ONF078019
Page 298 of 340
755
Maintenance
G210101AUN
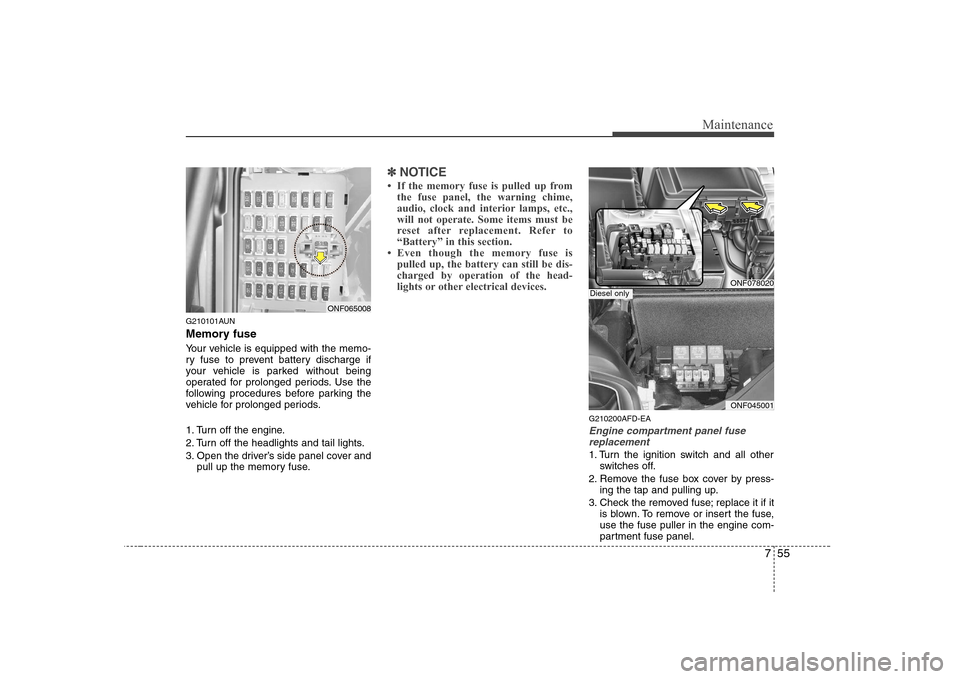
Memory fuse
Your vehicle is equipped with the memo-
ry fuse to prevent battery discharge if
your vehicle is parked without being
operated for prolonged periods. Use the
following procedures before parking the
vehicle for prolonged periods.
1. Turn off the engine.
2. Turn off the headlights and tail lights.
3. Open the driver’s side panel cover andpull up the memory fuse.
✽✽ NOTICE
Page 311 of 340
Maintenance
68
7
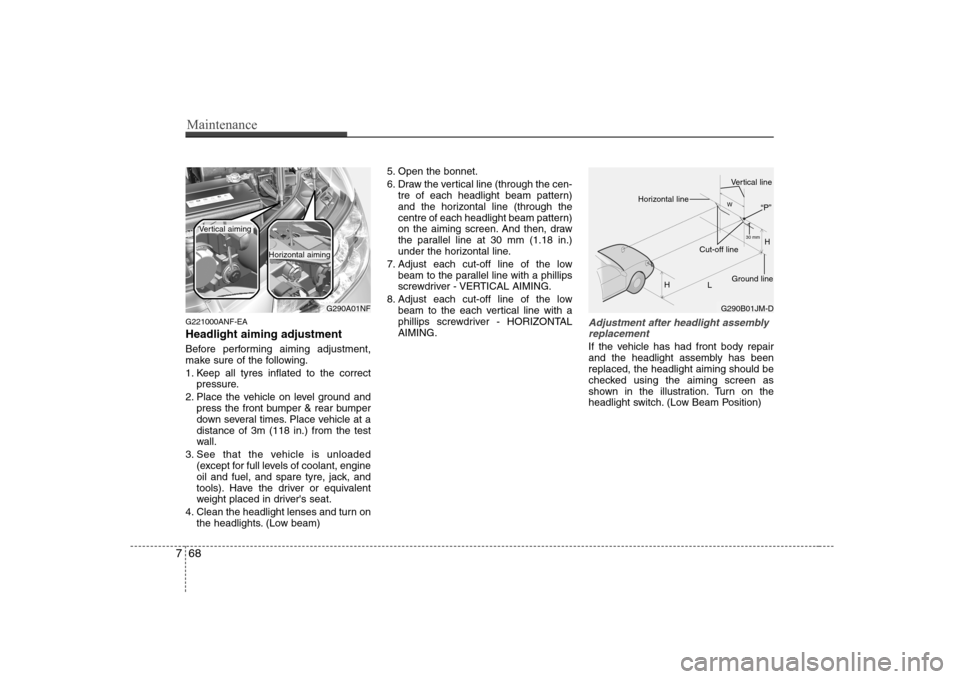
G221000ANF-EA Headlight aiming adjustment
Before performing aiming adjustment,
make sure of the following.
1. Keep all tyres inflated to the correct
pressure.
2. Place the vehicle on level ground and press the front bumper & rear bumper
down several times. Place vehicle at adistance of 3m (118 in.) from the test
wall.
3. See that the vehicle is unloaded (except for full levels of coolant, engine
oil and fuel, and spare tyre, jack, and
tools). Have the driver or equivalent
weight placed in driver's seat.
4. Clean the headlight lenses and turn on the headlights. (Low beam) 5. Open the bonnet.
6. Draw the vertical line (through the cen-
tre of each headlight beam pattern)
and the horizontal line (through the
centre of each headlight beam pattern)
on the aiming screen. And then, draw
the parallel line at 30 mm (1.18 in.)
under the horizontal line.
7. Adjust each cut-off line of the low beam to the parallel line with a phillips
screwdriver - VERTICAL AIMING.
8. Adjust each cut-off line of the low beam to the each vertical line with a
phillips screwdriver - HORIZONTALAIMING.Adjustment after headlight assembly
replacement
If the vehicle has had front body repair
and the headlight assembly has beenreplaced, the headlight aiming should be
checked using the aiming screen as
shown in the illustration. Turn on the
headlight switch. (Low Beam Position)
G290A01NF
Vertical aiming
Horizontal aiming
G290B01JM-D H
H L30 mm
W
Horizontal line
Vertical line
“P”
Ground line
Cut-off line