reset Hyundai Terracan 2005 Owner's Manual
[x] Cancel search | Manufacturer: HYUNDAI, Model Year: 2005, Model line: Terracan, Model: Hyundai Terracan 2005Pages: 539, PDF Size: 18.03 MB
Page 69 of 539
1
FEATURES OF YOUR HYUNDAI
55
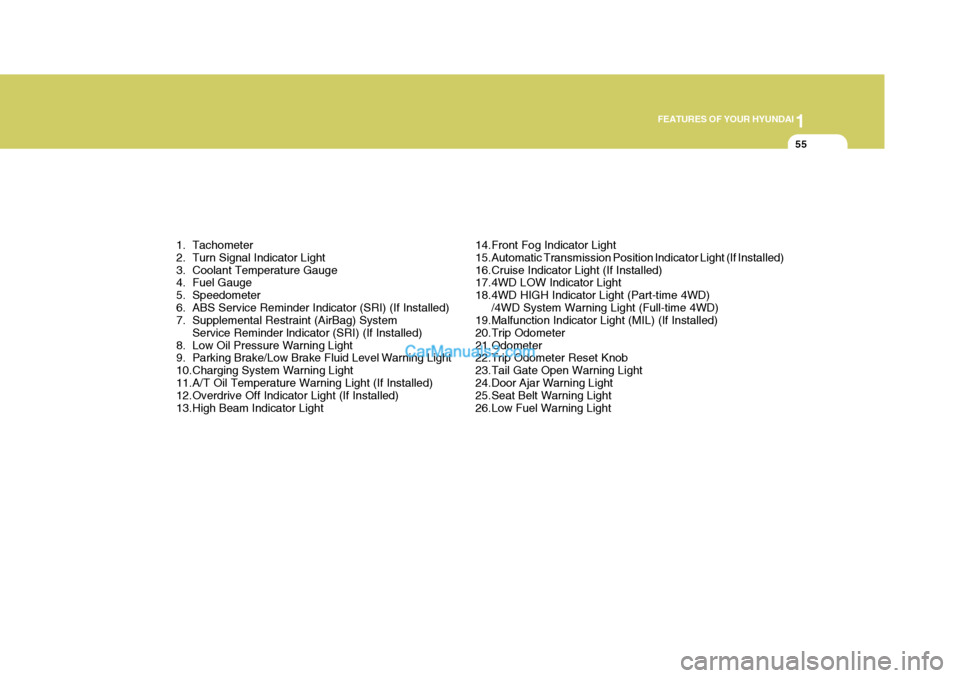
1. Tachometer
2. Turn Signal Indicator Light
3. Coolant Temperature Gauge
4. Fuel Gauge
5. Speedometer
6. ABS Service Reminder Indicator (SRI) (If Installed)
7. Supplemental Restraint (AirBag) System Service Reminder lndicator (SRI) (If Installed)
8. Low Oil Pressure Warning Light
9. Parking Brake/Low Brake Fluid Level Warning Light
10.Charging System Warning Light
11.A/T Oil Temperature Warning Light (If Installed)
12.Overdrive Off Indicator Light (If Installed)
13.High Beam Indicator Light 14.Front Fog Indicator Light
15.Automatic Transmission Position Indicator Light (If Installed)
16.Cruise Indicator Light (If Installed)
17.4WD LOW Indicator Light
18.4WD HIGH Indicator Light (Part-time 4WD)
/4WD System Warning Light (Full-time 4WD)
19.Malfunction Indicator Light (MIL) (If Installed)
20.Trip Odometer
21.Odometer 22.Trip Odometer Reset Knob
23.Tail Gate Open Warning Light
24.Door Ajar Warning Light
25.Seat Belt Warning Light
26.Low Fuel Warning Light
Page 71 of 539
1
FEATURES OF YOUR HYUNDAI
57
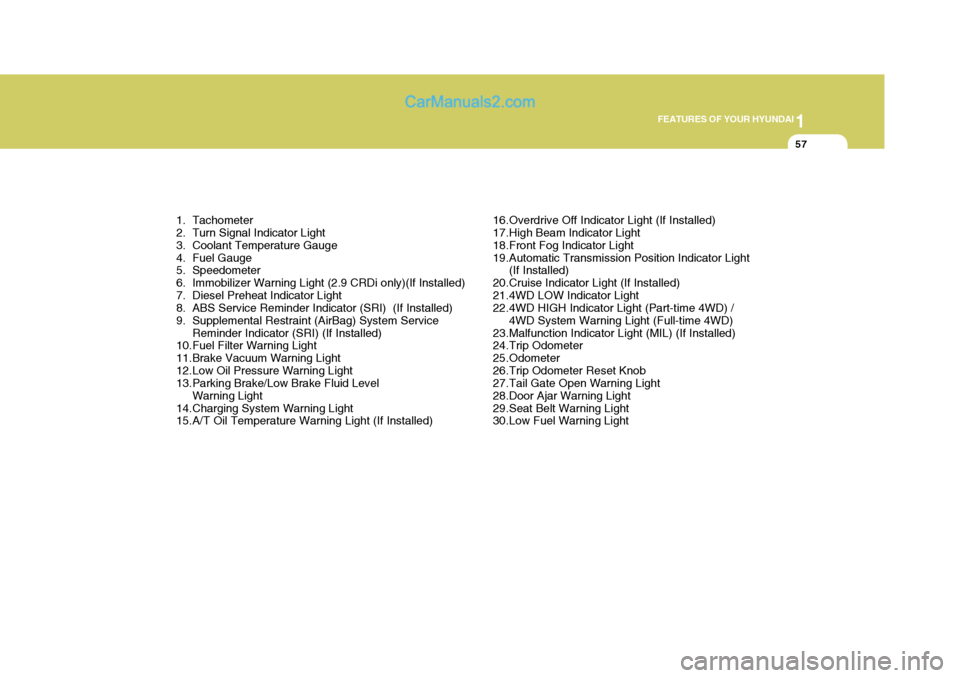
1. Tachometer
2. Turn Signal Indicator Light
3. Coolant Temperature Gauge
4. Fuel Gauge
5. Speedometer
6. Immobilizer Warning Light (2.9 CRDi only)(If Installed)
7. Diesel Preheat Indicator Light
8. ABS Service Reminder Indicator (SRI) (If Installed)
9. Supplemental Restraint (AirBag) System Service Reminder Indicator (SRI) (If Installed)
10.Fuel Filter Warning Light
11.Brake Vacuum Warning Light
12.Low Oil Pressure Warning Light
13.Parking Brake/Low Brake Fluid Level
Warning Light
14.Charging System Warning Light
15.A/T Oil Temperature Warning Light (If Installed) 16.Overdrive Off Indicator Light (If Installed)
17.High Beam Indicator Light
18.Front Fog Indicator Light
19.Automatic Transmission Position Indicator Light
(If Installed)
20.Cruise Indicator Light (If Installed)
21.4WD LOW Indicator Light
22.4WD HIGH Indicator Light (Part-time 4WD) / 4WD System Warning Light (Full-time 4WD)
23.Malfunction Indicator Light (MIL) (If Installed)
24.Trip Odometer
25.Odometer
26.Trip Odometer Reset Knob
27.Tail Gate Open Warning Light
28.Door Ajar Warning Light
29.Seat Belt Warning Light
30.Low Fuel Warning Light
Page 82 of 539
1FEATURES OF YOUR HYUNDAI
68
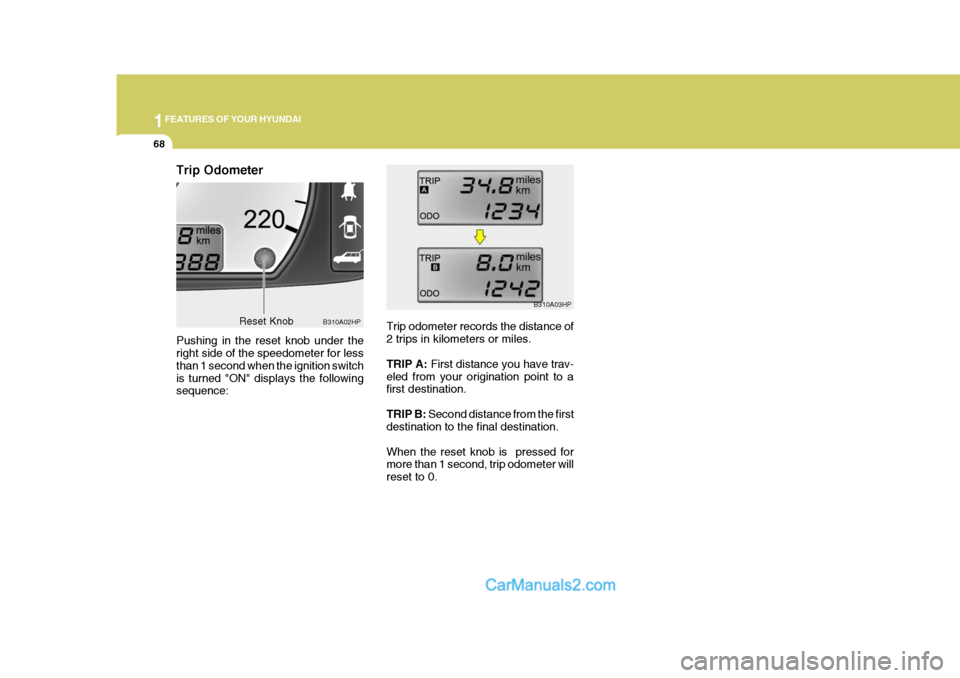
Trip odometer records the distance of 2 trips in kilometers or miles. TRIP A:
First distance you have trav-
eled from your origination point to a first destination. TRIP B: Second distance from the first
destination to the final destination.When the reset knob is pressed for more than 1 second, trip odometer will reset to 0. B310A03HPB310A02HP
Trip Odometer Pushing in the reset knob under the right side of the speedometer for less than 1 second when the ignition switchis turned "ON" displays the following sequence:
Reset Knob
Page 85 of 539
1
FEATURES OF YOUR HYUNDAI
71
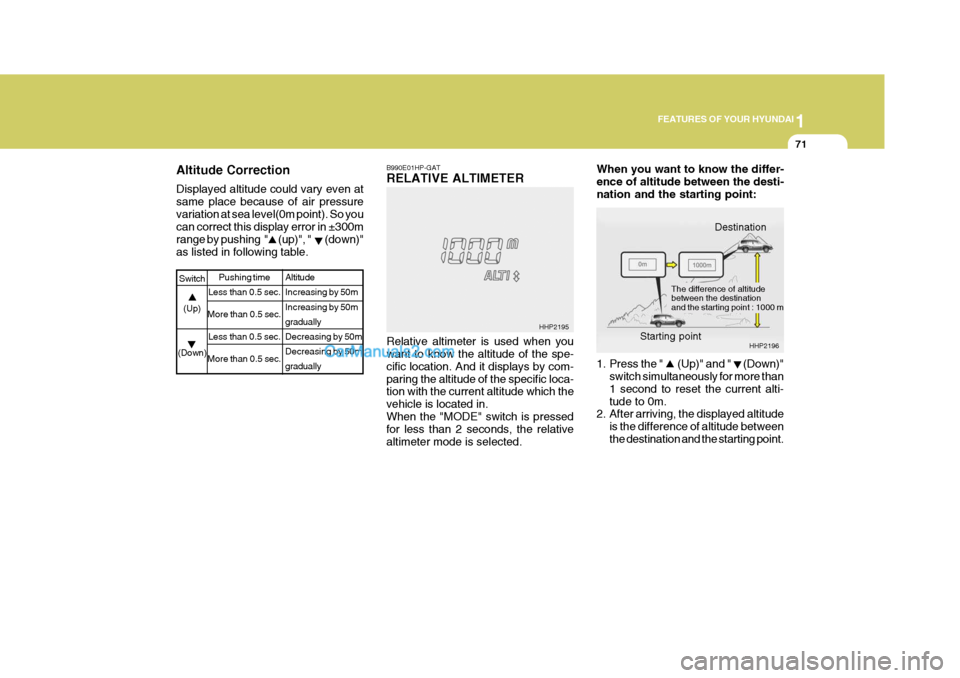
Altitude Correction Displayed altitude could vary even at same place because of air pressurevariation at sea level(0m point). So you can correct this display error in ±300m range by pushing " (up)", " (down)"as listed in following table.
Altitude Increasing by 50m Increasing by 50m graduallyDecreasing by 50mDecreasing by 50m gradually
Switch
(Up)
(Down) Pushing time
Less than 0.5 sec.
More than 0.5 sec.
Less than 0.5 sec.
More than 0.5 sec.B990E01HP-GAT RELATIVE ALTIMETER Relative altimeter is used when you want to know the altitude of the spe- cific location. And it displays by com-paring the altitude of the specific loca- tion with the current altitude which the vehicle is located in.When the "MODE" switch is pressed for less than 2 seconds, the relative altimeter mode is selected. 1. Press the " (Up)" and " (Down)"
switch simultaneously for more than1 second to reset the current alti-tude to 0m.
2. After arriving, the displayed altitude
is the difference of altitude betweenthe destination and the starting point.
HHP2195 When you want to know the differ- ence of altitude between the desti-nation and the starting point:
HHP2196
Destination
Starting point
The difference of altitude between the destinationand the starting point : 1000 m
Page 93 of 539
1
FEATURES OF YOUR HYUNDAI
79INSTRUMENT PANEL LIGHT CONTROL (RHEOSTAT)DIGITAL CLOCK
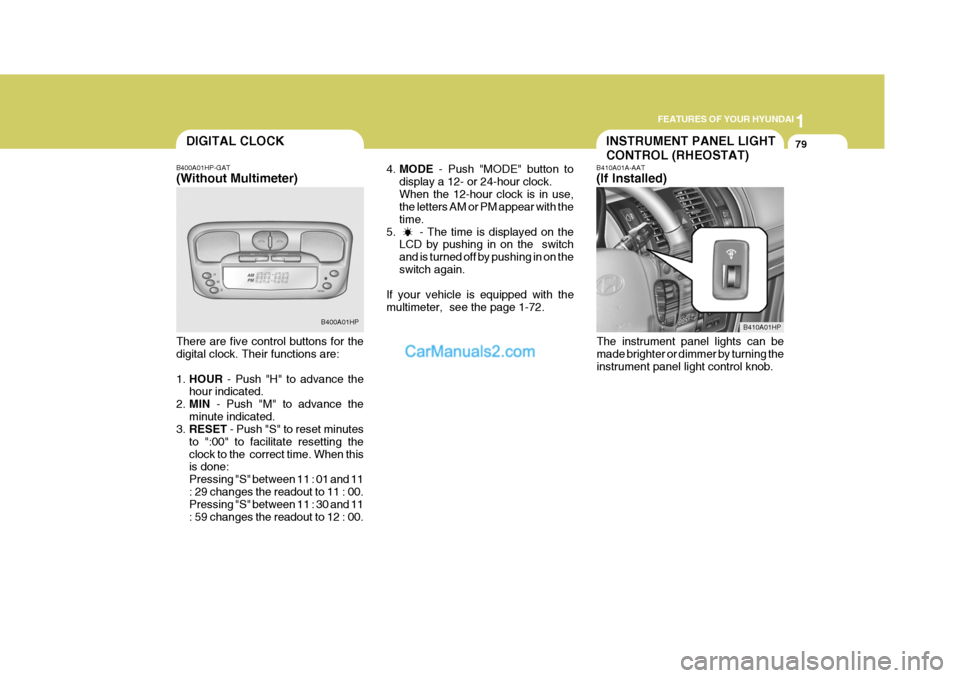
B400A01HP-GAT (Without Multimeter) There are five control buttons for the digital clock. Their functions are: 1. HOUR - Push "H" to advance the
hour indicated.
2. MIN - Push "M" to advance the
minute indicated.
3. RESET - Push "S" to reset minutes
to ":00" to facilitate resetting the clock to the correct time. When this is done: Pressing "S" between 11 : 01 and 11: 29 changes the readout to 11 : 00. Pressing "S" between 11 : 30 and 11 : 59 changes the readout to 12 : 00. B400A01HP
4.
MODE - Push "MODE" button to
display a 12- or 24-hour clock.When the 12-hour clock is in use, the letters AM or PM appear with the time.
5. - The time is displayed on the LCD by pushing in on the switchand is turned off by pushing in on theswitch again.
If your vehicle is equipped with themultimeter, see the page 1-72. B410A01A-AAT (If Installed)
The instrument panel lights can be made brighter or dimmer by turning the instrument panel light control knob.
B410A01HP
Page 115 of 539
1
FEATURES OF YOUR HYUNDAI
101
NOTE: The "CRUISE" indicator light in the instrument cluster will illuminate after you have set the vehicle speedat the desired speed (Gasoline En- gine Only).
4. Remove your foot from the accel-
erator pedal and the desired speed will automatically be maintained.
5. To increase speed, depress the accelerator pedal enough for thevehicle to exceed the preset speed.When you remove your foot from the accelerator pedal, the vehicle will return to the speed you haveset.
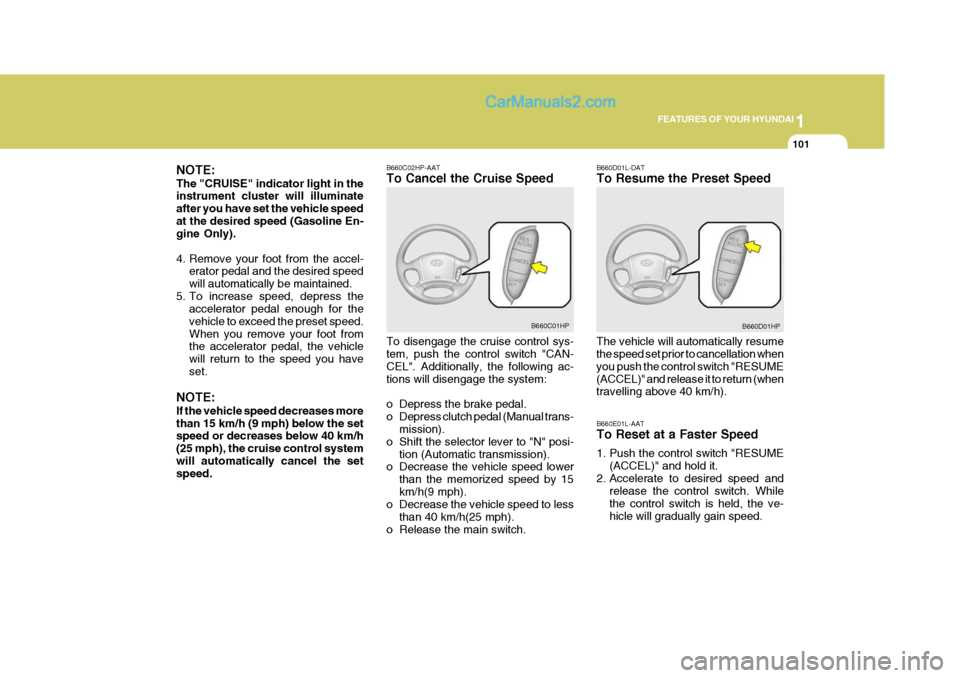
NOTE: If the vehicle speed decreases more than 15 km/h (9 mph) below the set speed or decreases below 40 km/h (25 mph), the cruise control systemwill automatically cancel the set speed. B660C02HP-AAT To Cancel the Cruise Speed To disengage the cruise control sys- tem, push the control switch "CAN- CEL". Additionally, the following ac-tions will disengage the system:
o Depress the brake pedal.
o Depress clutch pedal (Manual trans-
mission).
o Shift the selector lever to "N" posi- tion (Automatic transmission).
o Decrease the vehicle speed lower
than the memorized speed by 15km/h(9 mph).
o Decrease the vehicle speed to less
than 40 km/h(25 mph).
o Release the main switch. B660D01L-DAT To Resume the Preset Speed
The vehicle will automatically resume the speed set prior to cancellation when you push the control switch "RESUME(ACCEL)" and release it to return (when travelling above 40 km/h).
B660C01HP
B660D01HP
B660E01L-AAT To Reset at a Faster Speed
1. Push the control switch "RESUME (ACCEL)" and hold it.
2. Accelerate to desired speed and release the control switch. While the control switch is held, the ve-hicle will gradually gain speed.
Page 116 of 539
1FEATURES OF YOUR HYUNDAI
102
!WARNING:
o Keep the main switch off when not using the cruise control.
o Use the cruise control system
only when traveling on open high- ways in good weather.
o Do not use the cruise control
when it may not be safe to keepthe car at a constant speed, for instance, driving in heavy or vary- ing traffic, or on slippery (rainy,icy or snow-covered) or winding roads or over 6% up-hill or down- hill roads.
o Pay particular attention to the
driving conditions whenever us-ing the cruise control system.
o During cruise-control driving
with a manual transmission ve-hicle, do not shift into neutral without depressing the clutch pedal or the engine will beoverrevved. If this happens, de- press the clutch pedal or release the main switch.
o During normal cruise control
operation, when the "SET" but- ton is activated or reactivated after applying the brakes, the cruise control will energize afterapproximately 3 seconds. This delay is normal.
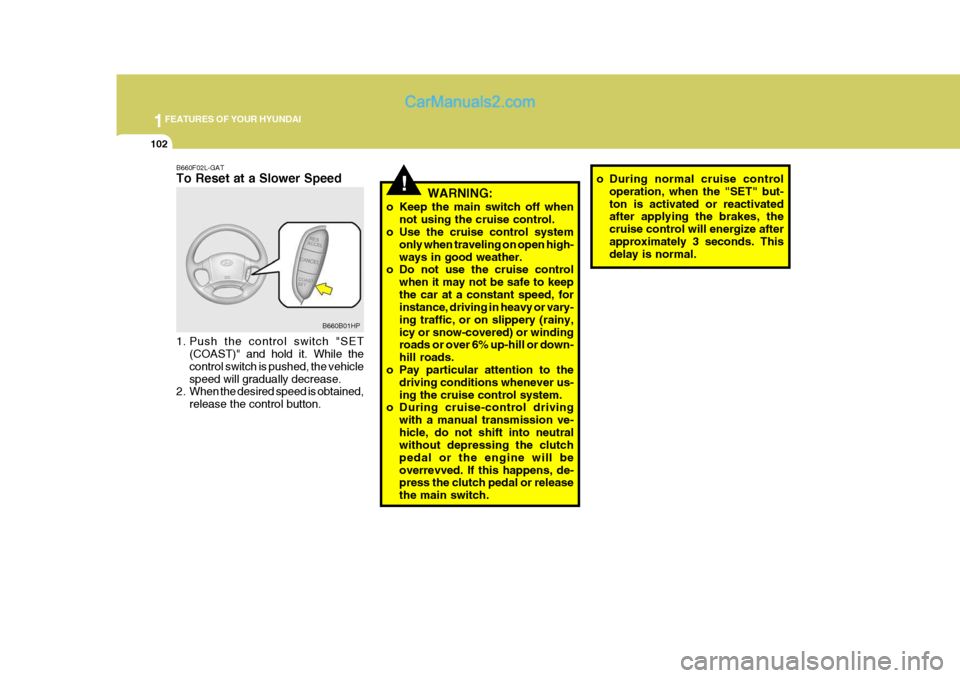
B660F02L-GAT To Reset at a Slower Speed
1. Push the control switch "SET (COAST)" and hold it. While the control switch is pushed, the vehiclespeed will gradually decrease.
2. When the desired speed is obtained,
release the control button. B660B01HP
Page 127 of 539
1
FEATURES OF YOUR HYUNDAI
113
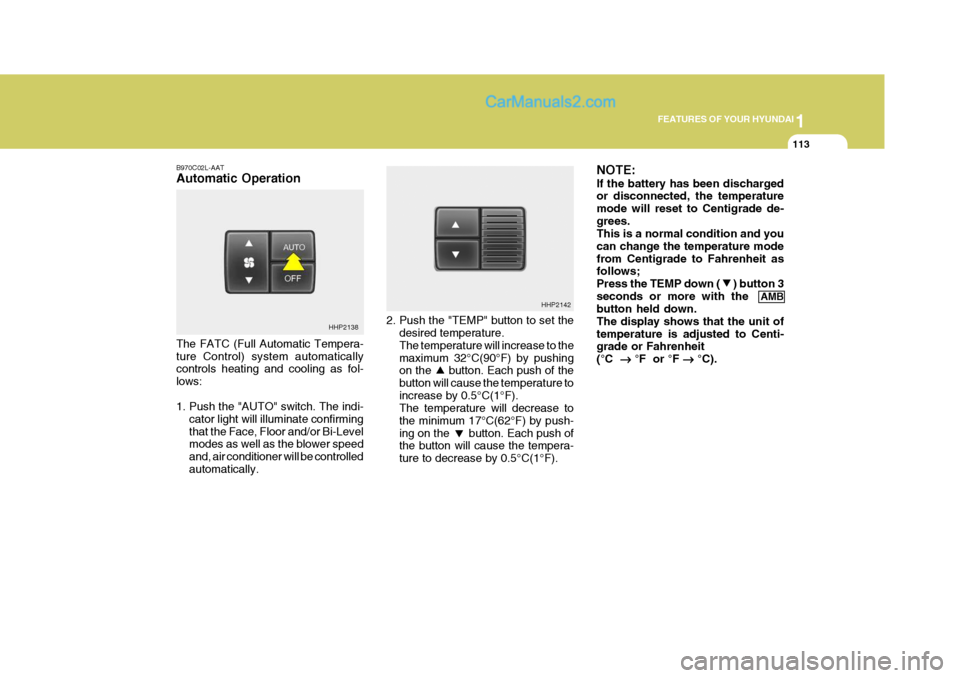
B970C02L-AAT Automatic Operation The FATC (Full Automatic Tempera- ture Control) system automatically controls heating and cooling as fol- lows:
1. Push the "AUTO" switch. The indi-
cator light will illuminate confirming that the Face, Floor and/or Bi-Level modes as well as the blower speed and, air conditioner will be controlledautomatically. 2. Push the "TEMP" button to set the
desired temperature. The temperature will increase to the maximum 32°C(90°F) by pushing on the button. Each push of the button will cause the temperature toincrease by 0.5°C(1°F). The temperature will decrease to the minimum 17°C(62°F) by push-ing on the button. Each push of the button will cause the tempera- ture to decrease by 0.5°C(1°F). NOTE: If the battery has been discharged or disconnected, the temperature mode will reset to Centigrade de-grees. This is a normal condition and you can change the temperature modefrom Centigrade to Fahrenheit as follows; Press the TEMP down ( ) button 3seconds or more with the
AMB
button held down.The display shows that the unit oftemperature is adjusted to Centi- grade or Fahrenheit (°C ��
��
� °F or °F
��
��
� °C).
HHP2138 HHP2142
Page 135 of 539
1
FEATURES OF YOUR HYUNDAI
121AUDIO SYSTEM
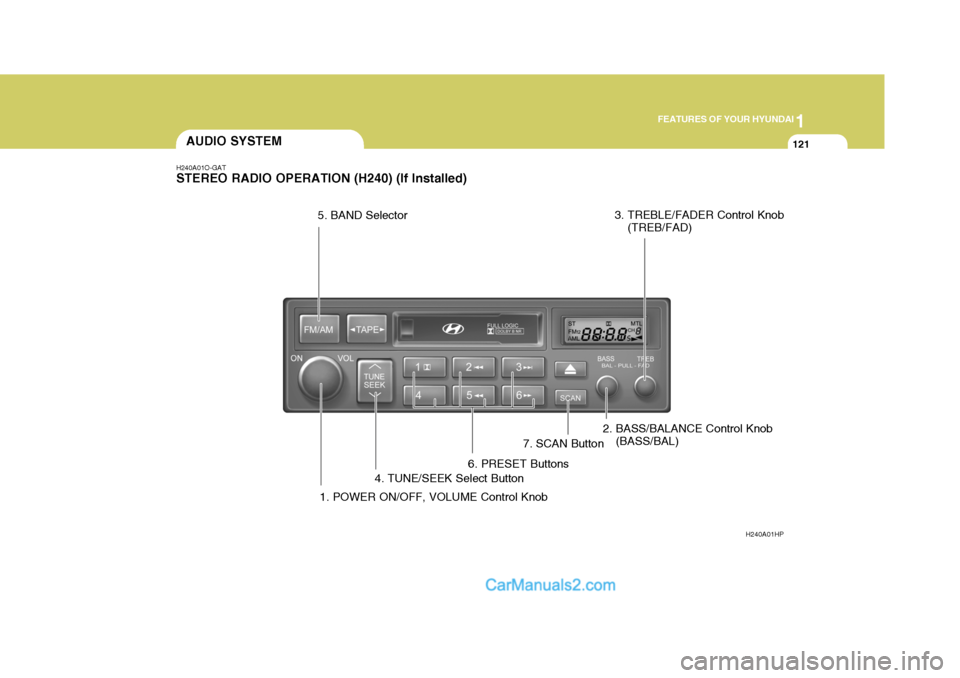
H240A01O-GAT STEREO RADIO OPERATION (H240) (If Installed)
H240A01HP
1. POWER ON/OFF, VOLUME Control Knob
2. BASS/BALANCE Control Knob
(BASS/BAL)
3. TREBLE/FADER Control Knob
(TREB/FAD)
4. TUNE/SEEK Select Button
5. BAND Selector
6. PRESET Buttons7. SCAN Button
Page 136 of 539
1FEATURES OF YOUR HYUNDAI
122
H240B03O-AAT
1. POWER ON-OFF Control Knob The radio unit may be operated when the ignition key is in the "ACC" or "ON"position. Press the knob to switch the power on. The LCD shows the radio frequency in the radio mode or thetape direction indicator in the tape mode. To switch the power off, press the knob again. VOLUME Control Rotate the knob clockwise to increase the volume and turn the knob counter- clockwise to reduce the volume. 2. BASS Control Knob Press to pop the knob out and turn to the left or right for the desired bass tone. BAL (Balance) Control Knob Pull the bass control knob further out. Turn the control knob clockwise to emphasize right speaker sound (left speaker sound will be attenuated). When the control knob is turned coun-terclockwise, left speaker sound willbe emphasized (right speaker sound will be attenuated). 3. TREB (Treble) Control Knob Press to pop the knob out and turn to the left or right for the desired treble tone. FAD (Fader) Control Knob Pull the treble control knob further out. Turn the control knob counterclock- wise to emphasize front speaker sound (rear speaker sound will be attenu-ated). When the control knob is turned clock- wise, rear speaker sound will be em-phasized (front speaker sound will be attenuated). 4. TUNE (Manual) Select Button Press the side or side to increase or to decrease the frequency. Press either button and hold down to continu-ously scroll. Release button once the desired station is reached. SEEK Operation (Automatic Channel Selection) Press the TUNE select button 0.5 sec or more. Releasing it will automaticallytune to the next available station with a beep sound. When the side is pressed longer than0.5 second, releasing it will automati- cally tune to the next higher frequency and when the side is pressed longerthan 0.5 second, releasing it will auto- matically tune to the next lower fre- quency. 5. BAND Selector Pressing the button changes the AM, FM1 and FM2 bands. The modeselected is displayed on LCD.
6. PRESET STATION SELECT
Buttons
Six (6) stations for AM, FM1 and FM2 respectively can be preset in the elec- tronic memory circuit on this unit.
FM/AM