driver seat adjustment HYUNDAI TUCSON 2006 Owners Manual
[x] Cancel search | Manufacturer: HYUNDAI, Model Year: 2006, Model line: TUCSON, Model: HYUNDAI TUCSON 2006Pages: 289, PDF Size: 11.55 MB
Page 26 of 289

1FEATURES OF YOUR HYUNDAI14
HJM2041 B080H02JM-GAT
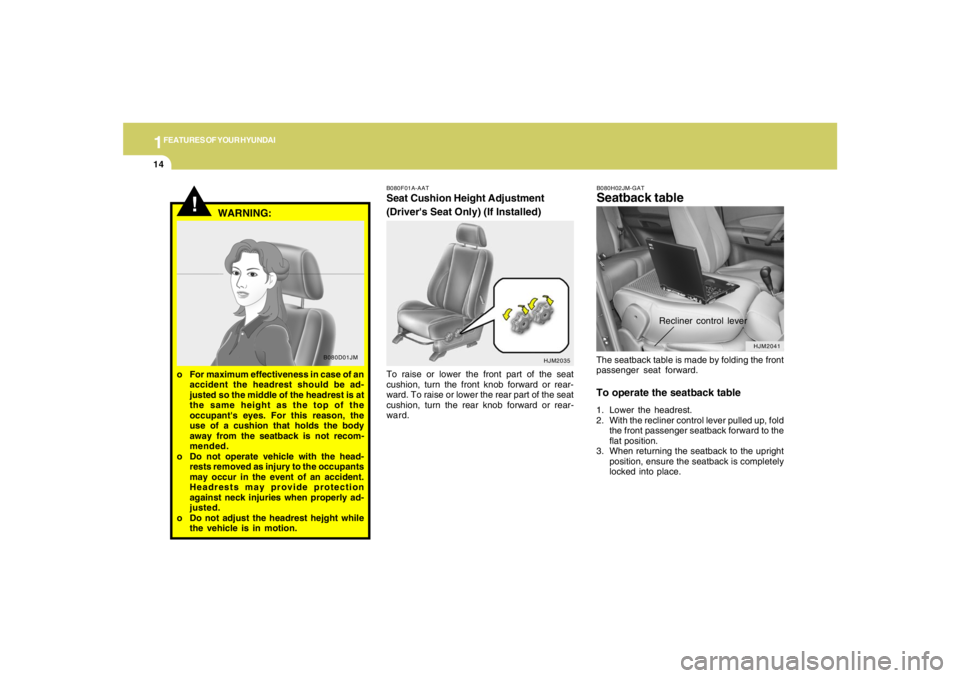
Seatback tableThe seatback table is made by folding the front
passenger seat forward.To operate the seatback table1. Lower the headrest.
2. With the recliner control lever pulled up, fold
the front passenger seatback forward to the
flat position.
3. When returning the seatback to the upright
position, ensure the seatback is completely
locked into place.
Recliner control lever
B080F01A-AATSeat Cushion Height Adjustment
(Driver's Seat Only) (If Installed)To raise or lower the front part of the seat
cushion, turn the front knob forward or rear-
ward. To raise or lower the rear part of the seat
cushion, turn the rear knob forward or rear-
ward.
HJM2035
!
B080D01JM
WARNING:
o For maximum effectiveness in case of an
accident the headrest should be ad-
justed so the middle of the headrest is at
the same height as the top of the
occupant's eyes. For this reason, the
use of a cushion that holds the body
away from the seatback is not recom-
mended.
o Do not operate vehicle with the head-
rests removed as injury to the occupants
may occur in the event of an accident.
Headrests may provide protection
against neck injuries when properly ad-
justed.
o Do not adjust the headrest hejght while
the vehicle is in motion.
Page 244 of 289

6
DO-IT-YOURSELF MAINTENANCE
25
HEADLIGHT AIMING ADJUSTMENT
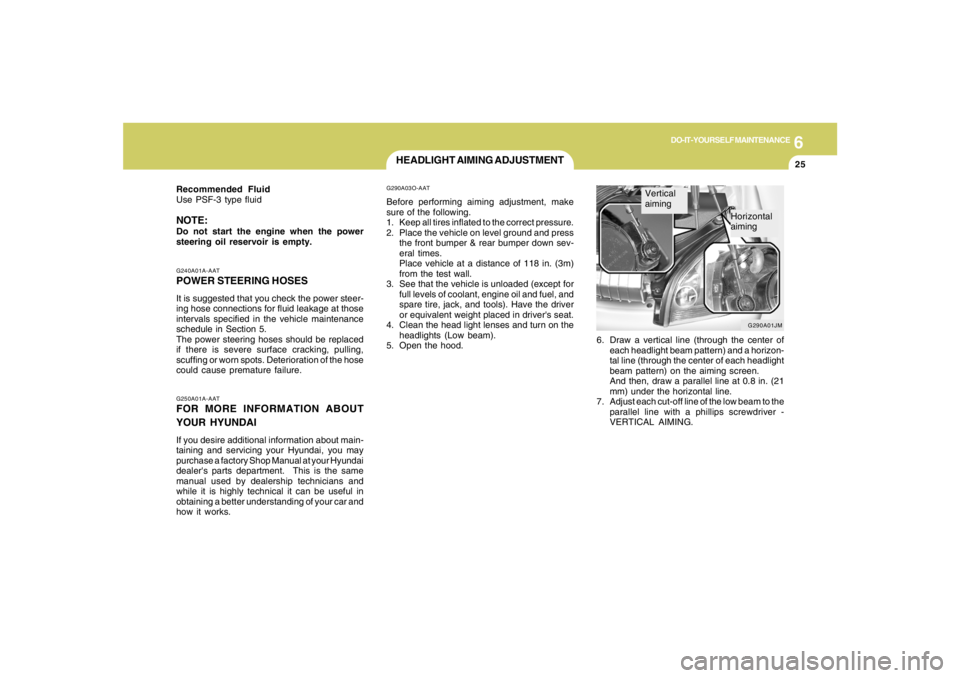
6. Draw a vertical line (through the center of
each headlight beam pattern) and a horizon-
tal line (through the center of each headlight
beam pattern) on the aiming screen.
And then, draw a parallel line at 0.8 in. (21
mm) under the horizontal line.
7. Adjust each cut-off line of the low beam to the
parallel line with a phillips screwdriver -
VERTICAL AIMING.
G290A03O-AATBefore performing aiming adjustment, make
sure of the following.
1. Keep all tires inflated to the correct pressure.
2. Place the vehicle on level ground and press
the front bumper & rear bumper down sev-
eral times.
Place vehicle at a distance of 118 in. (3m)
from the test wall.
3. See that the vehicle is unloaded (except for
full levels of coolant, engine oil and fuel, and
spare tire, jack, and tools). Have the driver
or equivalent weight placed in driver's seat.
4. Clean the head light lenses and turn on the
headlights (Low beam).
5. Open the hood.
G250A01A-AATFOR MORE INFORMATION ABOUT
YOUR HYUNDAIIf you desire additional information about main-
taining and servicing your Hyundai, you may
purchase a factory Shop Manual at your Hyundai
dealer's parts department. This is the same
manual used by dealership technicians and
while it is highly technical it can be useful in
obtaining a better understanding of your car and
how it works.G240A01A-AATPOWER STEERING HOSESIt is suggested that you check the power steer-
ing hose connections for fluid leakage at those
intervals specified in the vehicle maintenance
schedule in Section 5.
The power steering hoses should be replaced
if there is severe surface cracking, pulling,
scuffing or worn spots. Deterioration of the hose
could cause premature failure. Recommended Fluid
Use PSF-3 type fluidNOTE:Do not start the engine when the power
steering oil reservoir is empty.
G290A01JM
Vertical
aiming
Horizontal
aiming