INFINITI FX 2013 Owner's Manual
Manufacturer: INFINITI, Model Year: 2013, Model line: FX, Model: INFINITI FX 2013Pages: 522, PDF Size: 7.53 MB
Page 111 of 522

2-40Instruments and controls
SIC2275
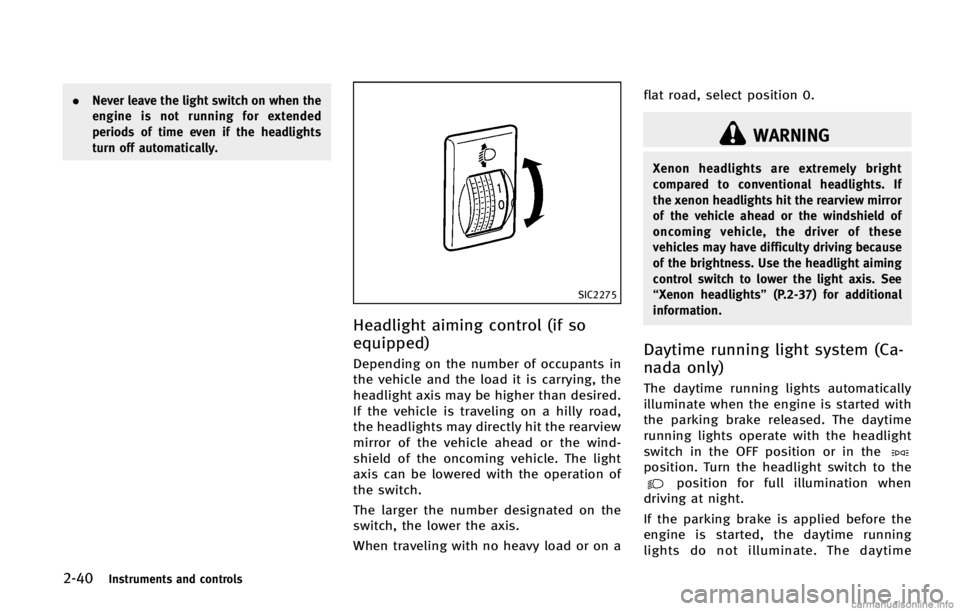
Headlight aiming control (if so
equipped)
GUID-980E128C-206E-49A3-8E40-A7785E7ED87C
WARNING
Xenon headlights are extremely bright
compared to conventional headlights. If
the xenon headlights hit the rearview mirror
of the vehicle ahead or the windshield of
oncoming vehicle, the driver of these
vehicles may have difficulty driving because
of the brightness. Use the headlight aiming
control switch to lower the light axis. See
“Xenon headlights”(P.2-37) for additional
information.
Daytime running light system (Ca-
nada only)
GUID-6BE117E5-533D-42FF-9E30-D7292D09AE24
position. Turn the headlight switch to theposition for full illumination when
driving at night.
If the parking brake is applied before the
engine is started, the daytime running
lights do not illuminate. The daytime
Page 112 of 522

WARNING
When the daytime running light system is
active, tail lights on your vehicle are not on.
It is necessary at dusk to turn on your
headlights. Failure to do so could cause an
accident injuring yourself and others.
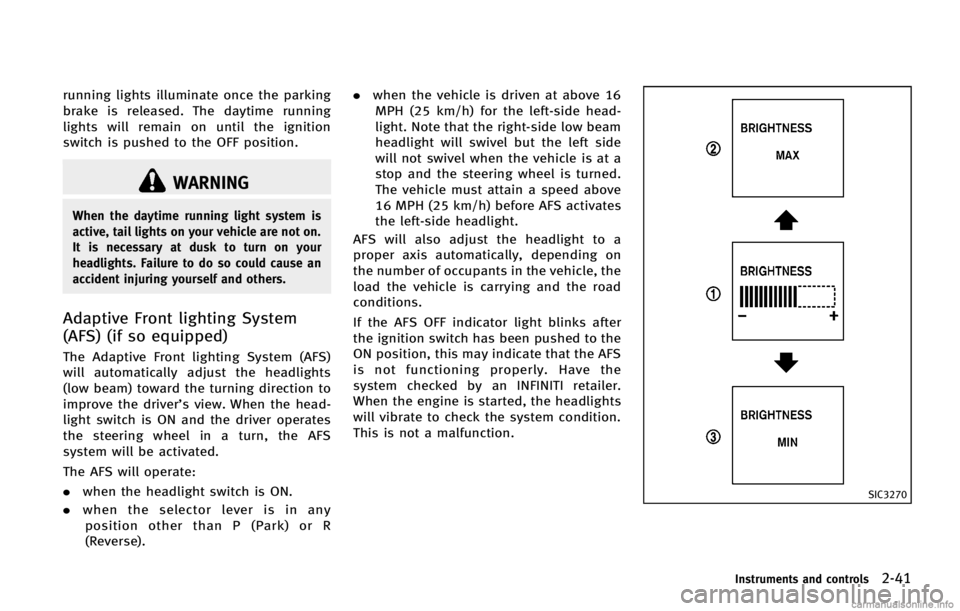
Adaptive Front lighting System
(AFS) (if so equipped)
GUID-CC9669F2-A06F-4A8C-8372-7623264E84F3
SIC3270
Instruments and controls2-41
Page 113 of 522

2-42Instruments and controls
SIC3830
Instrument brightness controlGUID-DA7D700A-637F-42B7-B029-11B5F4818252
orswitch on the right
side of the combination meter panel is
pushed.
SIC3271
TURN SIGNAL SWITCHGUID-5CD678F5-CEC4-4661-8AD6-6562E7CCDAD1
Page 114 of 522

SIC3272
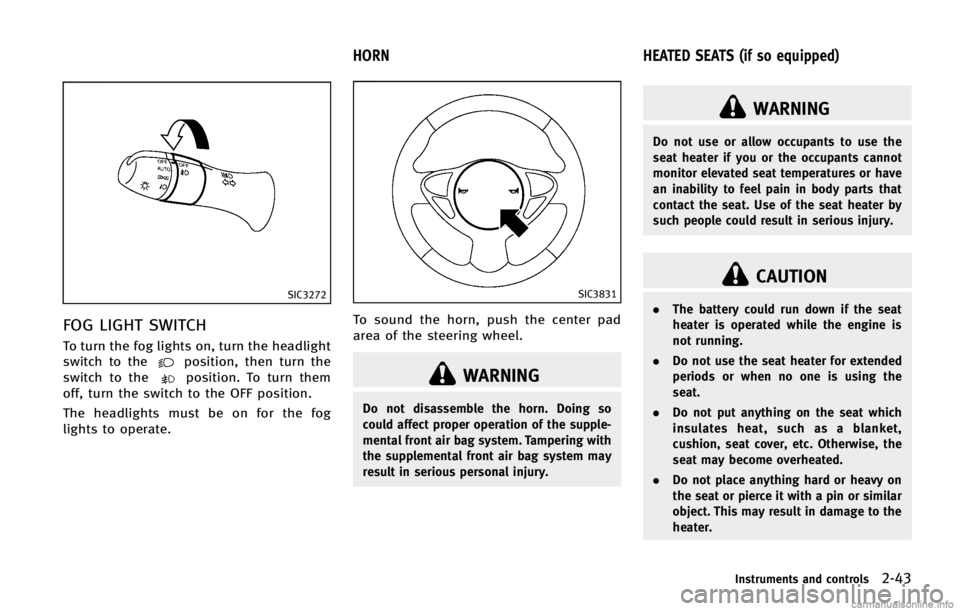
FOG LIGHT SWITCHGUID-7C40B8ED-E7B4-4FFF-853D-2184E65B51DC
position, then turn the
switch to theposition. To turn them
off, turn the switch to the OFF position.
The headlights must be on for the fog
lights to operate.
GUID-968A83E9-A8C5-453D-88B2-4441E889A01A
SIC3831
To sound the horn, push the center pad
area of the steering wheel.
WARNING
Do not disassemble the horn. Doing so
could affect proper operation of the supple-
mental front air bag system. Tampering with
the supplemental front air bag system may
result in serious personal injury.
GUID-00DFCACE-2206-4FDD-877E-00B1DA043944
WARNING
Do not use or allow occupants to use the
seat heater if you or the occupants cannot
monitor elevated seat temperatures or have
an inability to feel pain in body parts that
contact the seat. Use of the seat heater by
such people could result in serious injury.
CAUTION
. The battery could run down if the seat
heater is operated while the engine is
not running.
. Do not use the seat heater for extended
periods or when no one is using the
seat.
. Do not put anything on the seat which
insulates heat, such as a blanket,
cushion, seat cover, etc. Otherwise, the
seat may become overheated.
. Do not place anything hard or heavy on
the seat or pierce it with a pin or similar
object. This may result in damage to the
heater.
Instruments and controls2-43
HORN HEATED SEATS (if so equipped)
Page 115 of 522

2-44Instruments and controls
SSS0911
The front seats are warmed by built-in
heaters. The switches located on the center
console can be operated independently of
each other.
1. Start the engine.
2. Turn the control knob
*Ato the right*1
and select the desired heat range..For high heat, turn the knob to theright
*1..For low heat, turn the knob to the left
*2..The indicator light*Bwill illuminate
when the heater is on.
3. To turn off the heater, return the knob to the OFF position
*3. Make sure that
the indicator light turns off.
The heater is controlled by a thermis-
tor, automatically turning the heater on
and off. The indicator light will remain
on as long as the switch is on.
When the vehicle’s interior is warmed,
or before you leave the vehicle, be sure
to turn off the switch.
Page 116 of 522

GUID-BD684AC9-DBD2-48B2-9F6C-A381DF2E81D5
SSS0905
The climate controlled seat warms up or
cools down the front seats by blowing
warm or cool air from the surface of the
seat. The switches located on the center
console can be operated independently of
each other.
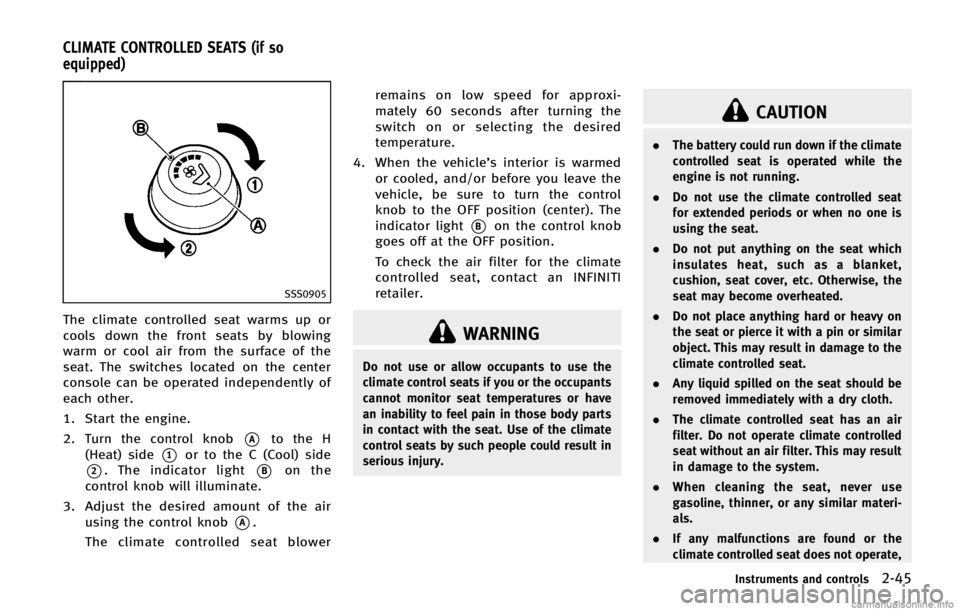
1. Start the engine.
2. Turn the control knob
*Ato the H
(Heat) side
*1or to the C (Cool) side
*2. The indicator light*Bon the
control knob will illuminate.
3. Adjust the desired amount of the air using the control knob
*A.
The climate controlled seat blower remains on low speed for approxi-
mately 60 seconds after turning the
switch on or selecting the desired
temperature.
4. When the vehicle’s interior is warmed or cooled, and/or before you leave the
vehicle, be sure to turn the control
knob to the OFF position (center). The
indicator light
*Bon the control knob
goes off at the OFF position.
To check the air filter for the climate
controlled seat, contact an INFINITI
retailer.
WARNING
Do not use or allow occupants to use the
climate control seats if you or the occupants
cannot monitor seat temperatures or have
an inability to feel pain in those body parts
in contact with the seat. Use of the climate
control seats by such people could result in
serious injury.
CAUTION
. The battery could run down if the climate
controlled seat is operated while the
engine is not running.
. Do not use the climate controlled seat
for extended periods or when no one is
using the seat.
. Do not put anything on the seat which
insulates heat, such as a blanket,
cushion, seat cover, etc. Otherwise, the
seat may become overheated.
. Do not place anything hard or heavy on
the seat or pierce it with a pin or similar
object. This may result in damage to the
climate controlled seat.
. Any liquid spilled on the seat should be
removed immediately with a dry cloth.
. The climate controlled seat has an air
filter. Do not operate climate controlled
seat without an air filter. This may result
in damage to the system.
. When cleaning the seat, never use
gasoline, thinner, or any similar materi-
als.
. If any malfunctions are found or the
climate controlled seat does not operate,
Instruments and controls2-45
CLIMATE CONTROLLED SEATS (if so
equipped)
Page 117 of 522

2-46Instruments and controls
SSD1156
The warning systems switch will turn on
and off the Lane Departure Warning (LDW)
system and the Forward Collision Warning
(FCW) system at the same time.
The LDW system will sound a warning
chime and blink the lane departure warn-
ing light (orange) to alert the driver if the
vehicle is traveling close to either the left
or the right of a traveling lane with
detectable lane markers. (See“Lane De-
parture Warning (LDW) system/Lane De-
parture Prevention (LDP) system” (P.5-21).)
The FCW system will sound a warning
chime and the vehicle ahead detection
indicator light blinks to alert the driver if the vehicle is traveling close to the vehicle
ahead. (See
“Forward Collision Warning
(FCW) system” (P.5-67).)
The warning systems switch is automati-
cally turned on when the engine is started,
and the warning systems ON indicator
*1
on the switch illuminates.
To cancel the warning systems, push the
warning systems switch to turn off the
system. The warning systems ON indicator
will turn off.
NOTE:
If you continue to push the warning
systems switch from off to on for over 4
seconds, a chime will sound. This will
change the default status of the LDW and
FCW systems to OFF so that these systems
will not automatically turn on when the
engine is started. If this procedure is
repeated, the default status will return to
ON.
WARNING SYSTEMS SWITCH (if so
equipped)
Page 118 of 522

GUID-B4FC340E-572F-4017-AB0F-18864F086100
SIC3602
For driving or starting the vehicle on snowy
roads or slippery areas, turn on the SNOW
mode switch. The indicator light
*1on the
switch will illuminate. When the SNOW
mode is activated, engine output is con-
trolled to avoid wheel spin.
Turn off the SNOW mode for normal
driving.
GUID-3A70661A-85E6-42C5-972D-9CBD43DA4B06
SIC3848
The Continuous Damping Control optimizes
the damping force and helps minimize the
movement of the vehicle body. It helps
stable driving when the vehicle moves up
and down on large rolling roads or when
the vehicle body leans during cornering
with a high centrifugal force.
The damping force will automatically ad-
just according to the road surface and
driving conditions.
The damping force of the shock absorbers
can be adjusted to the level you desire. Set
the switch to the position you desire while
the ignition switch is ON.
AUTO MODEGUID-706CBD66-BBA8-4870-AE78-7DC376B28461
Page 119 of 522

2-48Instruments and controls
GUID-737068A6-79F1-4242-A5D8-DD8B33CBC7DE
SIC3844
The vehicle should be driven with the
Intelligent Brake Assist (IBA) system on
for most driving conditions.
The Intelligent Brake Assist (IBA) system
will sound a warning chime to alert the
driver when the vehicle is traveling too
close to the vehicle ahead and will apply
the brake control if necessary.
To turn off the system, push the IBA OFF
switch. The
indicator will illuminate.
The IBA system will remain in the last ON
or OFF state it was left in until it is
manually changed by pushing the IBA OFF
switch.
GUID-0E75EF3A-E6E0-4B47-9774-CB5CF10EBEA4
JVS0033X
The vehicle should be driven with the
Vehicle Dynamic Control (VDC) system on
for most driving conditions.
If the vehicle is stuck in mud or snow, the
VDC system reduces the engine output to
reduce wheel spin. The engine speed will
be reduced even if the accelerator is
depressed to the floor. If maximum engine
power is needed to free a stuck vehicle,
turn the VDC system off.
To turn off the VDC system, push the VDC
OFF switch. The
indicator will illumi-
nate.
Push the VDC OFF switch again or restart the engine to turn on the system. (See
“Vehicle Dynamic Control (VDC) system”
(P.5-83).)
INTELLIGENT BRAKE ASSIST (IBA) OFF
SWITCH (if so equipped)
VEHICLE DYNAMIC CONTROL (VDC) OFF
SWITCH
Page 120 of 522

GUID-BB3EAA65-63CC-4F32-9A1D-5C8D3DCEDC45
SIC3325
If the power supply is disconnected, the
clock will not indicate the correct time.
Readjust the time.
ADJUSTING THE TIMEGUID-74DEF1C7-F832-4803-9312-6291A6683AFA
SIC3631
Front
SIC4274
Center console
SIC3835
Rear console
SIC3836
Cargo area
Instruments and controls2-49
CLOCKPOWER OUTLET