lights INFINITI M-HEV 2013 Owner's Manual
[x] Cancel search | Manufacturer: INFINITI, Model Year: 2013, Model line: M-HEV, Model: INFINITI M-HEV 2013Pages: 530, PDF Size: 3.71 MB
Page 130 of 530

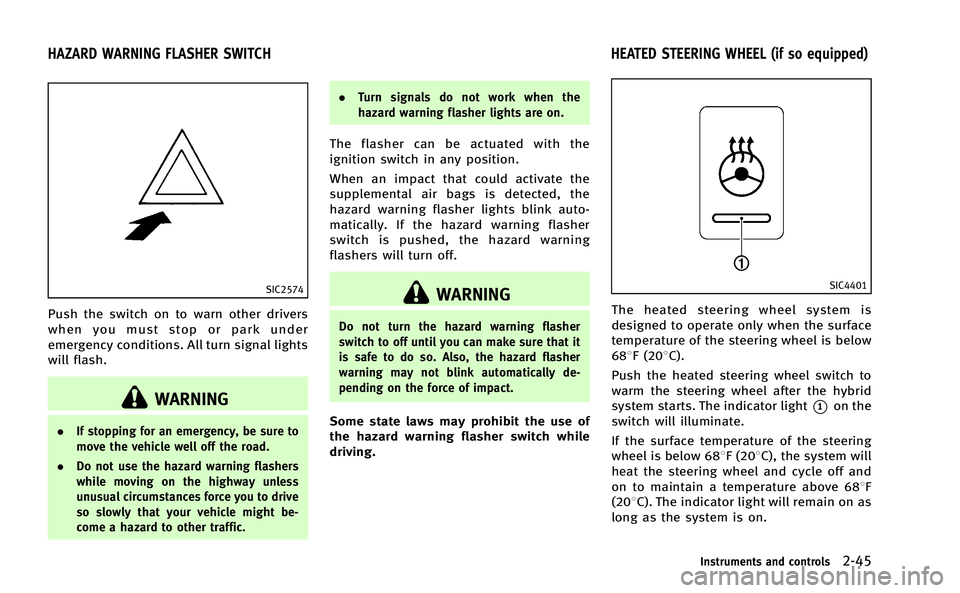
SIC2574
Push the switch on to warn other drivers
when you must stop or park under
emergency conditions. All turn signal lights
will flash.
WARNING
.If stopping for an emergency, be sure to
move the vehicle well off the road.
. Do not use the hazard warning flashers
while moving on the highway unless
unusual circumstances force you to drive
so slowly that your vehicle might be-
come a hazard to other traffic. .
Turn signals do not work when the
hazard warning flasher lights are on.
The flasher can be actuated with the
ignition switch in any position.
When an impact that could activate the
supplemental air bags is detected, the
hazard warning flasher lights blink auto-
matically. If the hazard warning flasher
switch is pushed, the hazard warning
flashers will turn off.
WARNING
Do not turn the hazard warning flasher
switch to off until you can make sure that it
is safe to do so. Also, the hazard flasher
warning may not blink automatically de-
pending on the force of impact.
Some state laws may prohibit the use of
the hazard warning flasher switch while
driving.
SIC4401
The heated steering wheel system is
designed to operate only when the surface
temperature of the steering wheel is below
688F (208C).
Push the heated steering wheel switch to
warm the steering wheel after the hybrid
system starts. The indicator light
*1on the
switch will illuminate.
If the surface temperature of the steering
wheel is below 688F (208C), the system will
heat the steering wheel and cycle off and
on to maintain a temperature above 688F
(208C). The indicator light will remain on as
long as the system is on.
Instruments and controls2-45
HAZARD WARNING FLASHER SWITCH HEATED STEERING WHEEL (if so equipped)
Page 134 of 530

SIC4335
The warning systems switch is used to turn
on and off the warning systems (Forward
Collision Warning (FCW), Lane Departure
Warning (LDW) and Blind Spot Warning
(BSW) systems) that are activated using
the settings menu on the center display.
When the warning systems switch is turned
off, the indicator
*1on the switch is off.
The indicator will also be off if all of the
warning systems are deactivated using the
settings menu.
The FCW system will sound a warning
chime and the vehicle ahead detection
indicator light blinks to alert the driver if
the vehicle is traveling close to the vehicle ahead. (See
“Forward Collision Warning
(FCW) system” in the“5. Starting and
driving” section.)
The LDW system will sound a warning
chime and blink the lane departure warn-
ing light (orange) to alert the driver if the
vehicle is traveling close to either the left
or the right of a traveling lane with
detectable lane markers. (See “Lane De-
parture Warning (LDW) system/Lane De-
parture Prevention (LDP) system” in the“5.
Starting and driving” section.)
The BSW system will turn on the BSW/
Blind Spot Intervention (BSI) indicator
lights, located next to the outside mirrors,
if the radar sensors detect a vehicle in the
detection zone. If the turn signal is
activated in the direction of the detected
vehicle, a chime sounds twice and the
BSW/BSI indicator light will flash. (See
“Blind Spot Warning (BSW) system/Blind
Spot InterventionTM(BSI) system” in the
“5. Starting and driving” section.)
SIC4337
The vehicle should be driven with the
Intelligent Brake Assist (IBA) system on
for most driving conditions.
The Intelligent Brake Assist (IBA) system
will sound a warning chime and the vehicle
ahead detection indicator light blinks to
alert the driver when the vehicle is travel-
ing too close to the vehicle ahead. The
system will also apply the brake control if
necessary.
To turn off the system, push the IBA OFF
switch. The
indicator will illuminate.
The IBA system will remain in the last ON
or OFF state it was left in until it is
manually changed by pushing the IBA OFF
Instruments and controls2-49
WARNING SYSTEMS SWITCH (if so
equipped) INTELLIGENT BRAKE ASSIST (IBA) OFF
SWITCH (if so equipped)
Page 137 of 530

2-52Instruments and controls
battery.
. Avoid using power outlet when the air
conditioner, headlights or rear window
defroster is on.
. This power outlet is not designed for use
with a cigarette lighter unit.
. Push the plug in as far as it will go. If
good contact is not made, the plug may
overheat or the internal temperature
fuse may blow.
. Before inserting or disconnecting a plug,
be sure the electrical accessory being
used is turned OFF.
. When not in use, be sure to close the
cap. Do not allow water or any liquid to
contact the outlet.
. Do not leave the console box open. The
open lid may suddenly close when the
vehicle stops.
SIC4340
FRONT
To open the ashtray lid, push the lid down
and release it
*1.
To empty the ashtray, pull out
*2.
The cigarette lighter operates when the
ignition switch is in the ON position.
Push the lighter in all the way
*3, then
release it. When the lighter is heated, it will
spring out. Return the lighter to its original
position after use.
CAUTION
. The cigarette lighter socket is a power
source for the cigarette lighter element
only. The use of the cigarette lighter
socket as a power source for any other
accessory is not recommended.
. Do not use any other power outlet for an
accessory lighter.
CIGARETTE LIGHTER AND ASHTRAYS
Page 142 of 530

SIC3248
COAT HOOKS
The coat hooks are equipped beside the
rear personal lights.
CAUTION
Do not place items which are more than 2 lb
(1 kg) on the hook.
SIC4350
TRUNK HOOKS
WARNING
.Always make sure that the cargo is
properly secured. Use the suitable ropes
and hooks.
. Unsecured cargo can become dangerous
in an accident or sudden stop.
CAUTION
Do not apply a total load of more than 22 lb
(10 kg) to a single hook.
Instruments and controls2-57
Page 149 of 530

2-64Instruments and controls
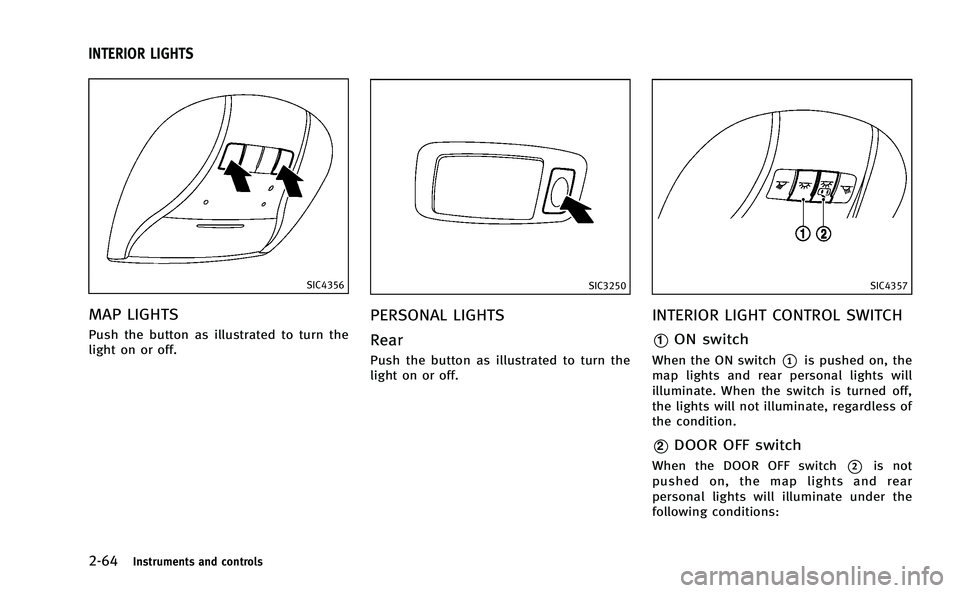
SIC4356
MAP LIGHTS
Push the button as illustrated to turn the
light on or off.
SIC3250
PERSONAL LIGHTS
Rear
Push the button as illustrated to turn the
light on or off.
SIC4357
INTERIOR LIGHT CONTROL SWITCH
*1ON switch
When the ON switch*1is pushed on, the
map lights and rear personal lights will
illuminate. When the switch is turned off,
the lights will not illuminate, regardless of
the condition.
*2DOOR OFF switch
When the DOOR OFF switch*2is not
pushed on, the map lights and rear
personal lights will illuminate under the
following conditions:
INTERIOR LIGHTS
Page 150 of 530

.ignition switch is switched to the OFF
position
— remain on for about 15 seconds.
. doors are unlocked by pushing the
UNLOCK button on the Intelligent Key
or door handle request switch with the
ignition switch in the LOCK position
— remain on for about 15 seconds.
. any door is opened and then closed
with the ignition switch in the LOCK
position
— remain on for about 15 seconds.
. any door is opened
— remain on while the door is opened.
When the door is closed, the lights
go off.
When the DOOR OFF switch
*2is pushed
on, the map and rear personal lights will
not illuminate under the above condition.
The map and rear personal lights can be
turned on only with the ON switch
*1.
The lights will also turn off after a period
of time when the lights remain illuminated
after the ignition switch has been pushed
to the OFF or LOCK position to prevent the
12-volt battery from becoming discharged.
When the auto interior illumination is set
to the OFF position (see “Vehicle informa-tion and settings”
in the“4. Monitor,
climate, audio, phone and voice recogni-
tion systems” section), the lights will
illuminate under the following condition:
. any door is opened with the ignition
switch in any position
— remain on while the door is opened.
When the door is closed, the lights
go off.
CAUTION
Do not use for extended periods of time with
the INFINITI Direct Response HybridTMSys-
tem stopped. This could result in a dis-
charged 12-volt battery.
SIC3869
The light on the vanity mirror will turn on
when the cover on the vanity mirror is
opened.
When the cover is closed, the light will turn
off.
The lights will also turn off after a period
of time when the lights remain illuminated
to prevent the 12-volt battery from becom-
ing discharged.
Instruments and controls2-65
VANITY MIRROR LIGHTS
Page 171 of 530

3-16Pre-driving checks and adjustments
Using panic alarm
If you are near your vehicle and feel
threatened, you may activate the alarm to
call attention as follows:
1. Push the PANIC
button*4on the
key for more than 1 second.
2. The theft warning alarm and headlights will stay on for 25 seconds.
3. The panic alarm stops when:
.It has run for 25 seconds, or.Any of the buttons on the Intelligent Key are pushed. (Note: Panic button
should be pushed for more than 1
second.)
Setting hazard indicator and horn
mode
This vehicle is set in hazard indicator and
horn mode when you first receive the
vehicle.
In hazard indicator and horn mode, when
the LOCK
button*1is pushed, the
hazard indicator flashes twice and the horn
chirps once. When the UNLOCK
button
*2is pushed, the hazard indicator flashes
once.
If horns are not necessary, the system can
be switched to the hazard indicator mode. In hazard indicator mode, when the LOCK
button is pushed, the hazard indicator
flashes twice. When the UNLOCK
button is pushed, neither the hazard
indicator nor the horn operates.
Page 181 of 530

3-26Pre-driving checks and adjustments
SPA2447
INSIDE MIRROR
Adjust the height and the angle of the
inside mirror to the desired position.
SPA2450
Automatic anti-glare type
The inside mirror is designed so that it
automatically changes reflection according
to the intensity of the headlights of the
following vehicle.
The anti-glare system will be automatically
turned on when the ignition switch is
pushed to the ON position.
The anti-glare system also operates for the
outside rearview mirror.
When the anti-glare system is turned on,
the indicator light
*Awill illuminate and
excessive glare from the headlights of the
vehicle behind you will be reduced. Push the
“*”switch
*Cto make the
inside rearview mirror operate normally.
The indicator light will turn off. Push the “I”
switch
*Dto turn the system on.
Do not allow any object to cover the
sensors
*Eor apply glass cleaner on
them. Doing so will reduce the sensitivity
of the sensor, resulting in improper
operation.
For the HomeLink
®Universal Transceiver
operation, see “HomeLink®Universal
Transceiver” in the“2. Instruments and
controls” section.
OUTSIDE MIRRORS
WARNING
Objects viewed in the outside mirror on the
passenger side are closer than they appear.
Be careful when moving to the right. Using
only this mirror could cause an accident.
Use the inside mirror or glance over your
shoulder to properly judge distances to
other objects.
MIRRORS
Page 183 of 530

3-28Pre-driving checks and adjustments
switch.
4. The outside mirror surface moves downward.
When one of the following conditions has
occurred, the outside mirror surface will
return to its original position.
. The selector lever is moved to any
position other than R (Reverse).
. The outside mirror control switch is set
to the center position.
. The ignition switch is pushed to the OFF
position.
Automatic anti-glare
The outside rearview mirror is designed so
that it automatically changes reflection
according to the intensity of the headlights
of the vehicle following you.
The anti-glare system will be automatically
turned on when you push the ignition
switch to the “ON”position.
SIC3869
VANITY MIRROR
To use the front vanity mirror, pull down
the sun visor and pull up the cover. The automatic drive positioner system has
four features:
.
Entry/exit function
. Seat synchronization function
. Memory storage
. Setting memory function
ENTRY/EXIT FUNCTION
This system is designed so that the driver’s
seat and steering column will automati-
cally move when the selector lever is in the
P (Park) position. This allows the driver to
get into and out of the driver’s seat more
easily.
The driver’s seat will slide backward and
the steering wheel will move up when the
driver’s door is opened with the ignition
switch in the LOCK position.
The driver’s seat and steering wheel will
return to the previous positions when the
ignition switch is pushed to the ACC
position.
The driver’s seat will not return to the
previous positions if the seat or steering
adjusting switch is operated when the seat
is at the exit position.
AUTOMATIC DRIVE POSITIONER
Page 184 of 530

Cancel or activate entry/exit func-
tion
The selector lever must be in the P (Park)
position with the ignition switch in the OFF
position.
The entry/exit function can be activated or
canceled by pressing and holding the SET
switch for more than 10 seconds.
The indicator lights on the memory
switches (1 and 2) will blink once when
the function is canceled, and the indicator
lights will blink twice when the function is
activated. Note that the indicator lights
may illuminate after 5 seconds while
holding the SET switch. This indicates
readiness for linking the Intelligent Key to
a stored memory position. Keep the SET
switch pressed for more than 10 seconds
to turn on or off the entry/exit function.
The entry/exit function can also be acti-
vated or canceled if the“Lift Steering
Wheel on Exit” key or“Slide Driver Seat
Back on Exit” key is turned to ON or OFF in
the “Comfort” settings. (See “Vehicle
information and settings” in the“4.
Monitor, climate, audio, phone and voice
recognition systems” section.)
Initialize entry/exit function
If the 12-volt battery cable is disconnected,
or if the fuse opens, the entry/exit function
will not work though this function was set
on before. In such a case, after connecting
the 12-volt battery or replacing with a new
fuse, open and close the driver’s door more
than two times after the ignition switch is
turned from the ON position to the LOCK
position. The entry/exit function will be
activated.
SPA2792
SEAT SYNCHRONIZATION FUNCTION
The seat synchronization function automa-
tically adjusts the positions of the steering
wheel and outside mirrors when the seat is
adjusted using the power seat switches.
However, the steering wheel and outside
mirrors will not move if the seat is adjusted
over the maximum thresholds. The system
considers that the steering wheel and
outside mirror adjustments are not neces-
sary because the seat may not be adjusted
for the driving position. Note that the
function is set to disabled as the factory
default setting.
Pre-driving checks and adjustments3-29