ECO mode JEEP CHEROKEE 2014 KL / 5.G Owner's Manual
[x] Cancel search | Manufacturer: JEEP, Model Year: 2014, Model line: CHEROKEE, Model: JEEP CHEROKEE 2014 KL / 5.GPages: 204, PDF Size: 3.84 MB
Page 105 of 204
HD Radio
• HD Radio technology (available on Uconnect
®8.4AN) allows broadcasters to
transmit a high-quality digital signal.
• With an HD radio receiver, the listener is provided with a clear sound that enhances the listening experience. HD radio can also transmit data such as song
title or artist.
SiriusXM PREMIER OVER 160 CHANNELS
• Get every channel available on your satellite radio, and enjoy all you want, all inone place. Hear commercial-free music plus sports, news, talk and entertainment.
Get all the premium programming, including Howard Stern, every NFL game,
Oprah Radio
®, every MLB®and NHL®game, every NASCAR®race, Martha
Stewart and more. And get 20+ extra channels, including SiriusXM Latino,
offering 20 channels of commercial free music, news, talk, comedy, sports and
more dedicated to Spanish language programming.
• To access SiriusXM Satellite Radio, touch the “SXM” soft-key on the main Radio screen.
• The following describes features that are available when in SiriusXM Satellite Radio mode.
Seek Up/Seek Down
• Touch the “Seek” arrow soft-keys for less than two seconds to seek through channels in SXM mode.
• Touch and hold either “arrow” soft-key for more than two seconds to bypass channels without stopping. The radio will stop at the next listenable channel once
the “arrow” soft-key is released.
Direct Tune
• Tune directly to a SXM channel by pressing the “Tune” soft-key on the screen, and entering the desired station number.
Jump
• Automatically tells you when Traffic & Weather for a favorite city is available, and gives you the option to switch to that channel. Touch “Jump” to activate the
feature. After listening to Traffic and Weather, touch “Jump” again to return to the
previous channel.
Fav
• Activates the favorites menu. You can add up to 50 favorite artists or songs. Just touch “Add Fav Artist” or “Add Fav Song” while the song is playing. You will then
be alerted any time one of these songs, or works by these artists, is playing on other
SiriusXM channels.
ELECTRONICS
103
Page 107 of 204
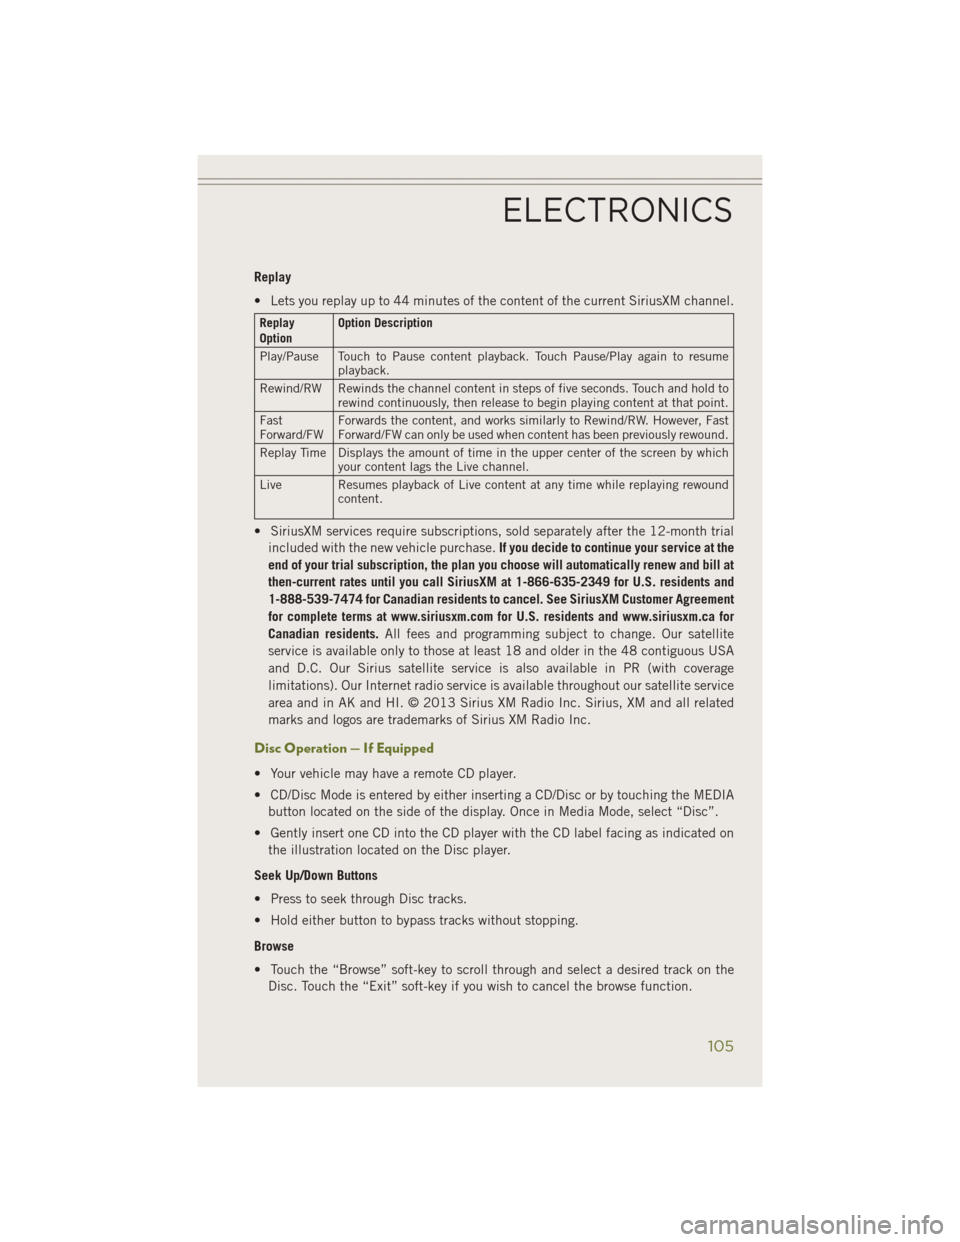
Replay
• Lets you replay up to 44 minutes of the content of the current SiriusXM channel.
Replay
OptionOption Description
Play/Pause Touch to Pause content playback. Touch Pause/Play again to resume playback.
Rewind/RW Rewinds the channel content in steps of five seconds. Touch and hold to rewind continuously, then release to begin playing content at that point.
Fast
Forward/FW Forwards the content, and works similarly to Rewind/RW. However, Fast
Forward/FW can only be used when content has been previously rewound.
Replay Time Displays the amount of time in the upper center of the screen by which your content lags the Live channel.
Live Resumes playback of Live content at any time while replaying rewound content.
• SiriusXM services require subscriptions, sold separately after the 12-month trial
included with the new vehicle purchase. If you decide to continue your service at the
end of your trial subscription, the plan you choose will automatically renew and bill at
then-current rates until you call SiriusXM at 1-866-635-2349 for U.S. residents and
1-888-539-7474 for Canadian residents to cancel. See SiriusXM Customer Agreement
for complete terms at www.siriusxm.com for U.S. residents and www.siriusxm.ca for
Canadian residents. All fees and programming subject to change. Our satellite
service is available only to those at least 18 and older in the 48 contiguous USA
and D.C. Our Sirius satellite service is also available in PR (with coverage
limitations). Our Internet radio service is available throughout our satellite service
area and in AK and HI. © 2013 Sirius XM Radio Inc. Sirius, XM and all related
marks and logos are trademarks of Sirius XM Radio Inc.
Disc Operation — If Equipped
• Your vehicle may have a remote CD player.
• CD/Disc Mode is entered by either inserting a CD/Disc or by touching the MEDIA button located on the side of the display. Once in Media Mode, select “Disc”.
• Gently insert one CD into the CD player with the CD label facing as indicated on the illustration located on the Disc player.
Seek Up/Down Buttons
• Press to seek through Disc tracks.
• Hold either button to bypass tracks without stopping.
Browse
• Touch the “Browse” soft-key to scroll through and select a desired track on the Disc. Touch the “Exit” soft-key if you wish to cancel the browse function.
ELECTRONICS
105
Page 119 of 204
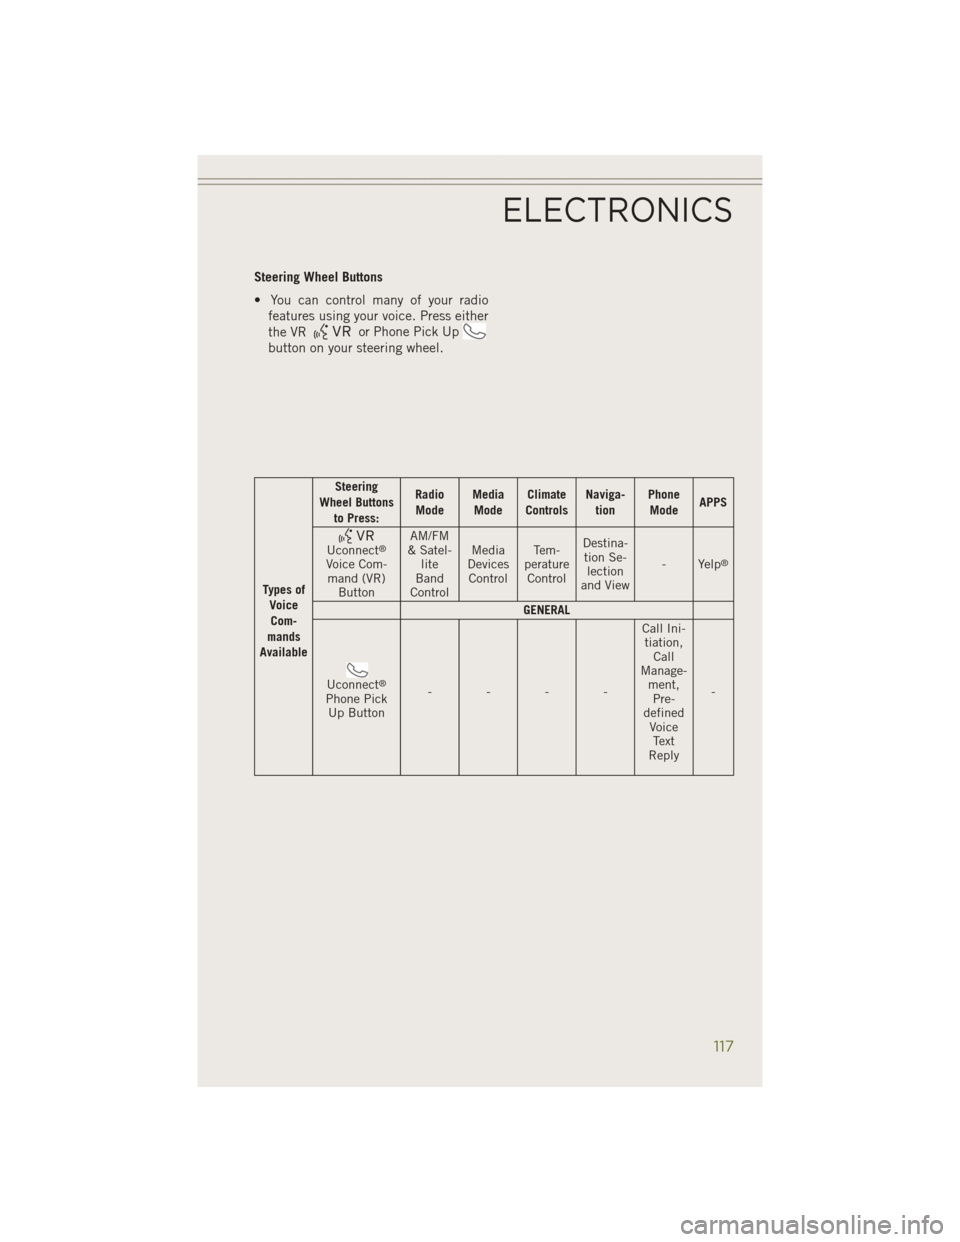
Steering Wheel Buttons
• You can control many of your radiofeatures using your voice. Press either
the VR
or Phone Pick Up
button on your steering wheel.
Types of
VoiceCom-
mands
Available Steering
Wheel Buttons to Press: Radio
Mode Media
Mode Climate
Controls Naviga-
tion Phone
Mode APPS
Uconnect®
Voice Com-
mand (VR) Button AM/FM
& Satel- lite
Band
Control Media
Devices Control Te m -
perature Control Destina-
tion Se- lection
and View - Yelp®
GENERAL
Uconnect®
Phone Pick
Up Button ---- Call Ini-
tiation, Call
Manage- ment,Pre-
defined VoiceText
Reply -
ELECTRONICS
117
Page 136 of 204
• The Rear E-Locker System must be disengaged prior to taking the vehicle out of4WD LOW range. If 4WD LOW shift conditions/interlocks are not met, a message
will flash from the Electronic Vehicle Information Center (EVIC) with instructions
on how to complete the requested shift.
SELEC-TERRAIN™
• Selec-Terrain™ combines the capa-bilities of the vehicle control systems,
along with driver input, to provide the
best performance for all terrains.
Rotate the mode control knob to select
the following Selec-Terrain™ positions:
• Auto — Fully automatic full time four-
wheel drive operation can be used on
and off road. Balances traction with
seamless steering feel to provide im-
proved handling and acceleration over
two-wheel drive vehicles.
• Snow — Tuning set for additional sta-
bility in inclement weather. Use on and
off road on loose traction surfaces such as snow. When in SNOW mode (depending
on certain operating conditions), the transmission may use second gear (rather
than first gear) during launches, to minimize wheel slippage.
• Sport — This mode alters the transmission's automatic shift schedule for sportier
driving. Upshift speeds are increased to make full use of available engine power.
• Sand/Mud — Off road calibration for use on low traction surfaces such as mud,
sand, or wet grass. Driveline is maximized for traction. Some binding may be felt
on less forgiving surfaces. The electronic brake controls are set to limit traction
control management of throttle and wheel spin.
• Rock — Off-road calibration only available in 4WD LOW range. Traction based
tuning with improved steer-ability for use on high traction off-road surfaces.
Activate the Hill Descent Control for steep downhill control. Use for low speed
obstacles such as large rocks, deep ruts, etc.
NOTE:
SPORT mode is not available when 4WD LOW is selected.
OFF-ROAD CAPABILITIES
134
Page 154 of 204
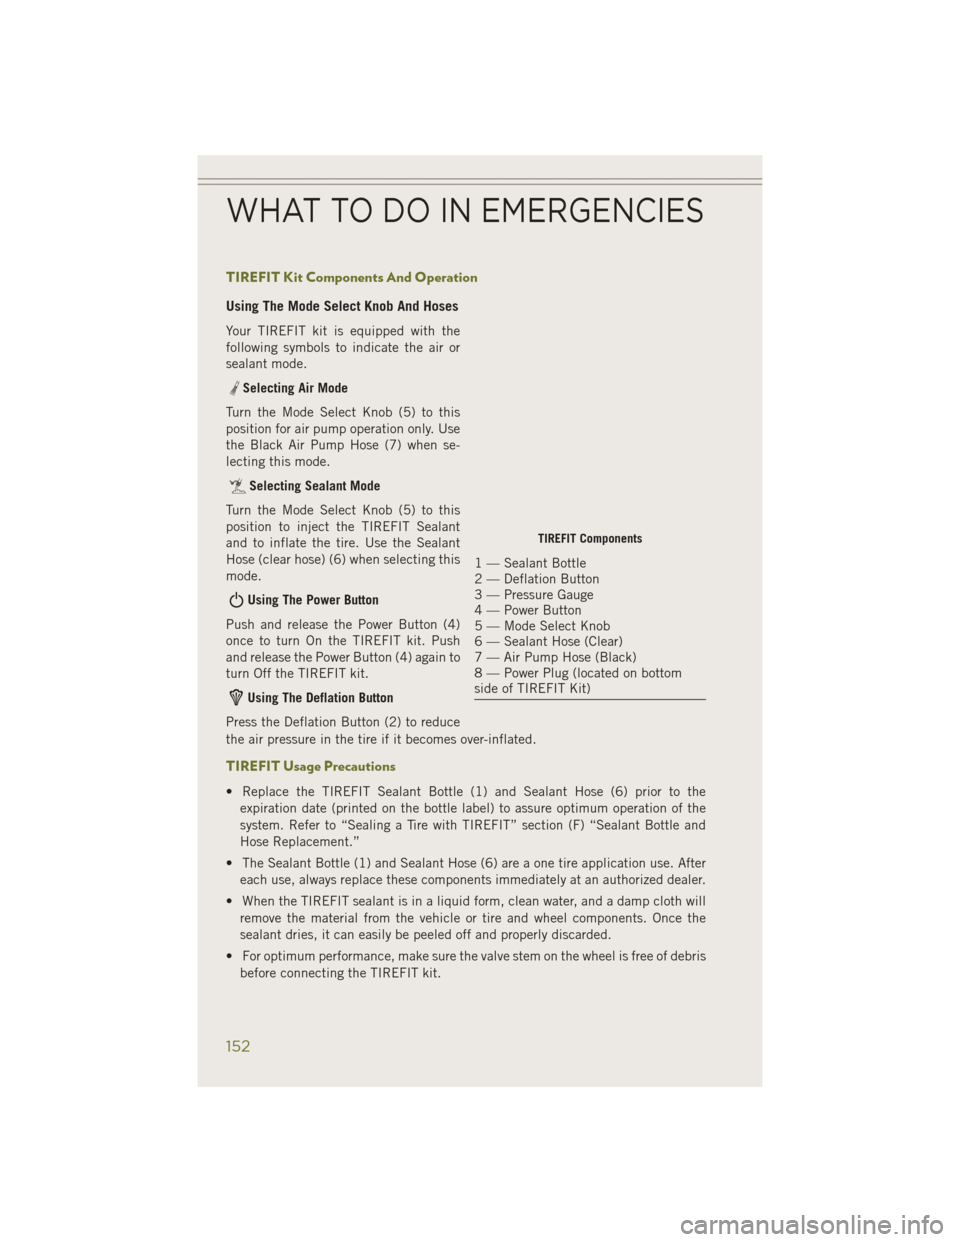
TIREFIT Kit Components And Operation
Using The Mode Select Knob And Hoses
Your TIREFIT kit is equipped with the
following symbols to indicate the air or
sealant mode.
Selecting Air Mode
Turn the Mode Select Knob (5) to this
position for air pump operation only. Use
the Black Air Pump Hose (7) when se-
lecting this mode.
Selecting Sealant Mode
Turn the Mode Select Knob (5) to this
position to inject the TIREFIT Sealant
and to inflate the tire. Use the Sealant
Hose (clear hose) (6) when selecting this
mode.
Using The Power Button
Push and release the Power Button (4)
once to turn On the TIREFIT kit. Push
and release the Power Button (4) again to
turn Off the TIREFIT kit.
Using The Deflation Button
Press the Deflation Button (2) to reduce
the air pressure in the tire if it becomes over-inflated.
TIREFIT Usage Precautions
• Replace the TIREFIT Sealant Bottle (1) and Sealant Hose (6) prior to the expiration date (printed on the bottle label) to assure optimum operation of the
system. Refer to “Sealing a Tire with TIREFIT” section (F) “Sealant Bottle and
Hose Replacement.”
• The Sealant Bottle (1) and Sealant Hose (6) are a one tire application use. After each use, always replace these components immediately at an authorized dealer.
• When the TIREFIT sealant is in a liquid form, clean water, and a damp cloth will remove the material from the vehicle or tire and wheel components. Once the
sealant dries, it can easily be peeled off and properly discarded.
• For optimum performance, make sure the valve stem on the wheel is free of debris before connecting the TIREFIT kit.
TIREFIT Components
1 — Sealant Bottle
2 — Deflation Button
3 — Pressure Gauge
4 — Power Button
5 — Mode Select Knob
6 — Sealant Hose (Clear)
7 — Air Pump Hose (Black)
8 — Power Plug (located on bottom
side of TIREFIT Kit)
WHAT TO DO IN EMERGENCIES
152
Page 156 of 204
(C) Injecting TIREFIT Sealant Into The Deflated Tire:
Always start the engine before turning ON the TIREFIT kit.
NOTE:
Manual transmission vehicles must have the parking brake engaged and the shift
lever in NEUTRAL.
After pressing the Power Button (4), the sealant (white fluid) will flow from the
Sealant Bottle (1) through the Sealant Hose (6) and into the tire.
NOTE:
Sealant may leak out through the puncture in the tire.
If the sealant (white fluid) does not flow within0–10seconds through the Sealant
Hose (6):
1. Press the Power Button (4) to turn Off the TIREFIT kit. Disconnect the Sealant Hose (6) from the valve stem. Make sure the valve stem is free of debris.
Reconnect the Sealant Hose (6) to the valve stem. Check that the Mode Select
Knob (5) is in the Sealant Mode position and not Air Mode. Press the Power
Button (4) to turn On the TIREFIT kit.
2. Connect the Power Plug (8) to a different 12 Volt power outlet in your vehicle or another vehicle, if available. Make sure the engine is running before turning ON
the TIREFIT kit.
3. The Sealant Bottle (1) may be empty due to previous use. Call for assistance.
NOTE:
If the Mode Select Knob (5) is on Air Mode and the pump is operating, air will
dispense from the Air Pump Hose (7) only, not the Sealant Hose (6).
If the sealant (white fluid) does flow through the Sealant Hose (6):
1. Continue to operate the pump until sealant is no longer flowing through the hose (typically takes 30 - 70 seconds). As the sealant flows through the Sealant Hose
(6), the Pressure Gauge (3) can read as high as 70 psi (4.8 Bar). The Pressure
Gauge (3) will decrease quickly from approximately 70 psi (4.8 Bar) to the actual
tire pressure when the Sealant Bottle (1) is empty.
2. The pump will start to inject air into the tire immediately after the Sealant Bottle (1) is empty. Continue to operate the pump and inflate the tire to the pressure
indicated on the tire pressure label on the driver-side latch pillar (recommended
pressure). Check the tire pressure by looking at the Pressure Gauge (3).
WHAT TO DO IN EMERGENCIES
154
Page 157 of 204
If the tire does not inflate to at least 26 psi (1.8 Bar) pressure within 15 minutes:
The tire is too badly damaged. Do not attempt to drive the vehicle further. Call for
assistance.
NOTE:
If the tire becomes over-inflated, press the Deflation Button to reduce the tire
pressure to the recommended inflation pressure before continuing.
If the tire inflates to the recommended pressure or is at least 26 psi (1.8 Bar) pressure
within 15 minutes:
1. Press the Power Button (4) to turn off the TIREFIT kit.
2. Remove the Speed Limit sticker from the top of the Sealant Bottle (1) and placethe sticker on the instrument panel.
3. Immediately disconnect the Sealant Hose (6) from the valve stem, reinstall the cap on the fitting at the end of the hose, and place the TIREFIT kit in the vehicle
storage location. Quickly proceed to (D) “Drive Vehicle.”
(D) Drive Vehicle:
Immediately after injecting sealant and inflating the tire, drive the vehicle 5 miles
(8 km) or 10 minutes to ensure distribution of the TIREFIT Sealant within the tire. Do
not exceed 55 mph (88 km/h).
(E) After Driving:
Pull over to a safe location. Refer to “Whenever You Stop to Use TIREFIT” before
continuing.
1. Turn the Mode Select Knob (5) to the Air Mode position.
2. Uncoil the Air Pump Hose (7) (black in color) and screw the fitting at the end ofhose (7) onto the valve stem.
3. Uncoil the power plug and insert the plug into the vehicles 12 Volt power outlet.
4. Check the pressure in the tire by reading the Pressure Gauge (3).
If tire pressure is less than 19 psi (1.3 Bar), the tire is too badly damaged. Do not attempt
to drive the vehicle further. Call for assistance.
WHAT TO DO IN EMERGENCIES
155
Page 189 of 204
NOTE:
• A street address is required when ordering manuals (no P.O. Boxes).
• The Owner's Manual and User Guide electronic files are also available on theChrysler, Jeep, Ram Truck, Dodge and SRT websites.
• Click on the “For Owners” tab, select “Owner/Service Manuals”, then select your desired model year and vehicle from the drop down lists.
REPORTING SAFETY DEFECTS IN THE
UNITED STATES
If you believe that your vehicle has a defect that could cause a collision or cause
injury or death, you should immediately inform the National Highway Traffic Safety
Administration (NHTSA) in addition to notifying the manufacturer.
If NHTSA receives similar complaints, it may open an investigation, and if it finds
that a safety defect exists in a group of vehicles, it may order a recall and remedy
campaign. However, NHTSA cannot become involved in individual problems be-
tween you, your authorized dealer and the manufacturer.
To contact NHTSA, you may either call the Auto Safety Hotline toll free at
1–888–327–4236 (TTY: 1–800–424–9153), or go to http://www.safercar.gov; or
write to: Administrator, NHTSA, 1200 New Jersey Avenue, SE., West Building,
Washington, D.C. 20590. You can also obtain other information about motor vehicle
safety from http://www.safercar.gov.
In Canada
If you believe that your vehicle has a safety defect, you should contact the Customer
Service Department immediately. Canadian customers who wish to report a safety
defect to the Canadian government should contact Transport Canada, Motor Vehicle
Defect Investigations and Recalls at 1-800-333-0510 or go to http://www.tc.gc.ca/
eng/roadsafety/safedrivers-childsafety-index-53.htm
French Canadian customers who wish to report a safety defect to the Canadian
government should contact Transport Canada, Motor Vehicle Defect Investigations
and Recalls at 1-800-333-0510 or go to http://www.tc.gc.ca/securiteroutiere/
CUSTOMER ASSISTANCE
187
Page 195 of 204
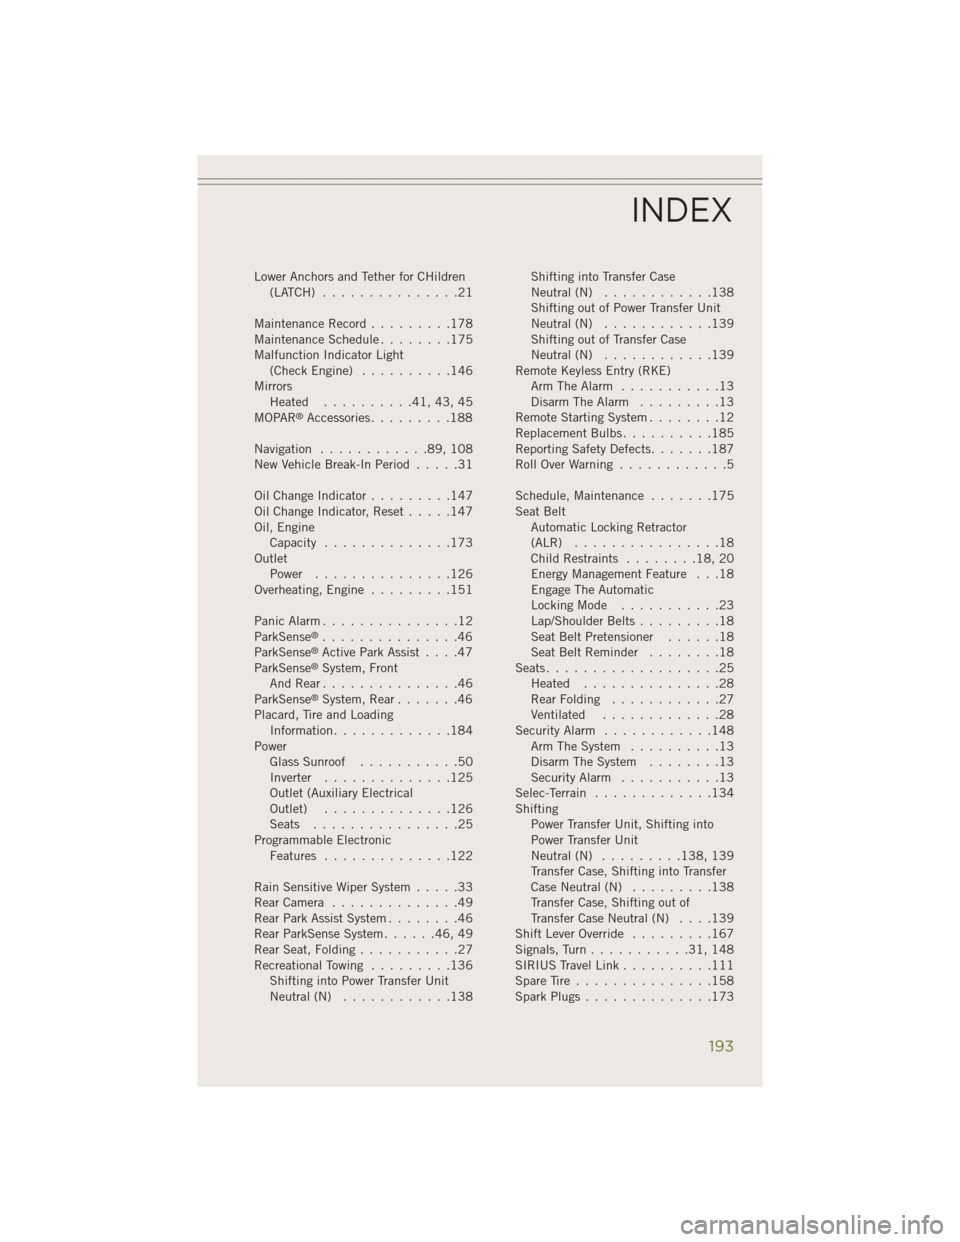
Lower Anchors and Tether for CHildren(LATCH) ...............21
Maintenance Record .........178
MaintenanceSchedule........175
Malfunction Indicator Light (CheckEngine) ..........146
Mirrors Heated ..........41,43,45
MOPAR
®Accessories .........188
Navigation ............89,108
New Vehicle Break-In Period .....31
OilChangeIndicator.........147
Oil Change Indicator, Reset .....147
Oil, Engine Capacity ..............173
Outlet Power ...............126
Overheating, Engine .........151
Panic Alarm ...............12
ParkSense
®...............46
ParkSense®Active Park Assist ....47
ParkSense®System, Front
AndRear...............46
ParkSense
®System, Rear .......46
Placard, Tire and Loading Information .............184
Power Glass Sunroof ...........50
Inverter ..............125
Outlet (Auxiliary Electrical
Outlet) ..............126
Seats ................25
Programmable Electronic Features ..............122
Rain Sensitive Wiper System .....33
RearCamera ..............49
Rear Park Assist System ........46
Rear ParkSense System ......46,49
Rear Seat, Folding ...........27
Recreational Towing .........136
Shifting into Power Transfer Unit
Neutral (N) ............138 Shifting into Transfer Case
Neutral (N)
............138
Shifting out of Power Transfer Unit
Neutral (N) ............139
Shifting out of Transfer Case
Neutral (N) ............139
Remote Keyless Entry (RKE) Arm The Alarm ...........13
Disarm The Alarm .........13
Remote Starting System ........12
Replacement Bulbs ..........185
Reporting Safety Defects .......187
RollOverWarning ............5
Schedule,Maintenance .......175
Seat Belt Automatic Locking Retractor
(ALR) ................18
Child Restraints ........18,20
Energy Management Feature . . .18
Engage The Automatic
Locking Mode ...........23
Lap/Shoulder Belts .........18
Seat Belt Pretensioner ......18
Seat Belt Reminder ........18
Seats ...................25
Heated ...............28
Rear Folding ............27
Ventilated .............28
Security Alarm ............148
Arm The System ..........13
Disarm The System ........13
Security Alarm ...........13
Selec-Terrain .............134
Shifting Power Transfer Unit, Shifting into
Power Transfer Unit
Neutral (N) ......... 138, 139
Transfer Case, Shifting into Transfer
Case Neutral (N) .........138
Transfer Case, Shifting out of
Transfer Case Neutral (N) ....139
Shift Lever Override .........167
Signals, Turn ...........31,148
SIRIUS Travel Link ..........111
SpareTire...............158
SparkPlugs..............173
INDEX
193