JEEP CHEROKEE 2015 KL / 5.G Owners Manual
Manufacturer: JEEP, Model Year: 2015, Model line: CHEROKEE, Model: JEEP CHEROKEE 2015 KL / 5.GPages: 772, PDF Size: 18.21 MB
Page 321 of 772
notches in the trim panels. Then, lower the cover to
position the posts into the bottom of the notches and
release the handle.
WARNING!
In a collision, a cargo cover loose in the vehicle could
cause injury. It could fly around in a sudden stop and
strike someone in the vehicle. Do not store the cargo
cover on the cargo floor or in the passenger compart-
ment. Remove the cover from the vehicle when taken
from its mounting. Do not store in the vehicle.
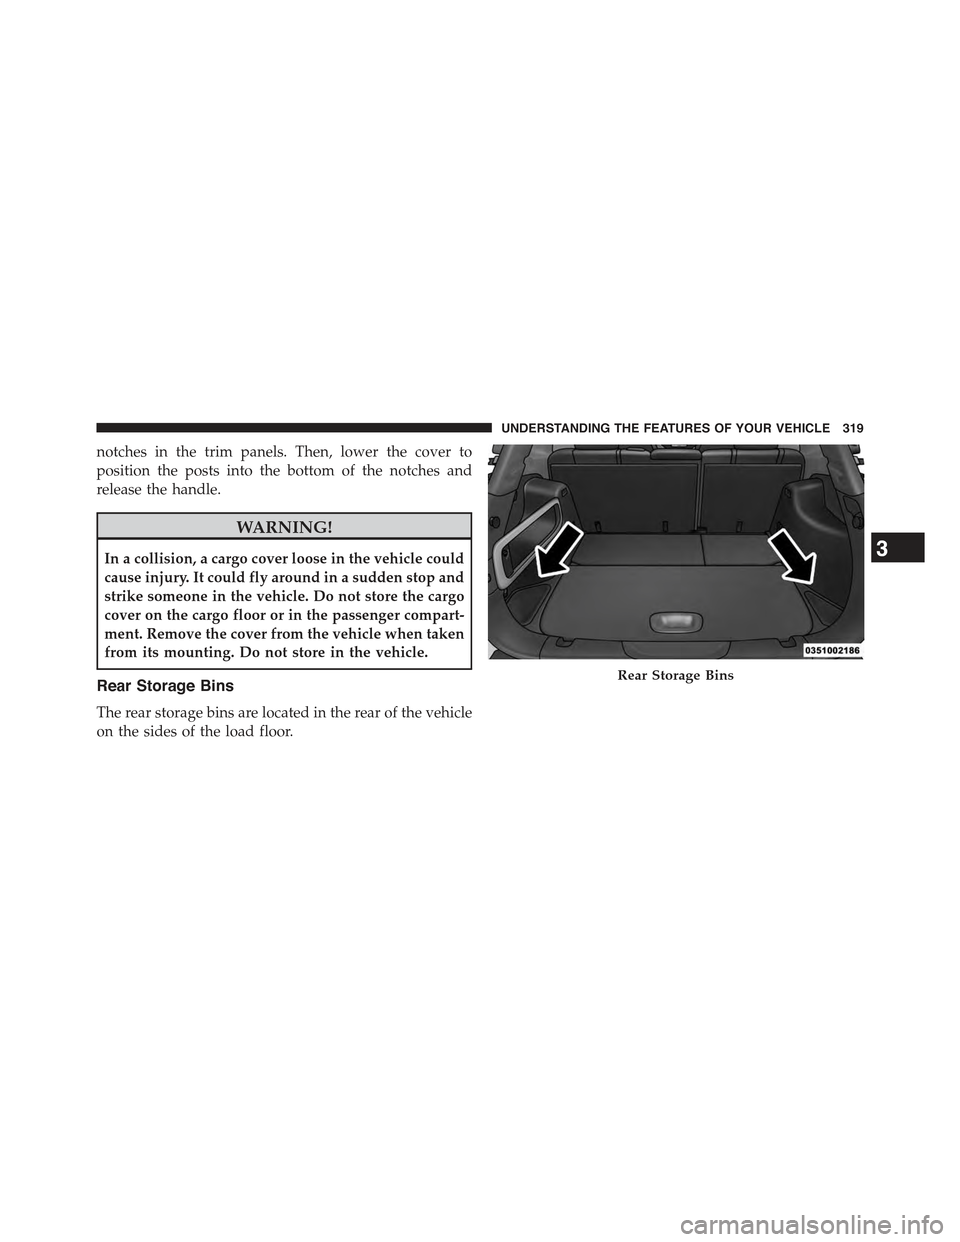
Rear Storage Bins
The rear storage bins are located in the rear of the vehicle
on the sides of the load floor.
Rear Storage Bins
3
UNDERSTANDING THE FEATURES OF YOUR VEHICLE 319
Page 322 of 772
REAR WINDOW FEATURES
Rear Window Wiper/Washer
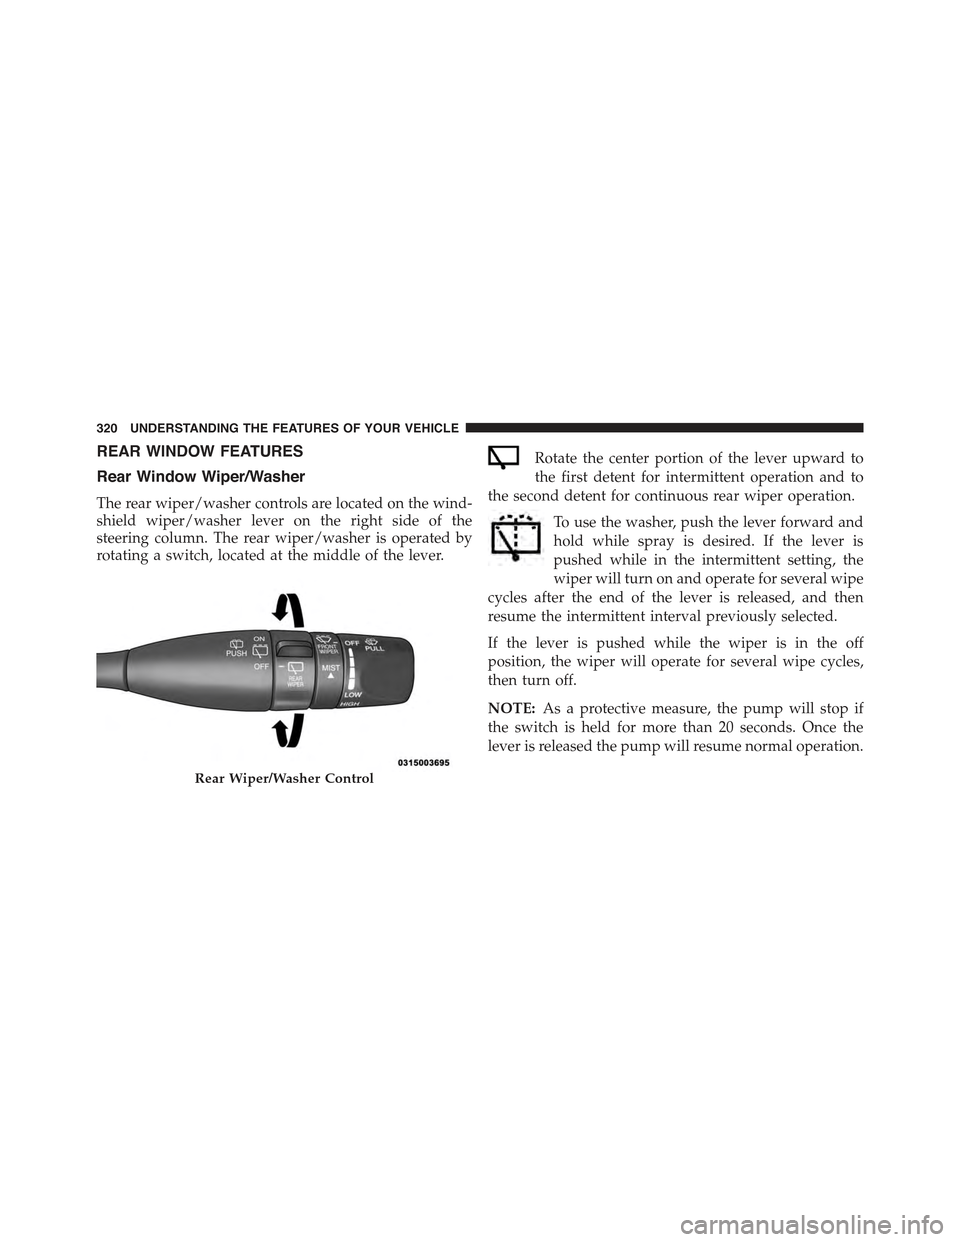
The rear wiper/washer controls are located on the wind-
shield wiper/washer lever on the right side of the
steering column. The rear wiper/washer is operated by
rotating a switch, located at the middle of the lever.
Rotate the center portion of the lever upward to
the first detent for intermittent operation and to
the second detent for continuous rear wiper operation.
To use the washer, push the lever forward and
hold while spray is desired. If the lever is
pushed while in the intermittent setting, the
wiper will turn on and operate for several wipe
cycles after the end of the lever is released, and then
resume the intermittent interval previously selected.
If the lever is pushed while the wiper is in the off
position, the wiper will operate for several wipe cycles,
then turn off.
NOTE:As a protective measure, the pump will stop if
the switch is held for more than 20 seconds. Once the
lever is released the pump will resume normal operation.
Rear Wiper/Washer Control
320 UNDERSTANDING THE FEATURES OF YOUR VEHICLE
Page 323 of 772
If the rear wiper is operating when the ignition is turned
OFF, the wiper will automatically return to the “park”
position.
Rear Window Defroster
The rear window defroster button is located on
the switch bank by the manual climate controls.
Press this button to turn on the rear window defroster
and the heated outside mirrors. An indicator in the
button will illuminate when the rear window defroster is
on. The rear window defroster automatically turns off
after approximately 10 minutes. For an additional five
minutes of operation, press the button a second time.
NOTE:
•The Windsheild Wiper De-Icer (if equipped) shall be
activated automatically when the Rear Defrost is
turned on and when the ambient temperature is below
40 degrees F (4.4° C).
•To prevent excessive battery drain, use the rear win-
dow defroster only when the engine is operating.
3
UNDERSTANDING THE FEATURES OF YOUR VEHICLE 321
Page 324 of 772
CAUTION!
Failure to follow these cautions can cause damage to
the heating elements:
•Use care when washing the inside of the rear
window. Do not use abrasive window cleaners on
the interior surface of the window. Use a soft cloth
and a mild washing solution, wiping parallel to the
heating elements. Labels can be peeled off after
soaking with warm water.
•Do not use scrapers, sharp instruments, or abrasive
window cleaners on the interior surface of the
window.
•Keep all objects a safe distance from the window.
ROOF LUGGAGE RACK — IF EQUIPPED
NOTE:Roof rack and crossbars cannot be used on
vehicles equipped with Skyslider®.
The load carried on the roof, when equipped with a
luggage rack, must not exceed 150 lbs (68 kg), and it
should be uniformly distributed over the cargo area.
Crossbars should always be used whenever cargo is
placed on the roof rack. Check the straps frequently to be
sure that the load remains securely attached.
NOTE:Crossbars can be purchased at a Chrysler dealer
through Mopar® parts.
External racks do not increase the total load carrying
capacity of the vehicle. Be sure that the total occupant
and luggage load inside the vehicle, plus the load on the
luggage rack, do not exceed the maximum vehicle load
capacity.
322 UNDERSTANDING THE FEATURES OF YOUR VEHICLE
Page 325 of 772
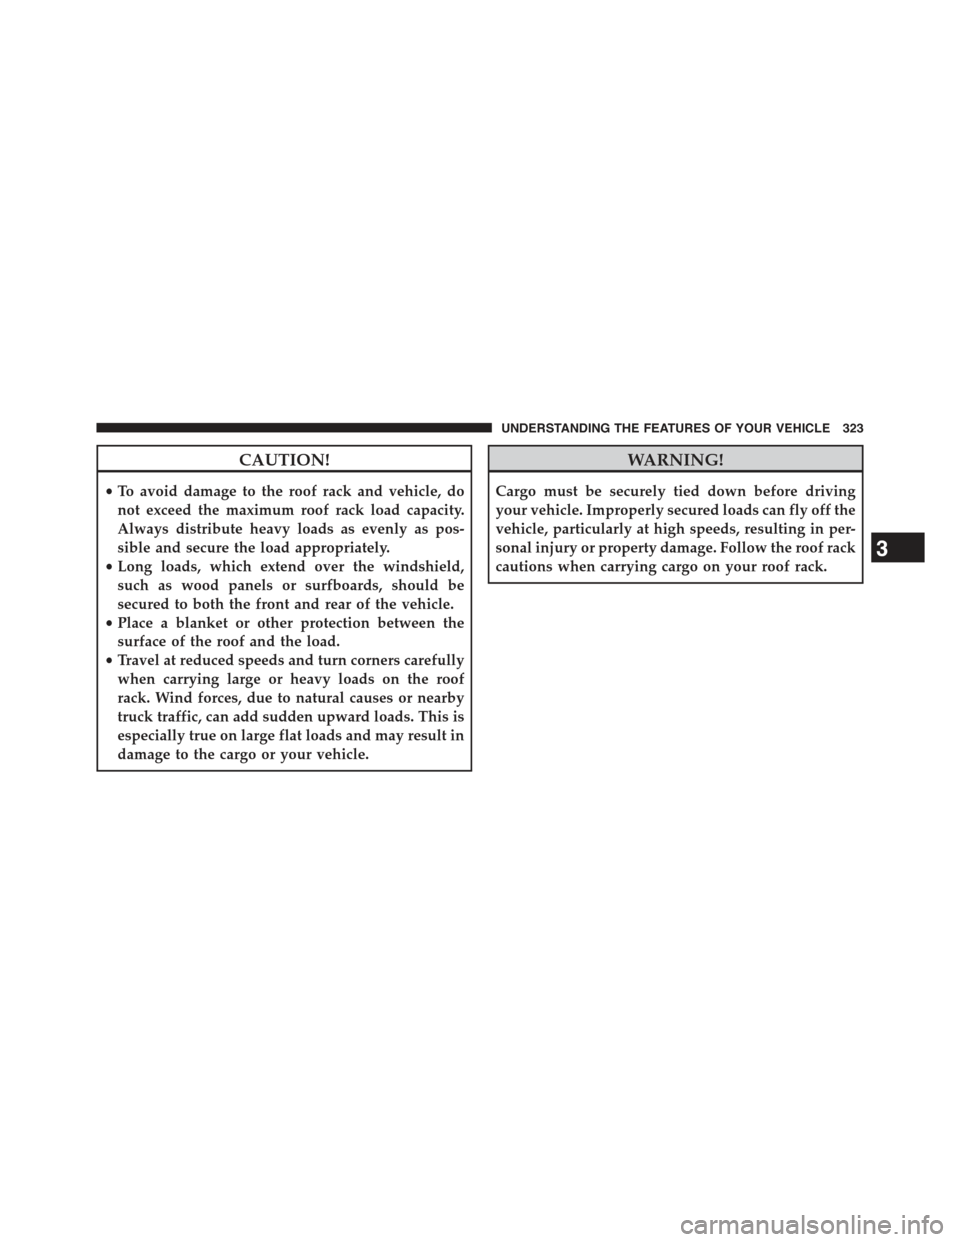
CAUTION!
•To avoid damage to the roof rack and vehicle, do
not exceed the maximum roof rack load capacity.
Always distribute heavy loads as evenly as pos-
sible and secure the load appropriately.
•Long loads, which extend over the windshield,
such as wood panels or surfboards, should be
secured to both the front and rear of the vehicle.
•Place a blanket or other protection between the
surface of the roof and the load.
•Travel at reduced speeds and turn corners carefully
when carrying large or heavy loads on the roof
rack. Wind forces, due to natural causes or nearby
truck traffic, can add sudden upward loads. This is
especially true on large flat loads and may result in
damage to the cargo or your vehicle.
WARNING!
Cargo must be securely tied down before driving
your vehicle. Improperly secured loads can fly off the
vehicle, particularly at high speeds, resulting in per-
sonal injury or property damage. Follow the roof rack
cautions when carrying cargo on your roof rack.3
UNDERSTANDING THE FEATURES OF YOUR VEHICLE 323
Page 326 of 772

Page 327 of 772
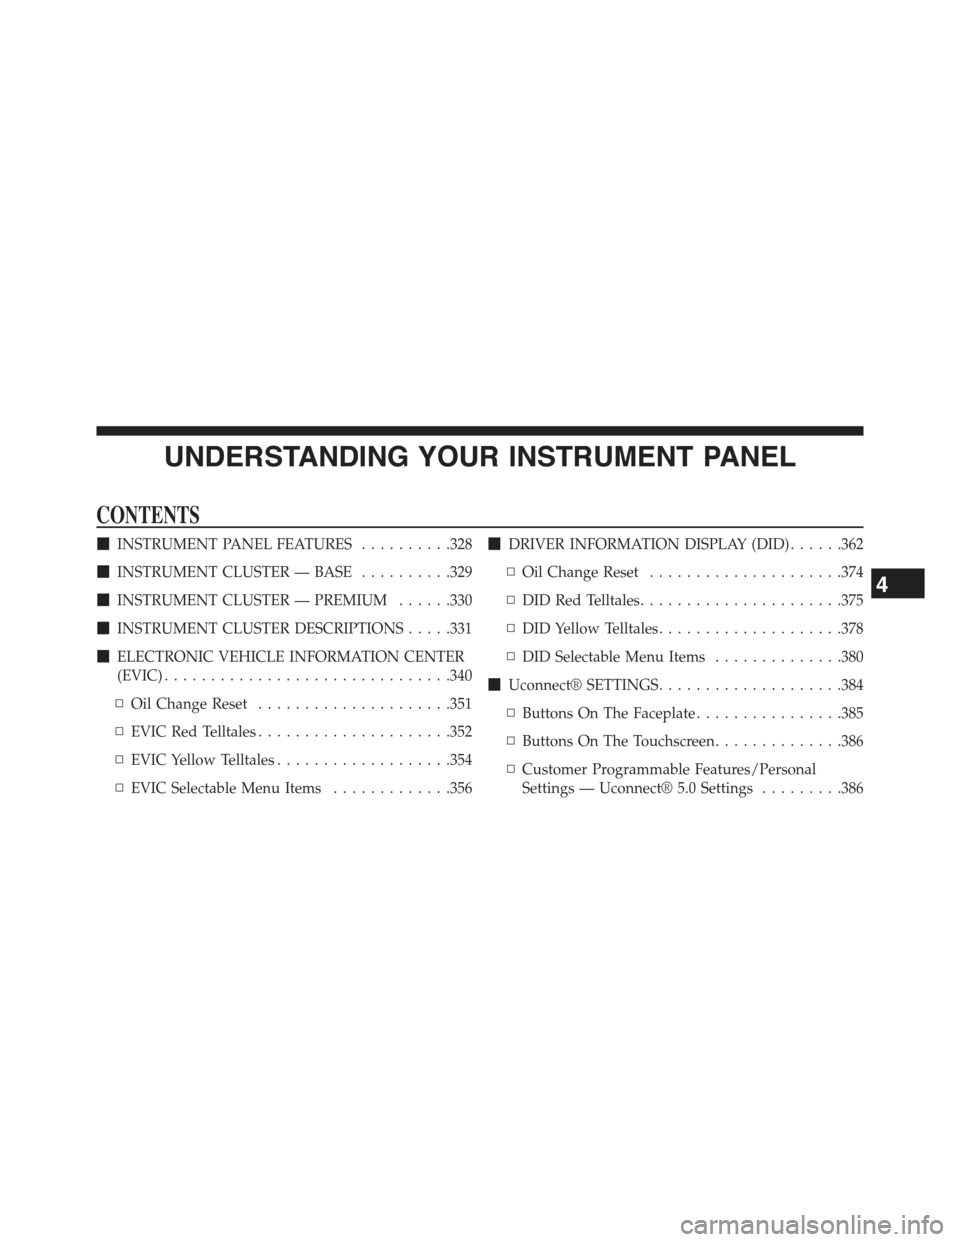
UNDERSTANDING YOUR INSTRUMENT PANEL
CONTENTS
!INSTRUMENT PANEL FEATURES..........328
!INSTRUMENT CLUSTER — BASE..........329
!INSTRUMENT CLUSTER — PREMIUM......330
!INSTRUMENT CLUSTER DESCRIPTIONS.....331
!ELECTRONIC VEHICLE INFORMATION CENTER
(EVIC)...............................340
▫Oil Change Reset.....................351
▫EVIC Red Telltales.....................352
▫EVIC Yellow Telltales...................354
▫EVIC Selectable Menu Items.............356
!DRIVER INFORMATION DISPLAY (DID)......362
▫Oil Change Reset.....................374
▫DID Red Telltales......................375
▫DID Yellow Telltales....................378
▫DID Selectable Menu Items..............380
!Uconnect® SETTINGS....................384
▫Buttons On The Faceplate................385
▫Buttons On The Touchscreen..............386
▫Customer Programmable Features/Personal
Settings — Uconnect® 5.0 Settings.........386
4
Page 328 of 772
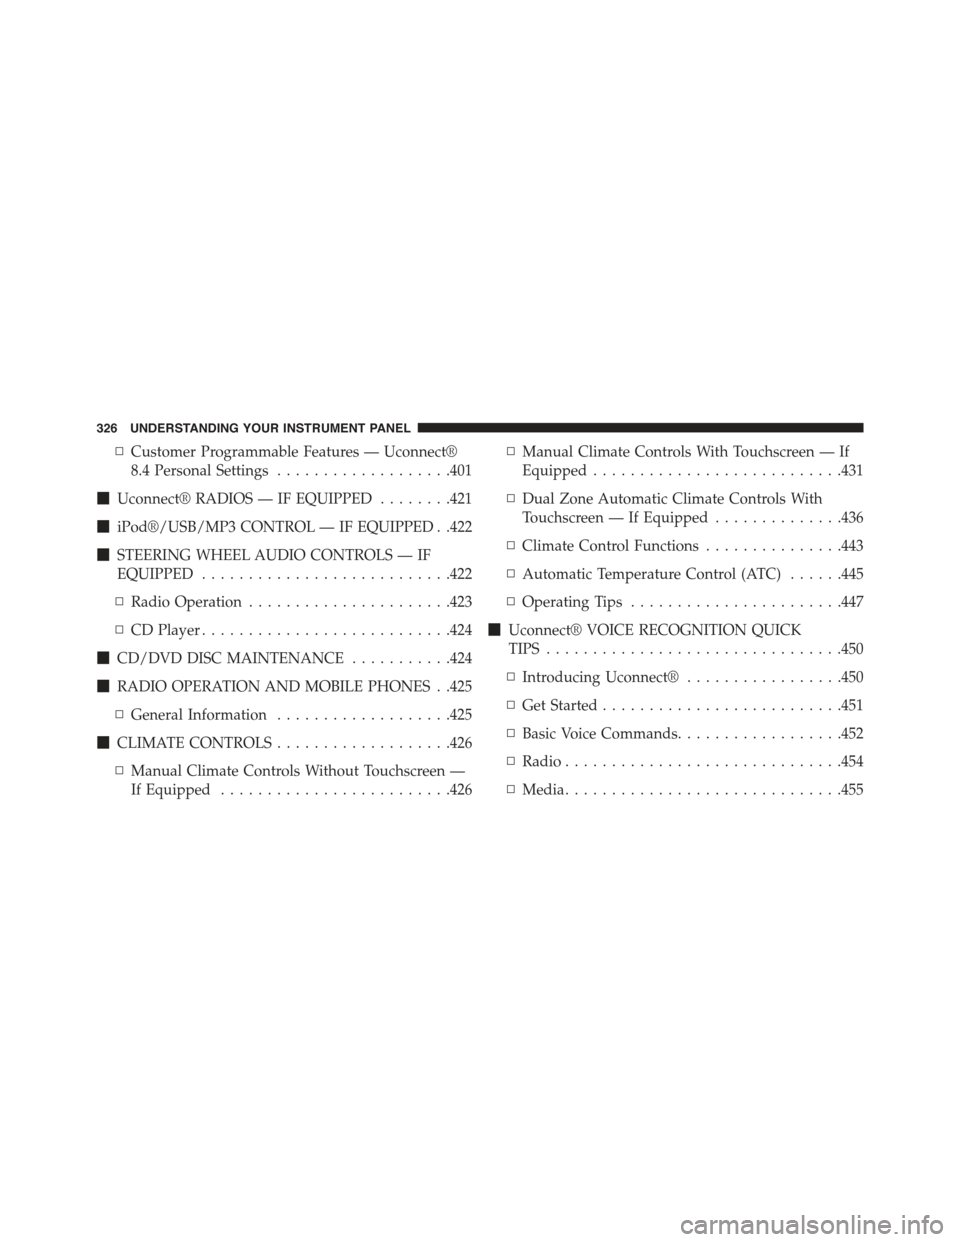
▫Customer Programmable Features — Uconnect®
8.4 Personal Settings...................401
!Uconnect® RADIOS — IF EQUIPPED........421
!iPod®/USB/MP3 CONTROL — IF EQUIPPED . .422
!STEERING WHEEL AUDIO CONTROLS — IF
EQUIPPED...........................422
▫Radio Operation......................423
▫CD Player...........................424
!CD/DVD DISC MAINTENANCE...........424
!RADIO OPERATION AND MOBILE PHONES . .425
▫General Information...................425
!CLIMATE CONTROLS...................426
▫Manual Climate Controls Without Touchscreen —
If Equipped.........................426
▫Manual Climate Controls With Touchscreen — If
Equipped...........................431
▫Dual Zone Automatic Climate Controls With
Touchscreen — If Equipped..............436
▫Climate Control Functions...............443
▫Automatic Temperature Control (ATC)......445
▫Operating Tips.......................447
!Uconnect® VOICE RECOGNITION QUICK
TIPS................................450
▫Introducing Uconnect®.................450
▫Get Started..........................451
▫Basic Voice Commands..................452
▫Radio..............................454
▫Media..............................455
326 UNDERSTANDING YOUR INSTRUMENT PANEL
Page 329 of 772
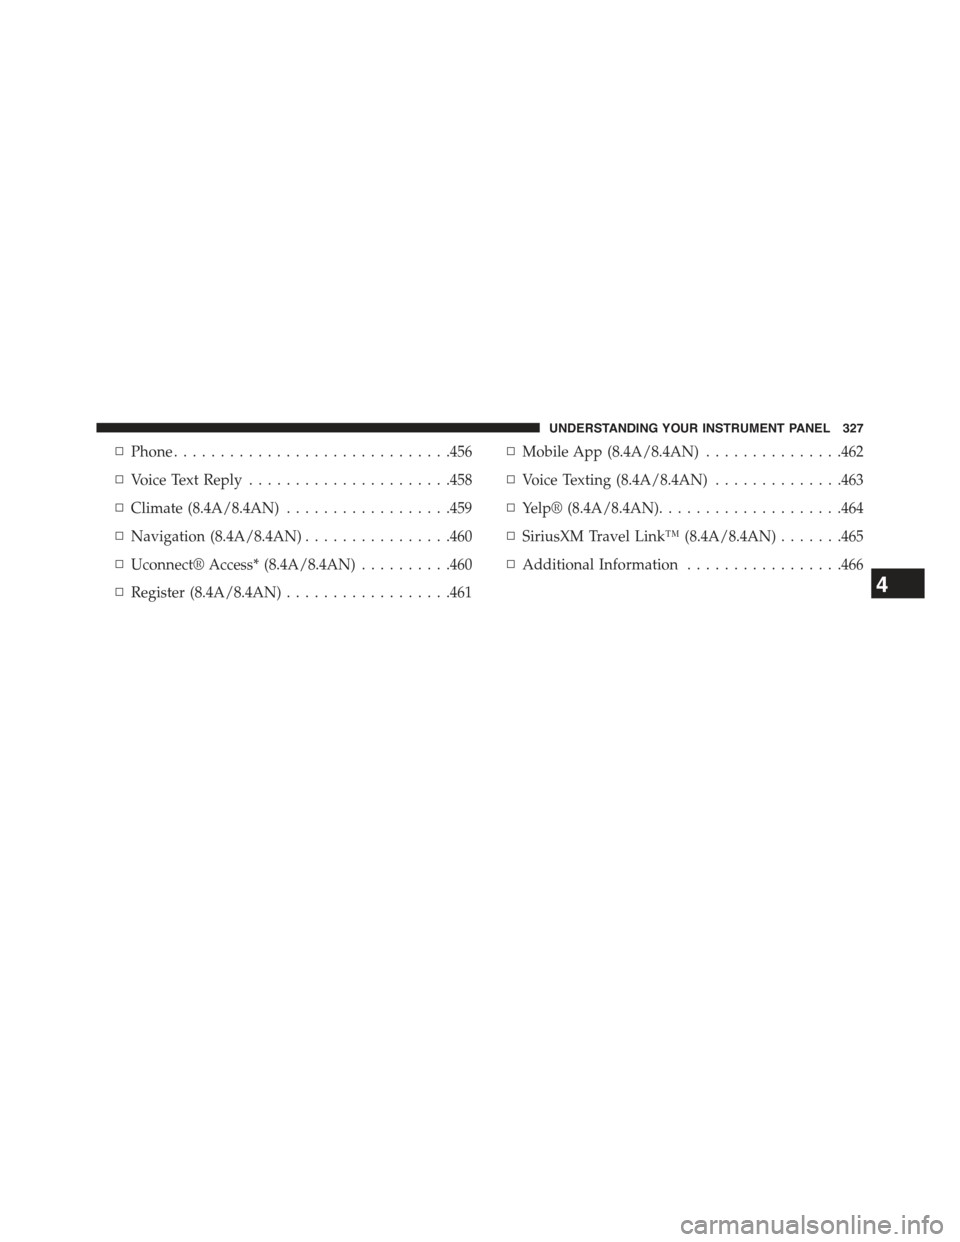
▫Phone..............................456
▫Voice Text Reply......................458
▫Climate (8.4A/8.4AN)..................459
▫Navigation (8.4A/8.4AN)................460
▫Uconnect® Access* (8.4A/8.4AN)..........460
▫Register (8.4A/8.4AN)..................461
▫Mobile App (8.4A/8.4AN)...............462
▫Voice Texting (8.4A/8.4AN)..............463
▫Yelp® (8.4A/8.4AN)....................464
▫SiriusXM Travel Link™ (8.4A/8.4AN).......465
▫Additional Information.................466
4
UNDERSTANDING YOUR INSTRUMENT PANEL 327
Page 330 of 772
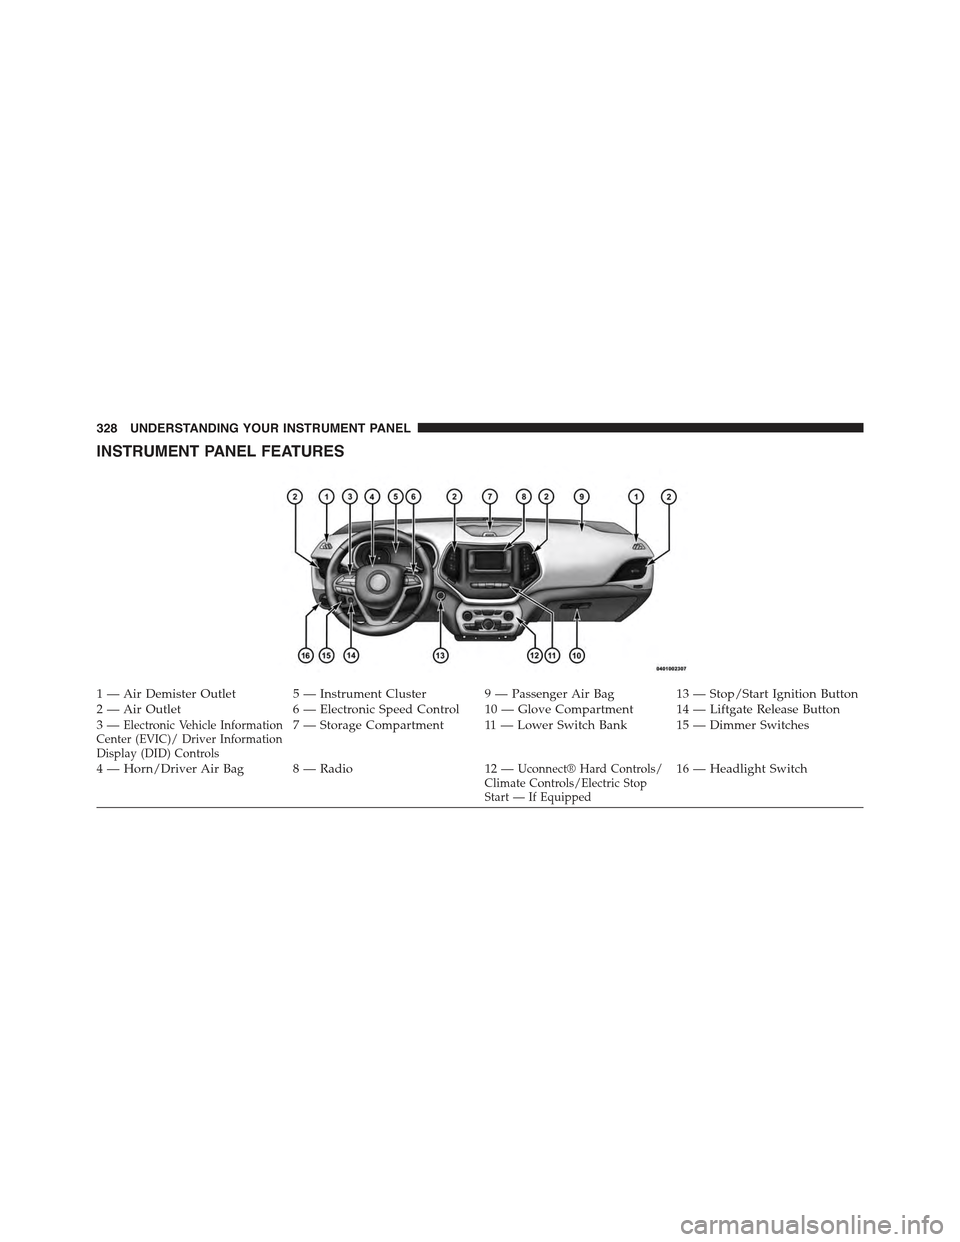
INSTRUMENT PANEL FEATURES
1 — Air Demister Outlet 5 — Instrument Cluster 9 — Passenger Air Bag 13 — Stop/Start Ignition Button2 — Air Outlet 6 — Electronic Speed Control 10 — Glove Compartment 14 — Liftgate Release Button3—Electronic Vehicle InformationCenter (EVIC)/ Driver InformationDisplay (DID) Controls
7—StorageCompartment 11—LowerSwitchBank 15—DimmerSwitches
4—Horn/DriverAirBag 8—Radio 12—Uconnect® Hard Controls/Climate Controls/Electric StopStart — If Equipped
16 — Headlight Switch
328 UNDERSTANDING YOUR INSTRUMENT PANEL