JEEP CHEROKEE 2015 KL / 5.G Owners Manual
Manufacturer: JEEP, Model Year: 2015, Model line: CHEROKEE, Model: JEEP CHEROKEE 2015 KL / 5.GPages: 772, PDF Size: 18.21 MB
Page 311 of 772
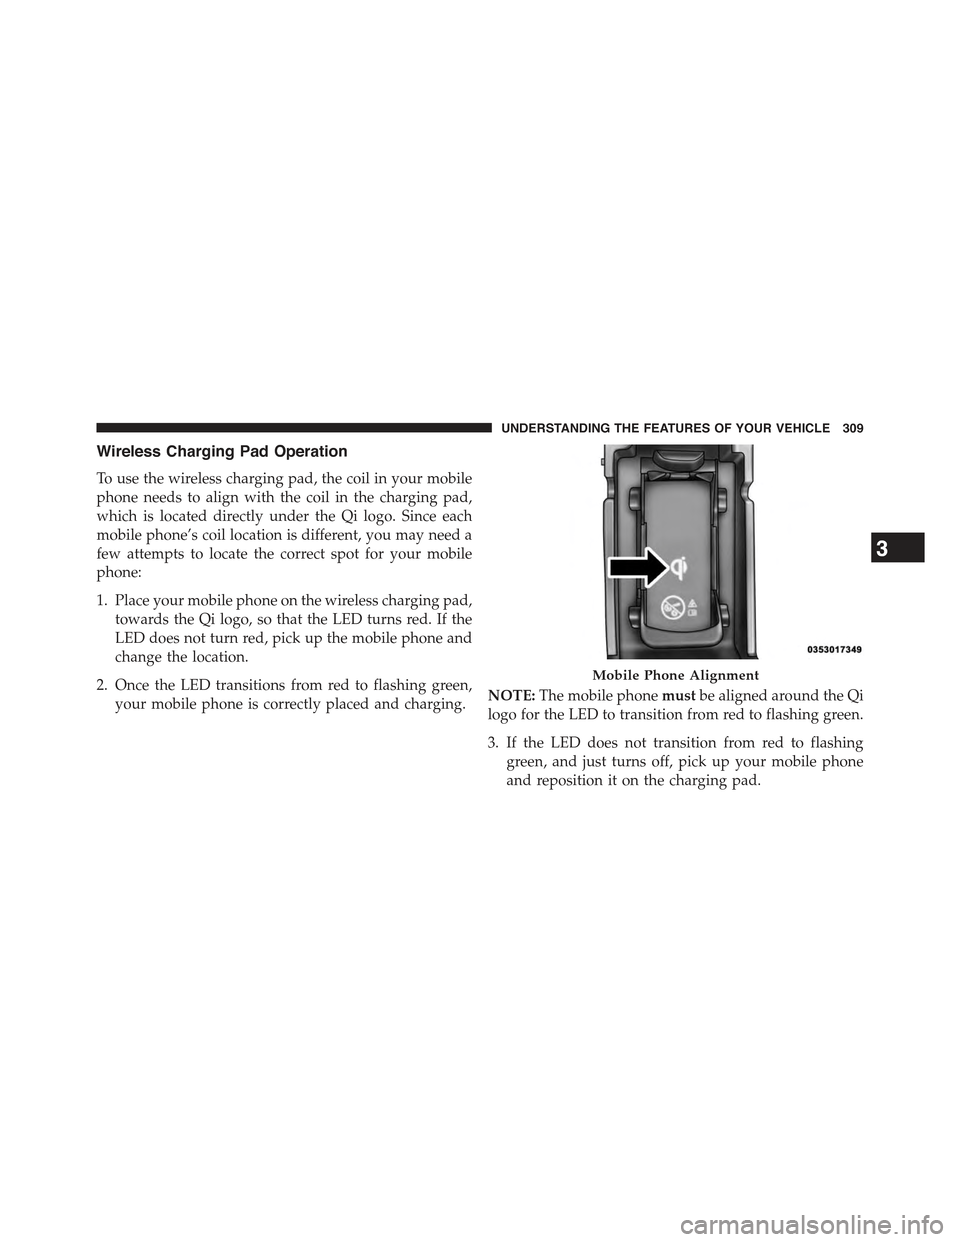
Wireless Charging Pad Operation
To use the wireless charging pad, the coil in your mobile
phone needs to align with the coil in the charging pad,
which is located directly under the Qi logo. Since each
mobile phone’s coil location is different, you may need a
few attempts to locate the correct spot for your mobile
phone:
1. Place your mobile phone on the wireless charging pad,
towards the Qi logo, so that the LED turns red. If the
LED does not turn red, pick up the mobile phone and
change the location.
2. Once the LED transitions from red to flashing green,
your mobile phone is correctly placed and charging.NOTE:The mobile phonemustbe aligned around the Qi
logo for the LED to transition from red to flashing green.
3. If the LED does not transition from red to flashing
green, and just turns off, pick up your mobile phone
and reposition it on the charging pad.
Mobile Phone Alignment
3
UNDERSTANDING THE FEATURES OF YOUR VEHICLE 309
Page 312 of 772
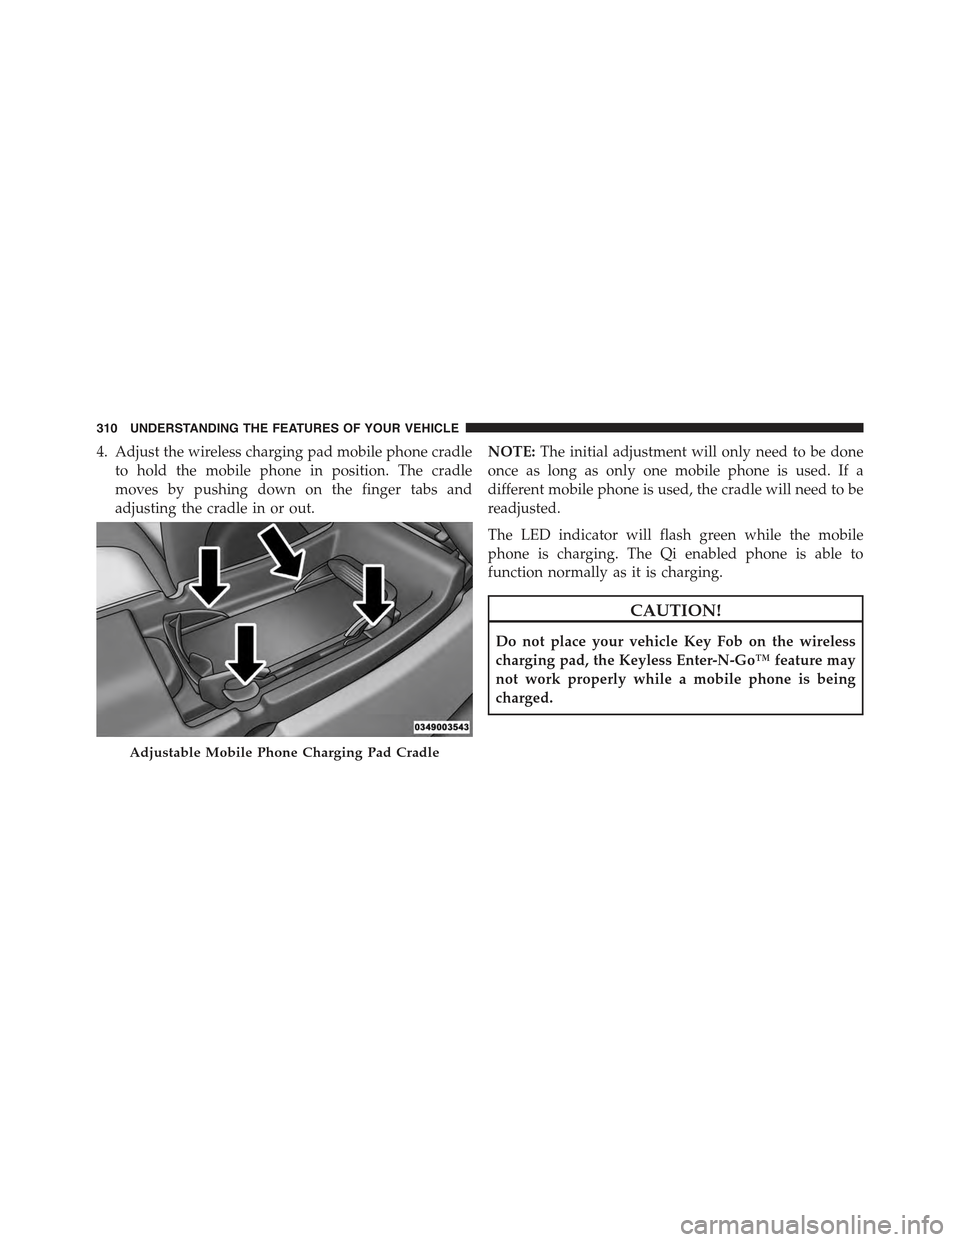
4. Adjust the wireless charging pad mobile phone cradle
to hold the mobile phone in position. The cradle
moves by pushing down on the finger tabs and
adjusting the cradle in or out.
NOTE:The initial adjustment will only need to be done
once as long as only one mobile phone is used. If a
different mobile phone is used, the cradle will need to be
readjusted.
The LED indicator will flash green while the mobile
phone is charging. The Qi enabled phone is able to
function normally as it is charging.
CAUTION!
Do not place your vehicle Key Fob on the wireless
charging pad, the Keyless Enter-N-Go™ feature may
not work properly while a mobile phone is being
charged.
Adjustable Mobile Phone Charging Pad Cradle
310 UNDERSTANDING THE FEATURES OF YOUR VEHICLE
Page 313 of 772
WARNING!
Do not place metal object(s) between the mobile
phone and wireless charging pad. Metal object(s)
such as coins, rings or keys will become very HOT. If
metal object(s) become lodged between the mobile
phone and wireless charging pad, carefully remove
the mobile phone and allow the metal object(s) to
cool before removing. Failure to wait until the ob-
ject(s) cool could result in personal injury, including
burns.
CUPHOLDERS
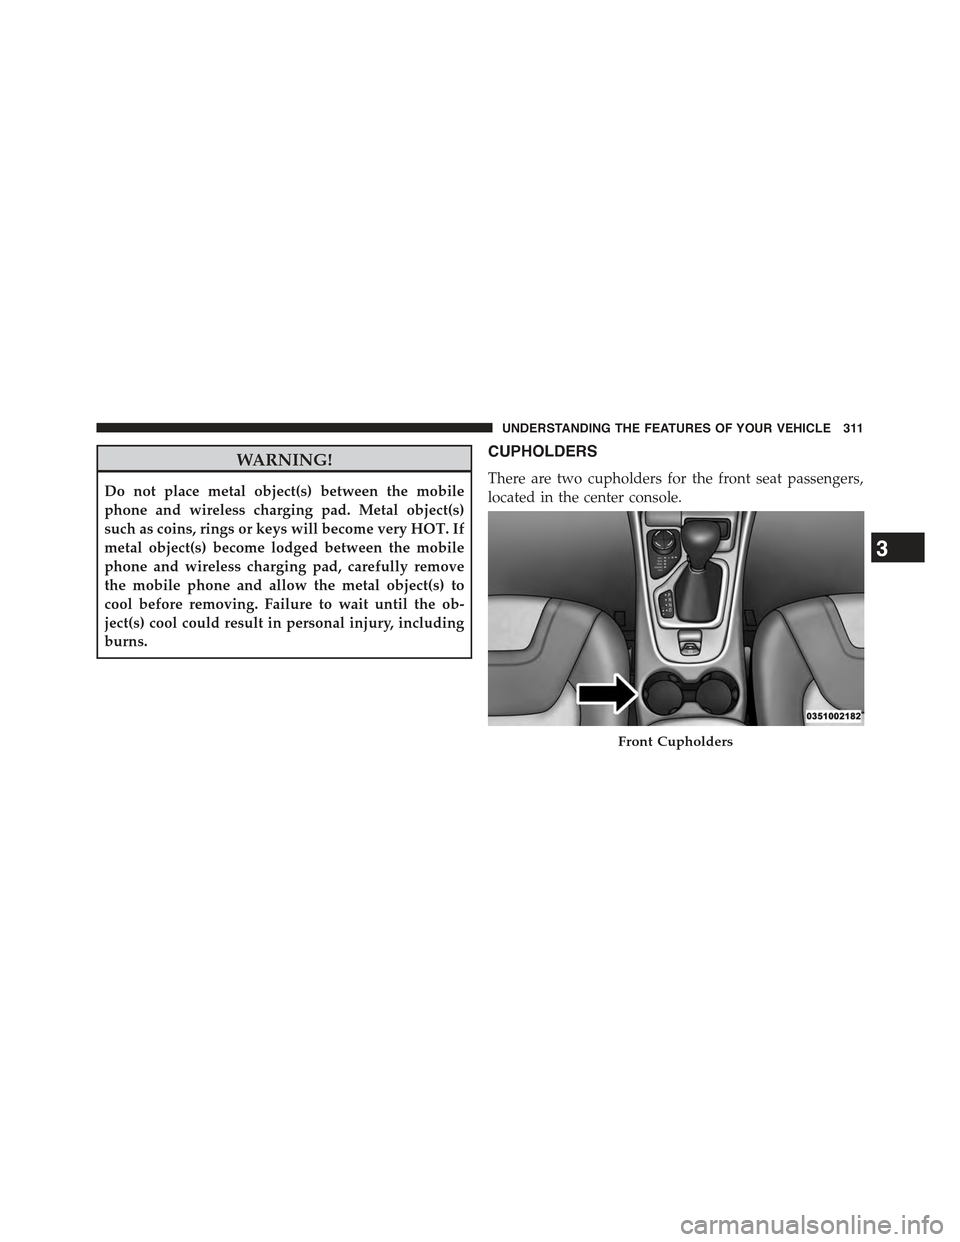
There are two cupholders for the front seat passengers,
located in the center console.
Front Cupholders
3
UNDERSTANDING THE FEATURES OF YOUR VEHICLE 311
Page 314 of 772
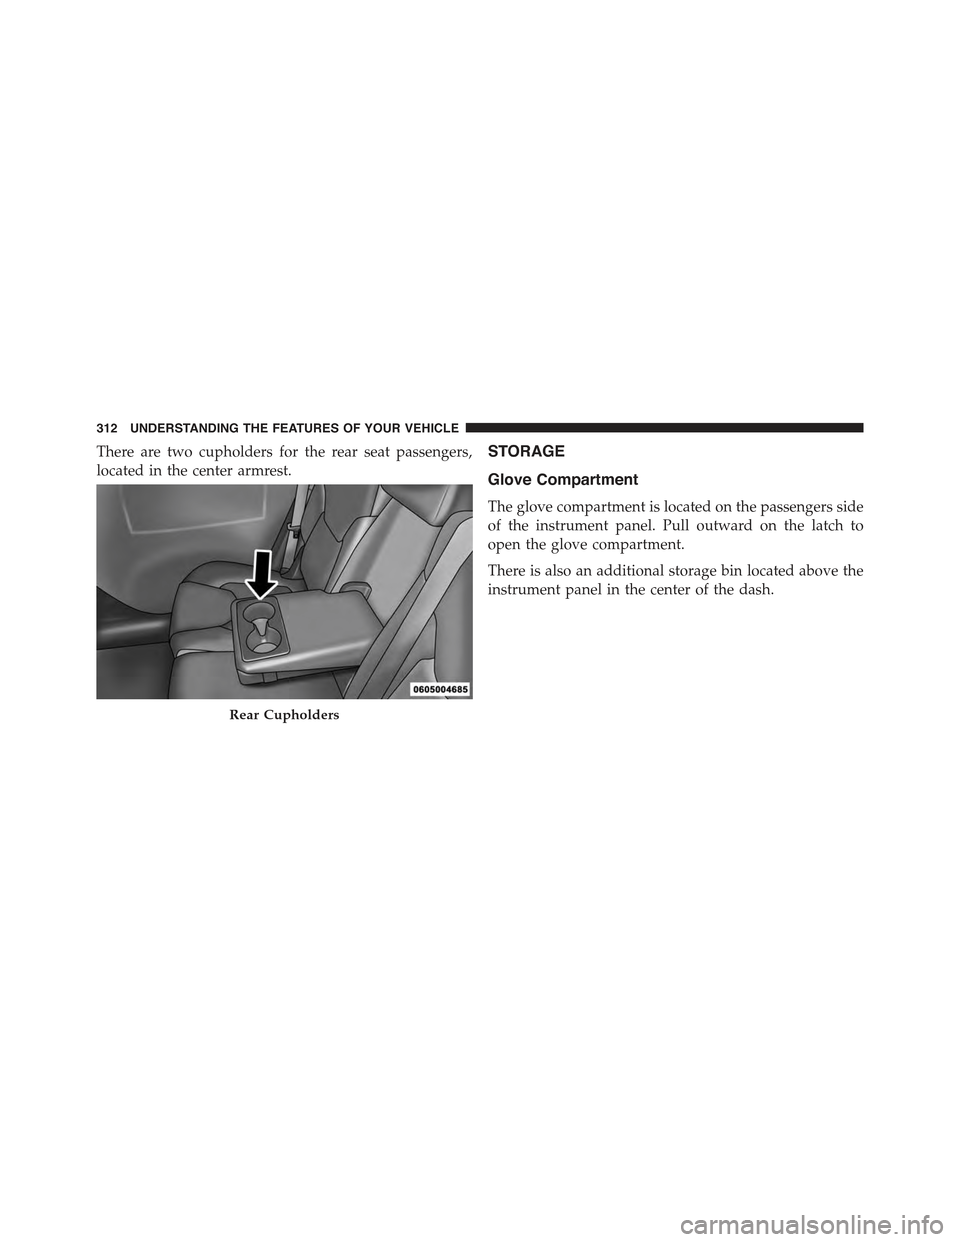
There are two cupholders for the rear seat passengers,
located in the center armrest.
STORAGE
Glove Compartment
The glove compartment is located on the passengers side
of the instrument panel. Pull outward on the latch to
open the glove compartment.
There is also an additional storage bin located above the
instrument panel in the center of the dash.
Rear Cupholders
312 UNDERSTANDING THE FEATURES OF YOUR VEHICLE
Page 315 of 772
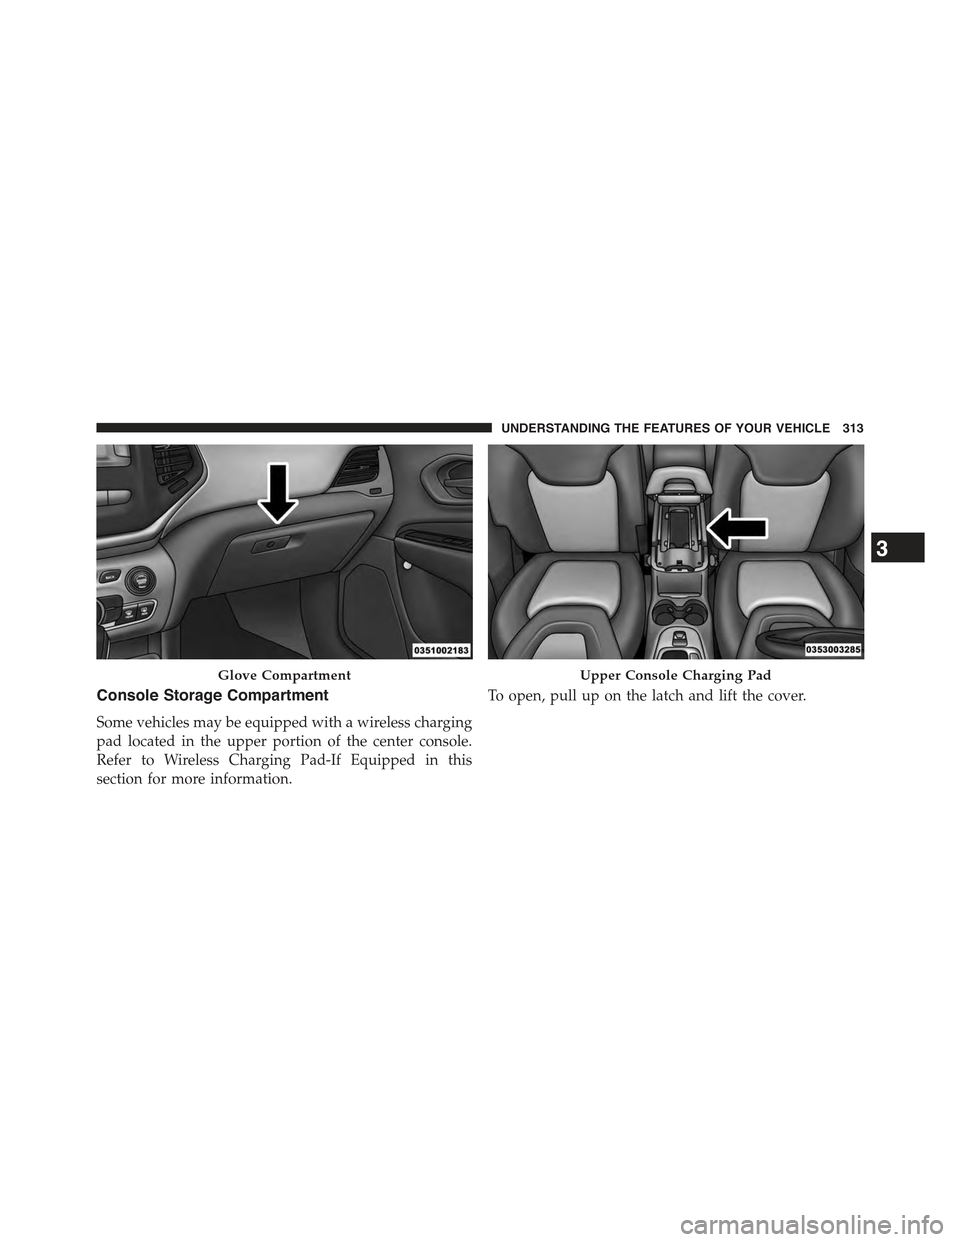
Console Storage Compartment
Some vehicles may be equipped with a wireless charging
pad located in the upper portion of the center console.
Refer to Wireless Charging Pad-If Equipped in this
section for more information.
To open, pull up on the latch and lift the cover.
Glove CompartmentUpper Console Charging Pad
3
UNDERSTANDING THE FEATURES OF YOUR VEHICLE 313
Page 316 of 772
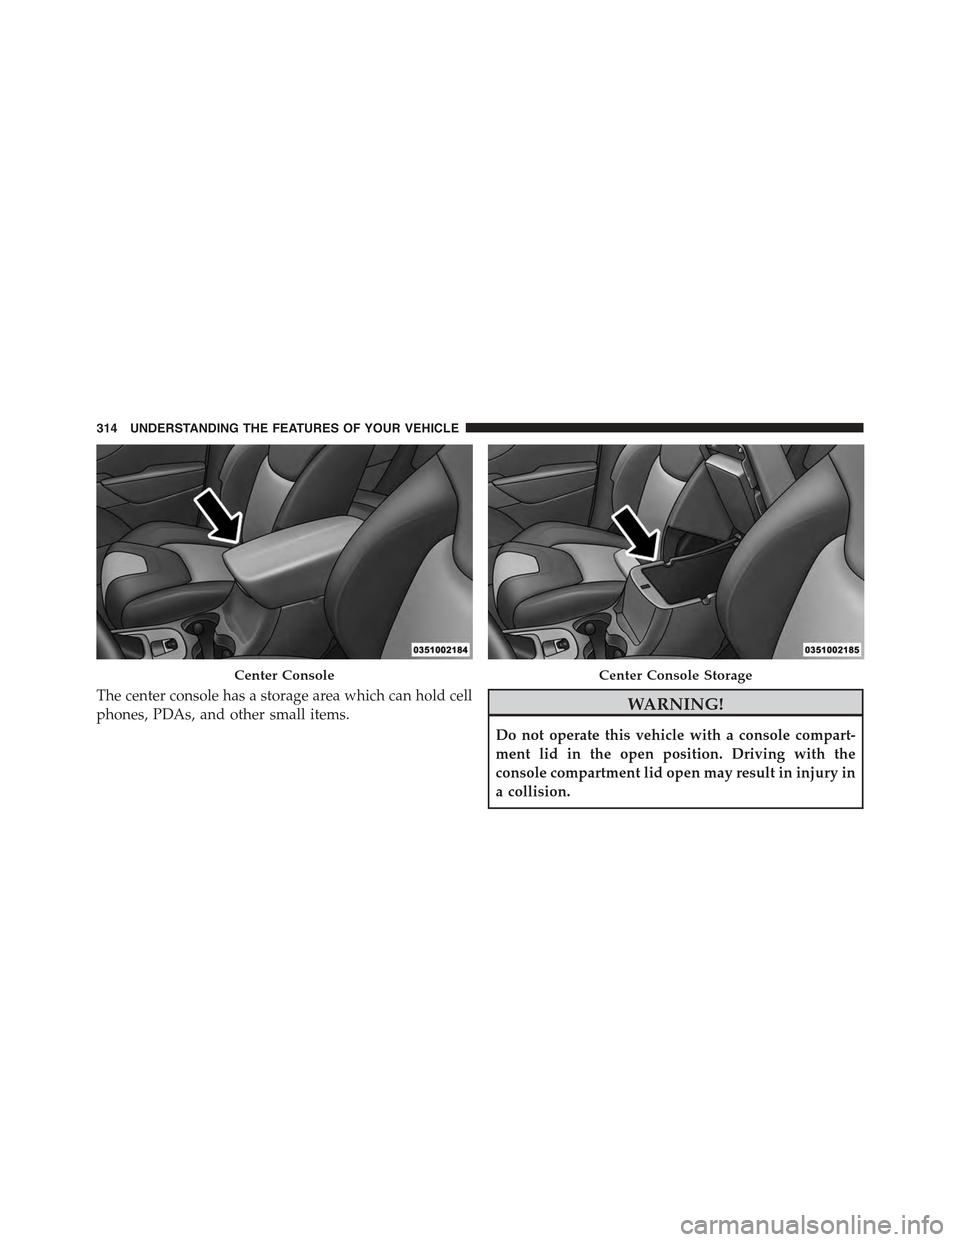
The center console has a storage area which can hold cell
phones, PDAs, and other small items.WARNING!
Do not operate this vehicle with a console compart-
ment lid in the open position. Driving with the
console compartment lid open may result in injury in
a collision.
Center ConsoleCenter Console Storage
314 UNDERSTANDING THE FEATURES OF YOUR VEHICLE
Page 317 of 772

Flip ’n Stow™ Front Passenger Seat Storage — If
Equipped
Some models may be equipped with storage under the
front passenger seat cushion. Pull upward on the seat
cushion loop to open the storage compartment.
NOTE:Make sure that objects inside the bin do not
interfere with the latch before closing the seat. Push the
seat cushion downward after closing it to make sure it
latches to the base.
Passenger Seat Cushion Loop
Passenger Seat Cushion Storage Compartment
3
UNDERSTANDING THE FEATURES OF YOUR VEHICLE 315
Page 318 of 772
WARNING!
Be certain that the seat cushion is locked securely
into position before using the seat. Otherwise, the
seat will not provide the proper stability for passen-
gers. An improperly latched seat cushion could cause
serious injury.
CARGO AREA FEATURES
Cargo Load Floor
The cargo load floor system has a load capacity of 400 lbs
(181 kg).
To provide additional storage area, each rear seat can be
folded flat. This allows for extended cargo space and still
maintains some rear seating room. Refer to “Seats” in this
section for further information.
Cargo Extension Panels
Cargo extension panels can be folded and unfolded.
When the rear seats are moved to the more forward
positions and the rear seat backs are folded down, the
extension panels can be unfolded manually by hand (2 of
them). The extension panels can be used to extend the
load floor to the rear seats and/or hide the gap between
the load floor and rear seats, or to assist in loading large
items into the cargo area.
Cargo Tie-Down Hooks And Loops
The tie-downs located on the cargo area floor should be
used to secure loads safely when the vehicle is moving.
Cargo tie-down loops are located on the trim panels.
316 UNDERSTANDING THE FEATURES OF YOUR VEHICLE
Page 319 of 772
WARNING!
•Cargo tie-downs are not safe anchors for a child
seat tether strap. In a sudden stop or accident, a
tie-down could pull loose and allow the child seat
to come loose. A child could be badly injured. Use
only the anchors provided for child seat tethers.
•To help protect against personal injury, passengers
should not be seated in the rear cargo area. The rear
cargo space is intended for load carrying purposes
only, not for passengers, who should sit in seats
and use seat belts.
WARNING!
The weight and position of cargo and passengers can
change the vehicle center of gravity and vehicle
(Continued)
WARNING!(Continued)
handling. To avoid loss of control resulting in per-
sonal injury, follow these guidelines for loading your
vehicle:
•Do not carry loads that exceed the load limits
described on the label attached to the left door or
left door center pillar.
•Always place cargo evenly on the cargo floor. Put
heavier objects as low and as far forward as pos-
sible.
•Place as much cargo as possible in front of the rear
axle. Too much weight or improperly placed weight
over or behind the rear axle can cause the vehicle to
sway.
•Do not pile luggage or cargo higher than the top of
the seatback. This could impair visibility or be-
come a dangerous projectile in a sudden stop or
accident.
3
UNDERSTANDING THE FEATURES OF YOUR VEHICLE 317
Page 320 of 772
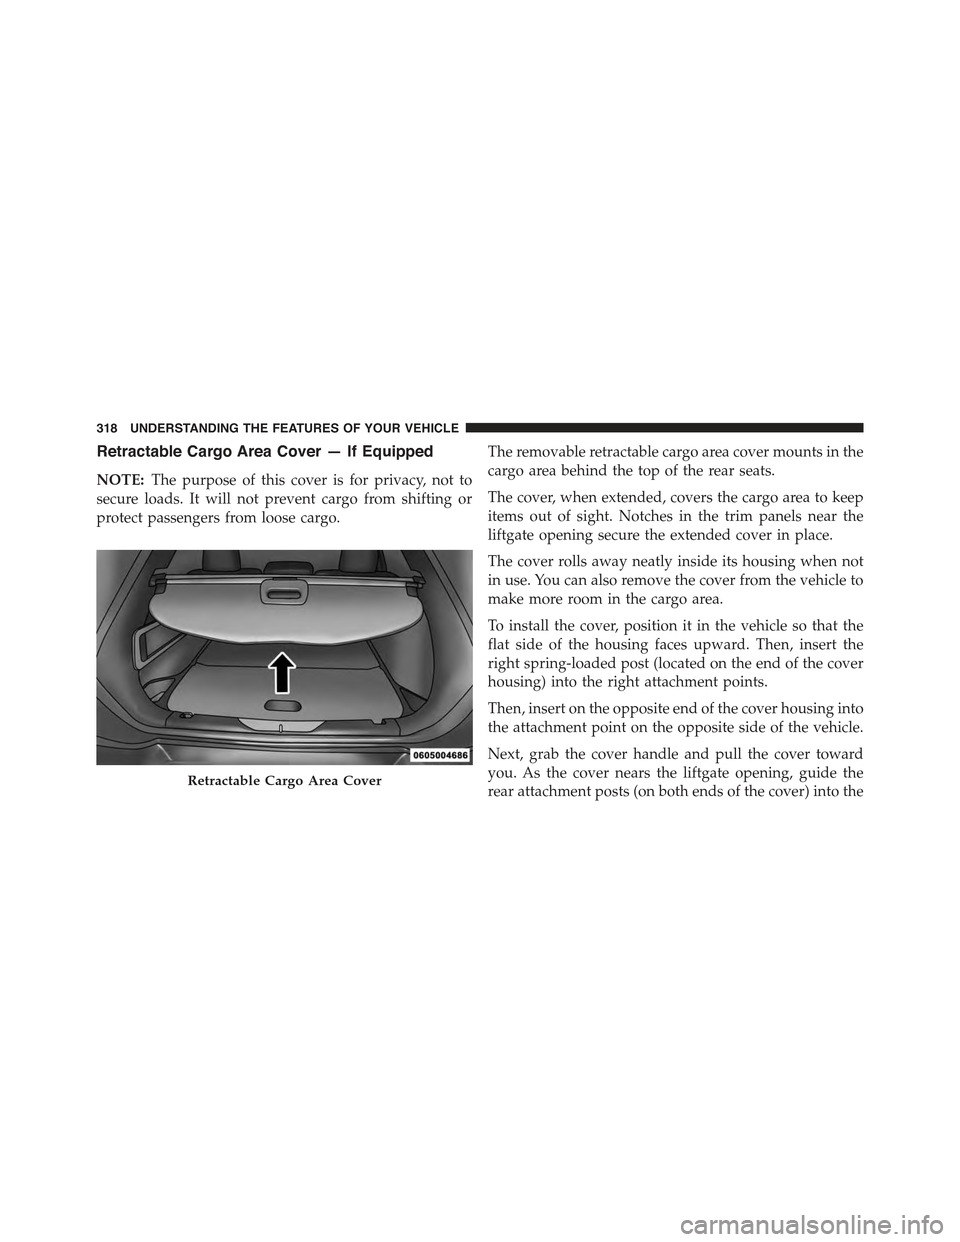
Retractable Cargo Area Cover — If Equipped
NOTE:The purpose of this cover is for privacy, not to
secure loads. It will not prevent cargo from shifting or
protect passengers from loose cargo.
The removable retractable cargo area cover mounts in the
cargo area behind the top of the rear seats.
The cover, when extended, covers the cargo area to keep
items out of sight. Notches in the trim panels near the
liftgate opening secure the extended cover in place.
The cover rolls away neatly inside its housing when not
in use. You can also remove the cover from the vehicle to
make more room in the cargo area.
To install the cover, position it in the vehicle so that the
flat side of the housing faces upward. Then, insert the
right spring-loaded post (located on the end of the cover
housing) into the right attachment points.
Then, insert on the opposite end of the cover housing into
the attachment point on the opposite side of the vehicle.
Next, grab the cover handle and pull the cover toward
you. As the cover nears the liftgate opening, guide the
rear attachment posts (on both ends of the cover) into theRetractable Cargo Area Cover
318 UNDERSTANDING THE FEATURES OF YOUR VEHICLE