wheel JEEP CHEROKEE 2016 KL / 5.G Owner's Guide
[x] Cancel search | Manufacturer: JEEP, Model Year: 2016, Model line: CHEROKEE, Model: JEEP CHEROKEE 2016 KL / 5.GPages: 236, PDF Size: 11.24 MB
Page 156 of 236
The NEUTRAL position allows vehicles with 2-speed Four-Wheel Drive to be flat
towed (with all wheels on the ground) without damaging the drivetrain. Refer to
“Recreational Towing” for instructions on shifting into and out of NEUTRAL.
NOTE:
In 4X4 LOW the engine speed is approximately three times that of the normal driving
mode at a given road speed. Take care not to overspeed the engine and do not exceed
25 mph (40 km/h).
Shifting Procedures
4X4 HI To 4X4 LOW
With the vehicle at speeds of 0 to 3 mph (0 to 5 km/h), the ignition switch in the ON
position or the engine running, shift the transmission into NEUTRAL, and press the
“4WD LOW” button once. The “4WD LOW” indicator light in the instrument cluster
will begin to flash and remain on solid when the shift is complete.
NOTE:
If shift conditions/interlocks are not met a message will flash from the Electronic
Vehicle Information Center (EVIC)/Driver Information Display (DID) with instructions
on how to complete the requested shift. Refer to “Electronic Vehicle Information
Center (EVIC)/Driver Information Display (DID)” in “Understanding Your Instrument
Panel” on the DVD for further information.
4X4 LOW To 4X4 HI
With the vehicle at speeds of 0 to 3 mph (0 to 5 km/h), the ignition switch in the ON
position or the engine running, shift the transmission into NEUTRAL, and press the
“4WD LOW” button once. The “4WD LOW” indicator light in the instrument cluster
will flash and go out when the shift is complete.
NOTE:
If shift conditions/interlocks are not met a message will flash from the Electronic
Vehicle Information Center (EVIC)/Driver Information Display (DID) with instructions
on how to complete the requested shift. Refer to “Electronic Vehicle Information
Center (EVIC)/Driver Information Display (DID)” in “Understanding Your Instrument
Panel” on the DVD for further information.
OFF-ROAD CAPABILITIES
154
Page 158 of 236
SELEC-TERRAIN
Selec-Terrain combines the capabilities of the vehicle control systems, along with
driver input, to provide the best performance for all terrains.
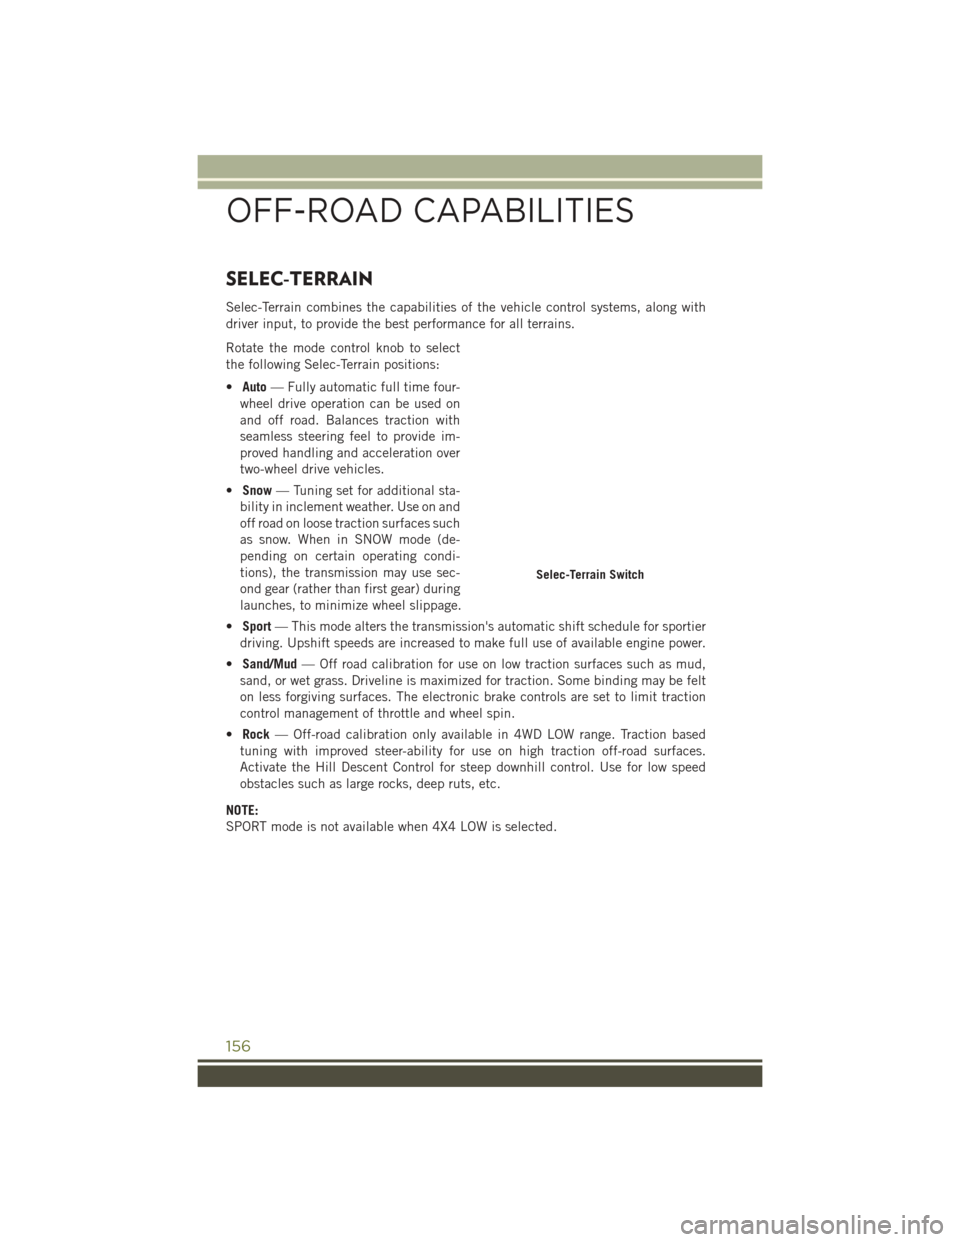
Rotate the mode control knob to select
the following Selec-Terrain positions:
•Auto — Fully automatic full time four-
wheel drive operation can be used on
and off road. Balances traction with
seamless steering feel to provide im-
proved handling and acceleration over
two-wheel drive vehicles.
• Snow — Tuning set for additional sta-
bility in inclement weather. Use on and
off road on loose traction surfaces such
as snow. When in SNOW mode (de-
pending on certain operating condi-
tions), the transmission may use sec-
ond gear (rather than first gear) during
launches, to minimize wheel slippage.
• Sport — This mode alters the transmission's automatic shift schedule for sportier
driving. Upshift speeds are increased to make full use of available engine power.
• Sand/Mud — Off road calibration for use on low traction surfaces such as mud,
sand, or wet grass. Driveline is maximized for traction. Some binding may be felt
on less forgiving surfaces. The electronic brake controls are set to limit traction
control management of throttle and wheel spin.
• Rock — Off-road calibration only available in 4WD LOW range. Traction based
tuning with improved steer-ability for use on high traction off-road surfaces.
Activate the Hill Descent Control for steep downhill control. Use for low speed
obstacles such as large rocks, deep ruts, etc.
NOTE:
SPORT mode is not available when 4X4 LOW is selected.
Selec-Terrain Switch
OFF-ROAD CAPABILITIES
156
Page 160 of 236
TRAILER TOWING
Trailer Towing Weights (Maximum Trailer Weight Ratings)
Engine/
Transmission Model Frontal Area Maximum GTW(Gross Trailer Wt.)
Maximum
Tongue Wt. (See Note)
2.4L/Automatic with or without Trailer TowPackage FWD or 4WD
32 sq ft
(2.97 sq m) 2,000 lbs
(907 kg) 200 lbs
(91 kg)
3.2L/Automatic FWD or 4WD 32 sq ft
(2.97 sq m) 2,000 lbs
(907 kg) 200 lbs
(91 kg)
3.2L/Automatic with Trailer Tow Package FWD or 4WD
39.44 sq ft
(3.66 sq m) 4,500 lbs
(2 041 kg) 450 lbs
(204 kg)
Refer to local laws for maximum trailer towing speeds.
NOTE: The trailer tongue weight must be considered as part of the combined weight of oc- cupants and cargo, and should never exceed the weight referenced on the Tire and Load- ing Information placard.
RECREATIONAL TOWING (BEHIND MOTORHOME,
ETC.)
Towing This Vehicle Behind Another Vehicle
4X4 Models
Towing
Condition Wheels OFF
the Ground Front-Wheel
Drive (FWD) Models 1-Speed
Power Transfer Unit 2-Speed Power
Transfer Unit
Flat Tow NONE NOT ALLOWED NOT ALLOWED See Instructions:
• Transmission
inPARK
• Power transfer unit
inNEUTRAL (N)
• Tow in forward
direction
Dolly Tow Front OK
NOT ALLOWED NOT ALLOWED
Rear NOT ALLOWED NOT ALLOWED NOT ALLOWED
On Trailer ALL OK OK OK NOTE:
•
You must ensure that the Auto Park Brake feature is disabled before towing this
vehicle, to avoid inadvertent Electric Park Brake engagement. The Auto Park Brake
feature is enabled or disabled via the customer programmable features in the
Uconnect Settings.
•When recreational towing your vehicle, always follow applicable state and provincial
laws. Contact state and provincial Highway Safety offices for additional details.
UTILITY
158
Page 161 of 236
Recreational Towing — Front-Wheel Drive (FWD) Models
DO NOTflat tow this vehicle. Damage to the drivetrain will result.
Recreational towing (for front-wheel drive models) is allowed ONLY if the front wheels
are OFF the ground. This may be accomplished using a tow dolly or vehicle trailer.
If using a tow dolly, follow this procedure:
1. Properly secure the dolly to the tow vehicle, following the dolly manufacturer's instructions.
2. Drive the front wheels onto the tow dolly.
3. Apply the parking brake. Place the transmission in PARK. Turn the engine OFF.
4. Properly secure the front wheels to the dolly, following the dolly manufacturer's instructions.
5. Turn the ignition to the ON/RUN position, but do not start the engine.
6. Press and hold the brake pedal.
7. Release the parking brake.
8. Turn the ignition OFF, remove the Key Fob, and release the brake pedal.
CAUTION!
• Towing with the front wheels on the ground will cause severe transmission damage. Damage from improper towing is not covered under the New Vehicle
Limited Warranty.
• Ensure that the Electric Park Brake is released, and remains released, while
being towed.
Recreational Towing — 4X4 Models With 1-Speed Power Transfer Unit
Recreational towing is not allowed. These models do not have a NEUTRAL (N) position
in the power transfer unit.
NOTE:
This vehicle may be towed on a flatbed or vehicle trailer provided all four wheels are
OFF the ground.
CAUTION!
Towing this vehicle with ANYof its wheels on the ground can cause severe
transmission and/or power transfer unit damage. Damage from improper towing is not
covered under the New Vehicle Limited Warranty.
UTILITY
159
Page 162 of 236
Recreational Towing — 4X4 Models With 2-Speed Power Transfer Unit
The power transfer unit must be shifted into NEUTRAL (N) and the transmission
must be in PARK for recreational towing. The NEUTRAL (N) selection button is
adjacent to the 4WD selector switch. Shifts into and out of NEUTRAL (N) can take
place with the selector switch in any mode position.
CAUTION!
• DO NOT dolly tow any 4x4 vehicle. Towing with only one set of wheels on theground (front or rear) will cause severe transmission and/or power transfer unit
damage. Tow with all four wheels either ON the ground, or OFF the ground
(using a vehicle trailer).
• Tow only in a forward direction. Towing this vehicle backwards can cause severe
damage to the power transfer unit.
• The transmission must be in PARK for recreational towing.
• Before recreational towing, perform the procedure outlined under “Shifting
into NEUTRAL (N)” to be certain that the power transfer unit is fully in
NEUTRAL (N). Otherwise, internal damage will result.
• Towing this vehicle in violation of the above requirements can cause severe
transmission and/or power transfer unit damage. Damage from improper
towing is not covered under the New Vehicle Limited Warranty.
• Ensure that the Electric Park Brake is released, and remains released, while
being towed.
• Do not use a bumper-mounted clamp-on tow bar on your vehicle. The bumper
face bar will be damaged.
Shifting Into NEUTRAL (N)
WARNING!
You or others could be injured or killed if you leave the vehicle unattended with
the power transfer unit in the NEUTRAL (N) position without first fully engaging
the parking brake. The NEUTRAL (N) position disengages both the front and
rear driveshafts from the powertrain and will allow the vehicle to roll, even if the
automatic transmission is in PARK (or manual transmission is in gear). The
parking brake should always be applied when the driver is not in the vehicle.
Use the following procedure to prepare your vehicle for recreational towing.
CAUTION!
It is necessary to follow these steps to be certain that the power transfer unit is fully
in NEUTRAL (N) before recreational towing to prevent damage to internal parts.
UTILITY
160
Page 167 of 236
IF THE LIGHT STARTS FLASHING INDICATING A LOW TIRE PRESSURE, ADJUST THE AIR
PRESSURE IN THE LOW TIRE TO THE AIR PRESSURE SHOWN ON THE VEHICLE PLACARD OR
TIRE INFLATION PRESSURE LABEL LOCATED ON THE DRIVER'S DOOR.
NOTE:
After inflation, the vehicle may need to be driven for 20 minutes before the flashing light
will turn off.
Please note that the TPMS is not a substitute for proper tire maintenance, and it is
the driver’s responsibility to maintain correct tire pressure, even if under-inflation
has not reached the level to trigger illumination of the TPMS low EVIC or DID display.
Your vehicle has also been equipped with a TPMS malfunction indicator to indicate
when the system is not operating properly. The TPMS malfunction indicator is
combined with the low tire pressure telltale. When the system detects a malfunction,
the telltale will flash for approximately one minute and then remain continuously
illuminated. This sequence will continue each time the vehicle is restarted as long as
the malfunction exists.
When the malfunction indicator is illuminated, the system may not be able to detect
or signal low tire pressure as intended. TPMS malfunctions may occur for a variety of
reasons, including the installation of replacement or alternate tires or wheels on the
vehicle that prevent the TPMS from functioning properly. Always check the TPMS
malfunction telltale after replacing one or more tires or wheels on your vehicle, to
ensure that the replacement or alternate tires and wheels allow the TPMS to continue
to function properly.
NOTE:
Tire pressures change by approximately 1 psi (7 kPa) per 12° F (7° C) of air
temperature change. Keep this in mind when checking tire pressure inside a garage,
especially in the Winter. Example: If garage temperature is 68°F (20°C) and the
outside temperature is 32°F (0°C), then the cold tire inflation pressure should be
increased by 3 psi (21 kPa), which equals 1 psi (7 kPa) for every 12°F (7°C) for this
outside temperature condition.
CAUTION!
The TPMS has been optimized for the original equipment tires and wheels. TPMS
pressures and warning have been established for the tire size equipped on your
vehicle. Undesirable system operation or sensor damage may result when using
replacement equipment that is not of the same size, type, and/or style. After-
market wheels can cause sensor damage. Do not use tire sealant from a can, or
balance beads if your vehicle is equipped with a TPMS, as damage to the sensors
may result.
WHAT TO DO IN EMERGENCIES
165
Page 177 of 236
Tire Service Kit Usage Precautions
• Replace the Tire Service Kit Sealant Bottle (1) and Sealant Hose (6) prior to theexpiration date (printed on the bottle label) to assure optimum operation of the
system. Refer to “Sealing A Tire With Tire Service Kit” section (F) “Sealant Bottle
and Hose Replacement.”
• The Sealant Bottle (1) and Sealant Hose (6) are a one tire application use. After each use, always replace these components immediately at an authorized dealer.
• When the Tire Service Kit sealant is in a liquid form, clean water, and a damp cloth will remove the material from the vehicle or tire and wheel components. Once the
sealant dries, it can easily be peeled off and properly discarded.
• For optimum performance, make sure the valve stem on the wheel is free of debris before connecting the Tire Service Kit.
• You can use the Tire Service Kit air pump to inflate bicycle tires. The kit also comes with two needles, located in the Accessory Storage Compartment (on the
bottom of the air pump) for inflating sport balls, rafts, or similar inflatable items.
However, use only the Air Pump Hose (7) and make sure the Mode Select Knob (5)
is in the Air Mode when inflating such items to avoid injecting sealant into them.
The Tire Service Kit Sealant is only intended to seal punctures less than 1/4 inch
(6 mm) diameter in the tread of your vehicle.
• Do not lift or carry the Tire Service Kit by the hoses.
Sealing A Tire With Tire Service Kit
(A) Whenever You Stop To Use Tire Service Kit:
1. Pull over to a safe location and turn on the vehicle’s Hazard Warning flashers.
2. Verify that the valve stem (on the wheel with the deflated tire) is in a position that is near to the ground. This will allow the Tire Service Kit Hoses (6) and (7) to reach
the valve stem and keep the Tire Service Kit flat on the ground. This will provide
the best positioning of the kit when injecting the sealant into the deflated tire and
running the air pump. Move the vehicle as necessary to place the valve stem in
this position before proceeding.
3. Place the transmission in PARK (auto transmission) or in Gear (manual transmis- sion) and cycle the ignition to the OFF position.
4. Set the parking brake.
(B) Setting Up To Use Tire Service Kit:
1. Turn the Mode Select Knob (5) to the Sealant Mode position.
2. Uncoil the Sealant Hose (6) and then remove the cap from the fitting at the end of the hose.
3. Place the Tire Service Kit flat on the ground next to the deflated tire.
WHAT TO DO IN EMERGENCIES
175
Page 181 of 236
NOTE:
• The metal end fitting from Power Plug (8) may get hot after use, so it should behandled carefully.
• Failure to reinstall the cap on the fitting at the end of the Sealant Hose (6) can result in sealant contacting your skin, clothing, and the vehicle’s interior. It can
also result in sealant contacting internal Tire Service Kit components which may
cause permanent damage to the kit.
WARNING!
•Do not attempt to seal a tire on the side of the vehicle closest to traffic. Pull far
enough off the road to avoid the danger of being hit when using the Tire Service
Kit.
• Do not use the Tire Service Kit or drive the vehicle under the following circumstances:
• If the puncture in the tire tread is approximately 1/4”. (6 mm) or larger.
• If the tire has any sidewall damage.
• If the tire has any damage from driving with extremely low tire pressure.
• If the tire has any damage from driving on a flat tire.
• If the wheel has any damage.
• If you are unsure of the condition of the tire or the wheel.
• Keep the Tire Service Kit away from open flames or heat source.
• A loose Tire Service Kit thrown forward in a collision or hard stop could
endanger the occupants of the vehicle. Always stow the Tire Service Kit in the
place provided. Failure to follow these warnings can result in injuries that are
serious or fatal to you, your passengers, and others around you.
•
Take care not to allow the contents of the Tire Service Kit to come in contact with
hair, eyes, or clothing. The Tire Service Kit is harmful if inhaled, swallowed, or
absorbed through the skin. It causes skin, eye, and respiratory irritation. Flush
immediately with plenty of water if there is any contact with eyes or skin. Change
clothing as soon as possible, if there is any contact with clothing.
• The Tire Service Kit Sealant solution contains latex. In case of an allergic
reaction or rash, consult a physician immediately. Keep the Tire Service Kit out
of reach of children. If swallowed, rinse mouth immediately with plenty of
water and drink plenty of water. Do not induce vomiting! Consult a physician
immediately.
• The Tire Service Kit is not a permanent flat tire repair. Have the tire inspected
and repaired or replaced after using the Tire Service Kit. Do not exceed 55 mph
(88 km/h) until the tire is repaired or replaced. Failure to follow this warning
can result in injuries that are serious or fatal to you, your passengers, and
others around you.
WHAT TO DO IN EMERGENCIES
179
Page 182 of 236
JACKING AND TIRE CHANGING
WARNING!
• Do not attempt to change a tire on the side of the vehicle close to movingtraffic. Pull far enough off the road to avoid the danger of being hit when
operating the jack or changing the wheel.
• Being under a jacked-up vehicle is dangerous. The vehicle could slip off the
jack and fall on you. You could be crushed. Never put any part of your body
under a vehicle that is on a jack. If you need to get under a raised vehicle, take
it to a service center where it can be raised on a lift.
• Never start or run the engine while the vehicle is on a jack.
• The jack is designed to be used as a tool for changing tires only. The jack
should not be used to lift the vehicle for service purposes. The vehicle should
be jacked on a firm level surface only. Avoid ice or slippery areas.
Jack Location/Spare Tire Stowage
The jack, wheel chocks and spare tire are stowed under the load floor behind the rear
seat.
1. Open the liftgate.
2. Lift the access cover using the load floor handle.
3. Remove the hook from the stowed position on the back side of the load floor and place the hook over the top body in white flange and weather seal. This will hold
the load floor up while obtaining the jack and spare tire.
4. Remove the fastener securing the jack and spare tire.
5. Remove the chocks.
6. Remove the scissors jack and wheel bolt wrench from the spare wheel as an assembly. Turn the jack screw to the left to loosen the wheel bolt wrench, and
remove the wrench from the jack assembly.
NOTE:
The jack handle attaches to the side of the jack with two attachment points. When
the jack is partially expanded, the tension between the two attachment points holds
the jack handle in place.
7. Remove the spare tire.
WHAT TO DO IN EMERGENCIES
180
Page 183 of 236
WARNING!
A loose tire or jack thrown forward in a collision or hard stop could endanger the
occupants of the vehicle. Always stow the jack parts and the spare tire in the
places provided. Have the deflated (flat) tire repaired or replaced immediately.
Preparations For Jacking
1. Park the vehicle on a firm level surface as far from the edge of the roadway aspossible. Avoid icy or slippery areas.
WARNING!
Do not attempt to change a tire on the side of the vehicle close to moving traffic,
pull far enough off the road to avoid being hit when operating the jack or changing
the wheel.
2. Turn on the Hazard Warning flasher.
3. Set the parking brake.
4. Place the shift lever into PARK.
5. Turn the ignition off to the LOCK position.
6. Chock both the front and rear of the wheel diagonally opposite of the jacking position. For example, if changing the right front tire, chock the left rear wheel.
NOTE:
Passengers should not remain in the ve-
hicle when the vehicle is being jacked.
Wheel Chocks
WHAT TO DO IN EMERGENCIES
181