wheel JEEP CHEROKEE 2016 KL / 5.G Owner's Manual
[x] Cancel search | Manufacturer: JEEP, Model Year: 2016, Model line: CHEROKEE, Model: JEEP CHEROKEE 2016 KL / 5.GPages: 236, PDF Size: 11.24 MB
Page 110 of 236
Finding Points Of Interest
• From the main Navigation menu, press the “Where To?” button on the touch-screen, then press the “Points of Interest” button on the touchscreen.
• Select a Category and then a subcategory, if necessary.
• Select your destination and press the “Yes” button on the touchscreen.
Finding A Place By Spelling The Name
• From the Main Navigation Menu press the “Where to?” button on the touchscreen, press the “Points of Interest” button on the touchscreen, then press the “Spell
Name” button on the touchscreen.
• Enter the name of your destination.
• Press the “List” button on the touchscreen.
• Select your destination and press the “Yes” button on the touchscreen.
One-Step Voice Destination Entry
• Enter a navigation destination without taking your hands off the wheel.
• Just push the Uconnect Voice Command
button on the steering wheel, wait
for the beep and say something like, "Find Address 800 Chrysler Drive Auburn Hills
MI."
NOTE:
Destination entry is not available while your vehicle is in motion. However, you can
also use Voice Commands to enter an address while moving. Refer to Common
Navigation Voice Commands in the Uconnect Voice Command section.
Setting Your Home Location
• Press the “Nav” button on the touchscreen in the menu bar to access the Navigation system and the Main Navigation menu.
• Press the “Where To?” button on the touchscreen, then press the “Go Home” button on the touchscreen.
• You may enter your address directly, use your current location as your home address, or choose from recently found locations.
• To delete your Home location (or other saved locations) so you can save a new Home location, press the “Where To?” button on the touchscreen from the Main
Navigation menu, then press the “Go Home” button on the touchscreen, and in the
Yes screen press the “Options” button on the touchscreen. In the Options menu
press the “Clear Home” button on the touchscreen. Set a new Home location by
following the previous instructions.
ELECTRONICS
108
Page 115 of 236
4. Each time you give a Voice Command, you must first push either the VR or Phonebutton, wait until afterthe beep, then say your Voice Command.
5. You can interrupt the help message or system prompts by pushing the VR or Phone button and saying a Voice Command from current category.
All you need to control your Uconnect system with your voice are the buttons on your
steering wheel.
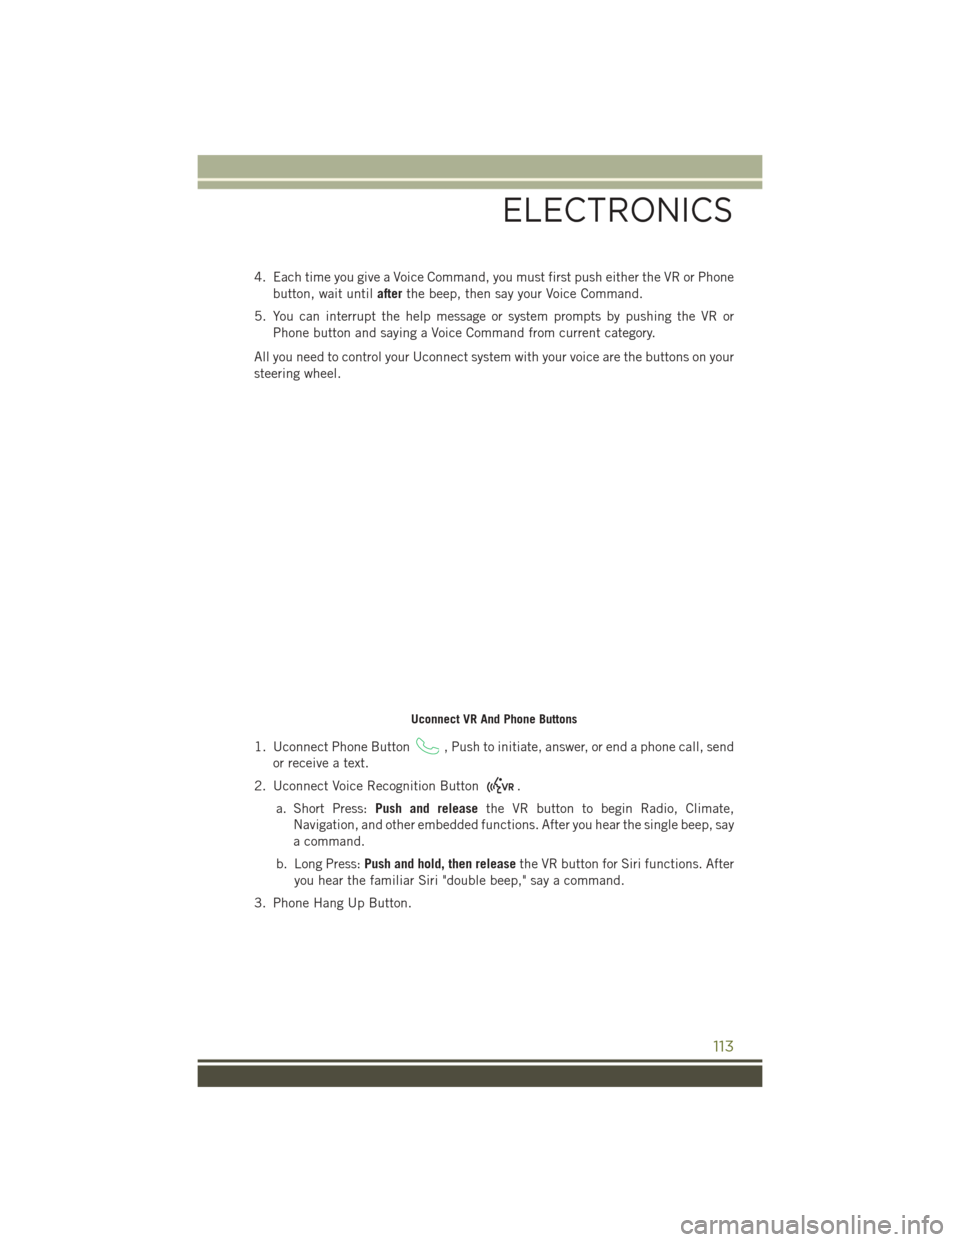
1. Uconnect Phone Button
, Push to initiate, answer, or end a phone call, send
or receive a text.
2. Uconnect Voice Recognition Button
.
a. Short Press: Push and release the VR button to begin Radio, Climate,
Navigation, and other embedded functions. After you hear the single beep, say
a command.
b. Long Press: Push and hold, then release the VR button for Siri functions. After
you hear the familiar Siri "double beep," say a command.
3. Phone Hang Up Button.
Uconnect VR And Phone Buttons
ELECTRONICS
113
Page 120 of 236
Siri Eyes Free — If Equipped
Siri lets you use your voice to send text messages, select media, place phone calls
and much more. Siri uses your natural language to understand what you mean and
will respond back to confirm your requests. The system is designed to keep your eyes
on the road and your hands on the wheel by letting Siri help you perform useful tasks.
To enable Siri push and hold, then release the Uconnect Voice Recognition (VR)
button on the steering wheel. After you hear a double beep you can ask Siri to play
podcasts and music, get directions, read text messages and many other useful
requests.
Siri Eyes Free Available
ELECTRONICS
118
Page 122 of 236
2.Push and Hold, then release the Uconnect Voice Recognition (VR) buttonon
the steering wheel. After you hear the familiar Siri "double beep," say a command.
NOTE:
A push and release of the
button
will start normal embedded VR functions.
The push and hold, then release of the
button will start Siri functions.
3. After the double beep, begin speaking to Siri.
Examples of Siri commands and ques-
tions:
• "Play Rolling Stones"
• "Send text message to John"
• "Read text message from Sarah"
• "Take me to the nearest coffee shop"
NOTE: • Speak clearly at a normal pace and volume while facing straight ahead to ensureyour command is understood.
• Siri is available on iPhone 4S and later.
VR/Siri Button
Siri Eyes Free
ELECTRONICS
120
Page 124 of 236
Climate (8.4A/8.4AN)
Too hot? Too cold? Adjust vehicle temperatures hands-free and keep everyone comfort-
able while you keep moving ahead. (If vehicle is equipped with climate control.)
Push the VR button. After the beep, say one of the following commands:
• Set driver temperature to 70degrees
• Set passenger temperature to 70degrees
TIP: Voice Command for Climate may only be used to adjust the interior temperature
of your vehicle. Voice Command will not work to adjust the heated seats or steering
wheel (if equipped).
Uconnect 8.4A/8.4AN Climate
ELECTRONICS
122
Page 135 of 236
If the Uconnect Phone Buttonexists on your steering wheel, you then have the
Uconnect Phone features.
Refer to the Understand The Features Of Your Vehicle section of your vehicle's Owner's
Manual on the DVD for further details.
NOTE:
• The Uconnect Phone requires a mobile phone equipped with the Bluetooth Hands-Free Profile, Version 1.0 or higher.
• Most mobile phones/devices are compatible with the Uconnect system, however some mobile phones/devices may not be equipped with all of the required features
to utilize all of the Uconnect system features.
• For Uconnect Customer Care: • U.S. residents visit UconnectPhone.com or call 1-877-855-8400.
• Canadian Residents visit UconnectPhone.com or call, 1-800-465-2001(English) or 1-800-387-9983 (French).
Pairing (Wirelessly Connecting) Your Mobile Phone To The Uconnect System
Mobile phone pairing is the process of establishing a wireless connection between a
cellular phone and the Uconnect system.
NOTE:
• To use the Uconnect Phone feature, you first must determine if your mobilephone and software are compatible with the Uconnect system. Please visit
UconnectPhone.com for complete mobile phone compatibility information.
• Mobile phone pairing is not available while the vehicle is in motion.
• A maximum of 10 mobile phones can be paired to the Uconnect system.
Start Pairing Procedure On The Radio
Uconnect 5.0:
1. Place the ignition in the ACC or ON position.
2. Press the “Phone” button.
3. Select “Settings.”
4. Select “Paired Phones.”
5. Select “Add device.” • Uconnect Phone will display an “Inprogress” screen while the system
is connecting.
Uconnect 5.0
ELECTRONICS
133
Page 138 of 236
Select The Android Mobile Phone's Priority Level
When the pairing process has successfully completed, the system will prompt you to
choose whether or not this is your favorite mobile phone. Selecting “Yes” will make
this mobile phone the highest priority. This mobile phone will take precedence over
other paired mobile phones within range and will connect to the Uconnect system
automatically when entering the vehicle. Only one mobile phone and/or one
Bluetooth audio device can be connected to the Uconnect system at a time. If “No”
is selected, simply select “Uconnect” from the mobile phone/audio device Bluetooth
screen, and the Uconnect system will reconnect to the Bluetooth device.
You are now ready to make hands-free calls. Press the Uconnect “Phone” button
on your steering wheel to begin.
NOTE:
Refer to UconnectPhone.com website for additional information on mobile phone
pairing and for a list of compatible phones.
Common Phone Commands (Examples)
• “Call John Smith”
• “Call John Smith mobile”
• “Dial 1 248 555 1212”
• “Redial”
Mute (Or Unmute) Microphone During Call
• During a call, press the “Mute” button on the Phone main screen to mute and unmute the call.
Transfer Ongoing Call Between Handset And Vehicle
• During an on-going call, press the “Transfer” button on the Phone main screen totransfer an on-going call between handset and vehicle.
Phonebook
The Uconnect system will automatically sync your phonebook from your paired
phone, if this feature is supported by your phone. Phonebook contacts are updated
each time that the phone is connected. If your phone book entries do not appear,
check the settings on your phone. Some phones require you to enable this feature
manually.
• Your phonebook can be browsed on the Uconnect system touchscreen, but editingcan only be done on your phone. To browse, press the “Phone” button on the
touchscreen, then the “Phonebook” button on the touchscreen.
Favorite phonebook entries can be saved as Favorites for quicker access. Favorites
are shown at the top of the main phone screen.
ELECTRONICS
136
Page 139 of 236
Voice Command Tips
• Speaking complete names (i.e; Call John Doe vs. Call John) will result in greatersystem accuracy.
• You can “link” commands together for faster results. Say “Call John Doe, mobile,” for example.
• If you are listening to available voice command options, you do not have to listen to the entire list. When you hear the command that you need, push the
button on the steering wheel, wait for the beep and say your command.
Changing The Volume
• Start a dialogue by pushing the Phone button, then say a command for
example - "Help".
• Use the radio VOLUME/MUTE rotary knob to adjust the volume to a comfortable level while the Uconnect system is speaking. Please note the volume setting for
Uconnect is different than the audio system.
NOTE:
To access help, push the Uconnect Phone button
on the steering wheel and say
"help." Push the Uconnect Phone Pickup button
or the VR buttonand say
"cancel" to cancel the help session.
Using Do Not Disturb
With Do Not Disturb, you can disable notifications from incoming calls and texts,
allowing you to keep your eyes on the road and hands on the wheel. For your
convenience there is a counter display to keep track of your missed calls and text
messages while you were using Do Not Disturb.
Do Not Disturb can automatically reply with a text message, a call or both, when
declining an incoming call and send it to voicemail.
Automatic reply messages can be:
• “I am driving right now, I will get back to you shortly.”
• Create a custom auto reply message up to 160 characters.
While in Do Not Disturb, Conference Call can be selected so you can still place a
second call without being interrupted by incoming calls.
NOTE:
• Only the beginning of your custom message will be seen on the touchscreen.
• Reply with text message is not compatible with iPhones.
• Auto reply with text message is only available on phones that supporting Bluetooth MAP.
ELECTRONICS
137
Page 144 of 236
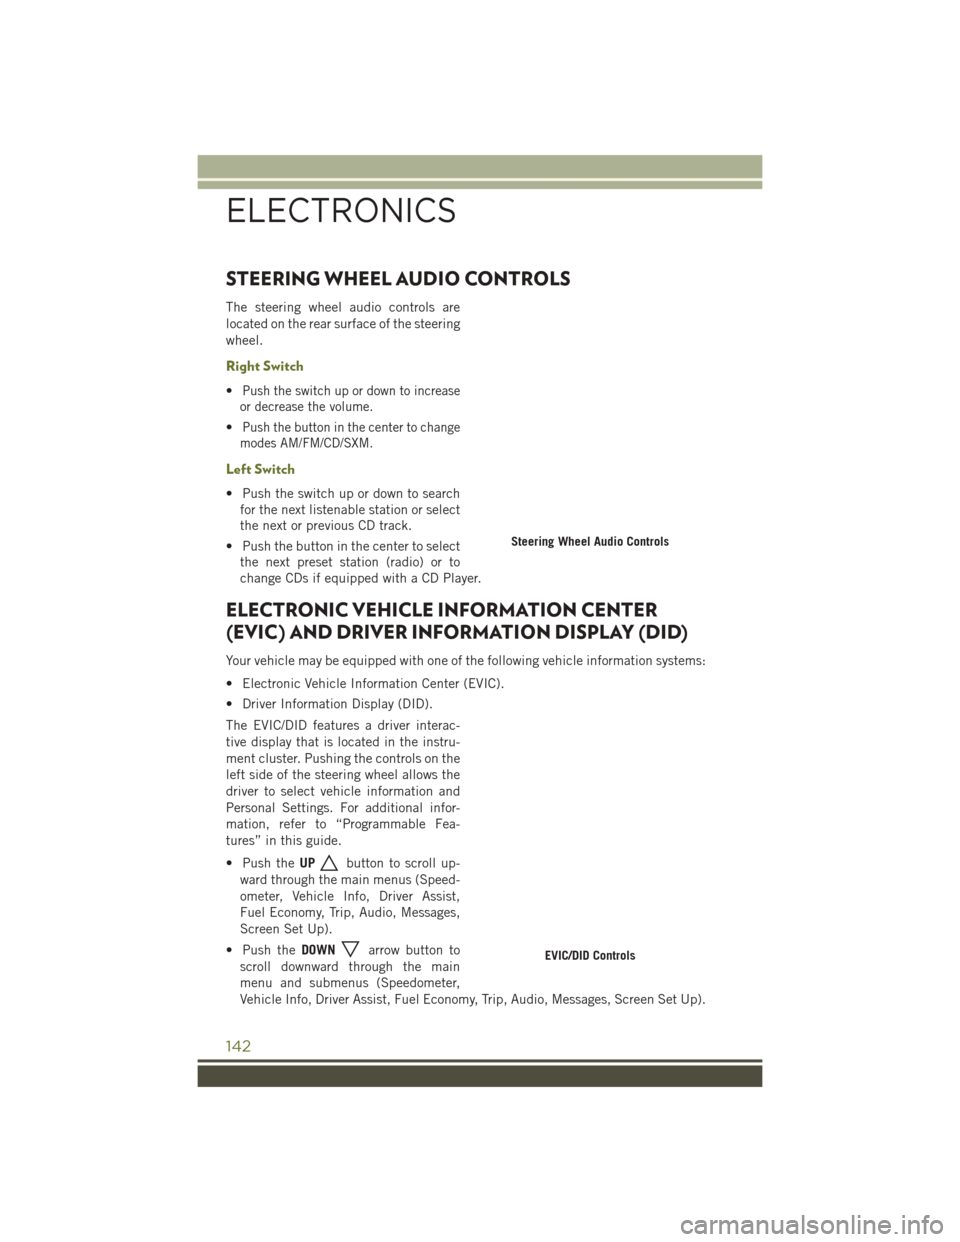
STEERING WHEEL AUDIO CONTROLS
The steering wheel audio controls are
located on the rear surface of the steering
wheel.
Right Switch
•Push the switch up or down to increase
or decrease the volume.
•Push the button in the center to change
modes AM/FM/CD/SXM.
Left Switch
• Push the switch up or down to search for the next listenable station or select
the next or previous CD track.
• Push the button in the center to select the next preset station (radio) or to
change CDs if equipped with a CD Player.
ELECTRONIC VEHICLE INFORMATION CENTER
(EVIC) AND DRIVER INFORMATION DISPLAY (DID)
Your vehicle may be equipped with one of the following vehicle information systems:
• Electronic Vehicle Information Center (EVIC).
• Driver Information Display (DID).
The EVIC/DID features a driver interac-
tive display that is located in the instru-
ment cluster. Pushing the controls on the
left side of the steering wheel allows the
driver to select vehicle information and
Personal Settings. For additional infor-
mation, refer to “Programmable Fea-
tures” in this guide.
• Push the UP
button to scroll up-
ward through the main menus (Speed-
ometer, Vehicle Info, Driver Assist,
Fuel Economy, Trip, Audio, Messages,
Screen Set Up).
• Push the DOWN
arrow button to
scroll downward through the main
menu and submenus (Speedometer,
Vehicle Info, Driver Assist, Fuel Economy, Trip, Audio, Messages, Screen Set Up).
Steering Wheel Audio Controls
EVIC/DID Controls
ELECTRONICS
142
Page 155 of 236
FOUR-WHEEL DRIVE OPERATION
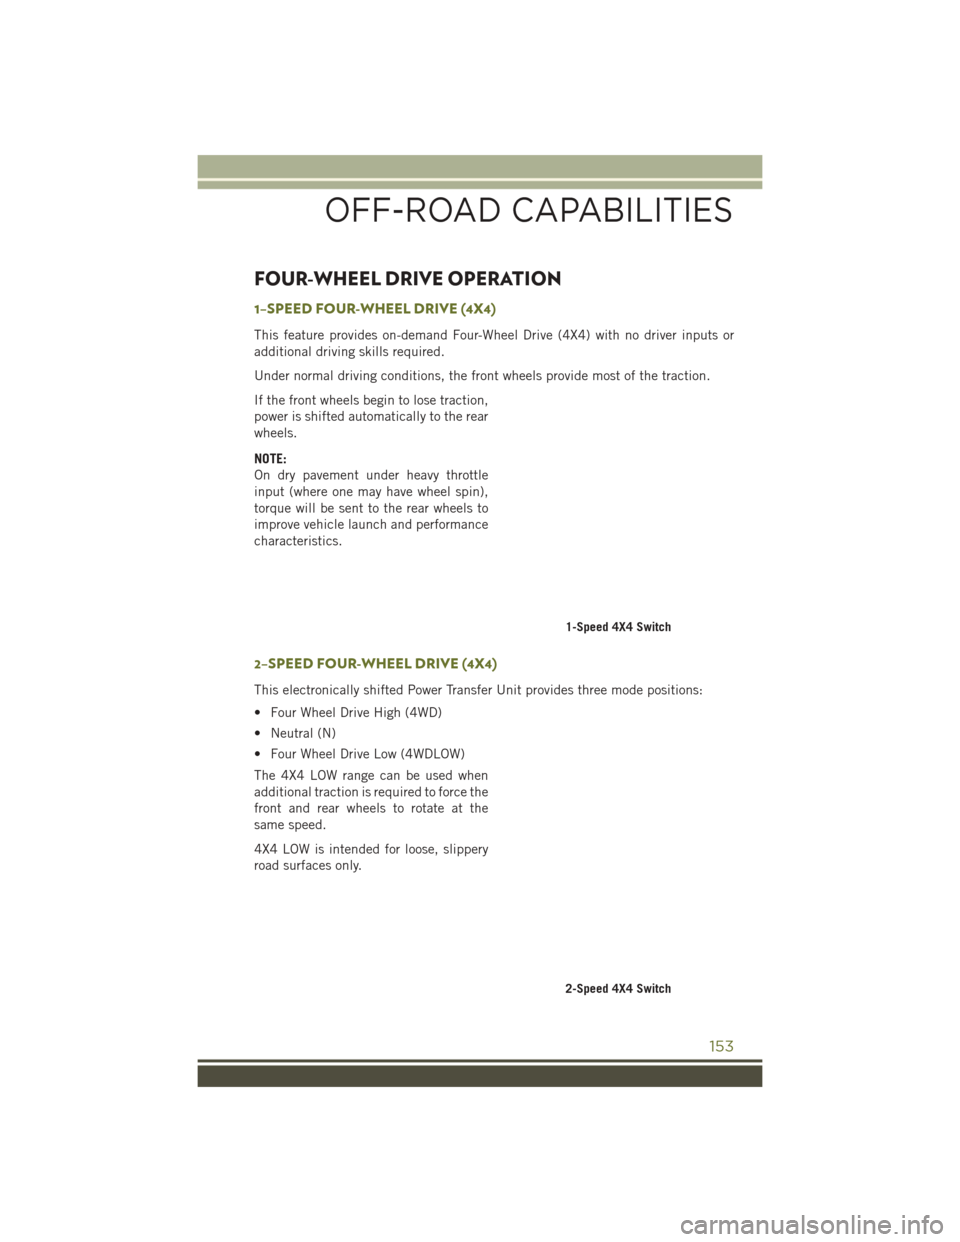
1–SPEED FOUR-WHEEL DRIVE (4X4)
This feature provides on-demand Four-Wheel Drive (4X4) with no driver inputs or
additional driving skills required.
Under normal driving conditions, the front wheels provide most of the traction.
If the front wheels begin to lose traction,
power is shifted automatically to the rear
wheels.
NOTE:
On dry pavement under heavy throttle
input (where one may have wheel spin),
torque will be sent to the rear wheels to
improve vehicle launch and performance
characteristics.
2–SPEED FOUR-WHEEL DRIVE (4X4)
This electronically shifted Power Transfer Unit provides three mode positions:
• Four Wheel Drive High (4WD)
• Neutral (N)
• Four Wheel Drive Low (4WDLOW)
The 4X4 LOW range can be used when
additional traction is required to force the
front and rear wheels to rotate at the
same speed.
4X4 LOW is intended for loose, slippery
road surfaces only.
1-Speed 4X4 Switch
2-Speed 4X4 Switch
OFF-ROAD CAPABILITIES
153